

A Warm Modern Midcentury Guest Bathroom Reveal - One Room Challenge Week 6
It’s finally here - reveal day for the Fall 2018 One Room Challenge! Did that six weeks fly by or what? I’m thrilled that our guest bathroom is done - it’s the only room in the house right now that is. You can find all of the sources at the bottom of this post, FYI! Before we dive into the reveal of our newly renovated warm modern midcentury guest bathroom, let me take you back to where this room started…
It’s finally here - reveal day for the Fall 2018 One Room Challenge! Did that six weeks fly by or what? I’m thrilled that our guest bathroom is done - it’s the only room in the house right now that is. You can find all of the sources at the bottom of this post, FYI! Before we dive into the reveal of our newly renovated warm modern midcentury guest bathroom, let me take you back to where this room started…
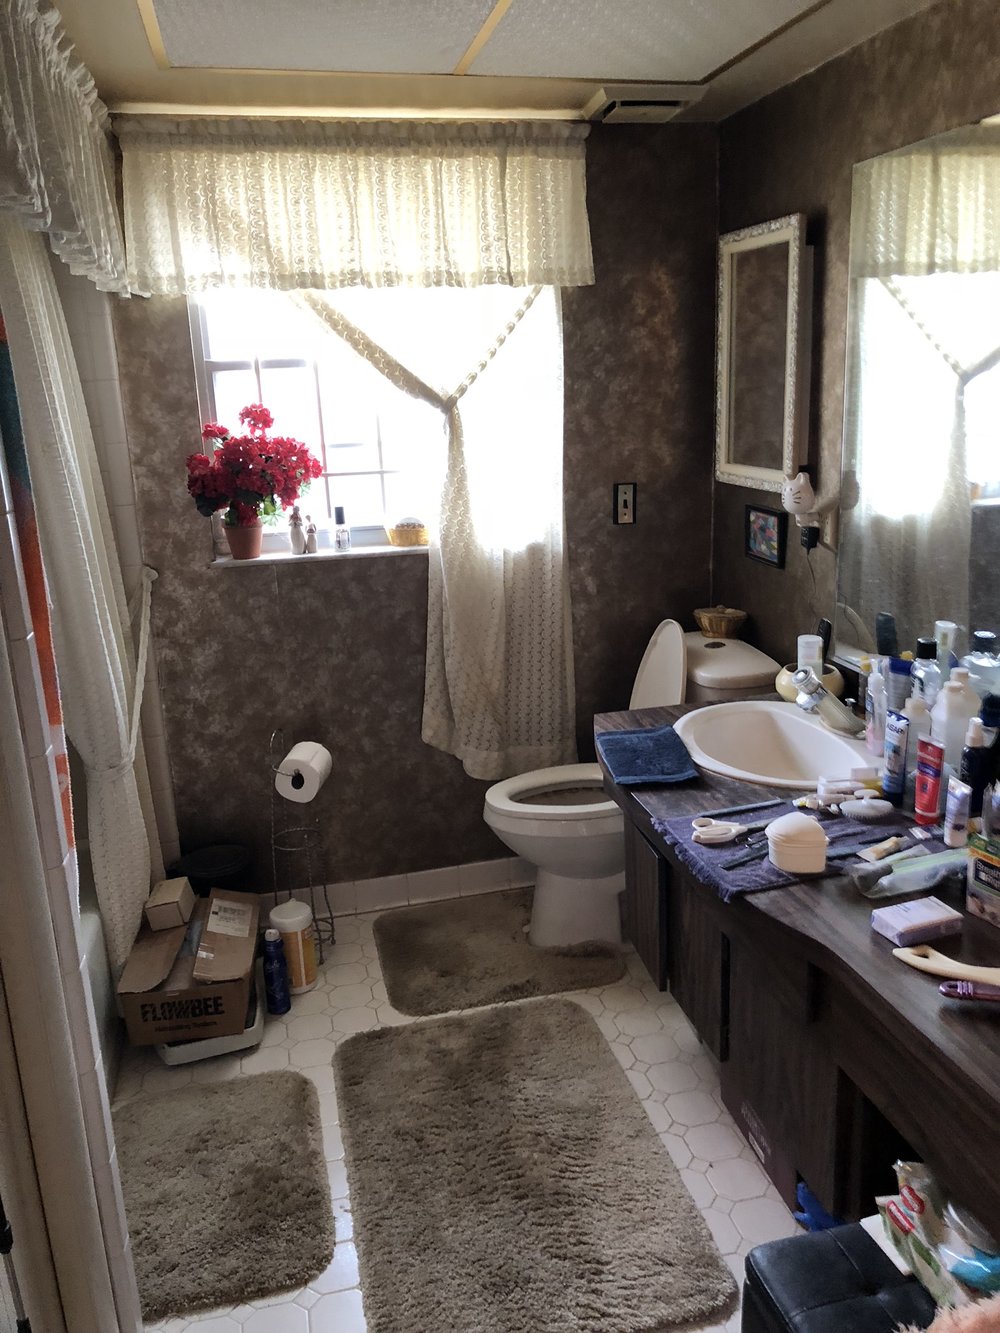
Yikes. I am SO glad to have that photo in the past, and introduce you to our brand-spankin’ new guest bathroom!
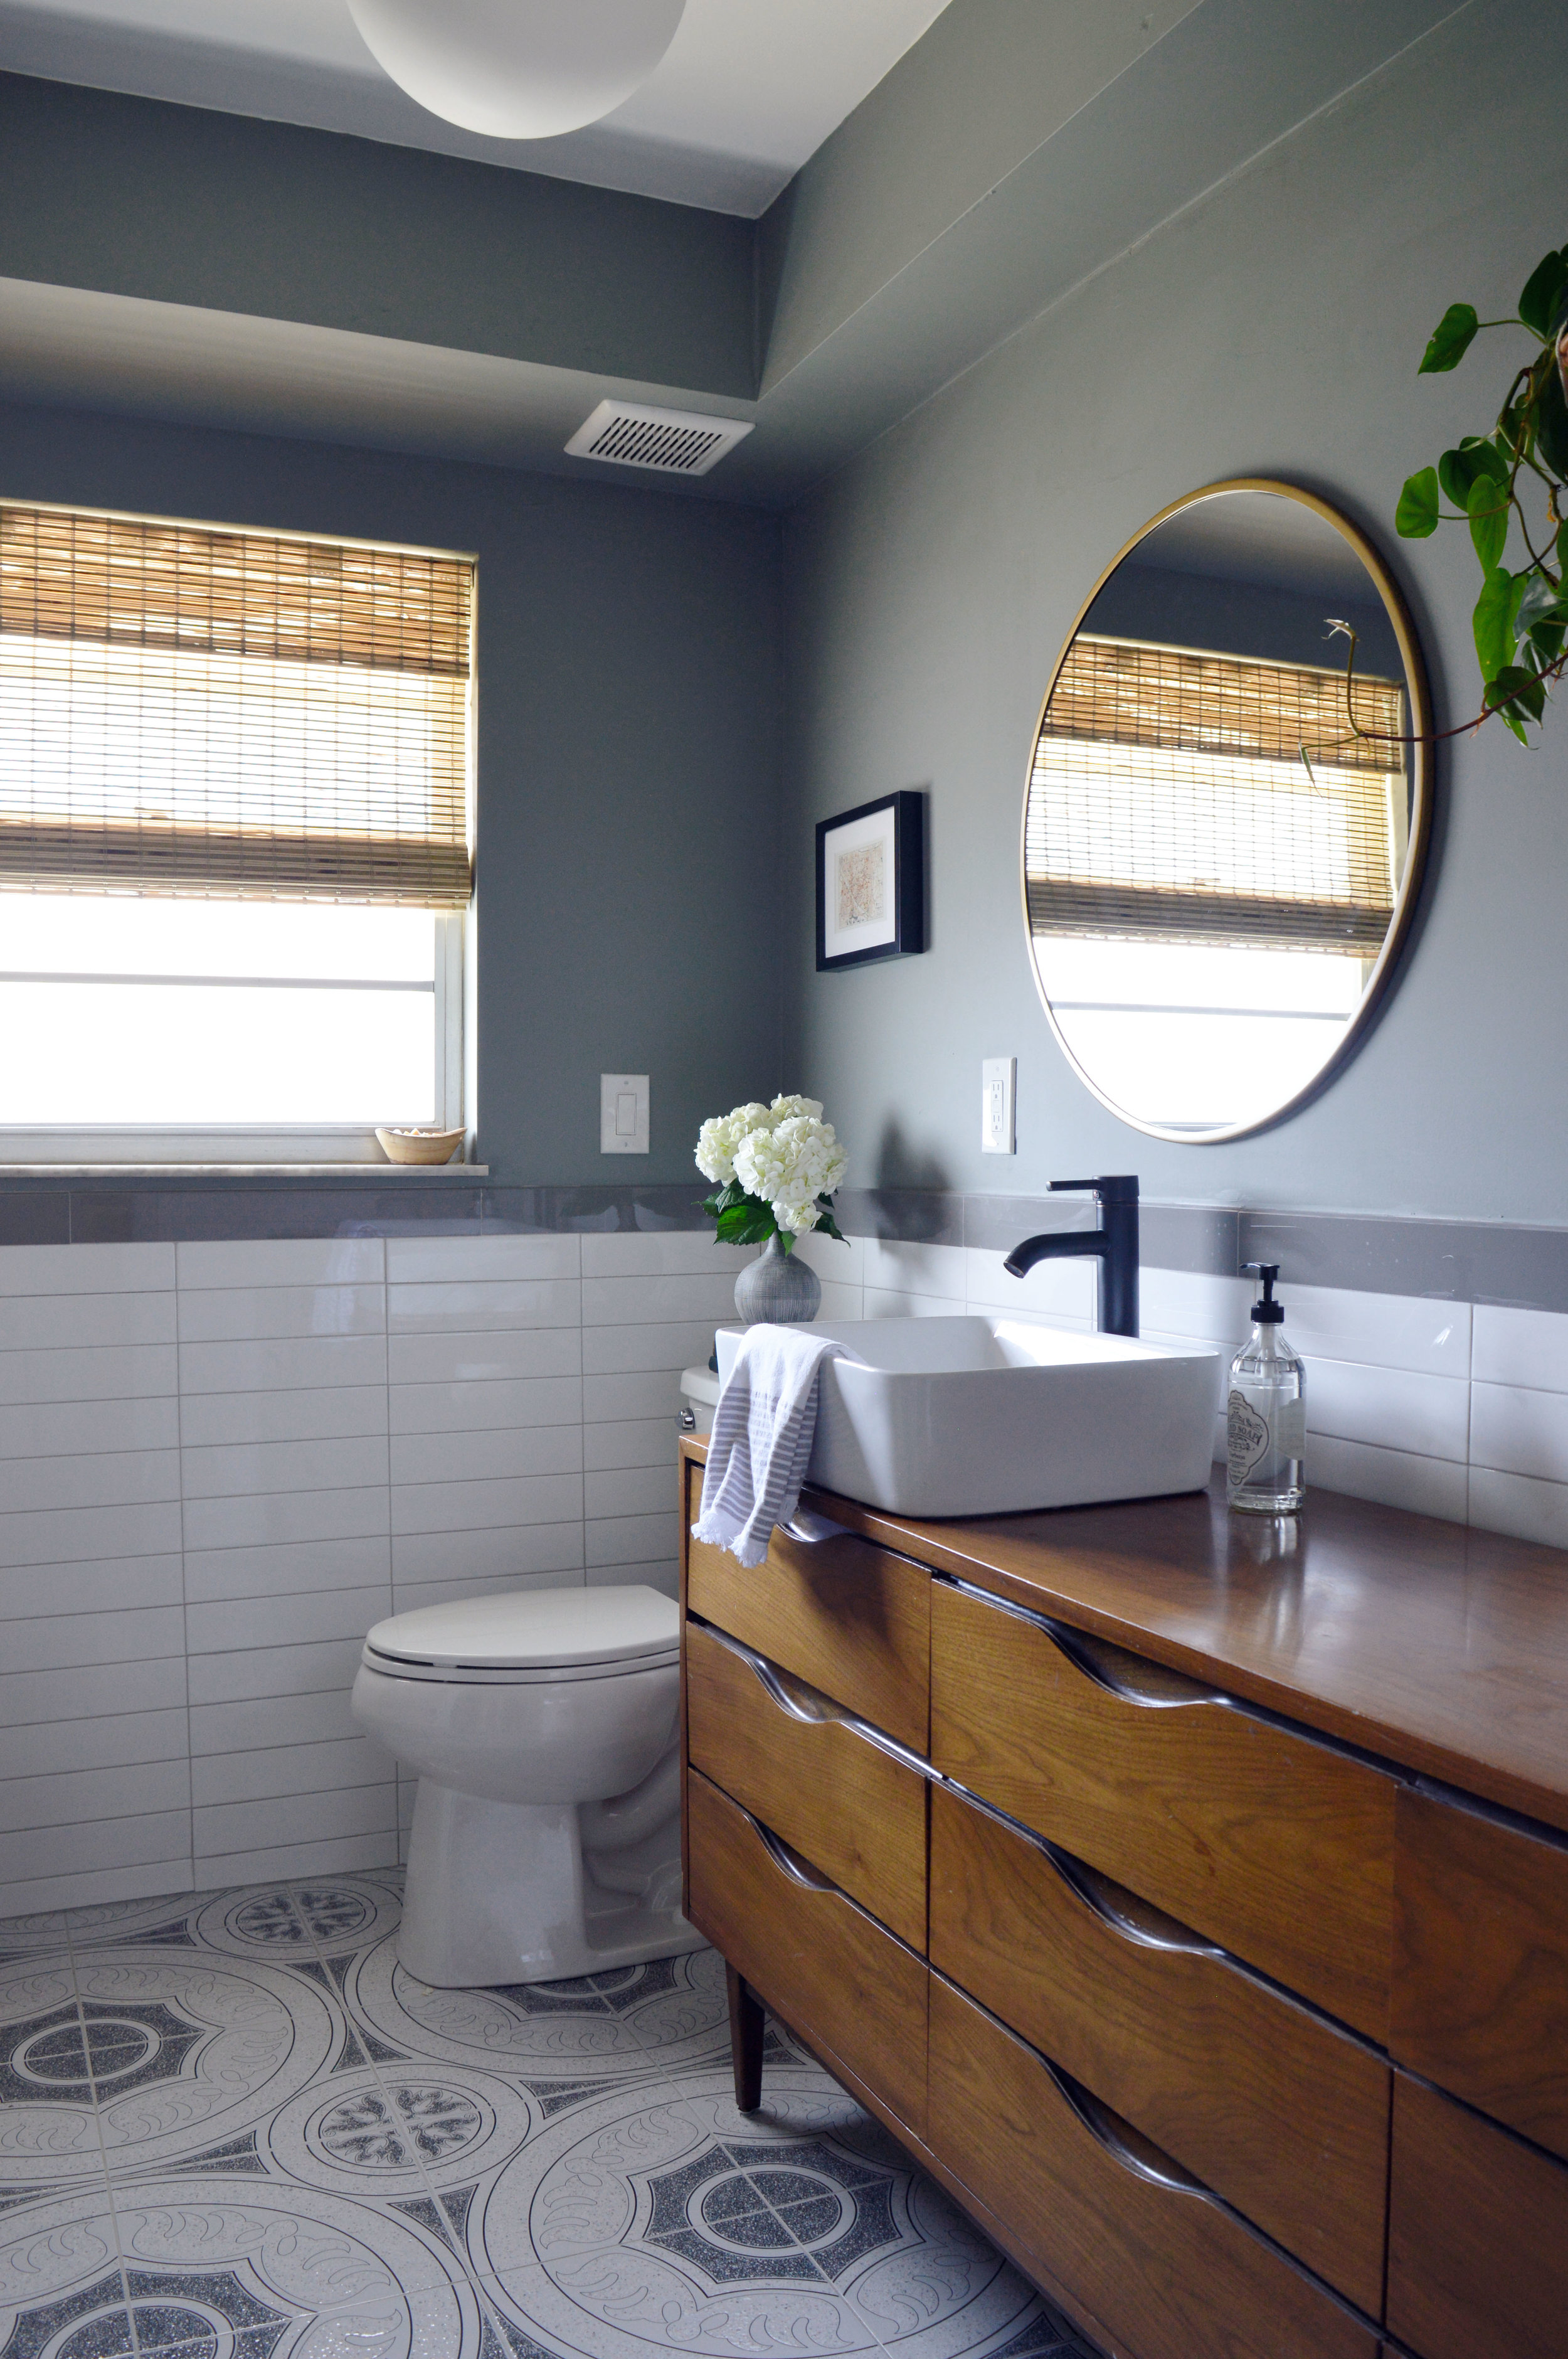
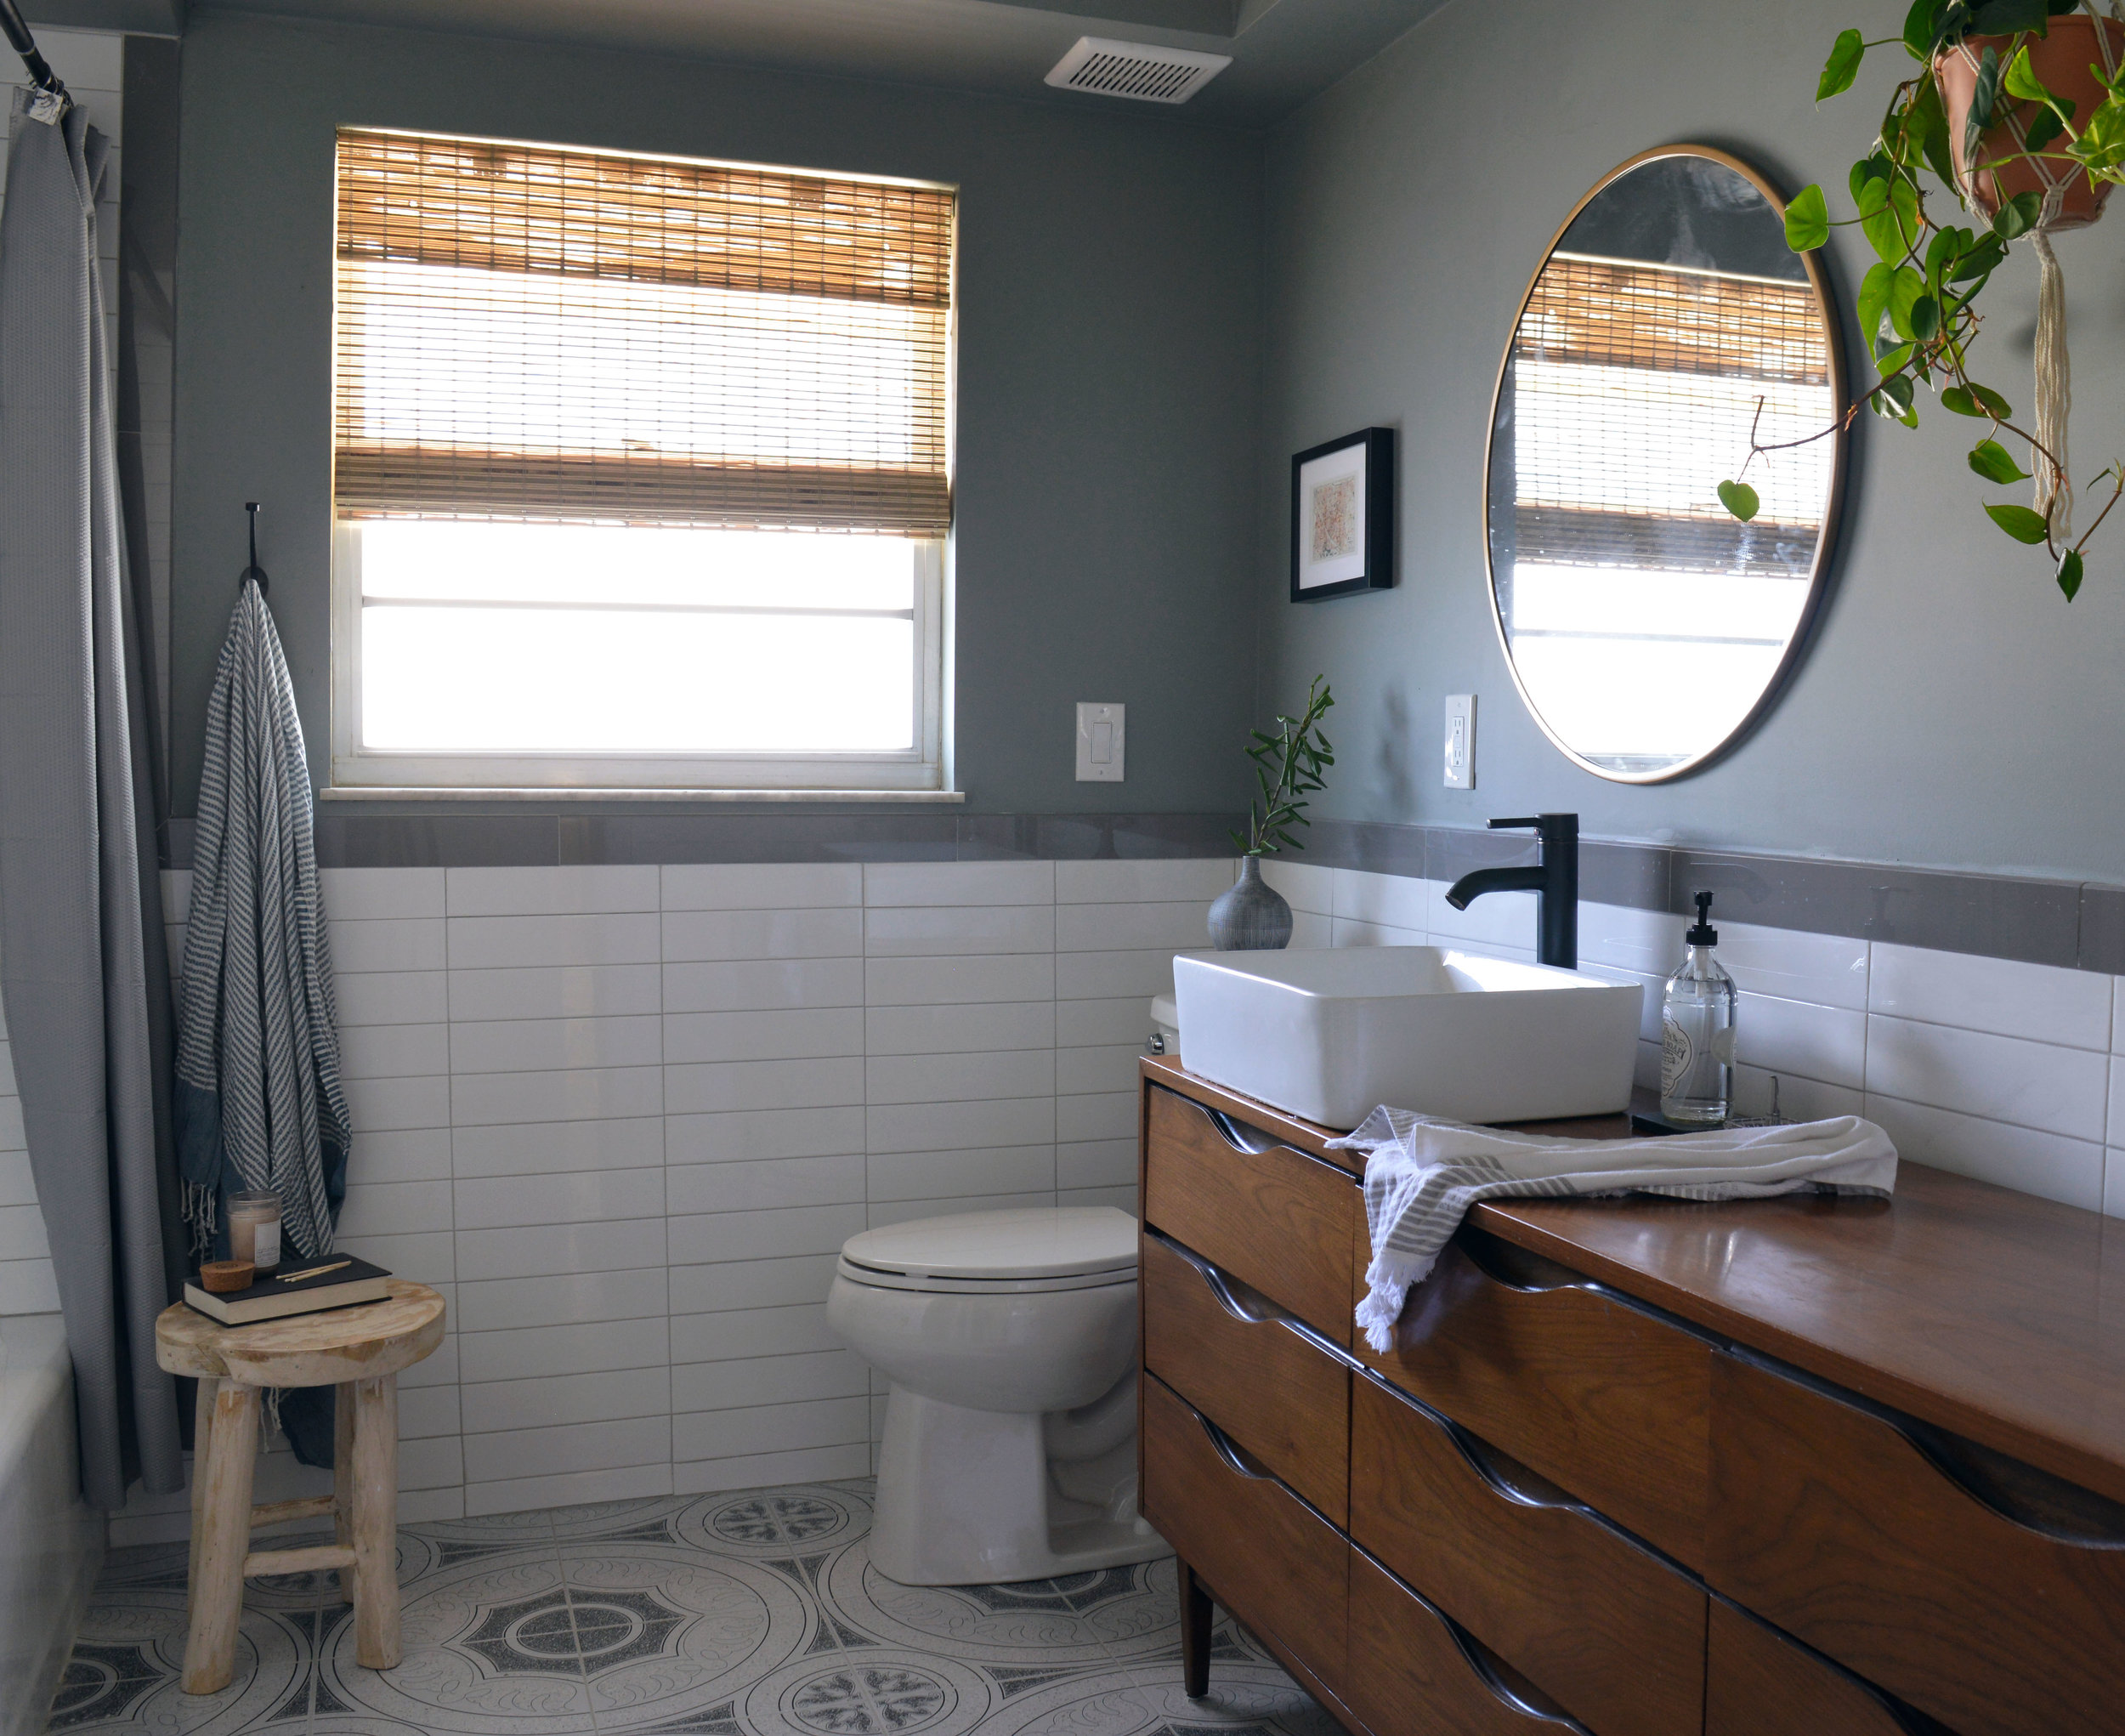
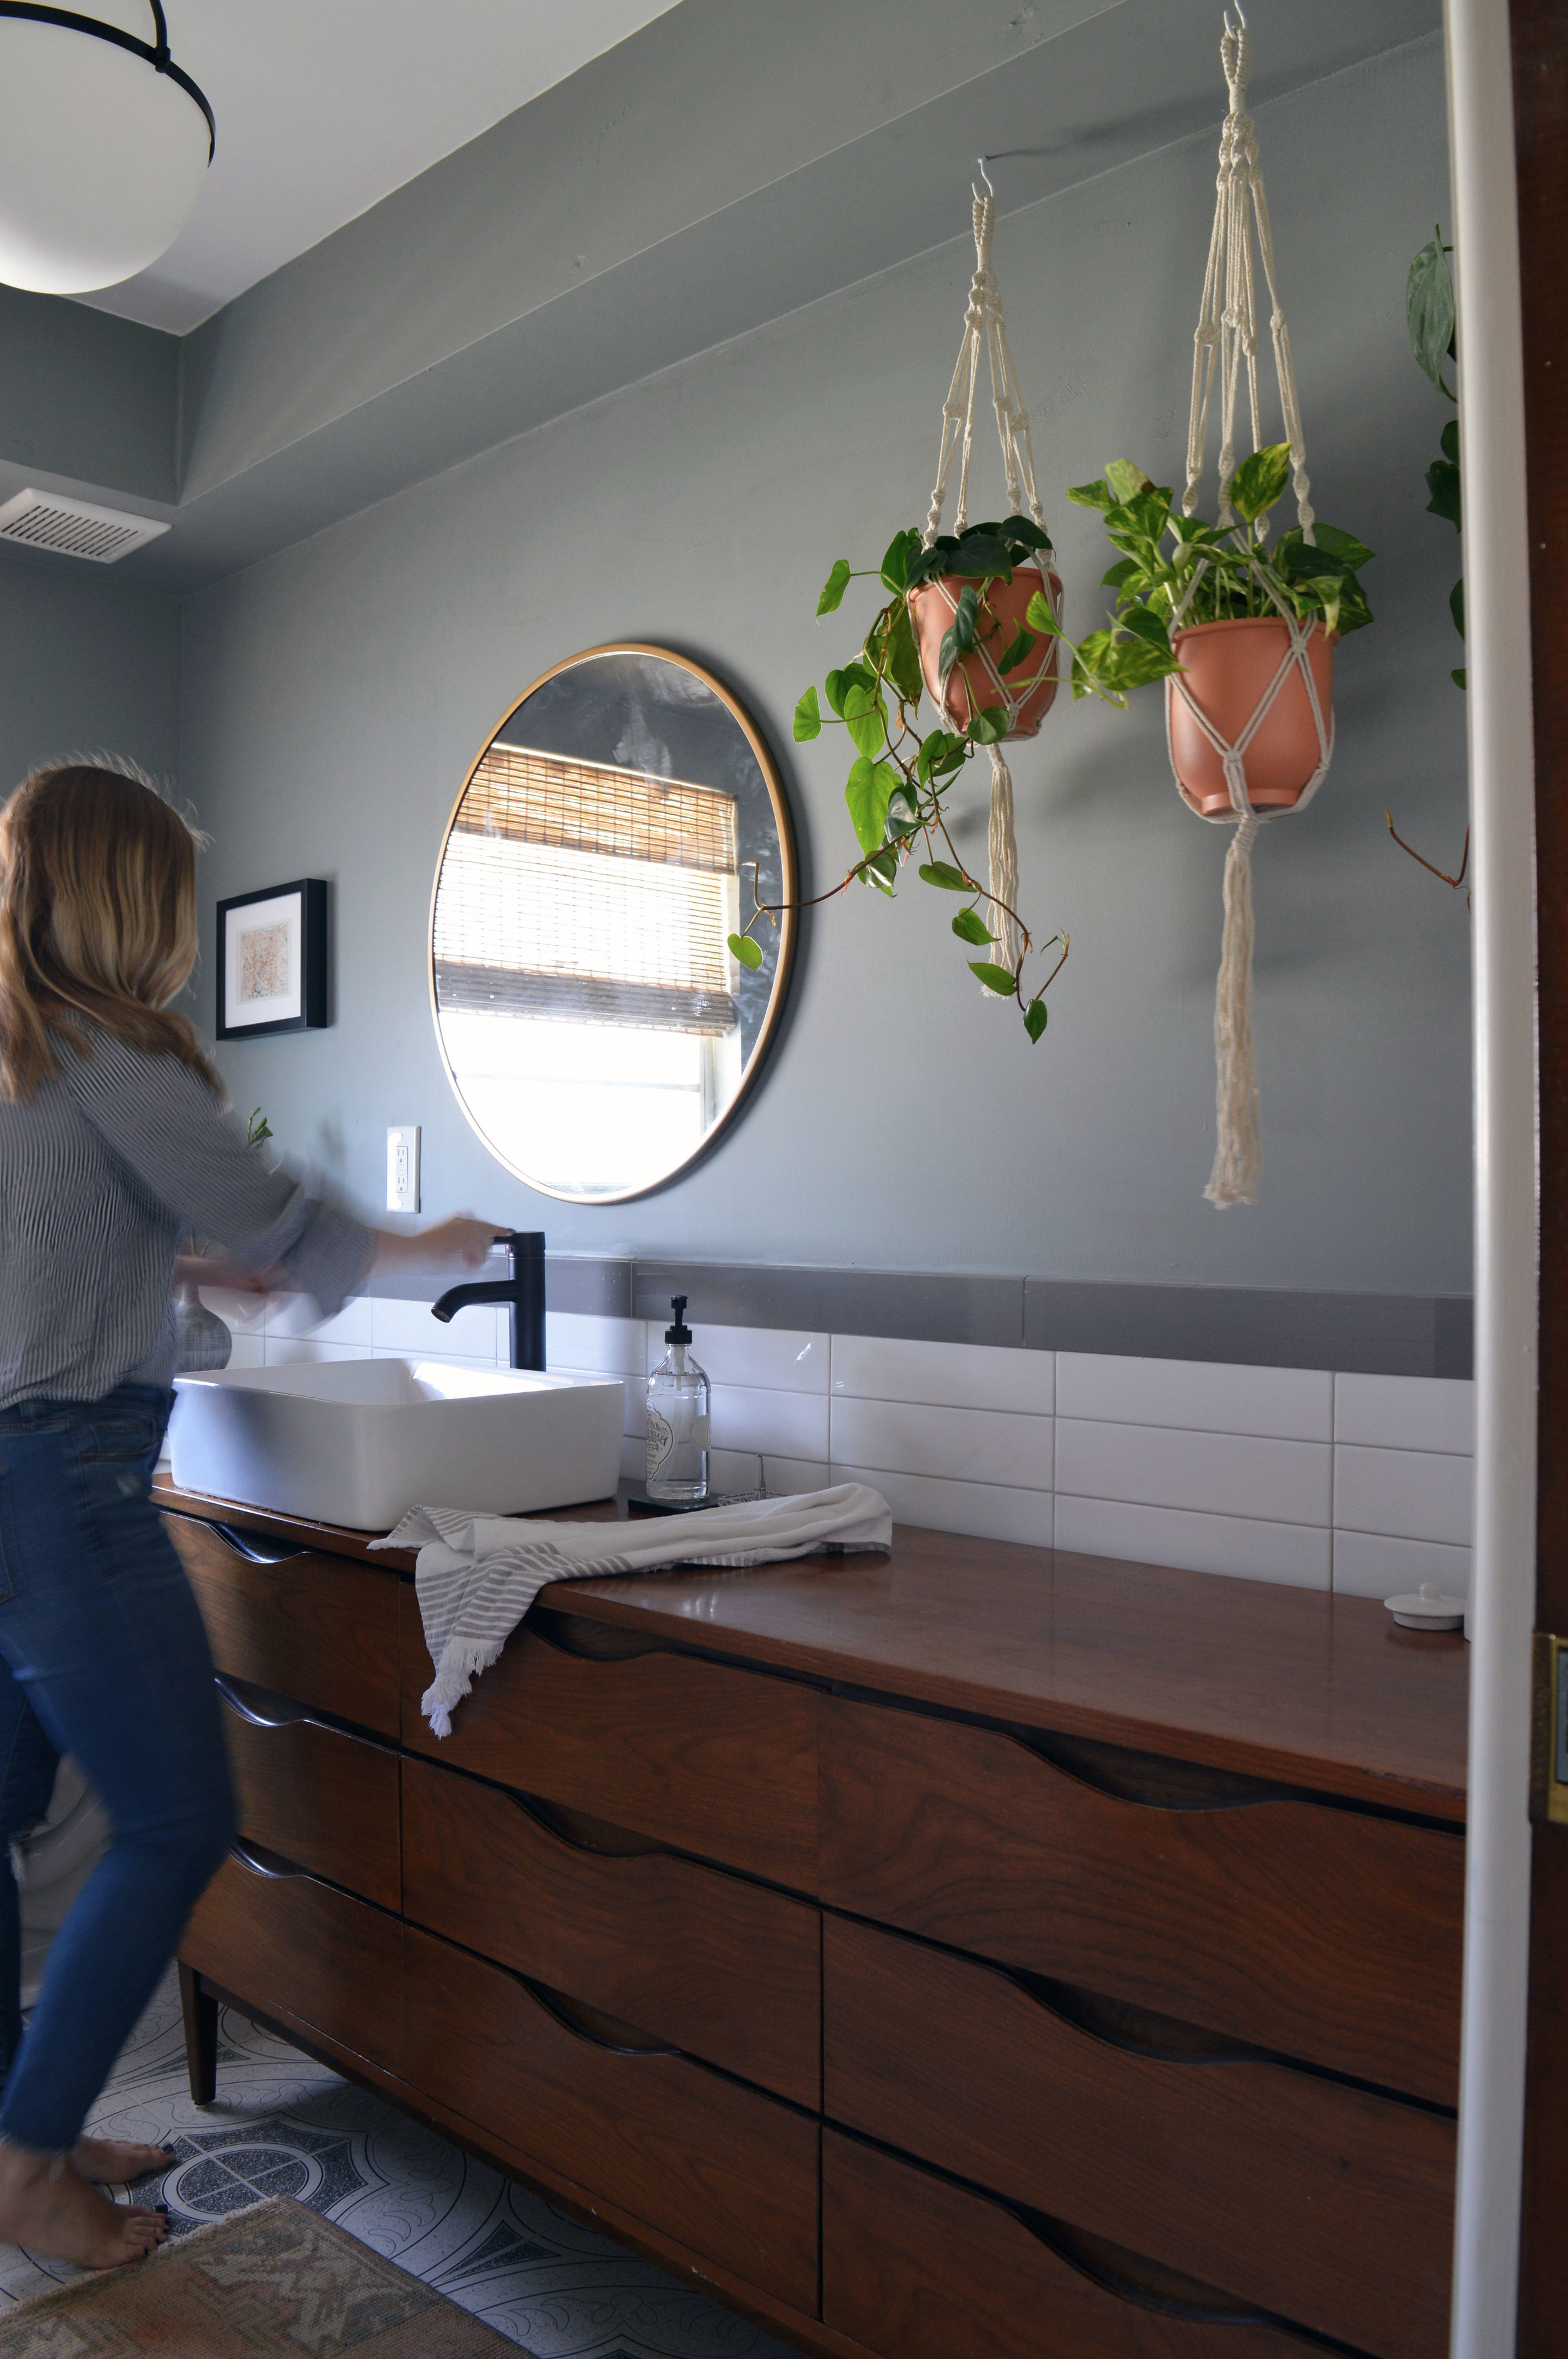
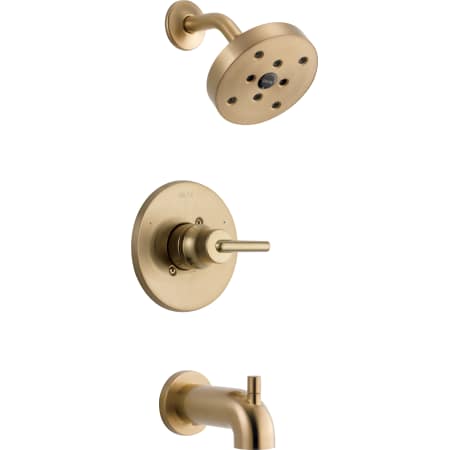
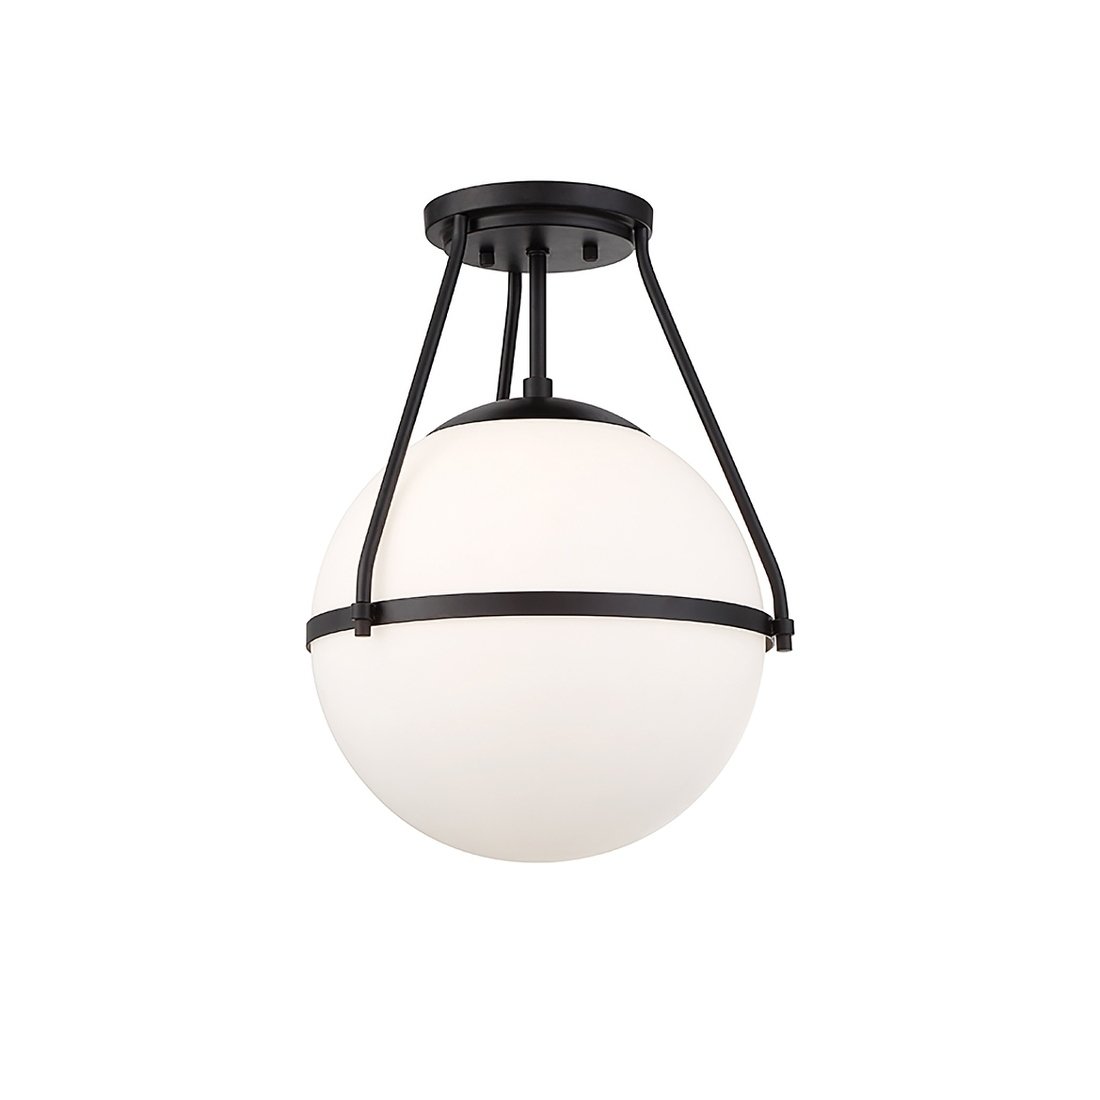
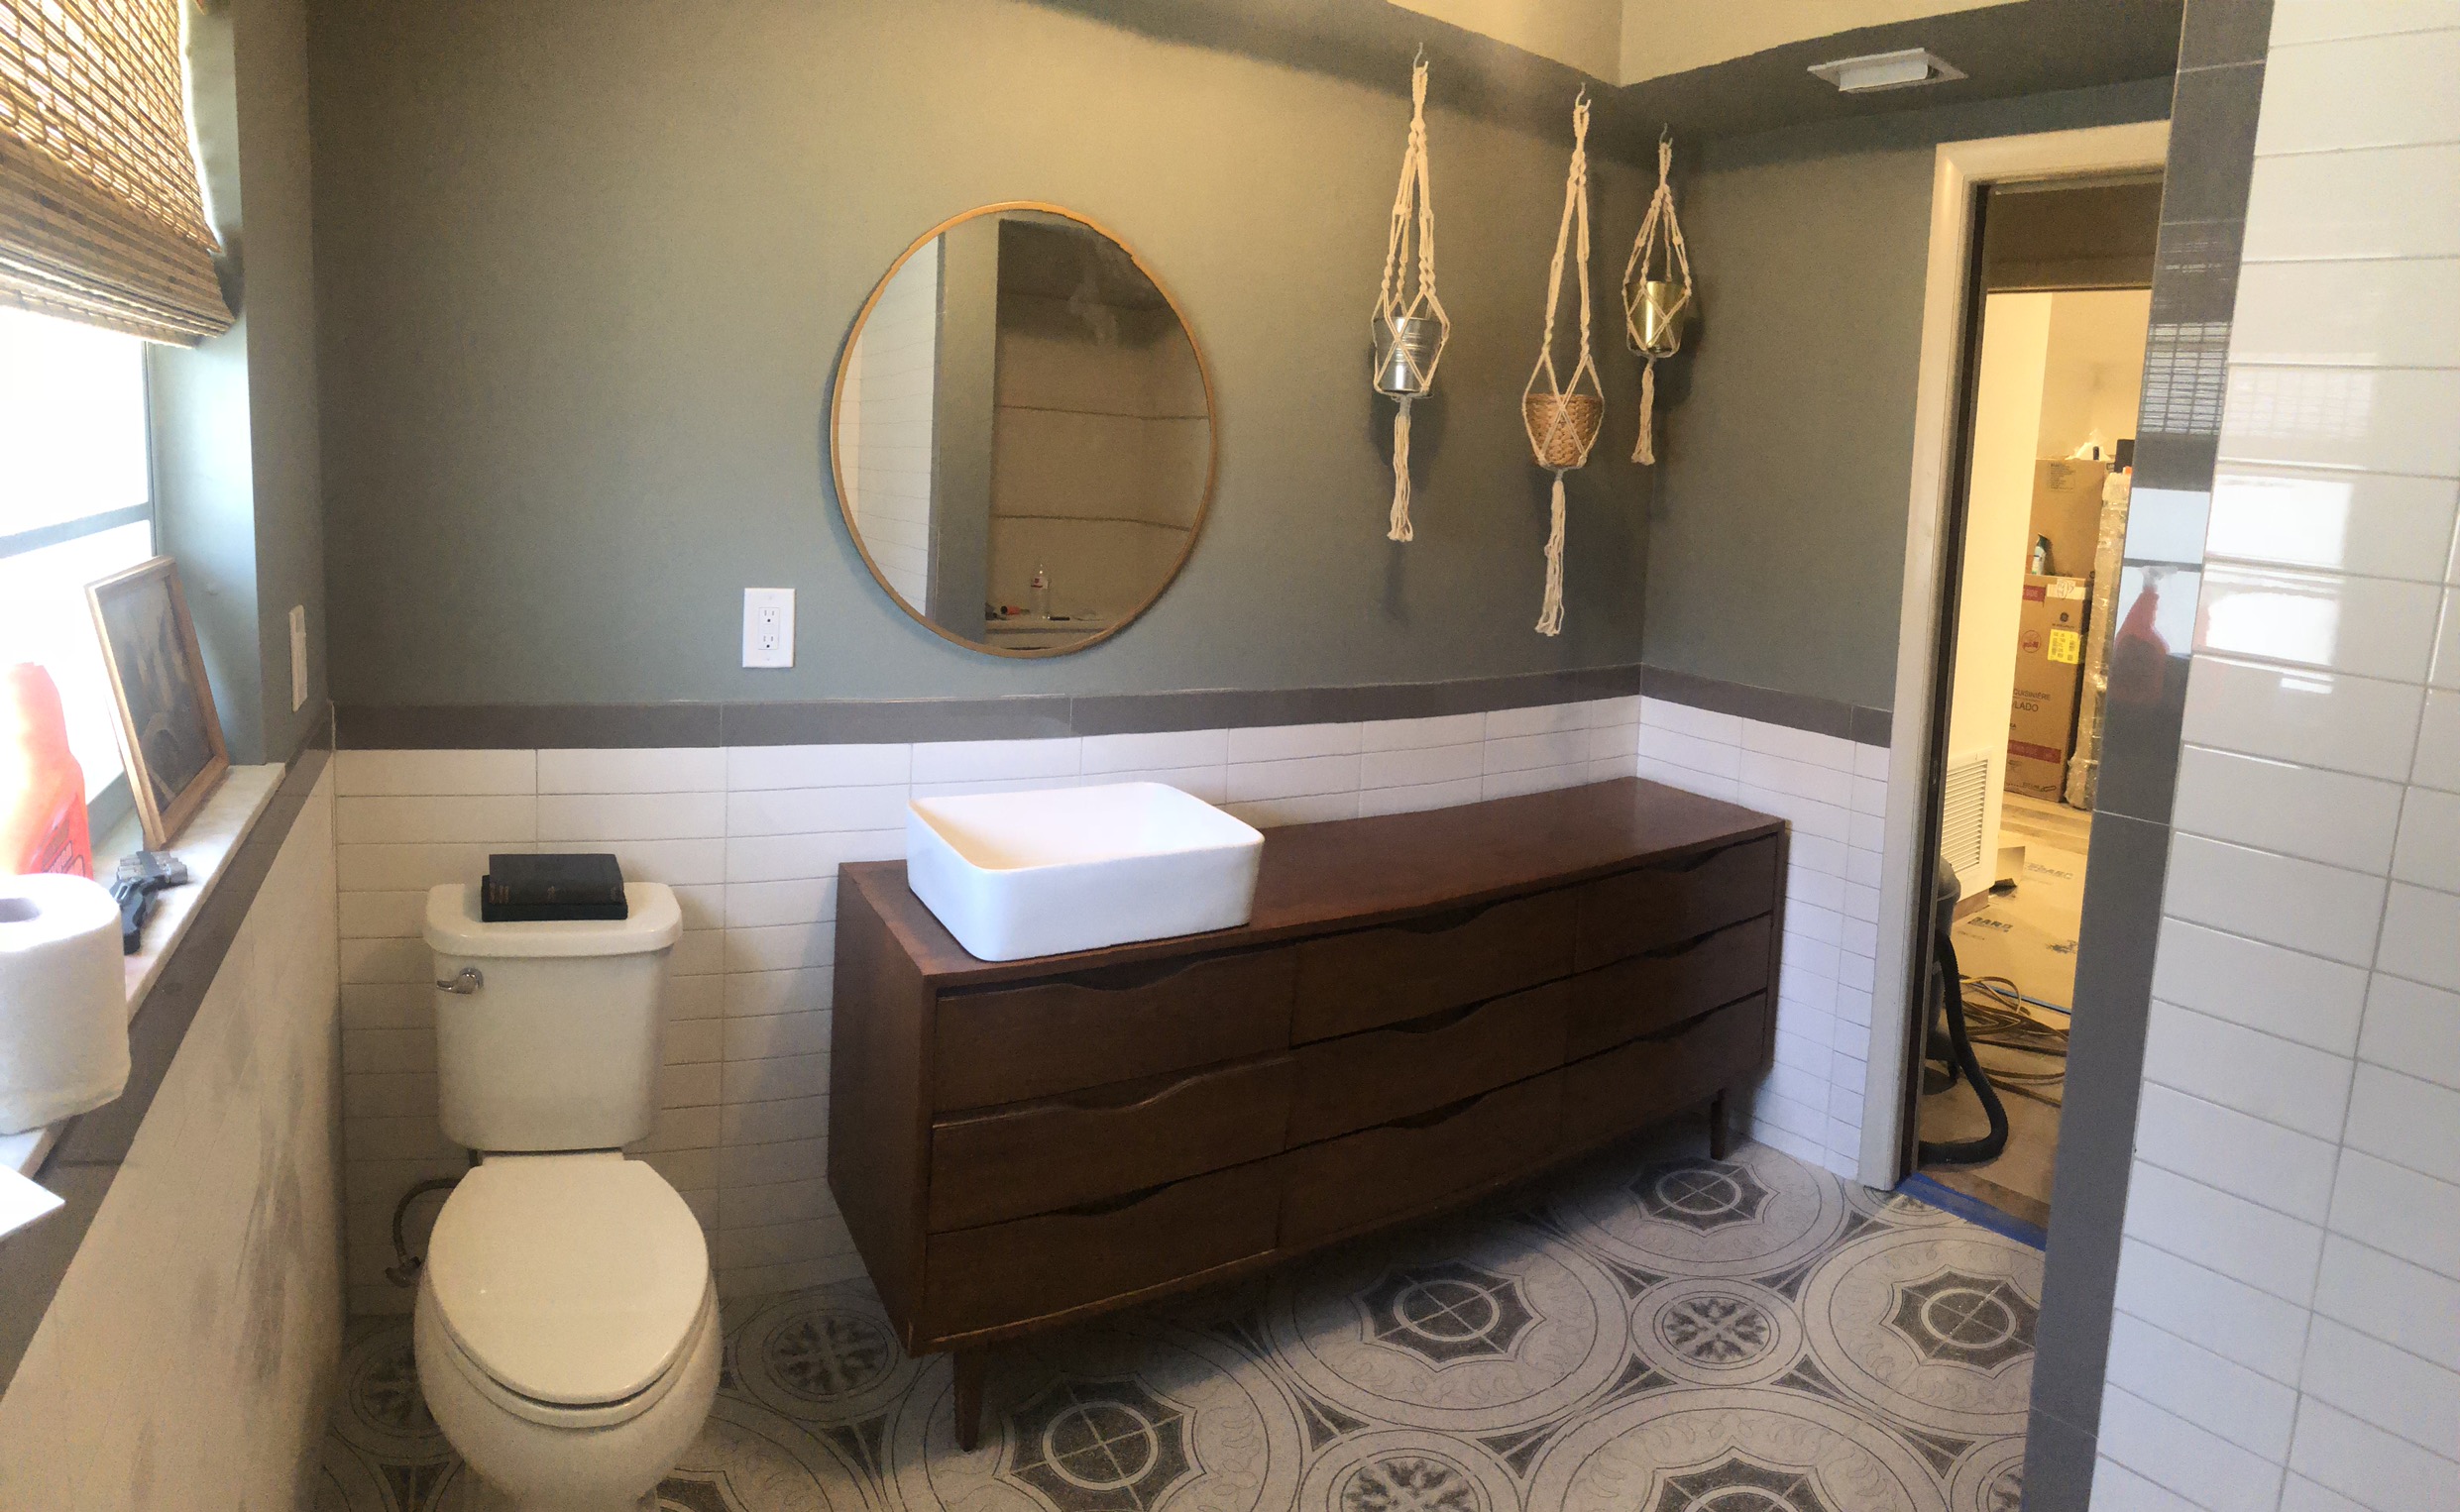
Hard to believe that is the same room, right?! I am in love with pretty much every element of this spacious guest bathroom. I really tried to walk the line between modern and vintage, balancing both elements in the space. The stacked subway tile, plumbing fixtures, overhead semi-flush mount, black photo frames, and the round gold mirror all fall on the modern end of the spectrum.

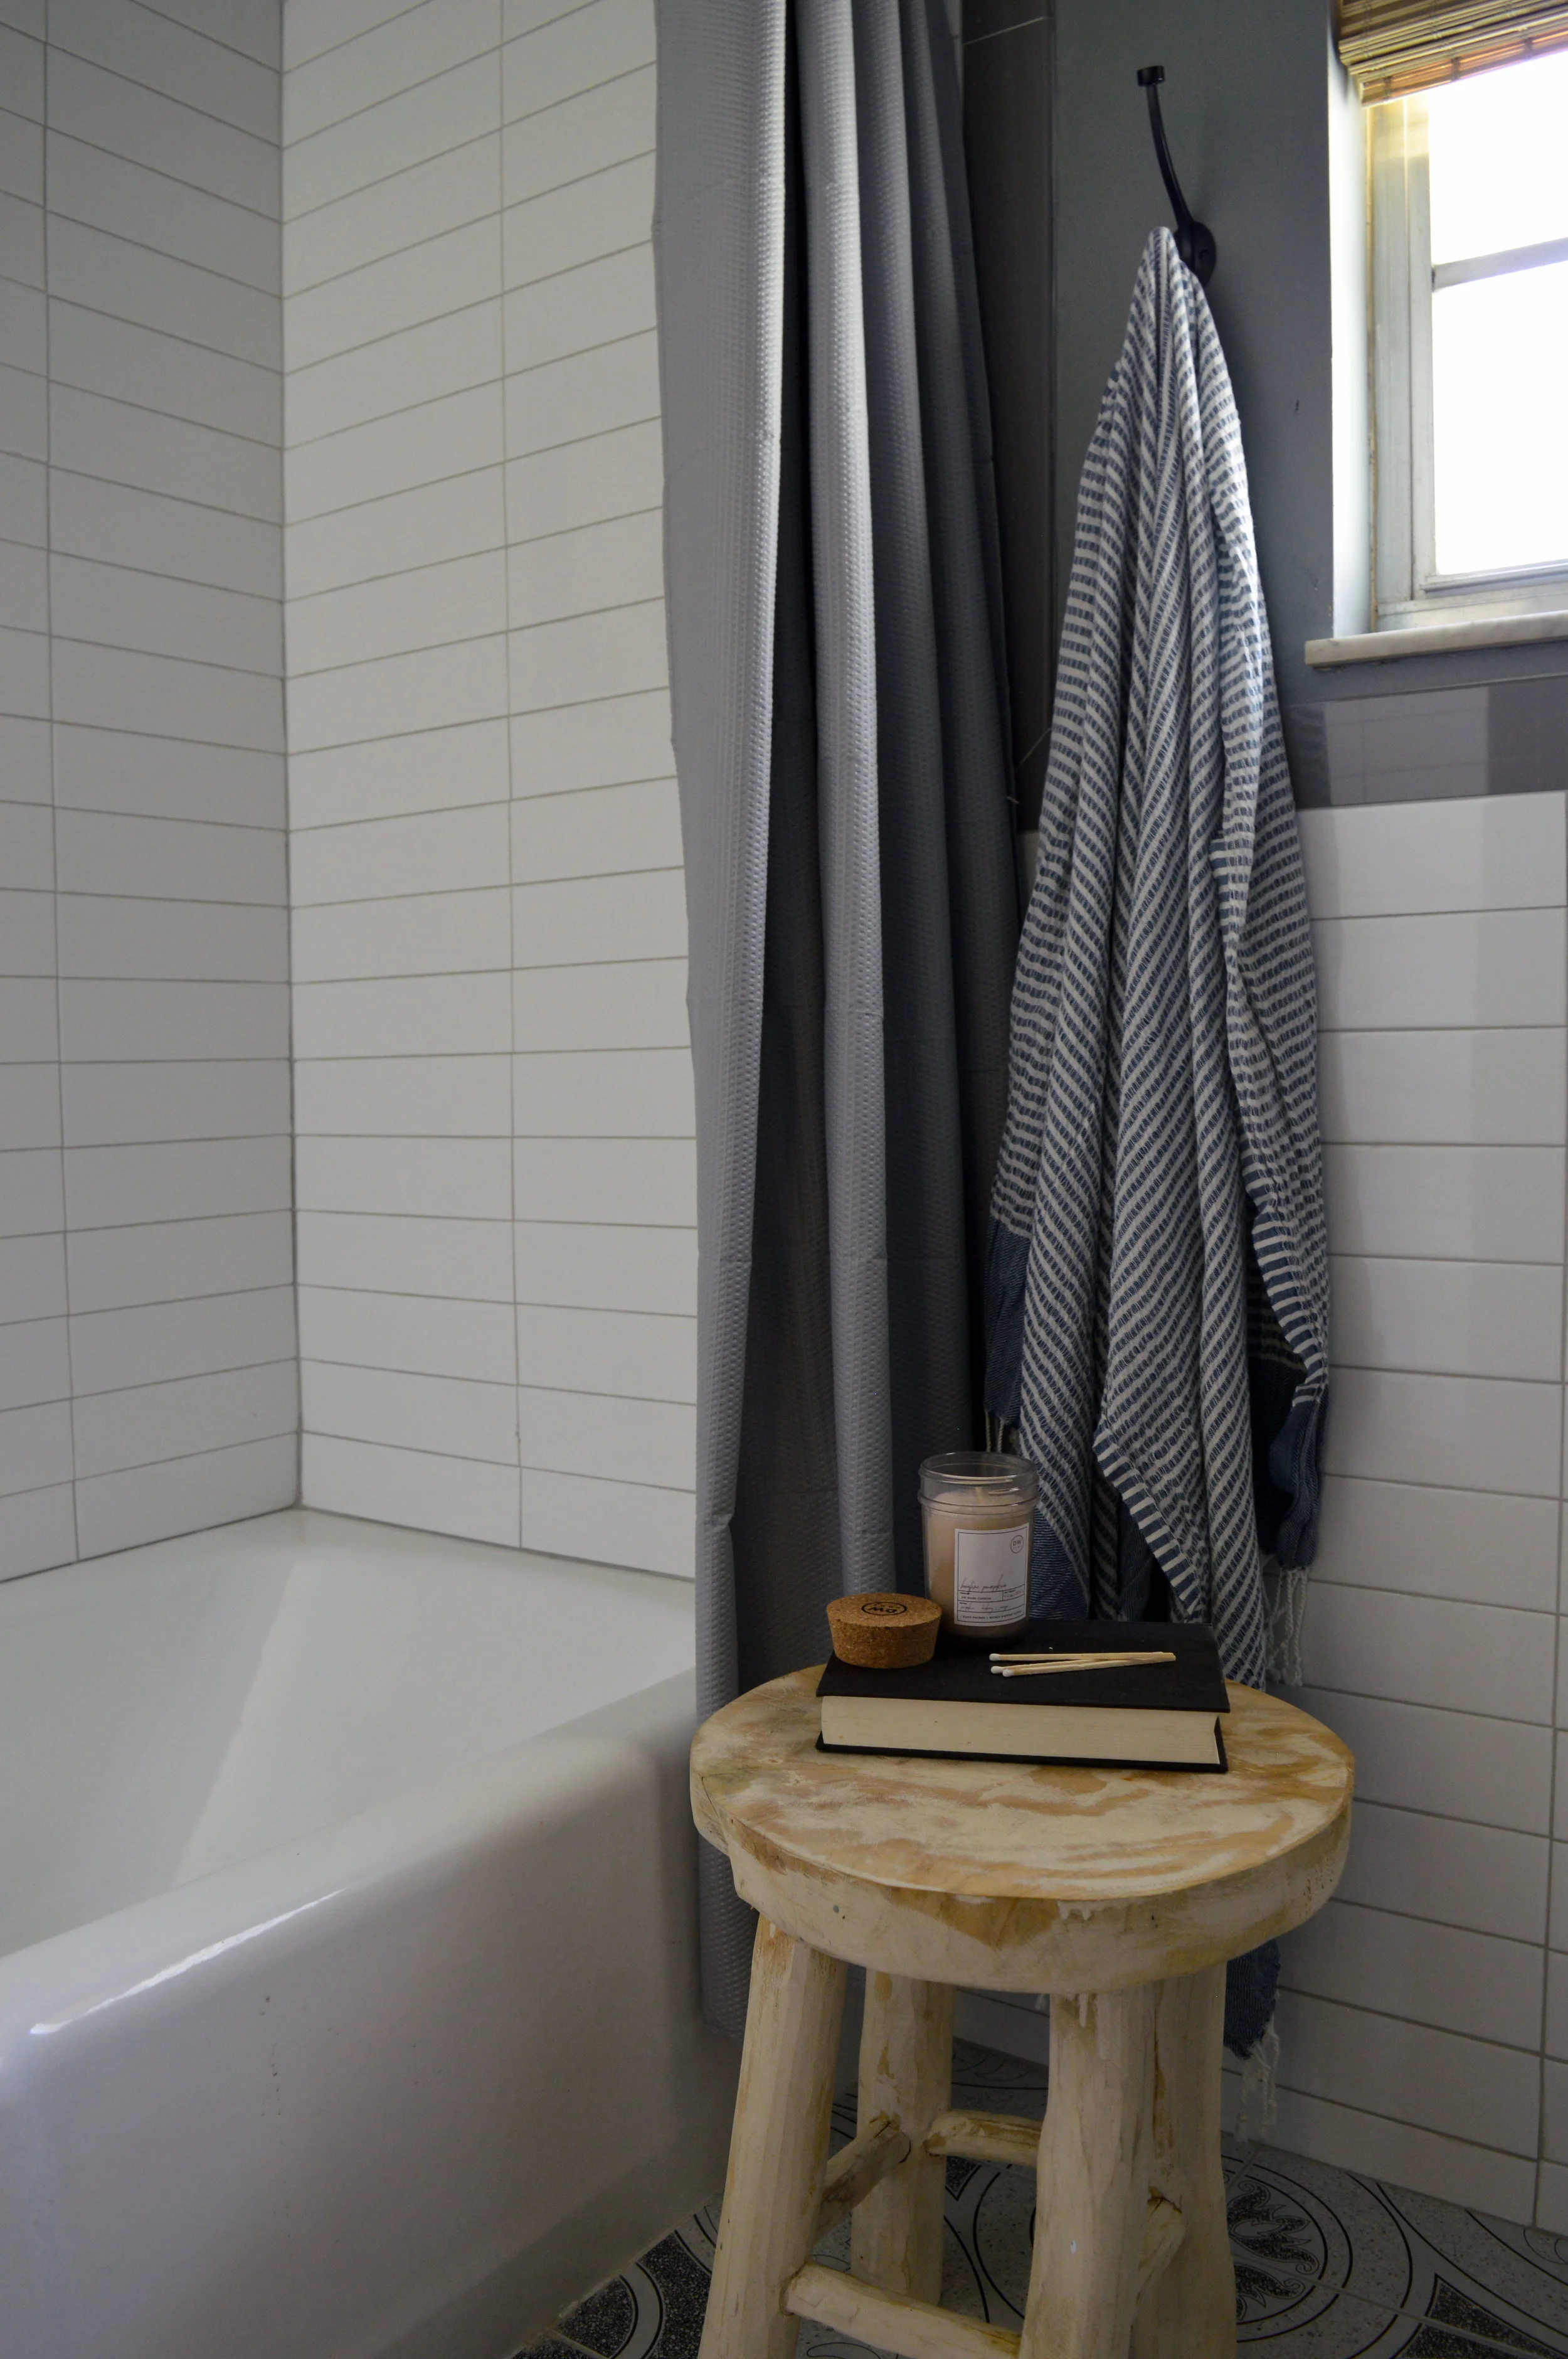
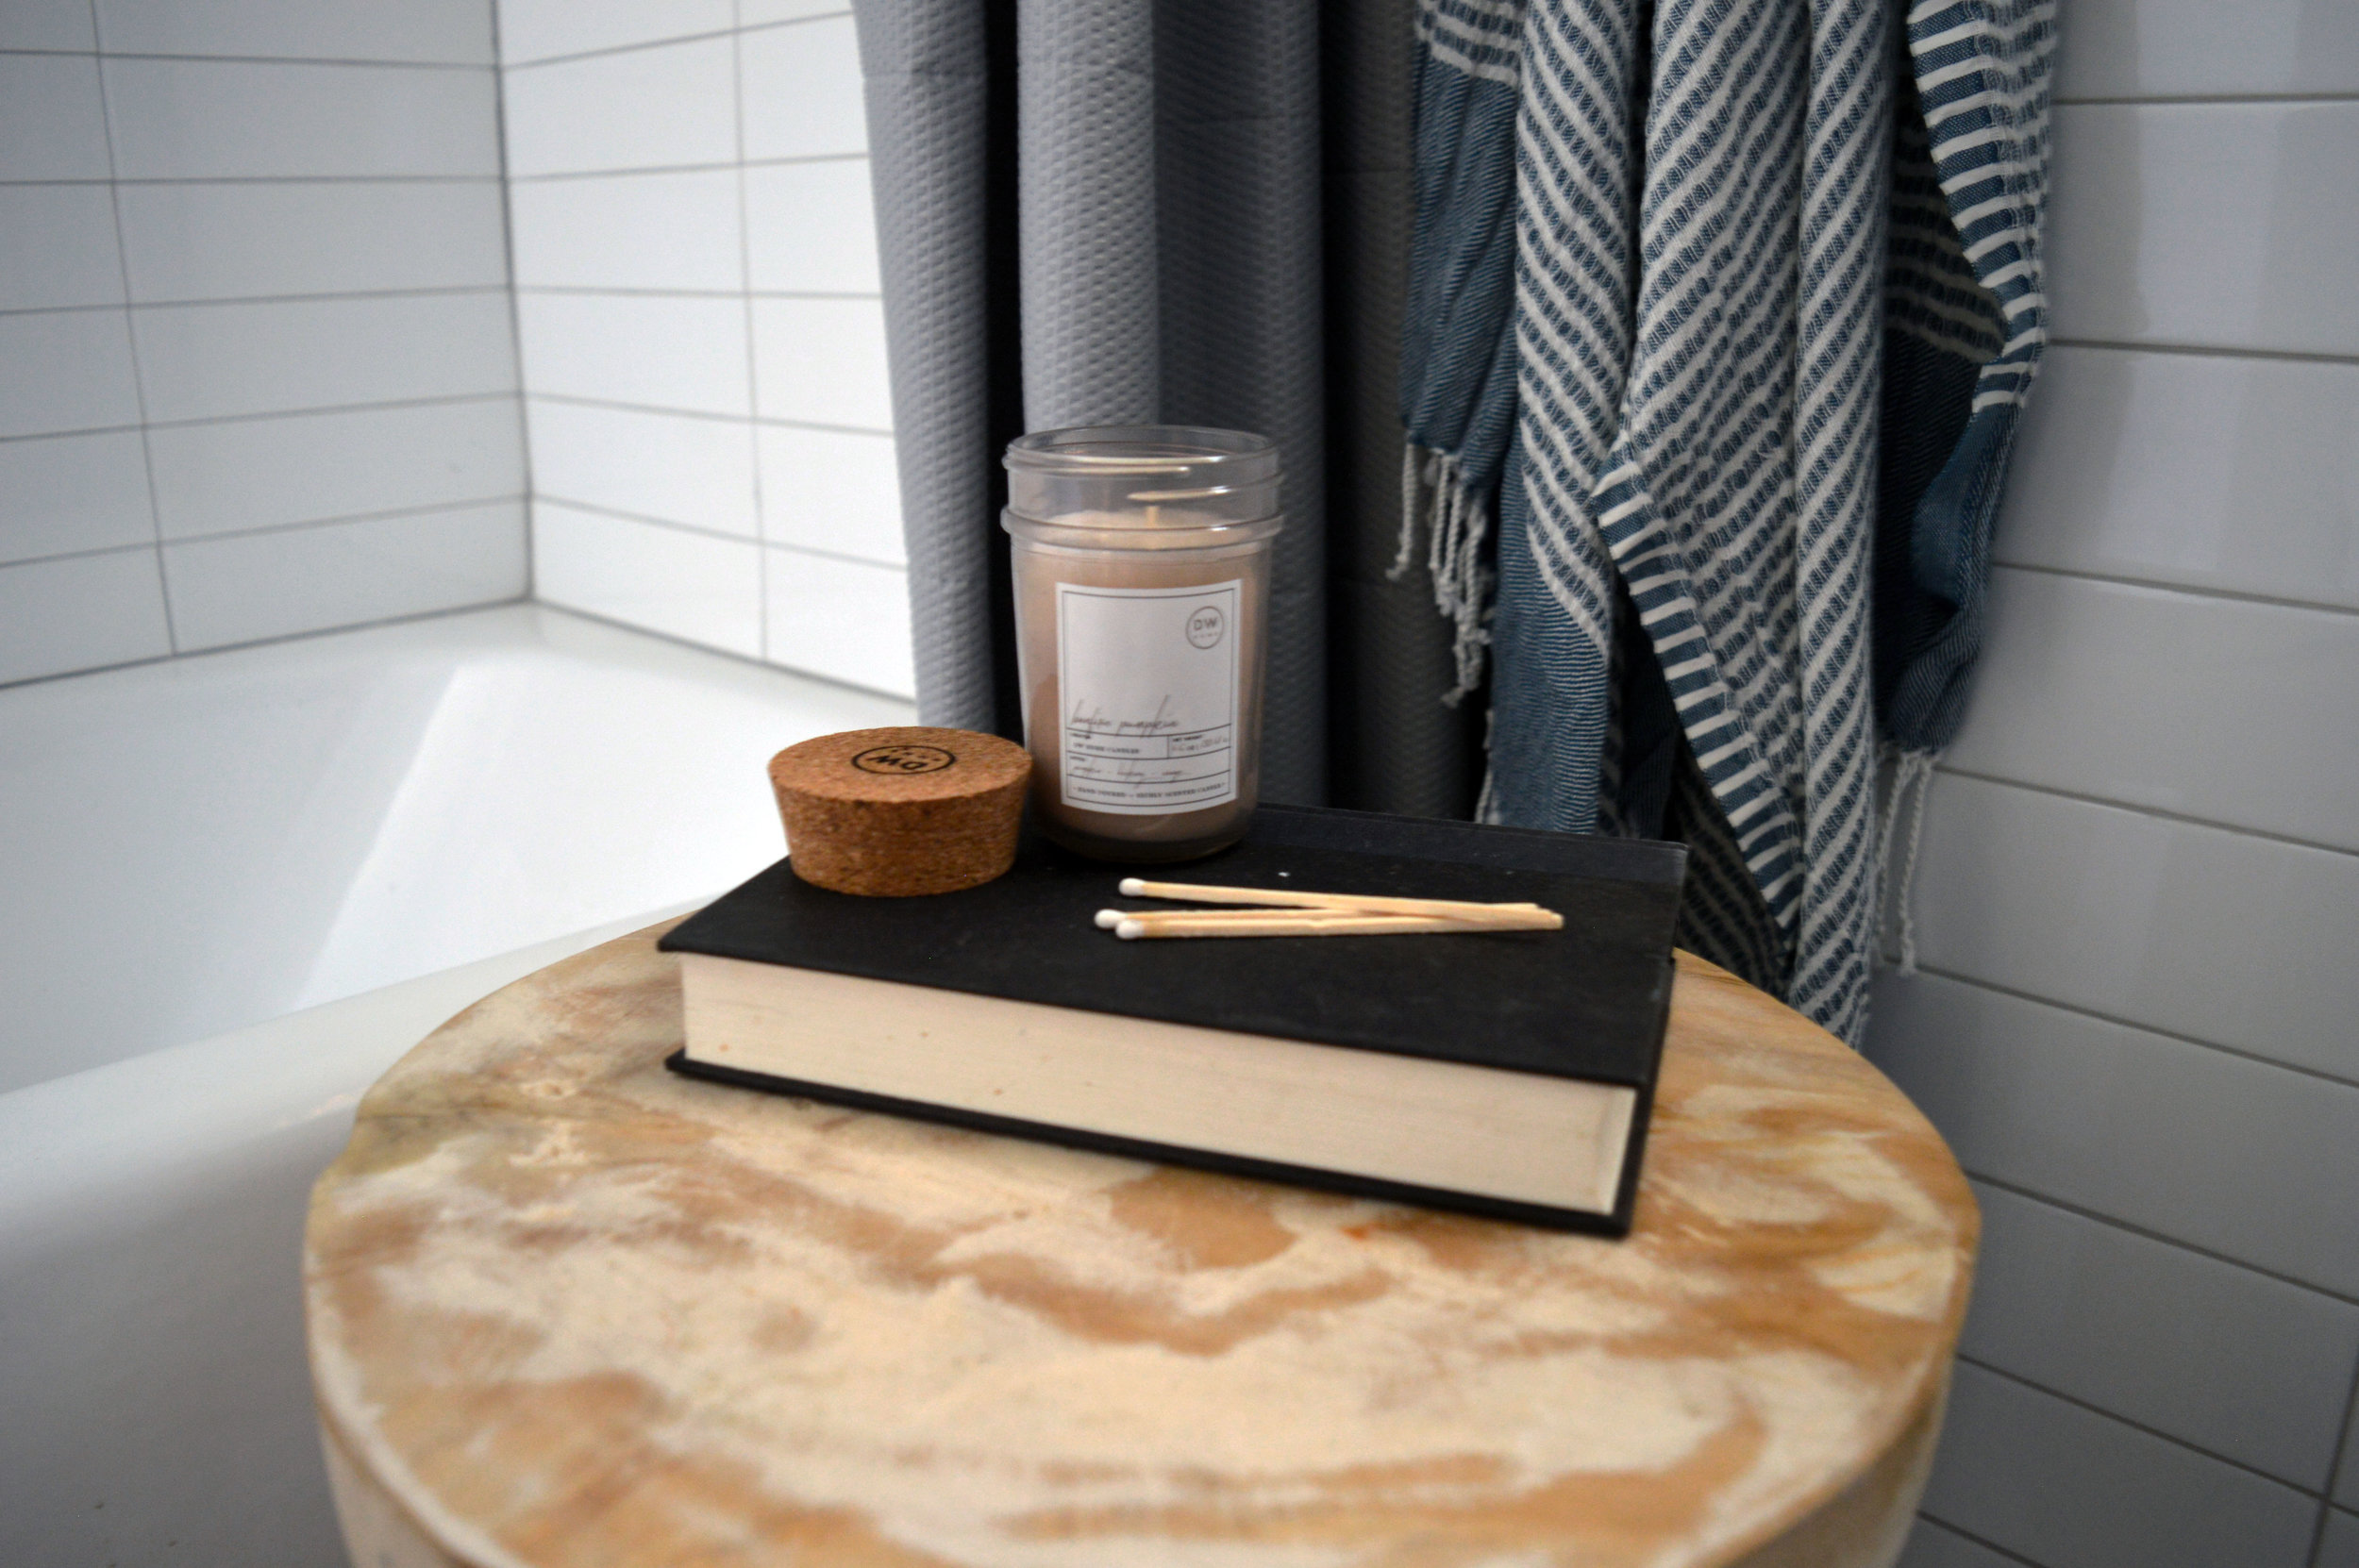
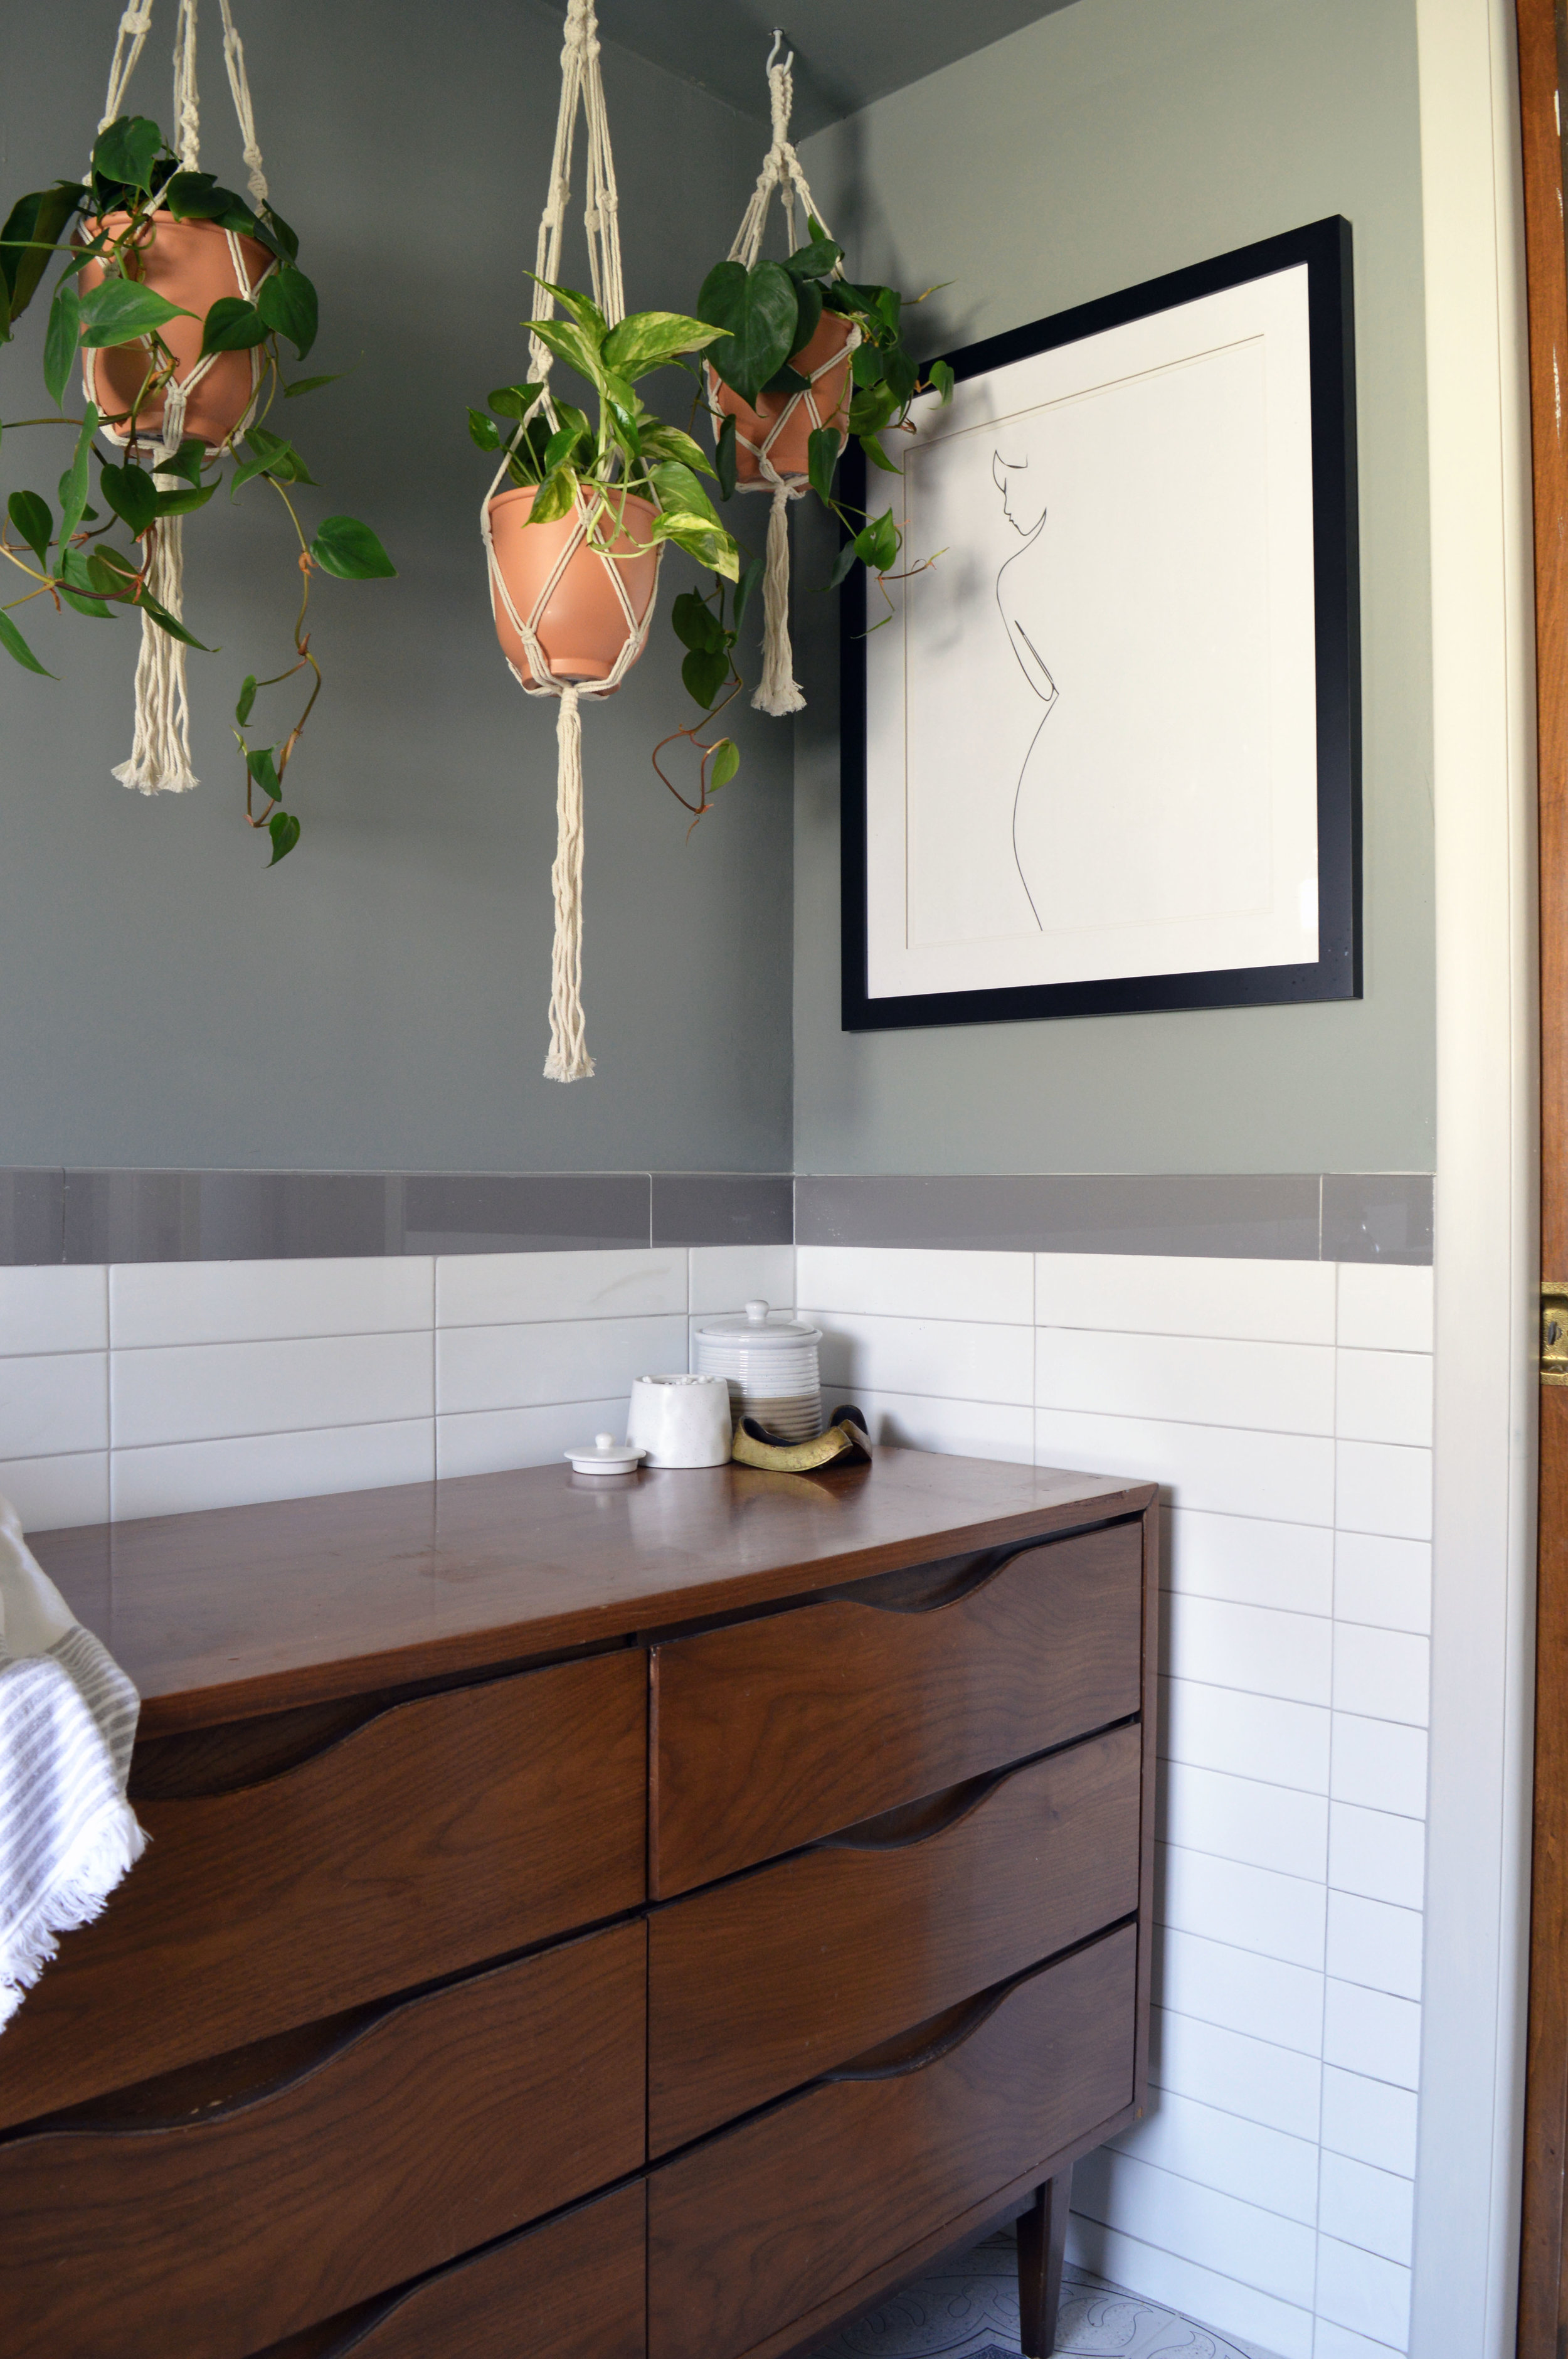
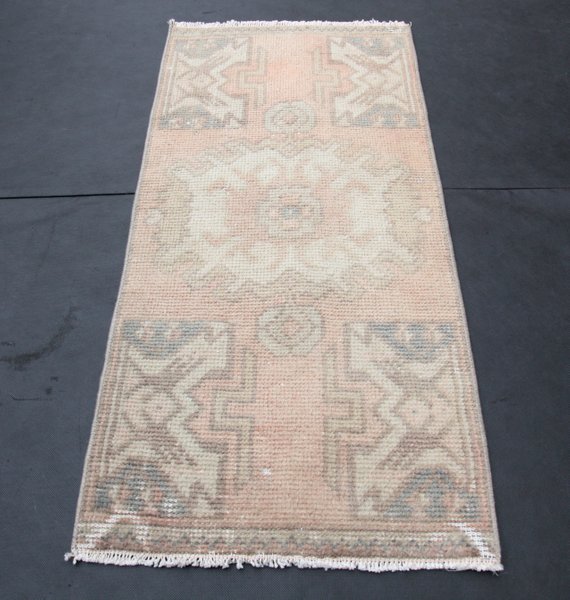
To ensure the space didn’t feel too sterile or cold, I made sure to add a heavy dose of vintage pieces, textiles, and greenery. To me, no room is complete without some greenery and/or flowers, and there is no shortage of those in this bathroom! The hanging planters and eucalyptus in the shower give the space a spa-like feel, and I don’t hate it. This little bathtub stool that I snagged from Home Goods warms up this corner, and it’s the perfect place to set a book and a candle (or, let’s be honest, a glass of wine) while you’re winding down in a bath!
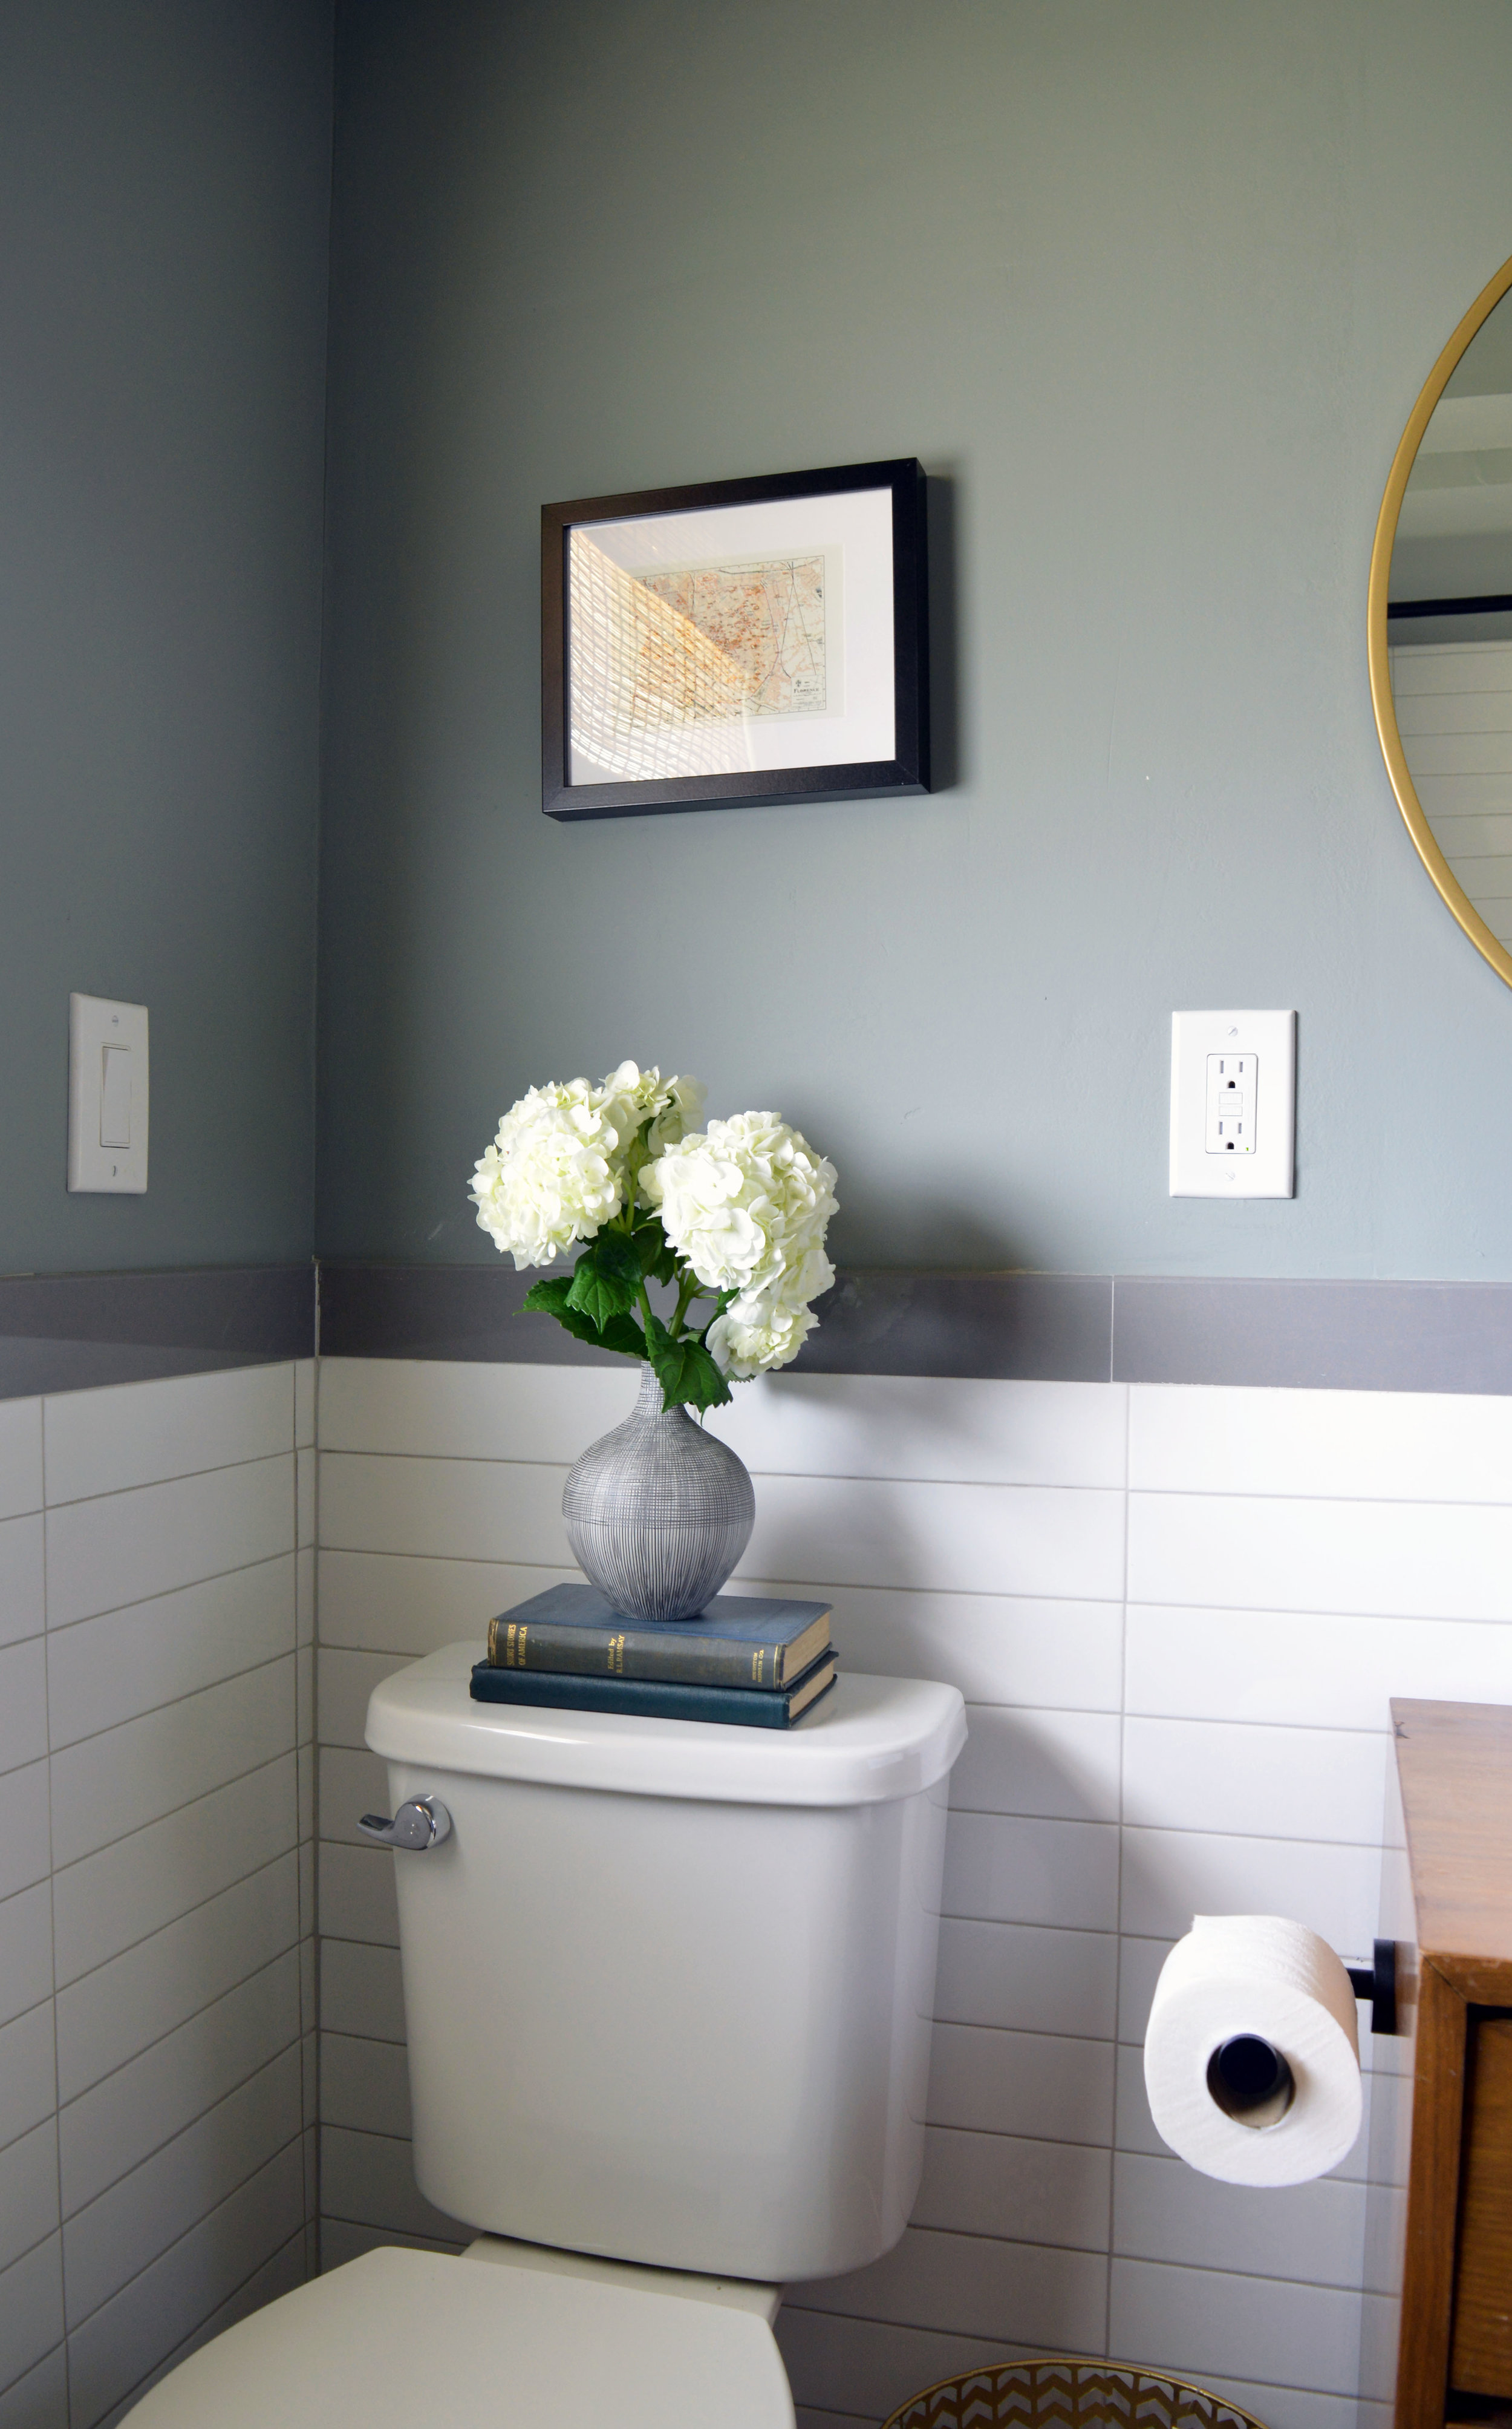
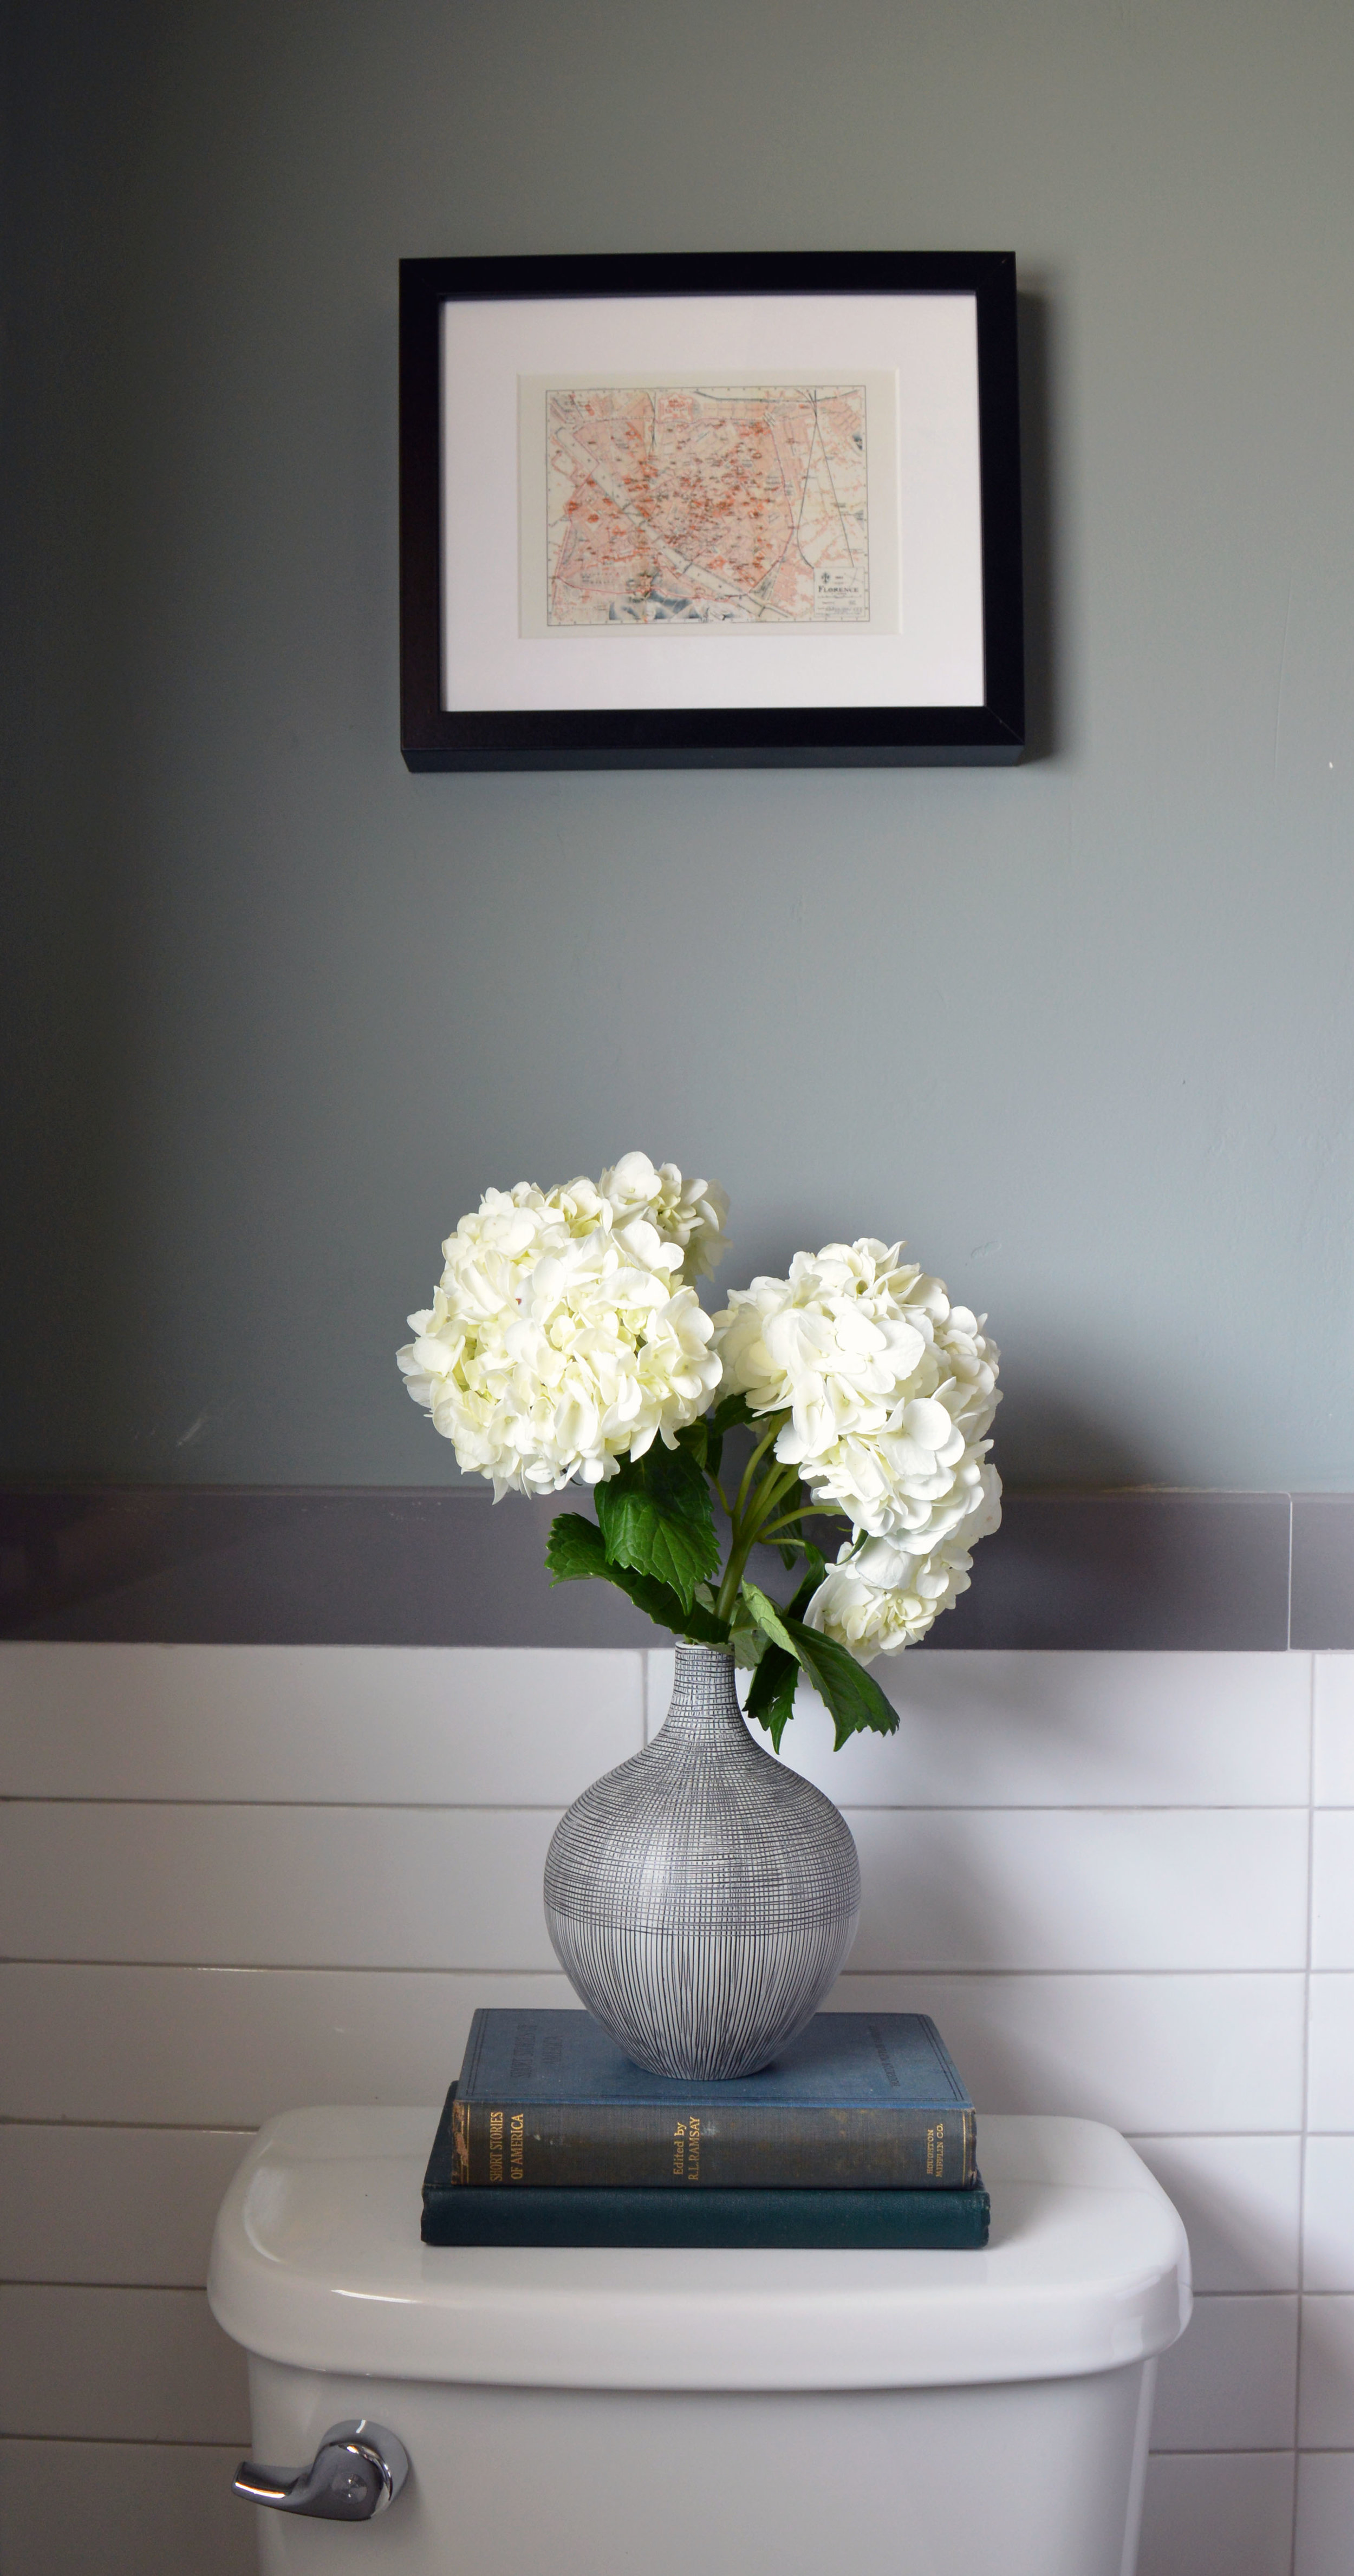
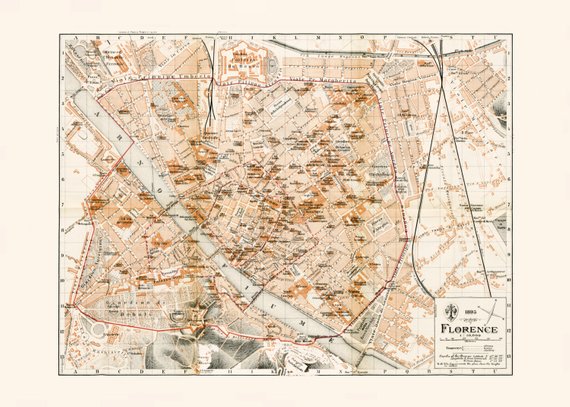
As I mentioned last week, I struggled with what to hang over the toilet. I finally decided to use a modern black frame that matches the other art in the room, and add a vintage map of Florence that I found on Etsy. I love the color palette of this map.
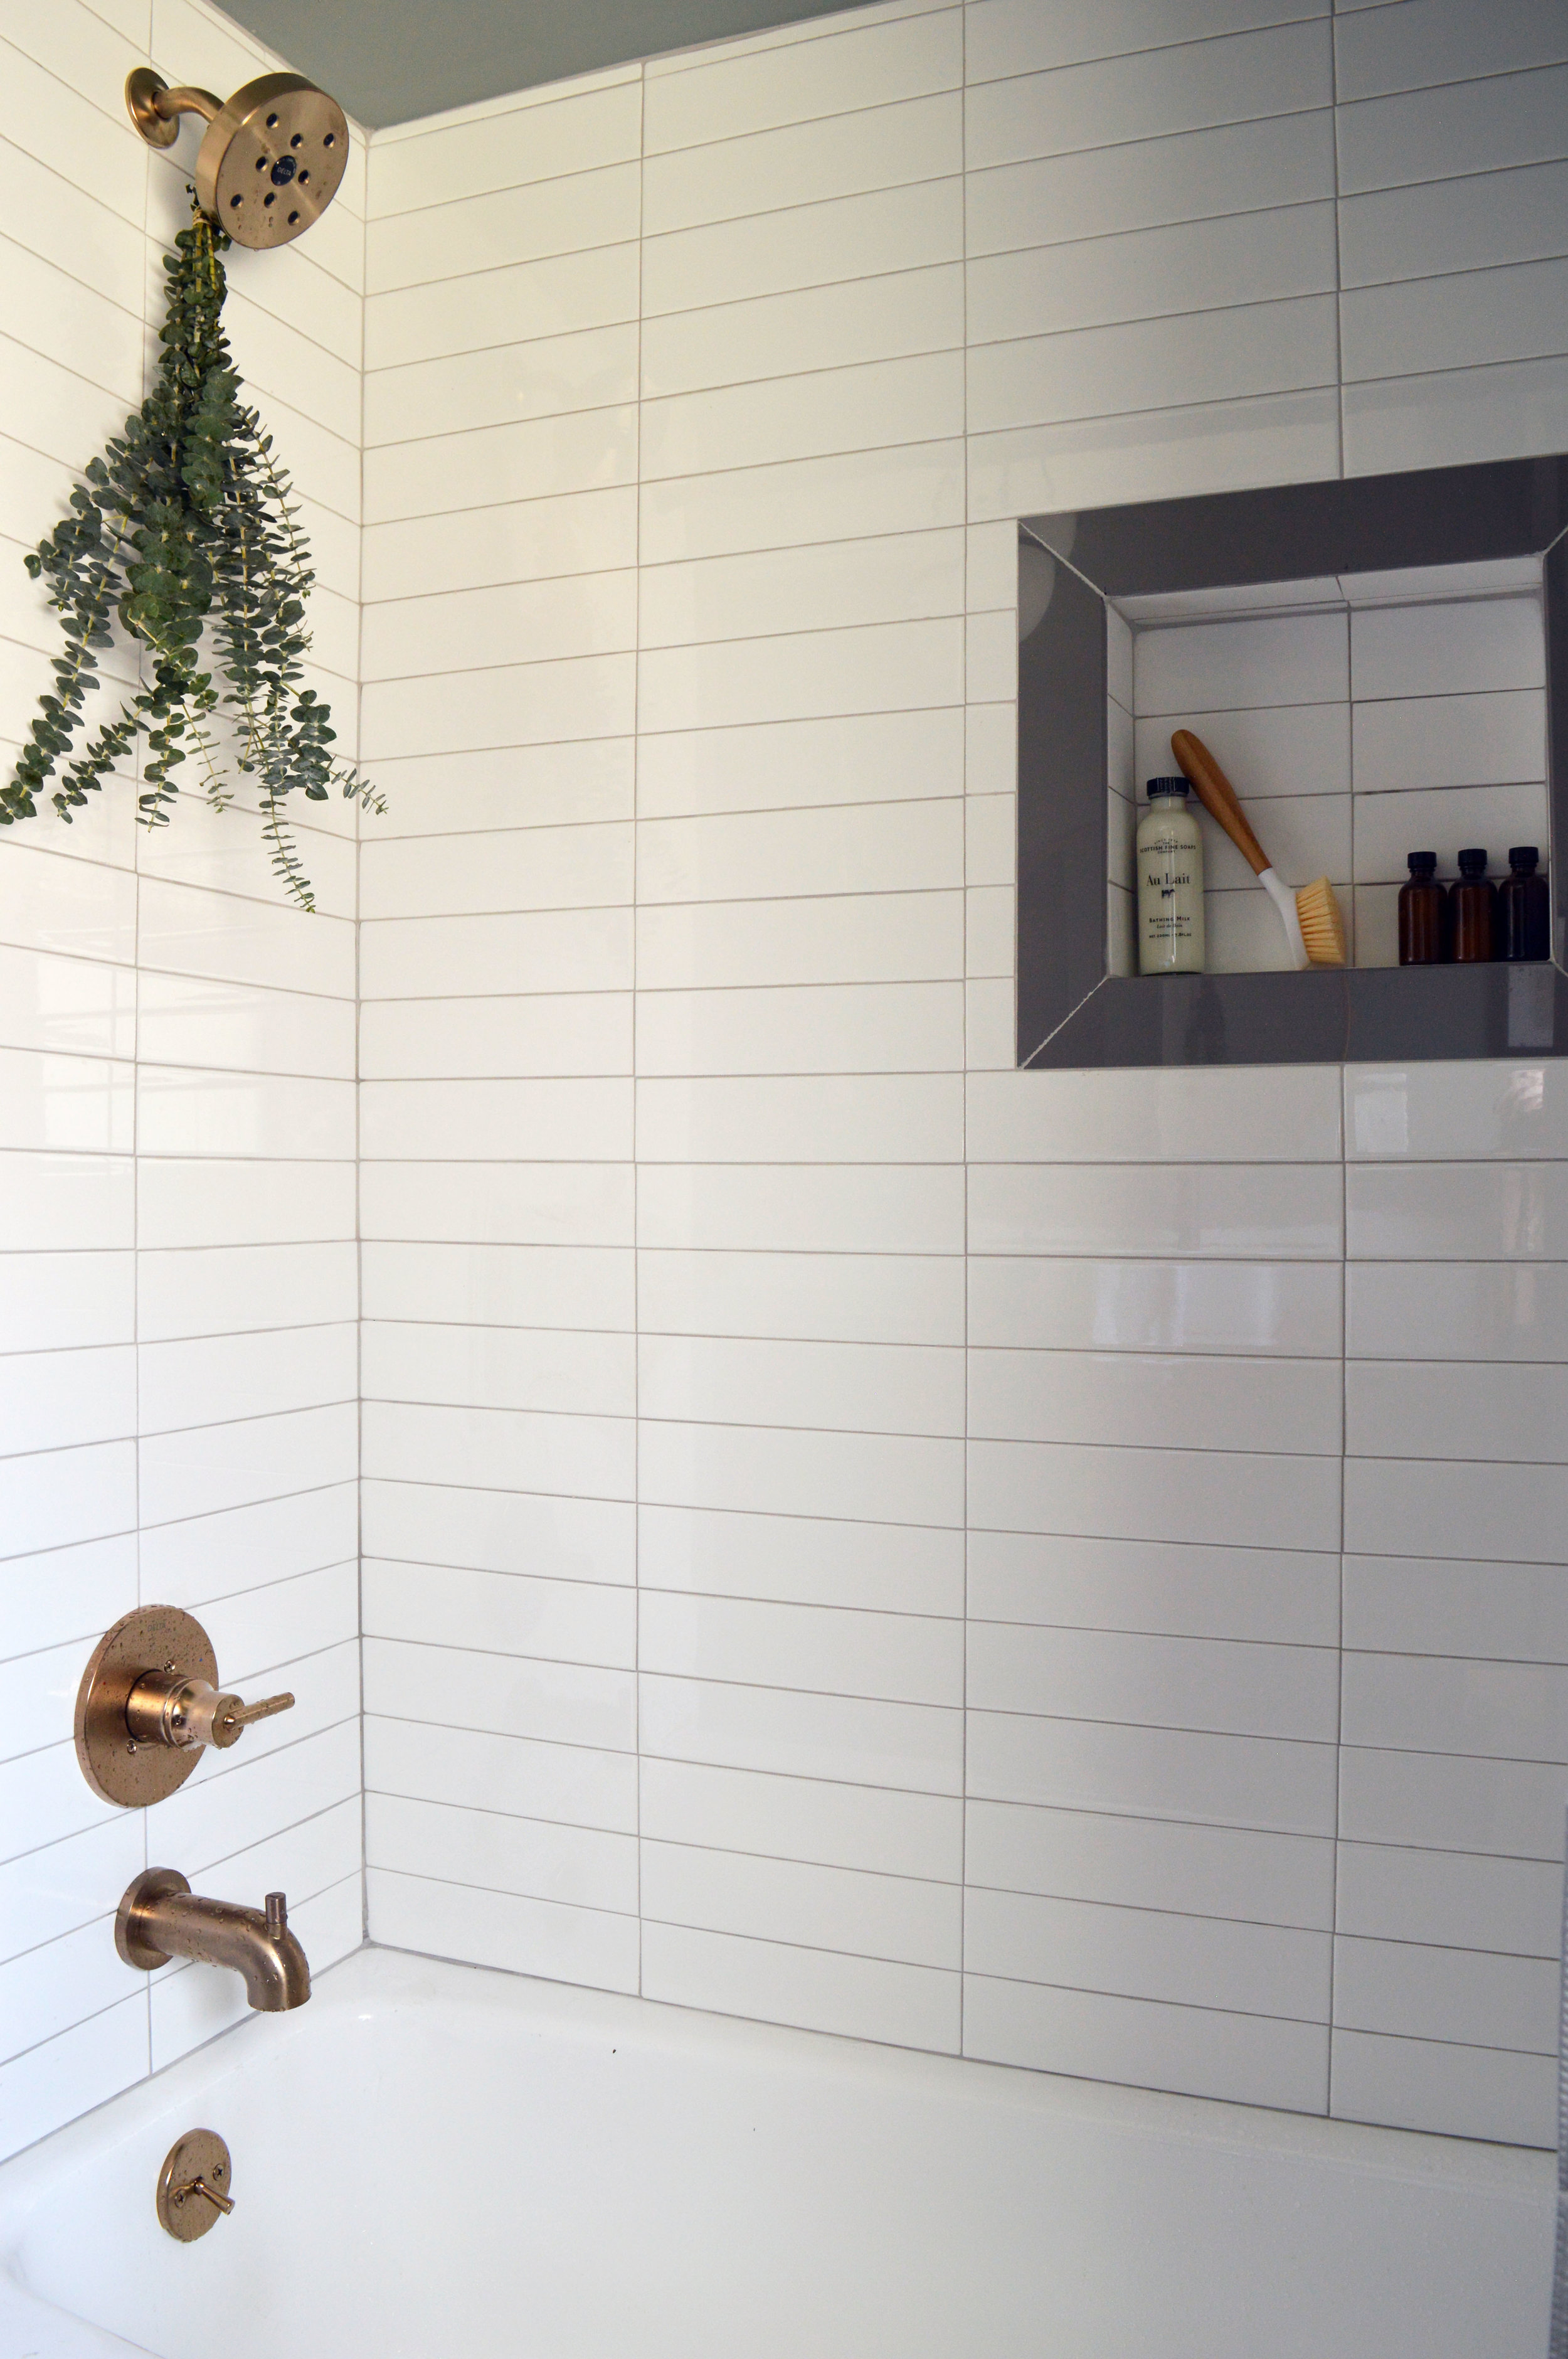
Adding a shower niche was a must for me in here - I hate not having a dedicated place to set toiletries, and on the sides of the tub or in an ugly over-the-shower-head caddy just doesn’t do it for me.

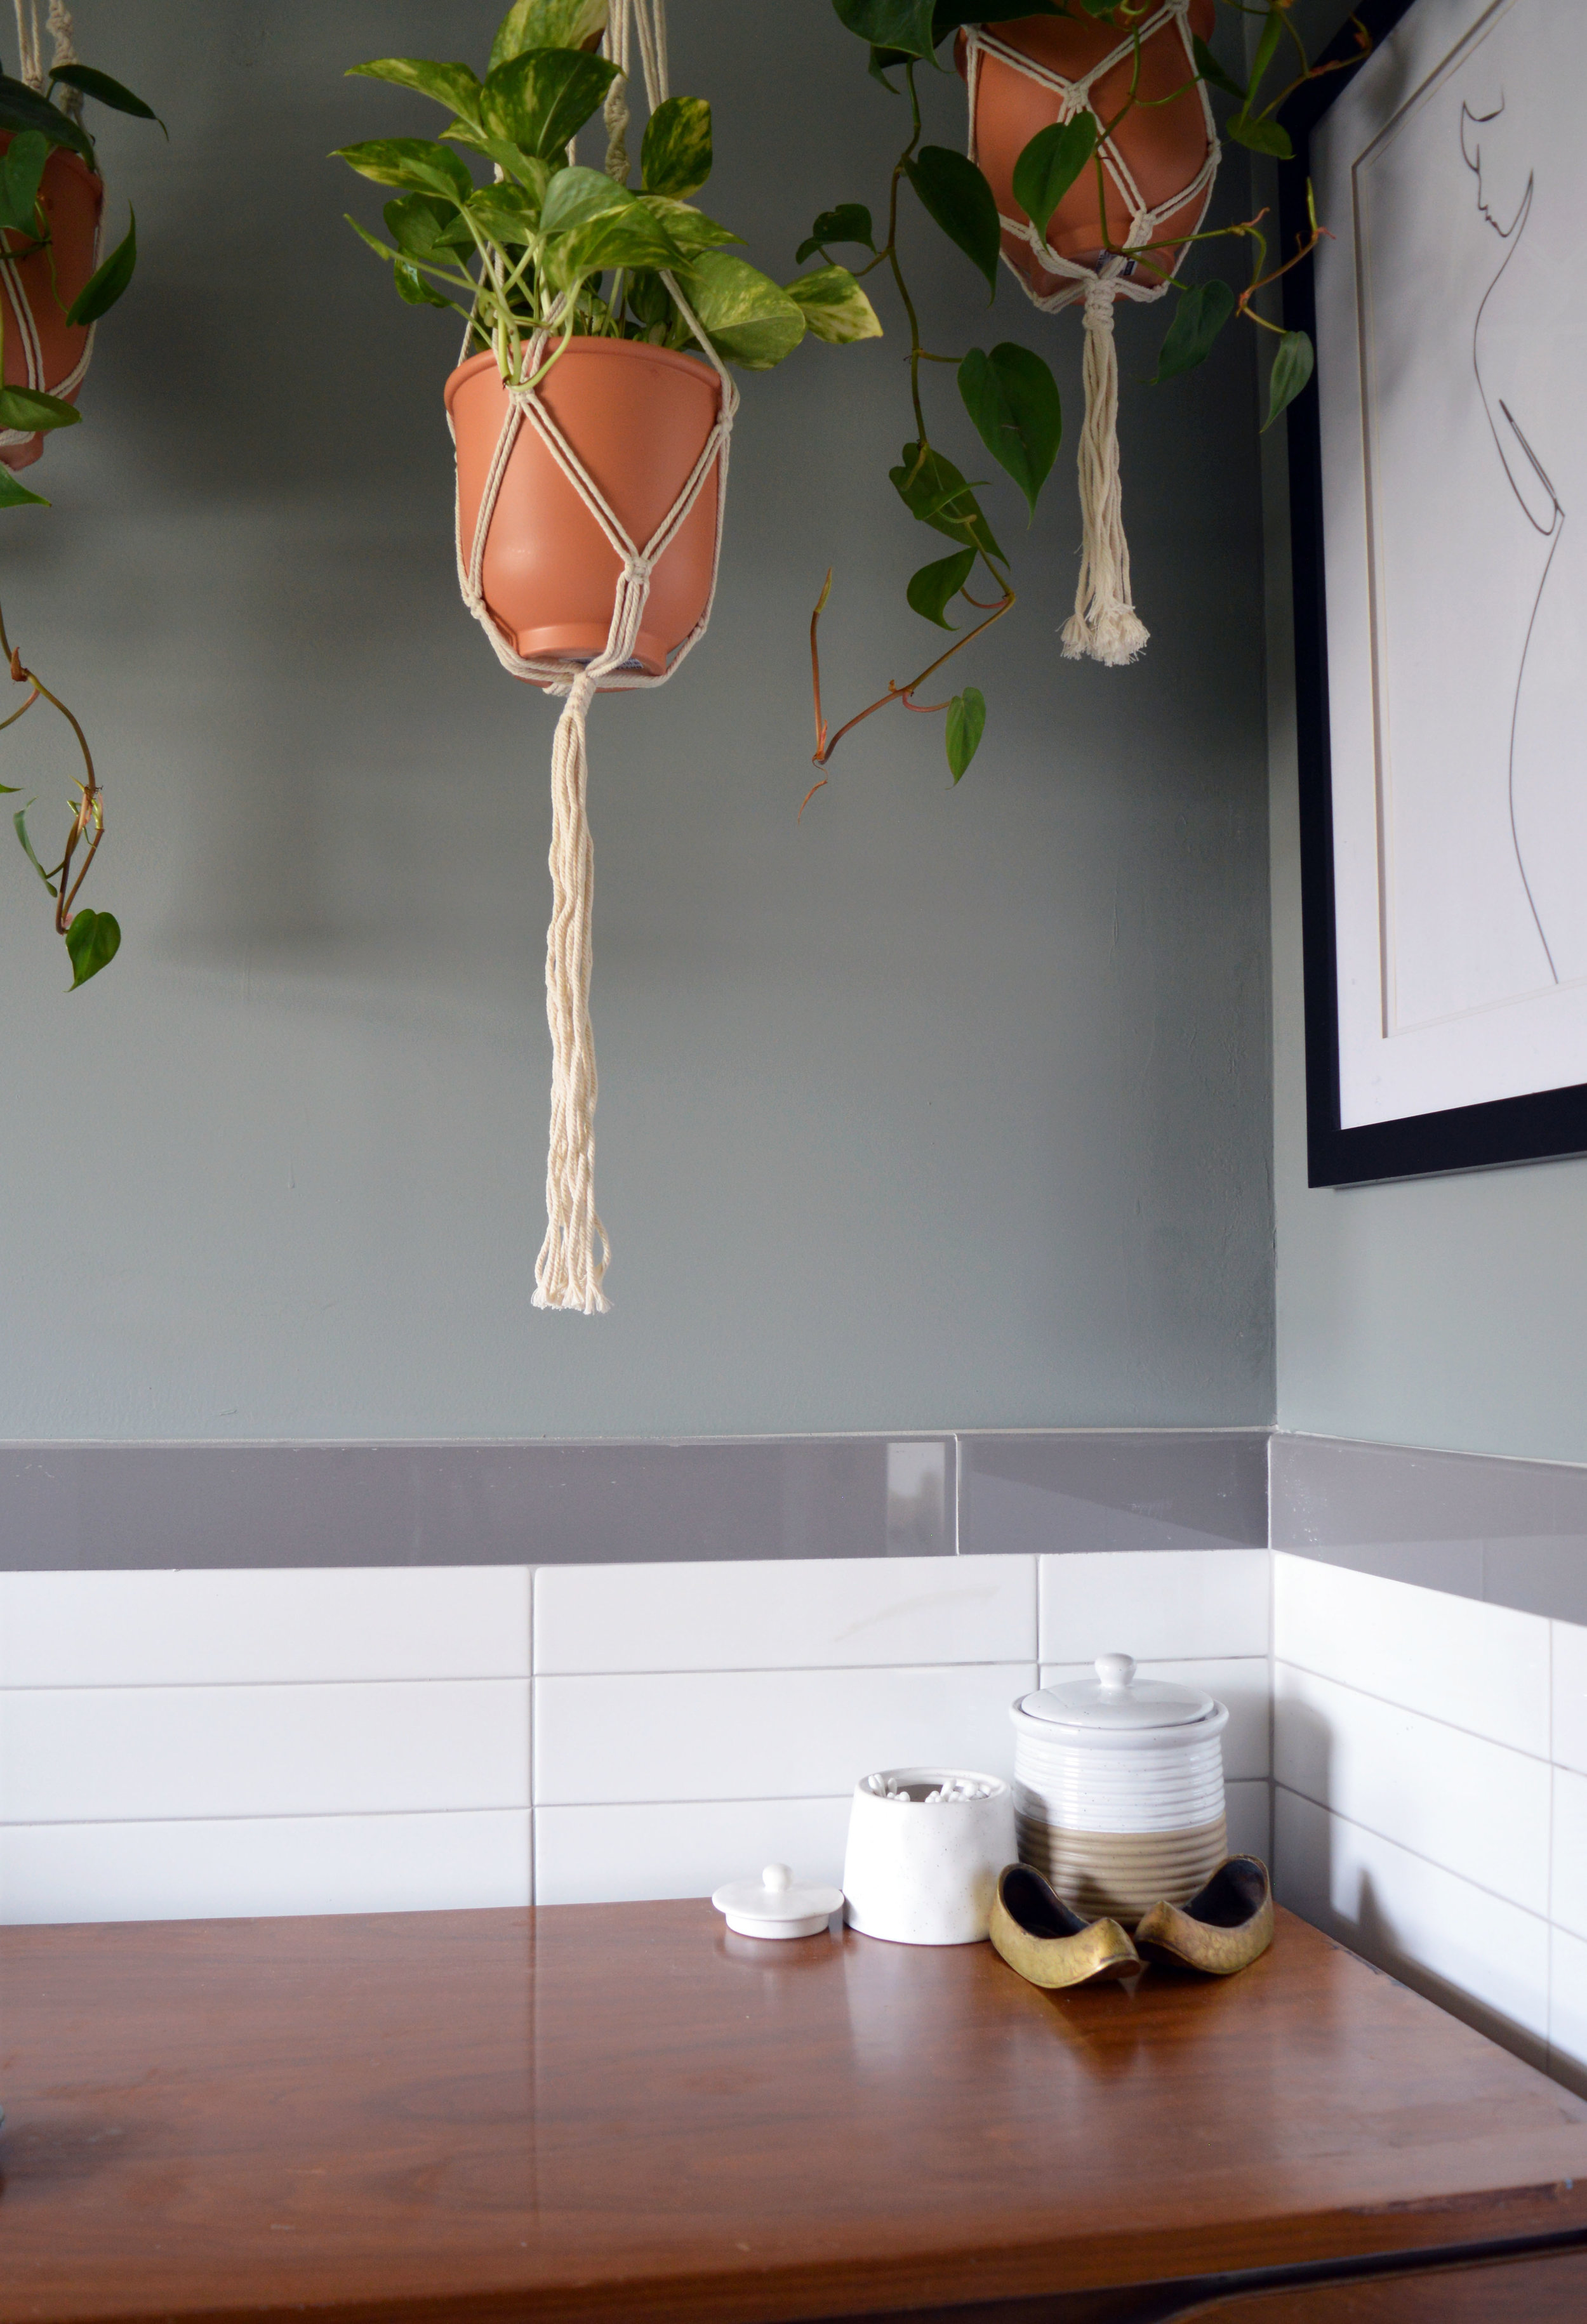
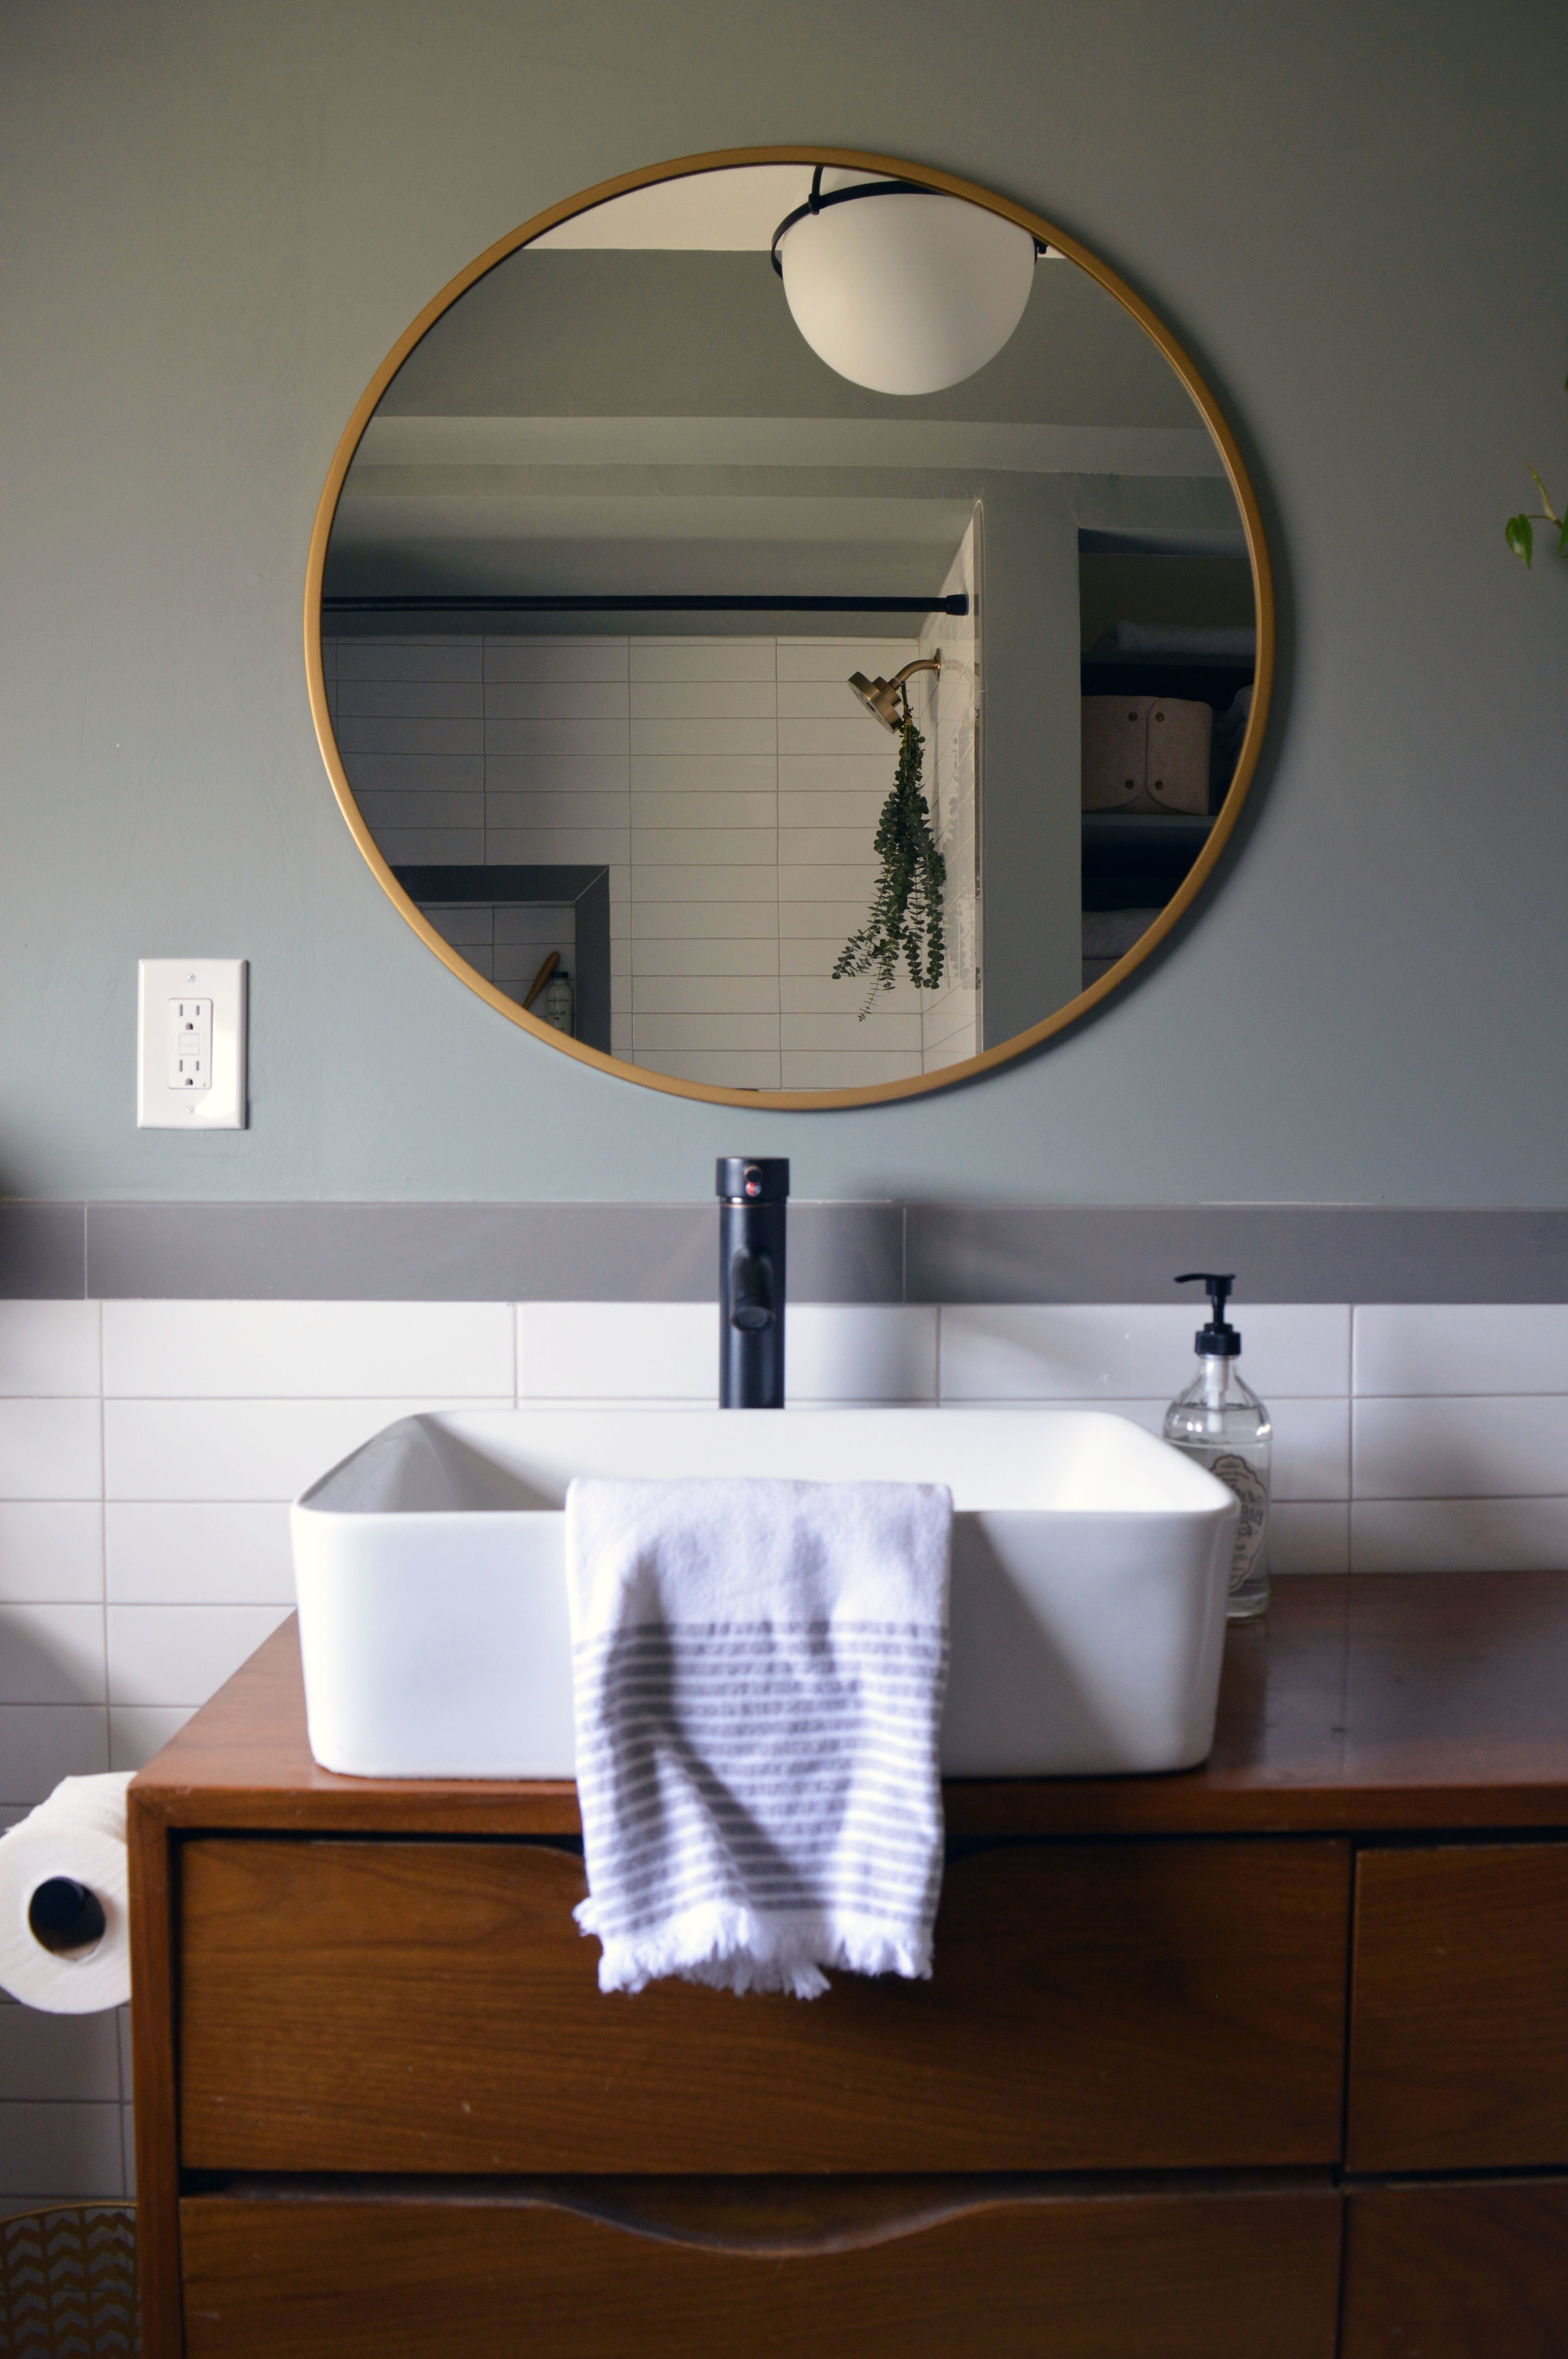
I wanted to keep the styling on the vanity pretty simple, since there’s a lot going on visually with the hanging planters. These little canisters hold q-tips and cotton balls - two absolute necessities in a bathroom if you ask me! I snagged those little brass shoes from an estate sale I went to the other month, and I am obsessed with them. Don’t be shocked if you see them appear in other places in my house for photoshoots! ;)
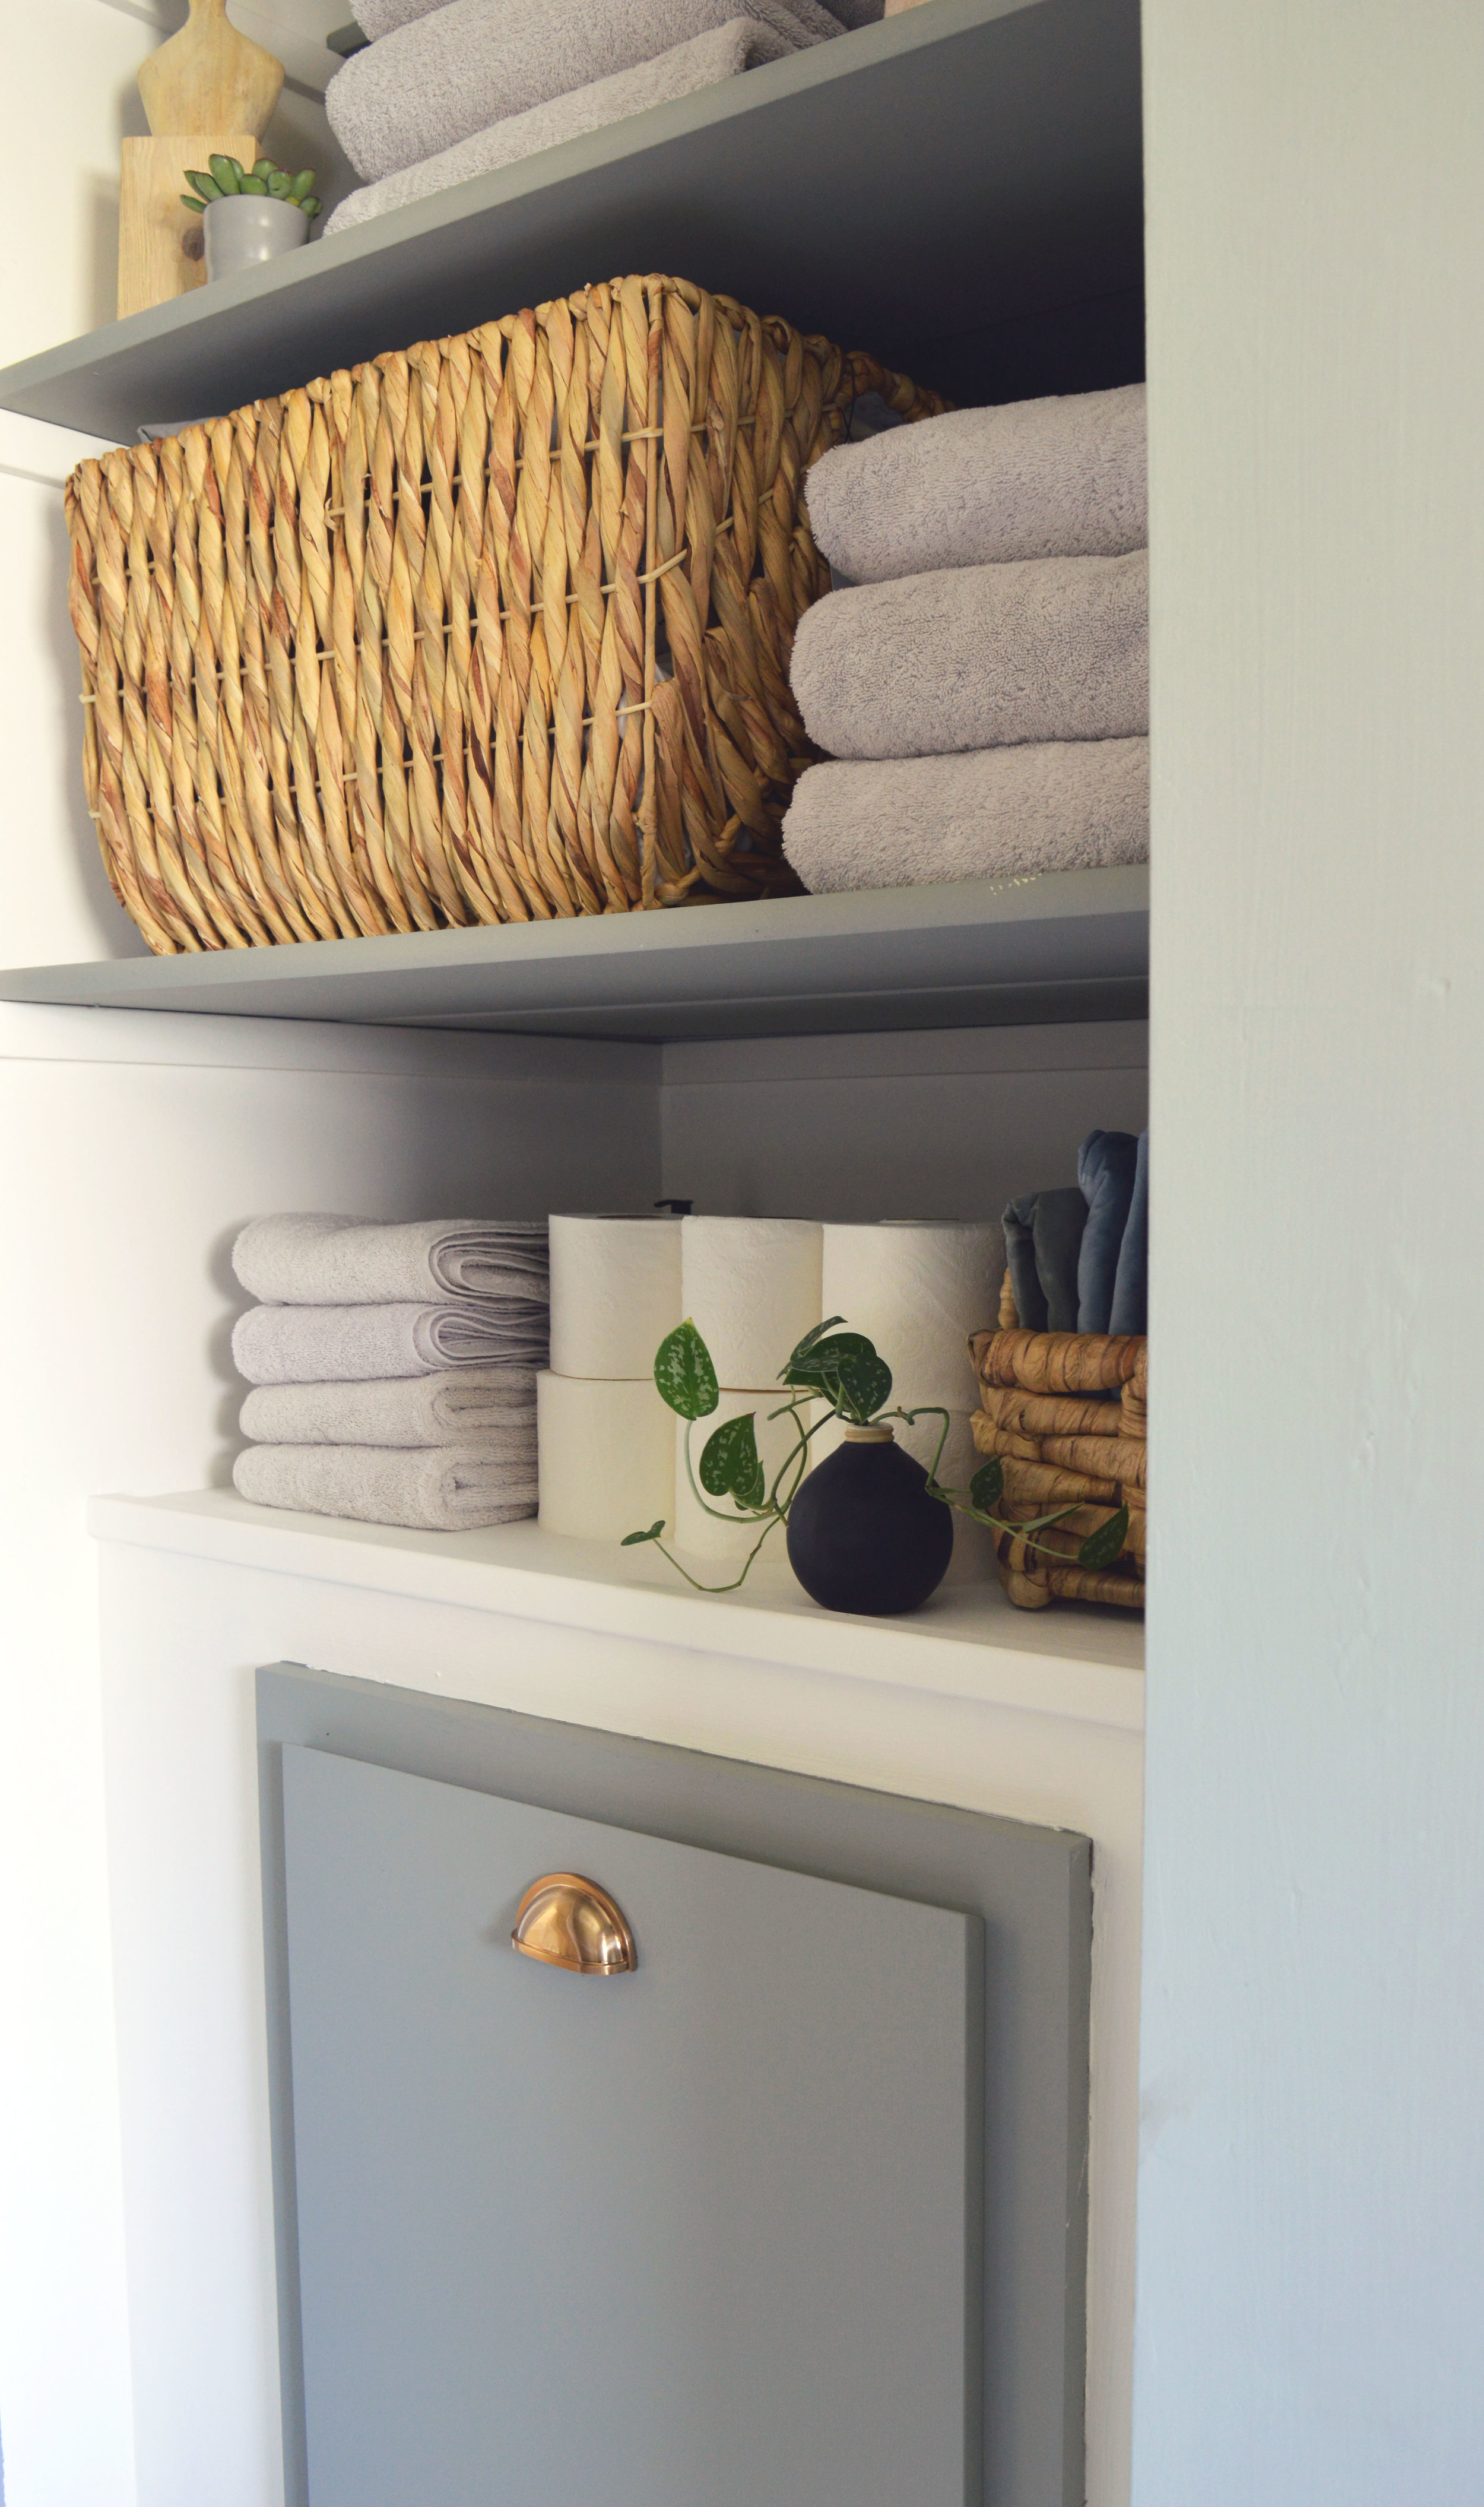
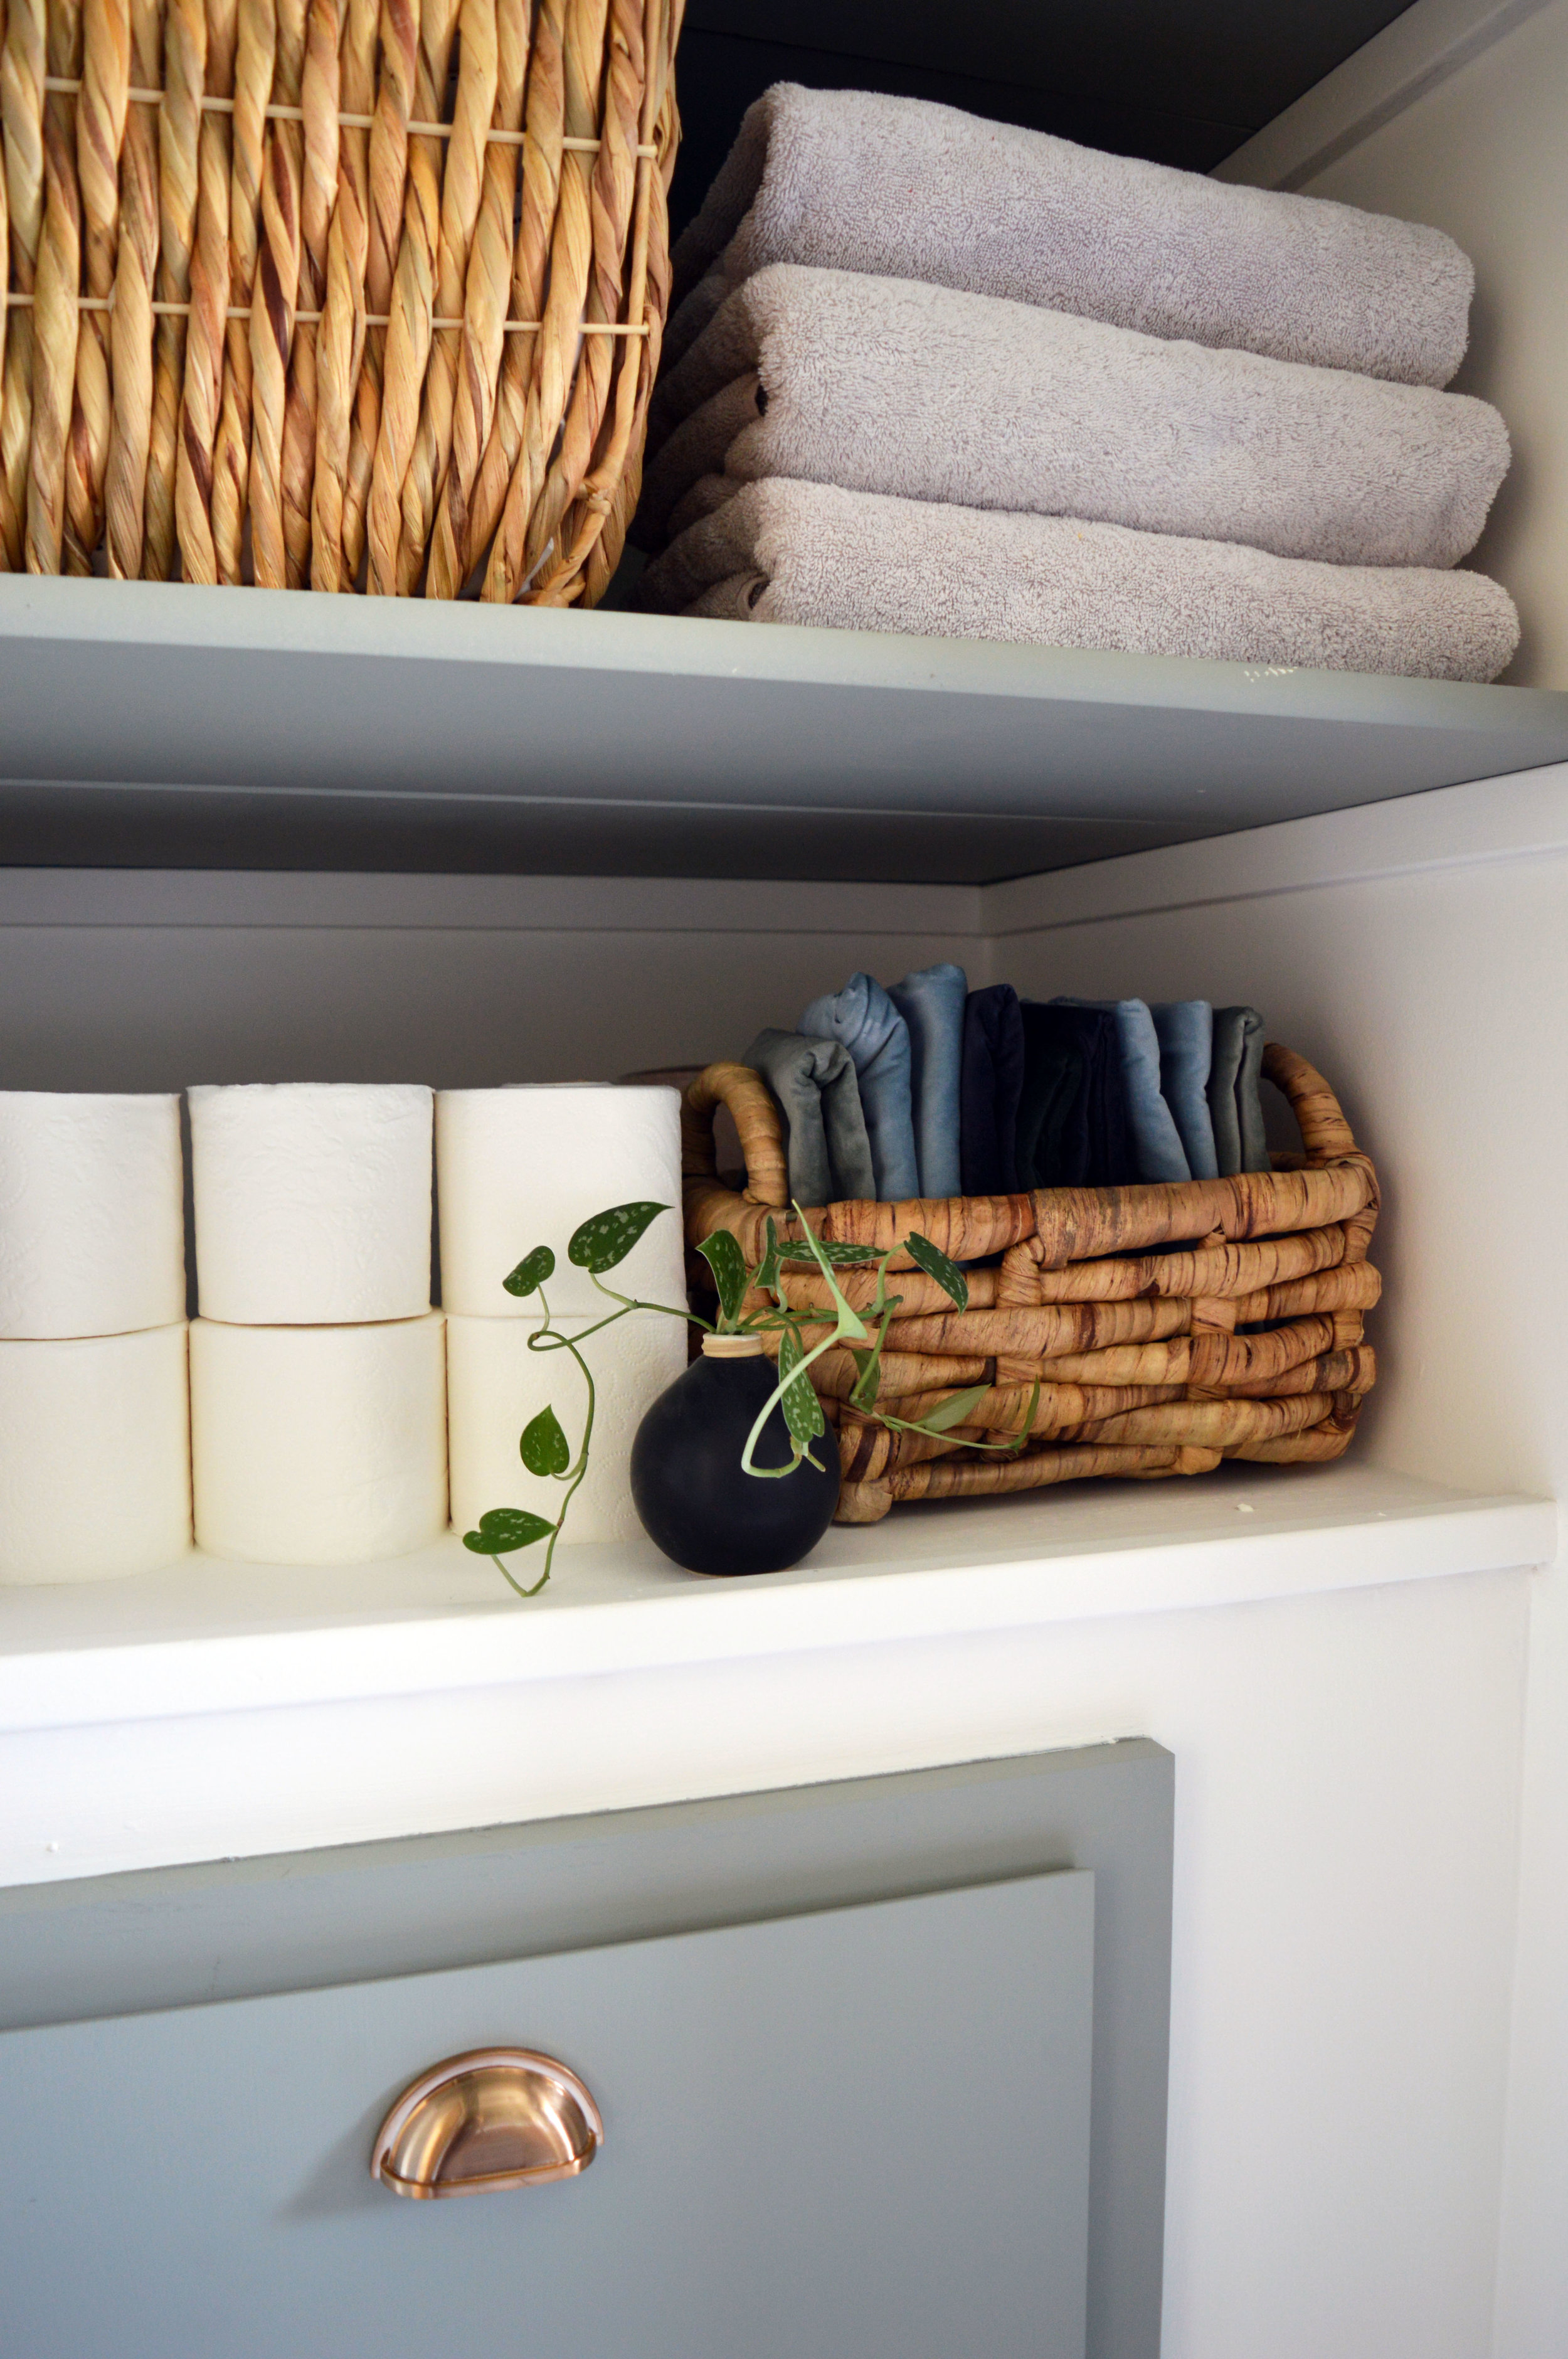
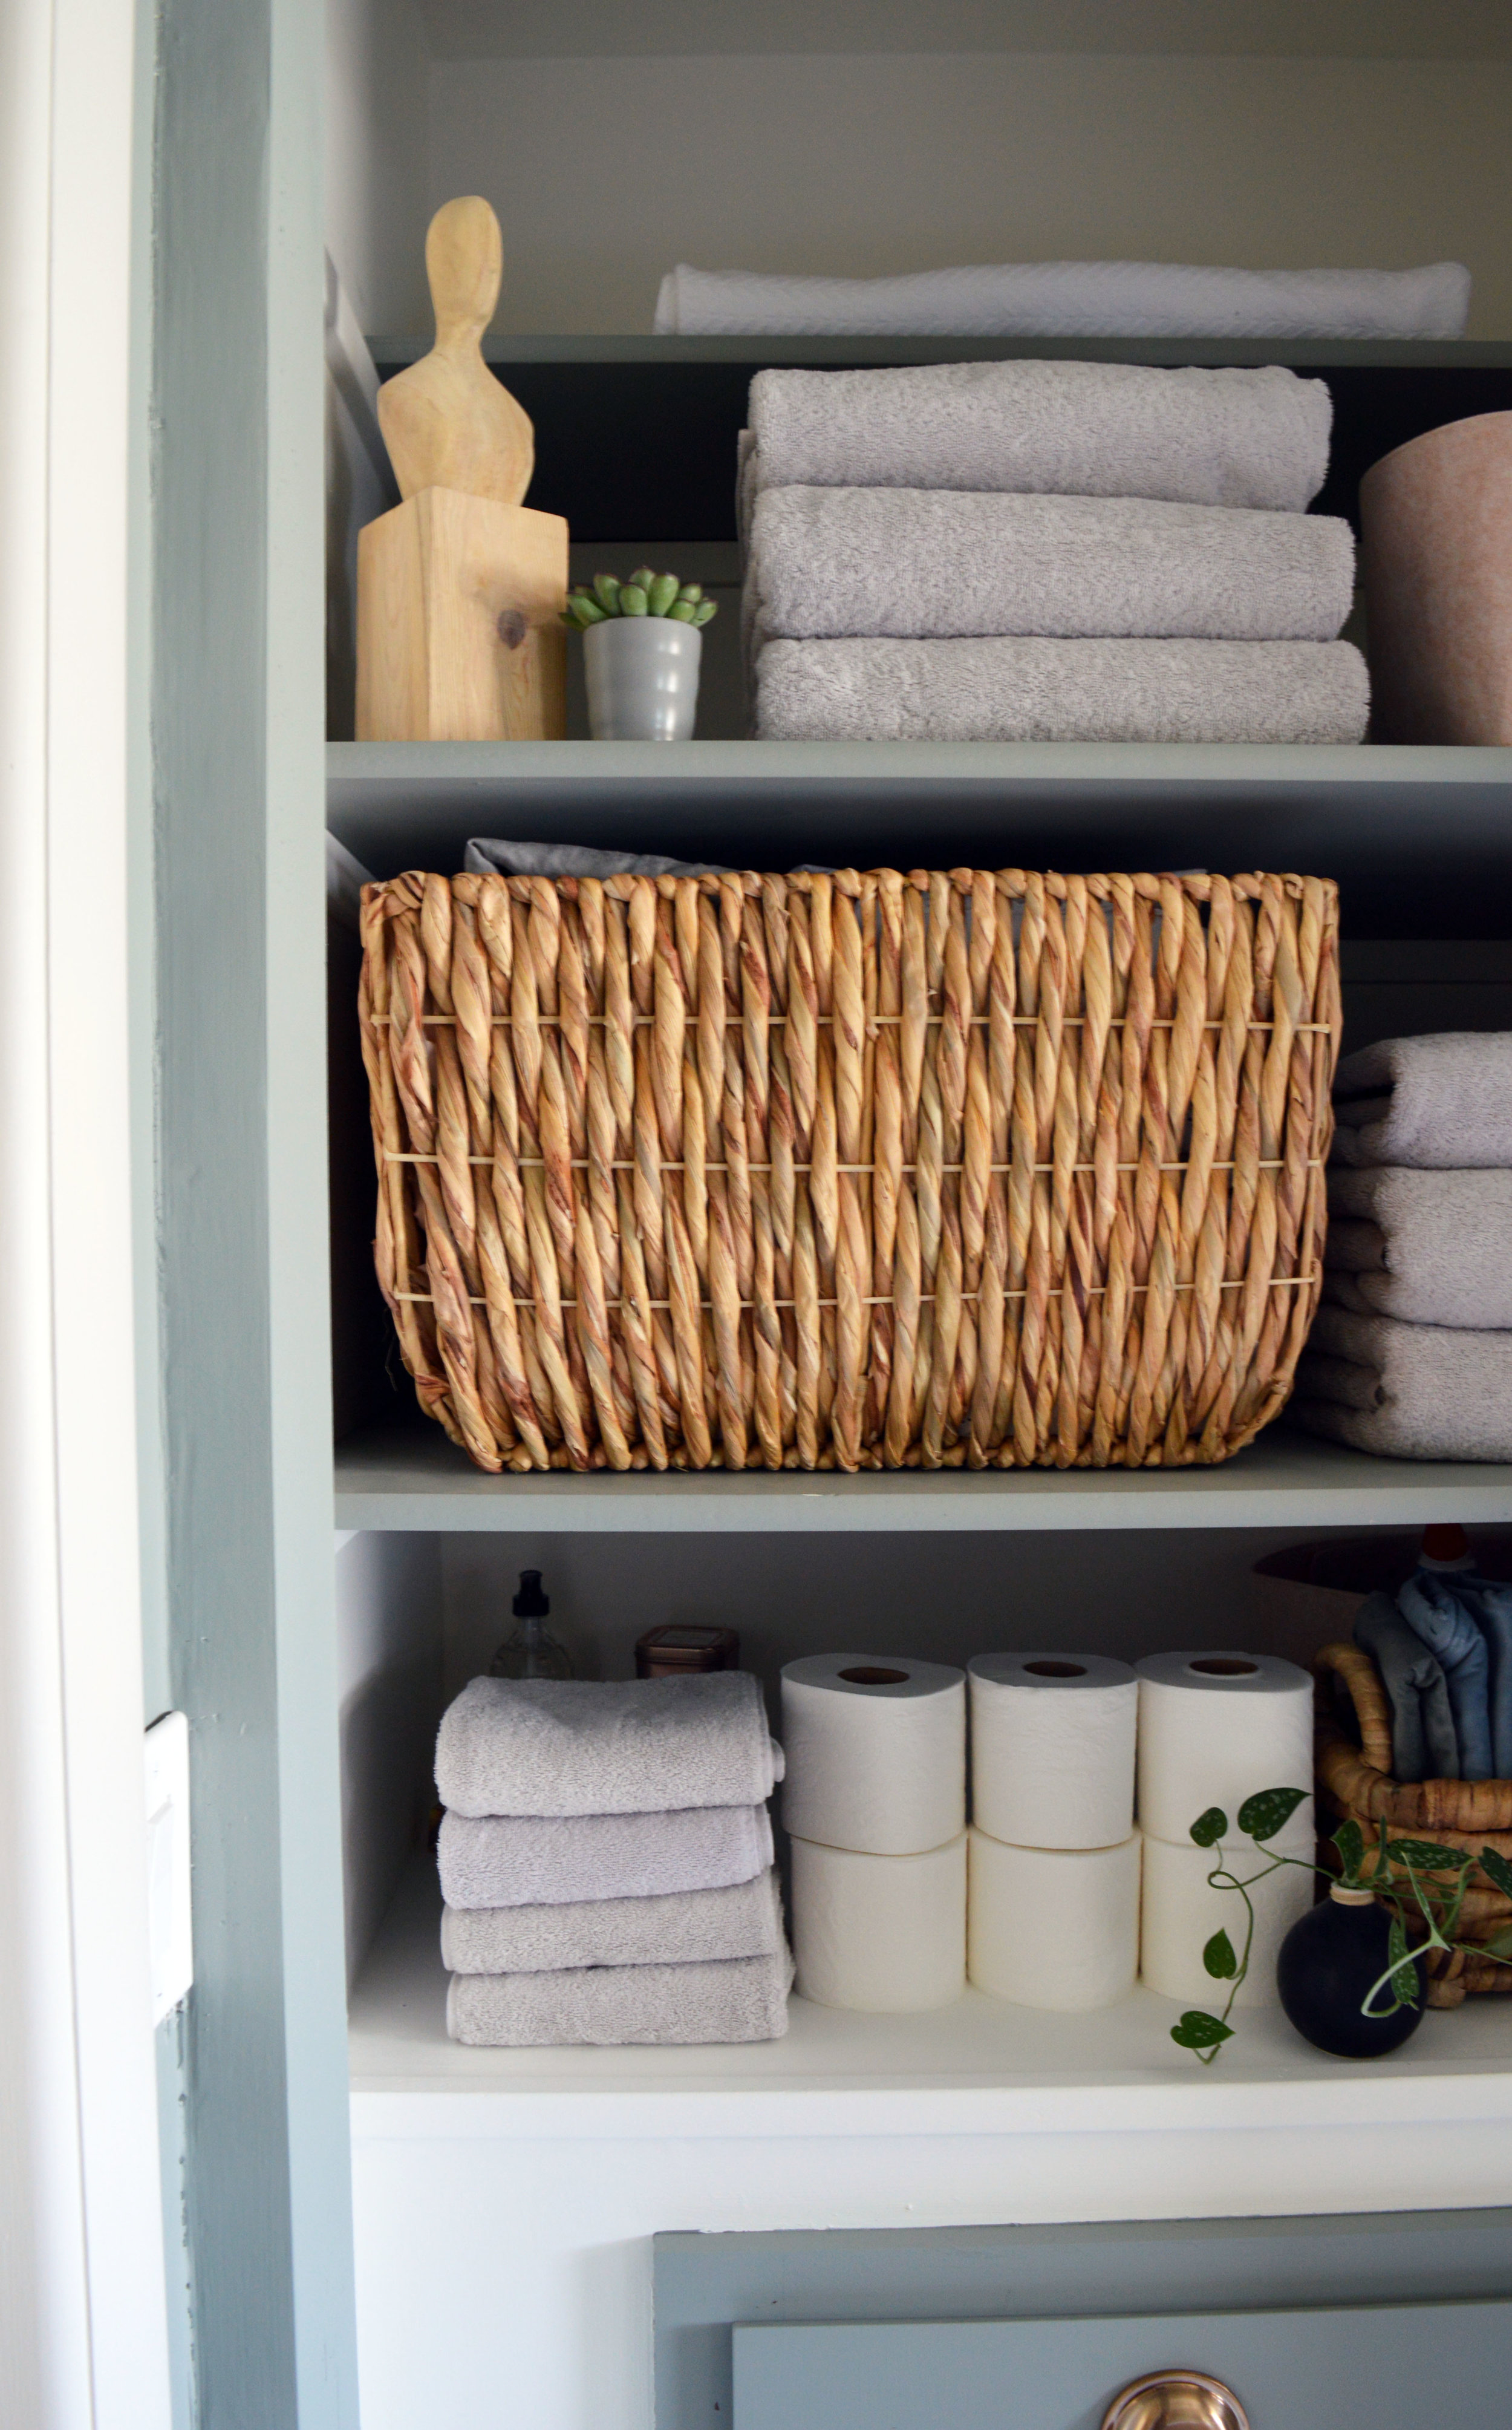
On to the open linen closet.
Overall I am thrilled with how this room turned out, and participating in the One Room Challenge was a great kick in the pants to actually get one space in our house completed! I love this bathroom, and am pretty jealous of our guests who get to use it. It’s definitely way cooler than our master bathroom (and will remain cooler until we tackle that renovation in 2+ years…).
As always, don’t forget to check out all of the other participants’ room reveals this week - there are some amazing ones for sure.
Shop the room


Guest Room Linen Closet - One Room Challenge Week 5
As I mentioned last week, the biggest remaining to-do in the guest bathroom is the linen closet. This closet originally had a door when we moved in, but we ended up removing all of the closet doors throughout the house. They were metal, barely opened, and were just gross. In this bathroom, I decided that I didn’t want to add a closet door back, and I’d just roll with an open linen closet. That means it actually needs to look nice in addition to being super functional. You might have caught a peek of this currently icky closet on my instagram stories…
As I mentioned last week, the biggest remaining to-do in the guest bathroom is the linen closet. This closet originally had a door when we moved in, but we ended up removing all of the closet doors throughout the house. They were metal, barely opened, and were just gross. In this bathroom, I decided that I didn’t want to add a closet door back, and I’d just roll with an open linen closet. That means it actually needs to look nice in addition to being super functional. You might have caught a peek of this currently icky closet on my instagram stories…

To be honest we don’t need anywhere near this much storage in this bathroom - don’t punch me for saying that! There is plenty of space in the vanity to store most bathroom things, and the two guest room closets can store things like linens.
For now the plan in here is to paint the inside of the closet and the shelves white, and then paint the built-in hamper the same green as the walls. (Yes, there is a built-in hamper - jealous?) I’ll add baskets and some other containers to corral all of the items that will live in here.
One of the only exciting things on the bathroom front over the past week was my print for above the toilet arriving! I agonized over what to put here, and finally decided on this cool map of Florence print that I found on etsy. Ryan and I have been to (and loved) Florence, AND the map had the color scheme I was looking for - win, win! ;)

I’m hoping to have this room fully finished and styled by Tuesday so that I can spend Wednesday trying to take passable photographs of it, and getting the reveal post up. Time to put that nose to the grindstone and get this guest bathroom renovation finished. Make sure you check out everyone else’s One Room Challenge transformations as they wrap things up and head toward the finish line!
The Vanity That Made It Into Our Wedding Vows - One Room Challenge Week 4
Okay guys, as I promised last week - this week is all about the dresser we turned into a vanity for the guest bathroom! We didn’t actually accomplish a ton during week 4 of the One Room Challenge, but I’m gonna attempt to do a quick break down of how the dresser turned vanity came to be!
But first of all - let me jump into story time re: the title of this post….
Okay guys, as I promised last week - this week is all about the dresser we turned into a vanity for the guest bathroom! We didn’t actually accomplish a ton during week 4 of the One Room Challenge, but I’m gonna attempt to do a quick break down of how the dresser turned vanity came to be!
But first of all - let me jump into story time re: the title of this post. In our last guest bathroom, we also had a dresser that we turned into a vanity, and my husband kind of hated me for it. He was confused what I was even talking about when I first told him the idea, and then he was all unsure about how he was going to do it… and then threw out some expletives during it… and then loved it afterwards and always pointed it out to people when we showed them around the house. (Insert eye roll emoji here) Anyway, one of our wedding vows was along the lines of “thanks for going along with all of my crazy house ideas, like turning dressers into vanities”… and here we are again for round 2! (Side note - I was just telling Elizabeth how Dairy Queen was also in our wedding vows… these clearly were not your traditional wedding vows - ha!)
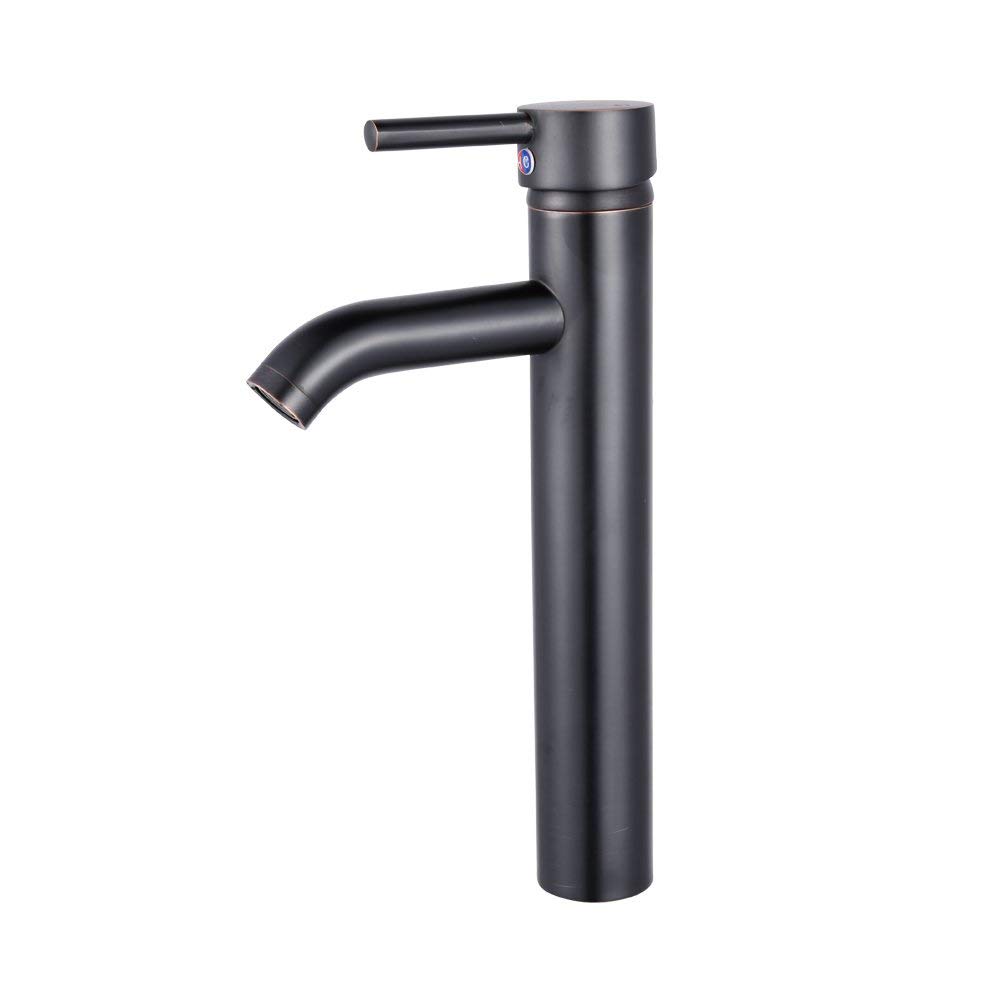
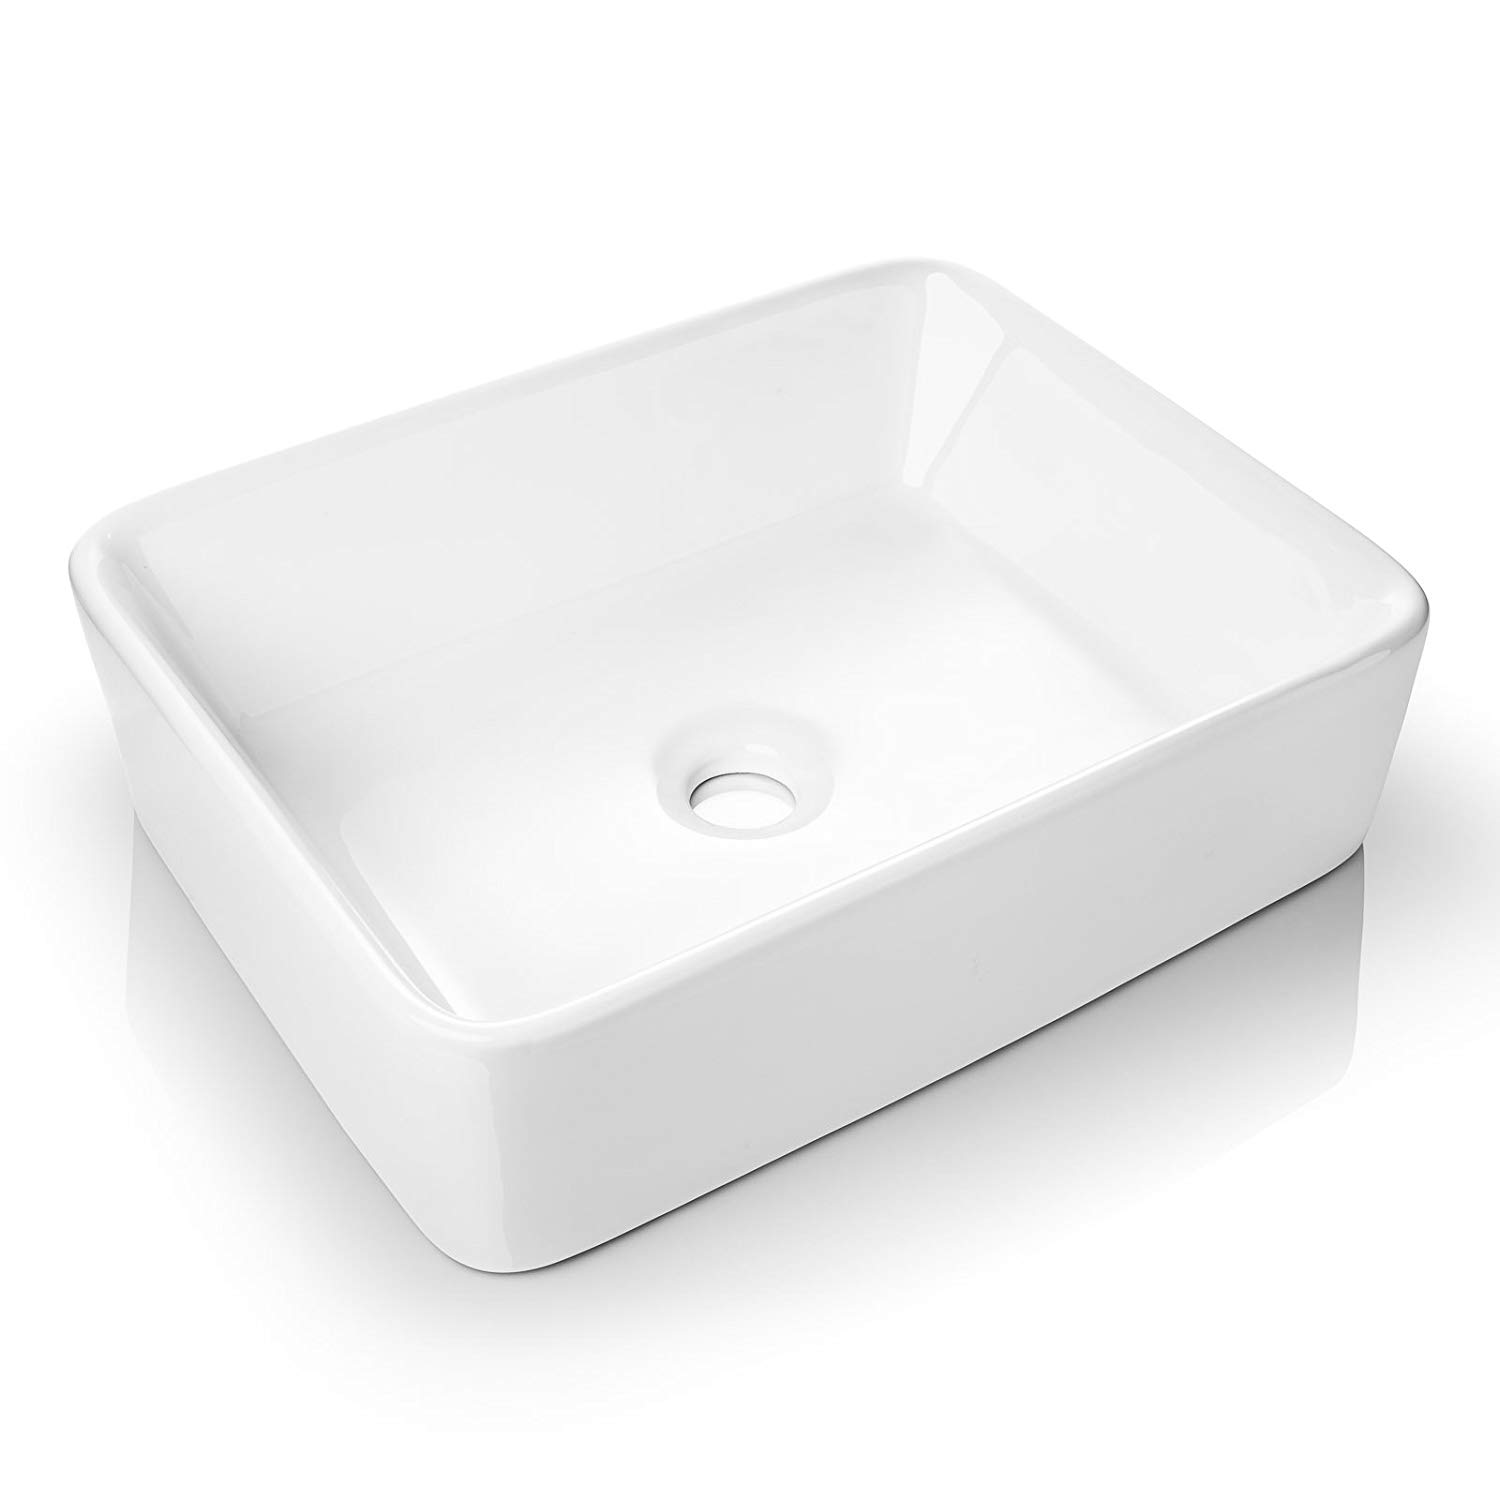
Okay, back to present day. I love the idea of a dresser turned vanity because it adds a lot of character to a space, and is also super cost effective. Have you ever shopped for vanities? Those things do NOT come cheap, but you know what does? A $55 midcentury dresser from Craigslist. Pop a vessel sink and a faucet on that baby and boom - affordable vanity!
Here’s a brief step by step of how to turn a dresser into a vanity:
Step one
Cut a hole in the back of the dresser to accommodate the plumbing. In our case, our sink was going to be off to the left side, so that’s where the hole went. You can slide the dresser into the final resting place after you’ve done this.
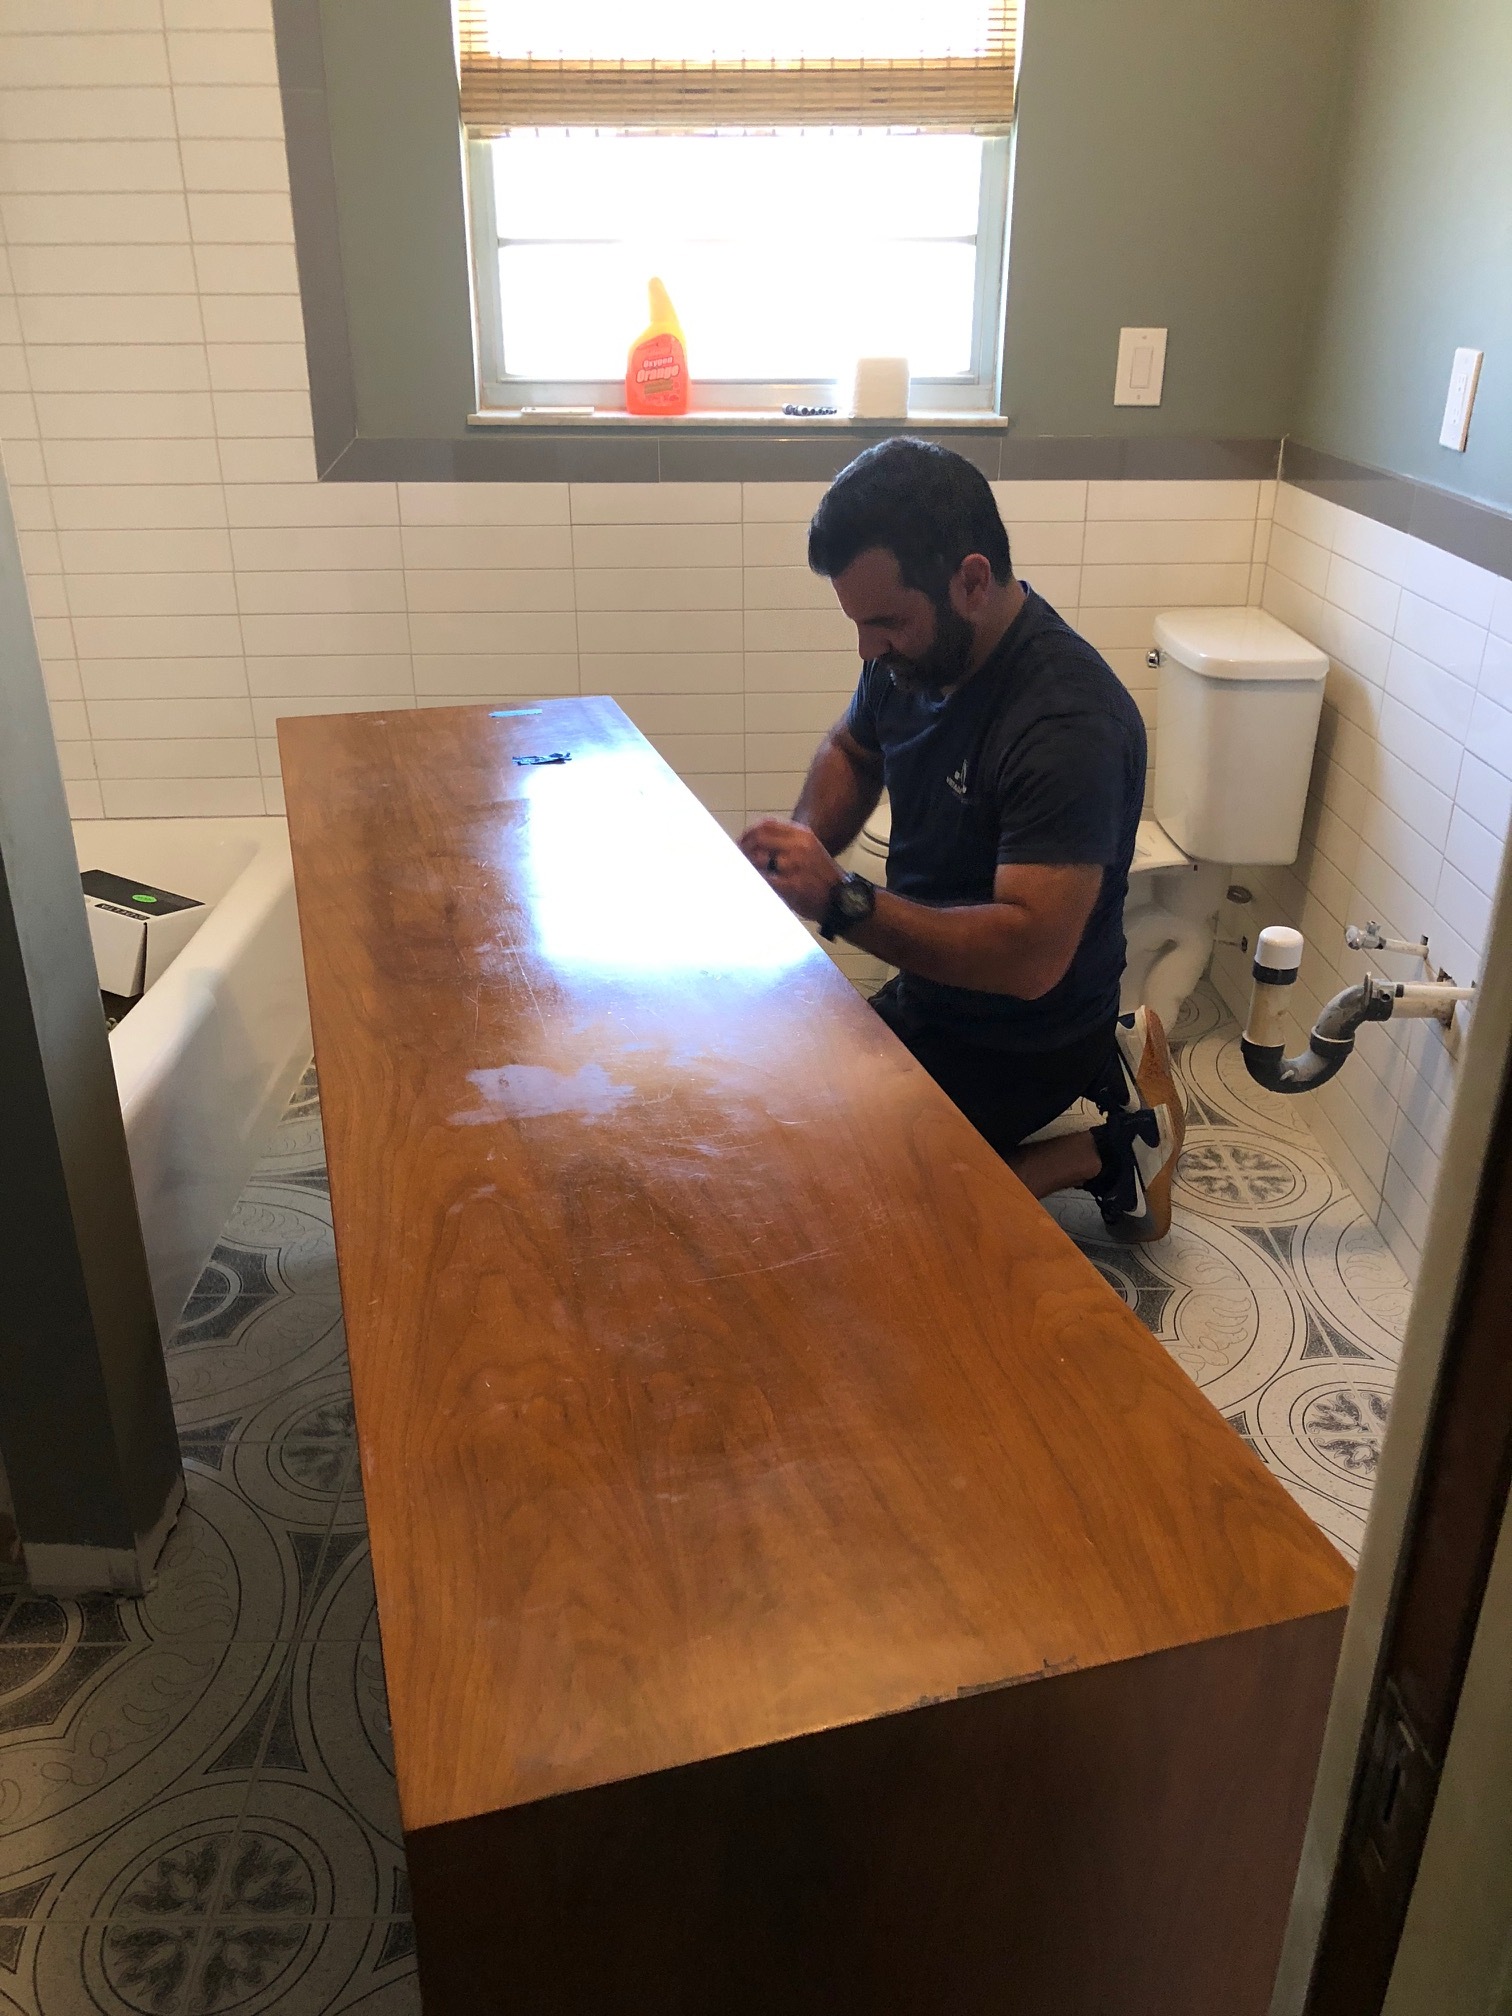


step two
Cut two wholes in the top of the dresser - one for the faucet and one for the sink drain.


step three
Modify the drawers that are in front of the plumbing. If you want to maintain some storage space in the drawers, you can cut out a large notch in the drawers that will fit around in the plumbing. Or, do what we did here and just cut the back of the drawer off. We have plenty more storage space in this dresser (and the bathroom in general) so I didn’t feel the need to keep any parts of these drawers intact.


step four
Install the faucet, vessel sink, and drain, and hook up all of the plumbing. I’m not a plumber, so that’s about as much detail as I’ll provide on that step! ;)
So there you have it! The super basic, in-a-nutshell guide to turning a dresser into a vanity. I’m sure there are much more thorough and technical tutorials out there, but hopefully you get the gist from this! I’m so happy with how our vanity turned out, and the whole thing was less than $150. You can’t even get a crappy IKEA vanity for that price! (Edit: I’m not hating on IKEA - I loveeee IKEA)
Over the next two weeks we’ll be putting the finishing touches on this room - painting and organizing the linen closet that’s in here, and doing the fun part - accessorizing! Make sure you go check out everyone else’s One Room Challenge progress this week too!
Guest Bathroom Paint and Progress - One Room Challenge Week 3
Thanks for coming back for Week 3 of the One Room Challenge! We actually got a lotttt finished this past week, but for the sake of stretching my posts out over 6 weeks, I’m going to focus on the paint and a few other details, and save the vanity for next week!
We started painting this room a couple weeks ago, but then had to mud some additional things, so it actually got finished being painted this week. The paint is Valspar that’s color-matched to Farrow and Ball’s Pigeon (because let’s be honest, we’re already so over budget on this house and I’m not spending $100+ for a gallon of paint right now!) We already had the paint on hand because we’ll be using it on part of our fireplace wall (that’s another project for another day) and I’m just obsessed with it lately. Our kitchen cabinets are actually pretty much this color as well, so I guess you could say I’m feelin’ it for this house!
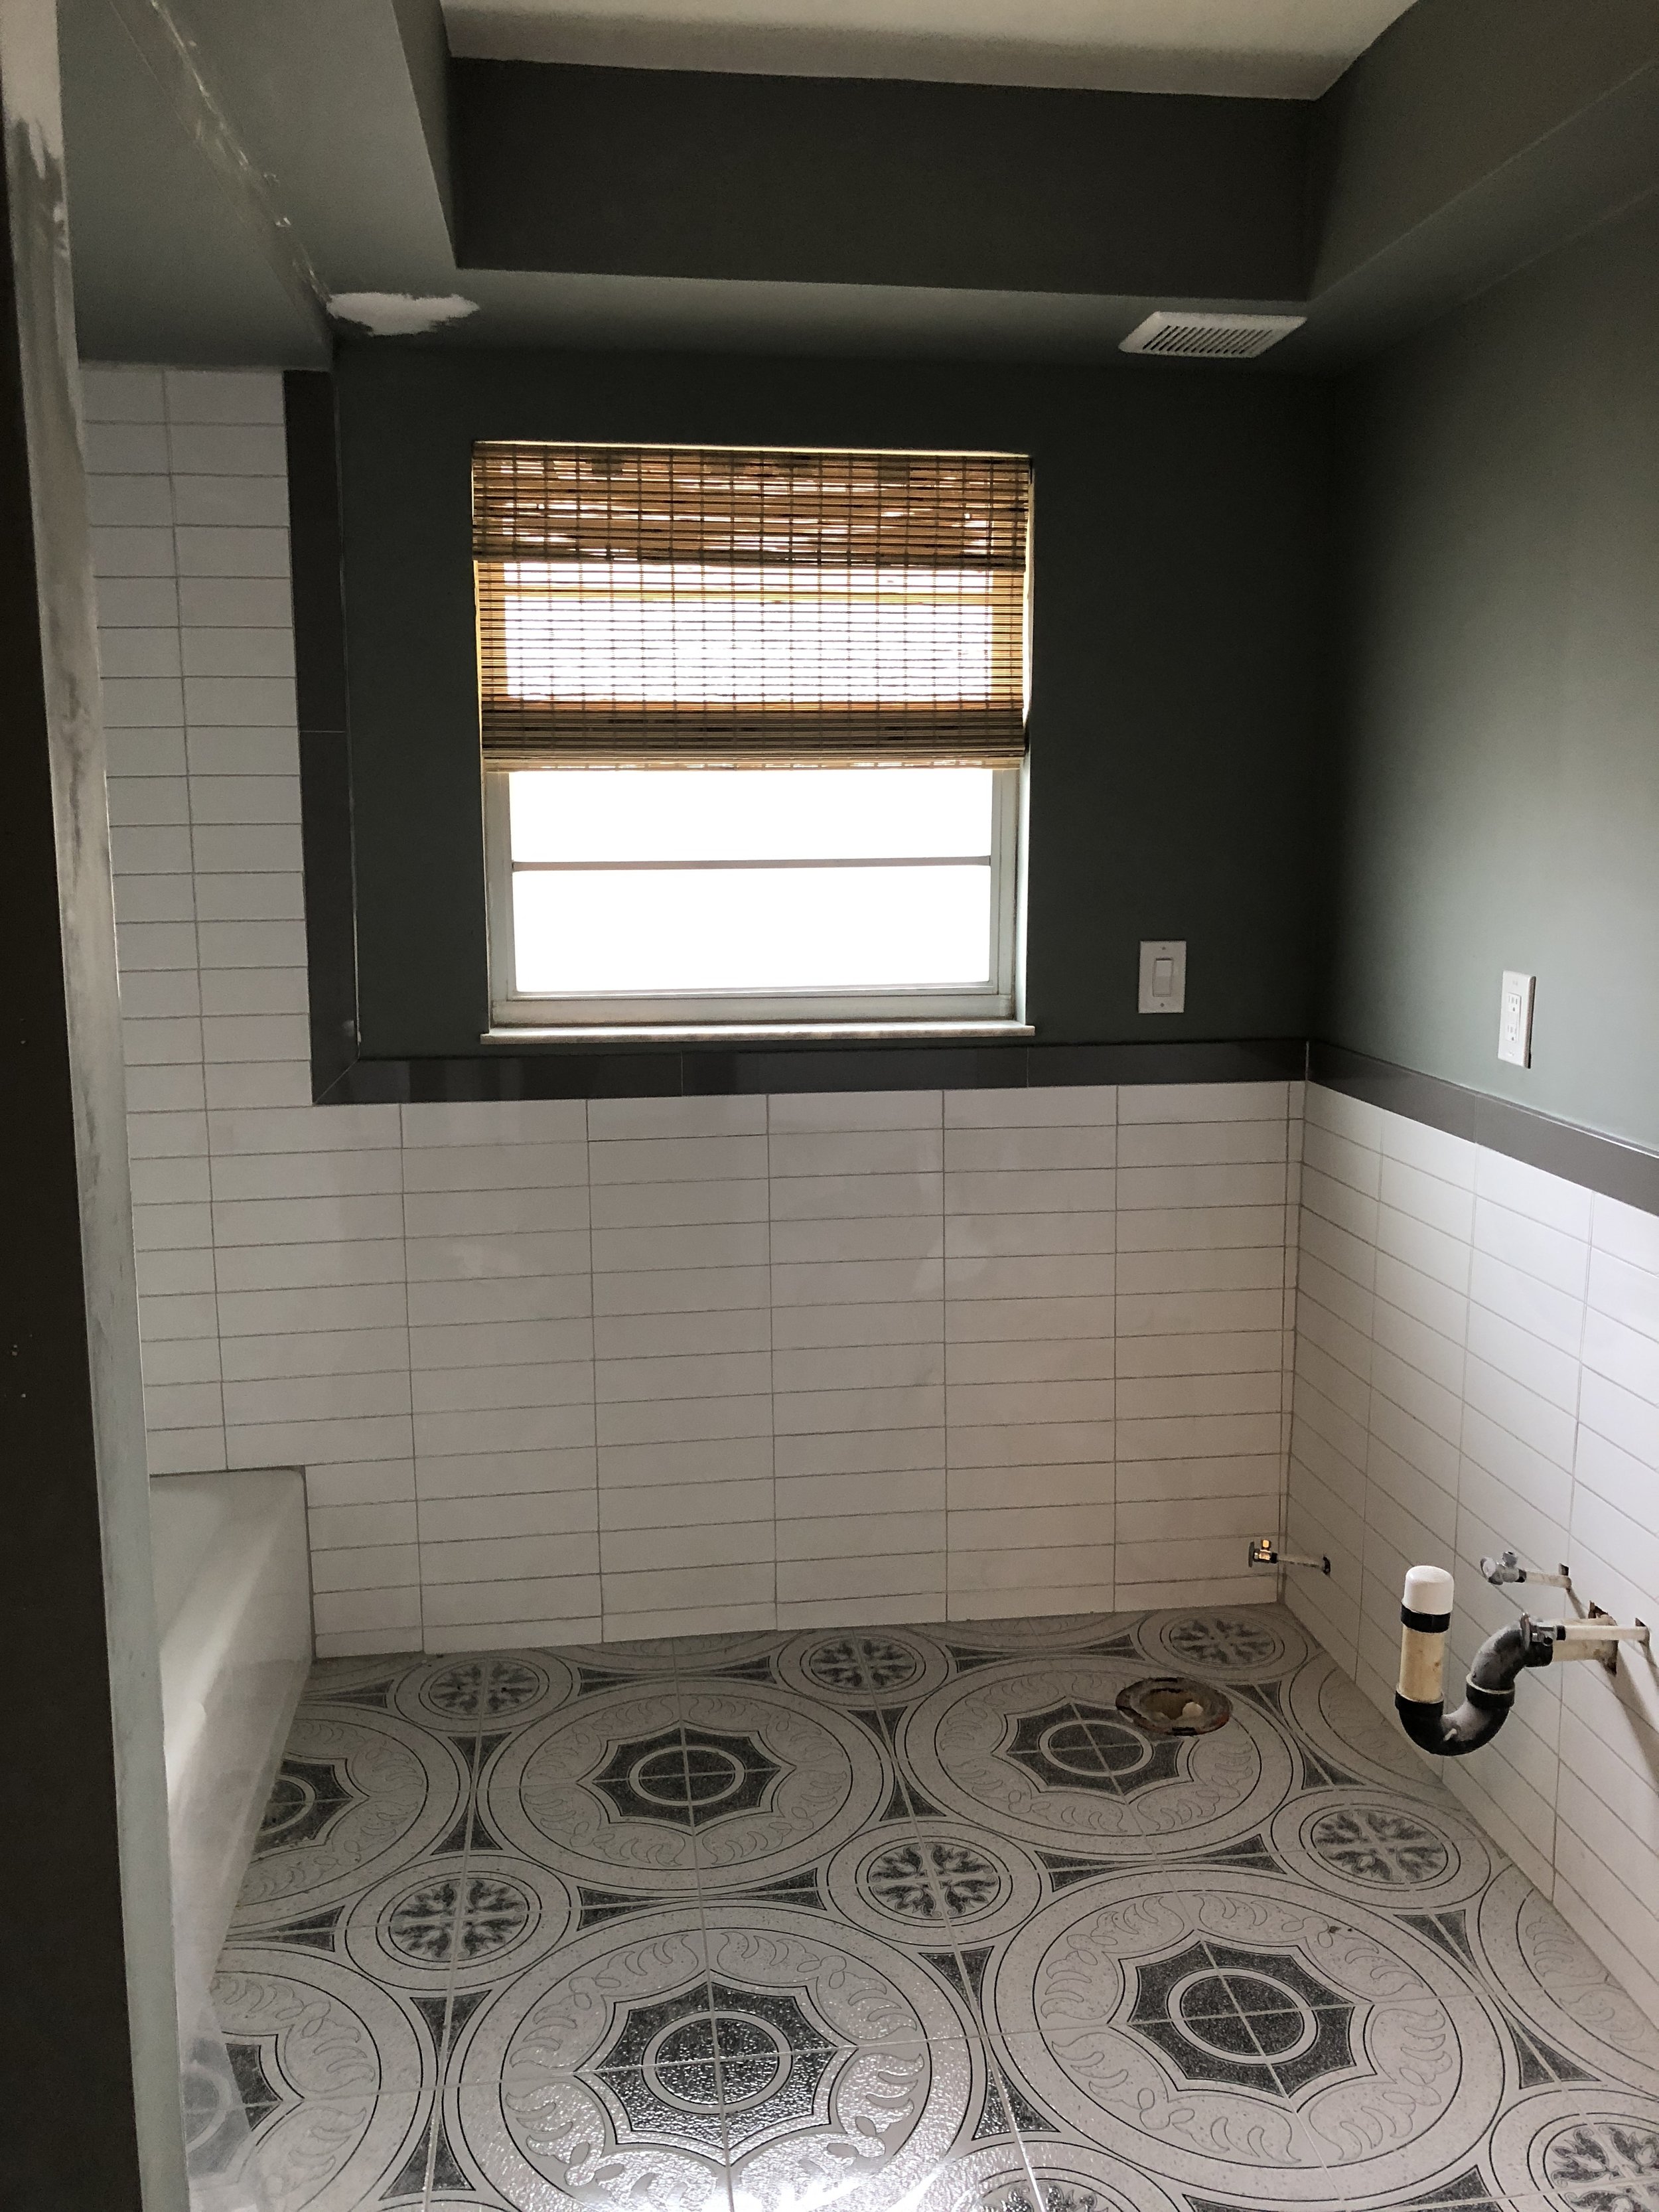
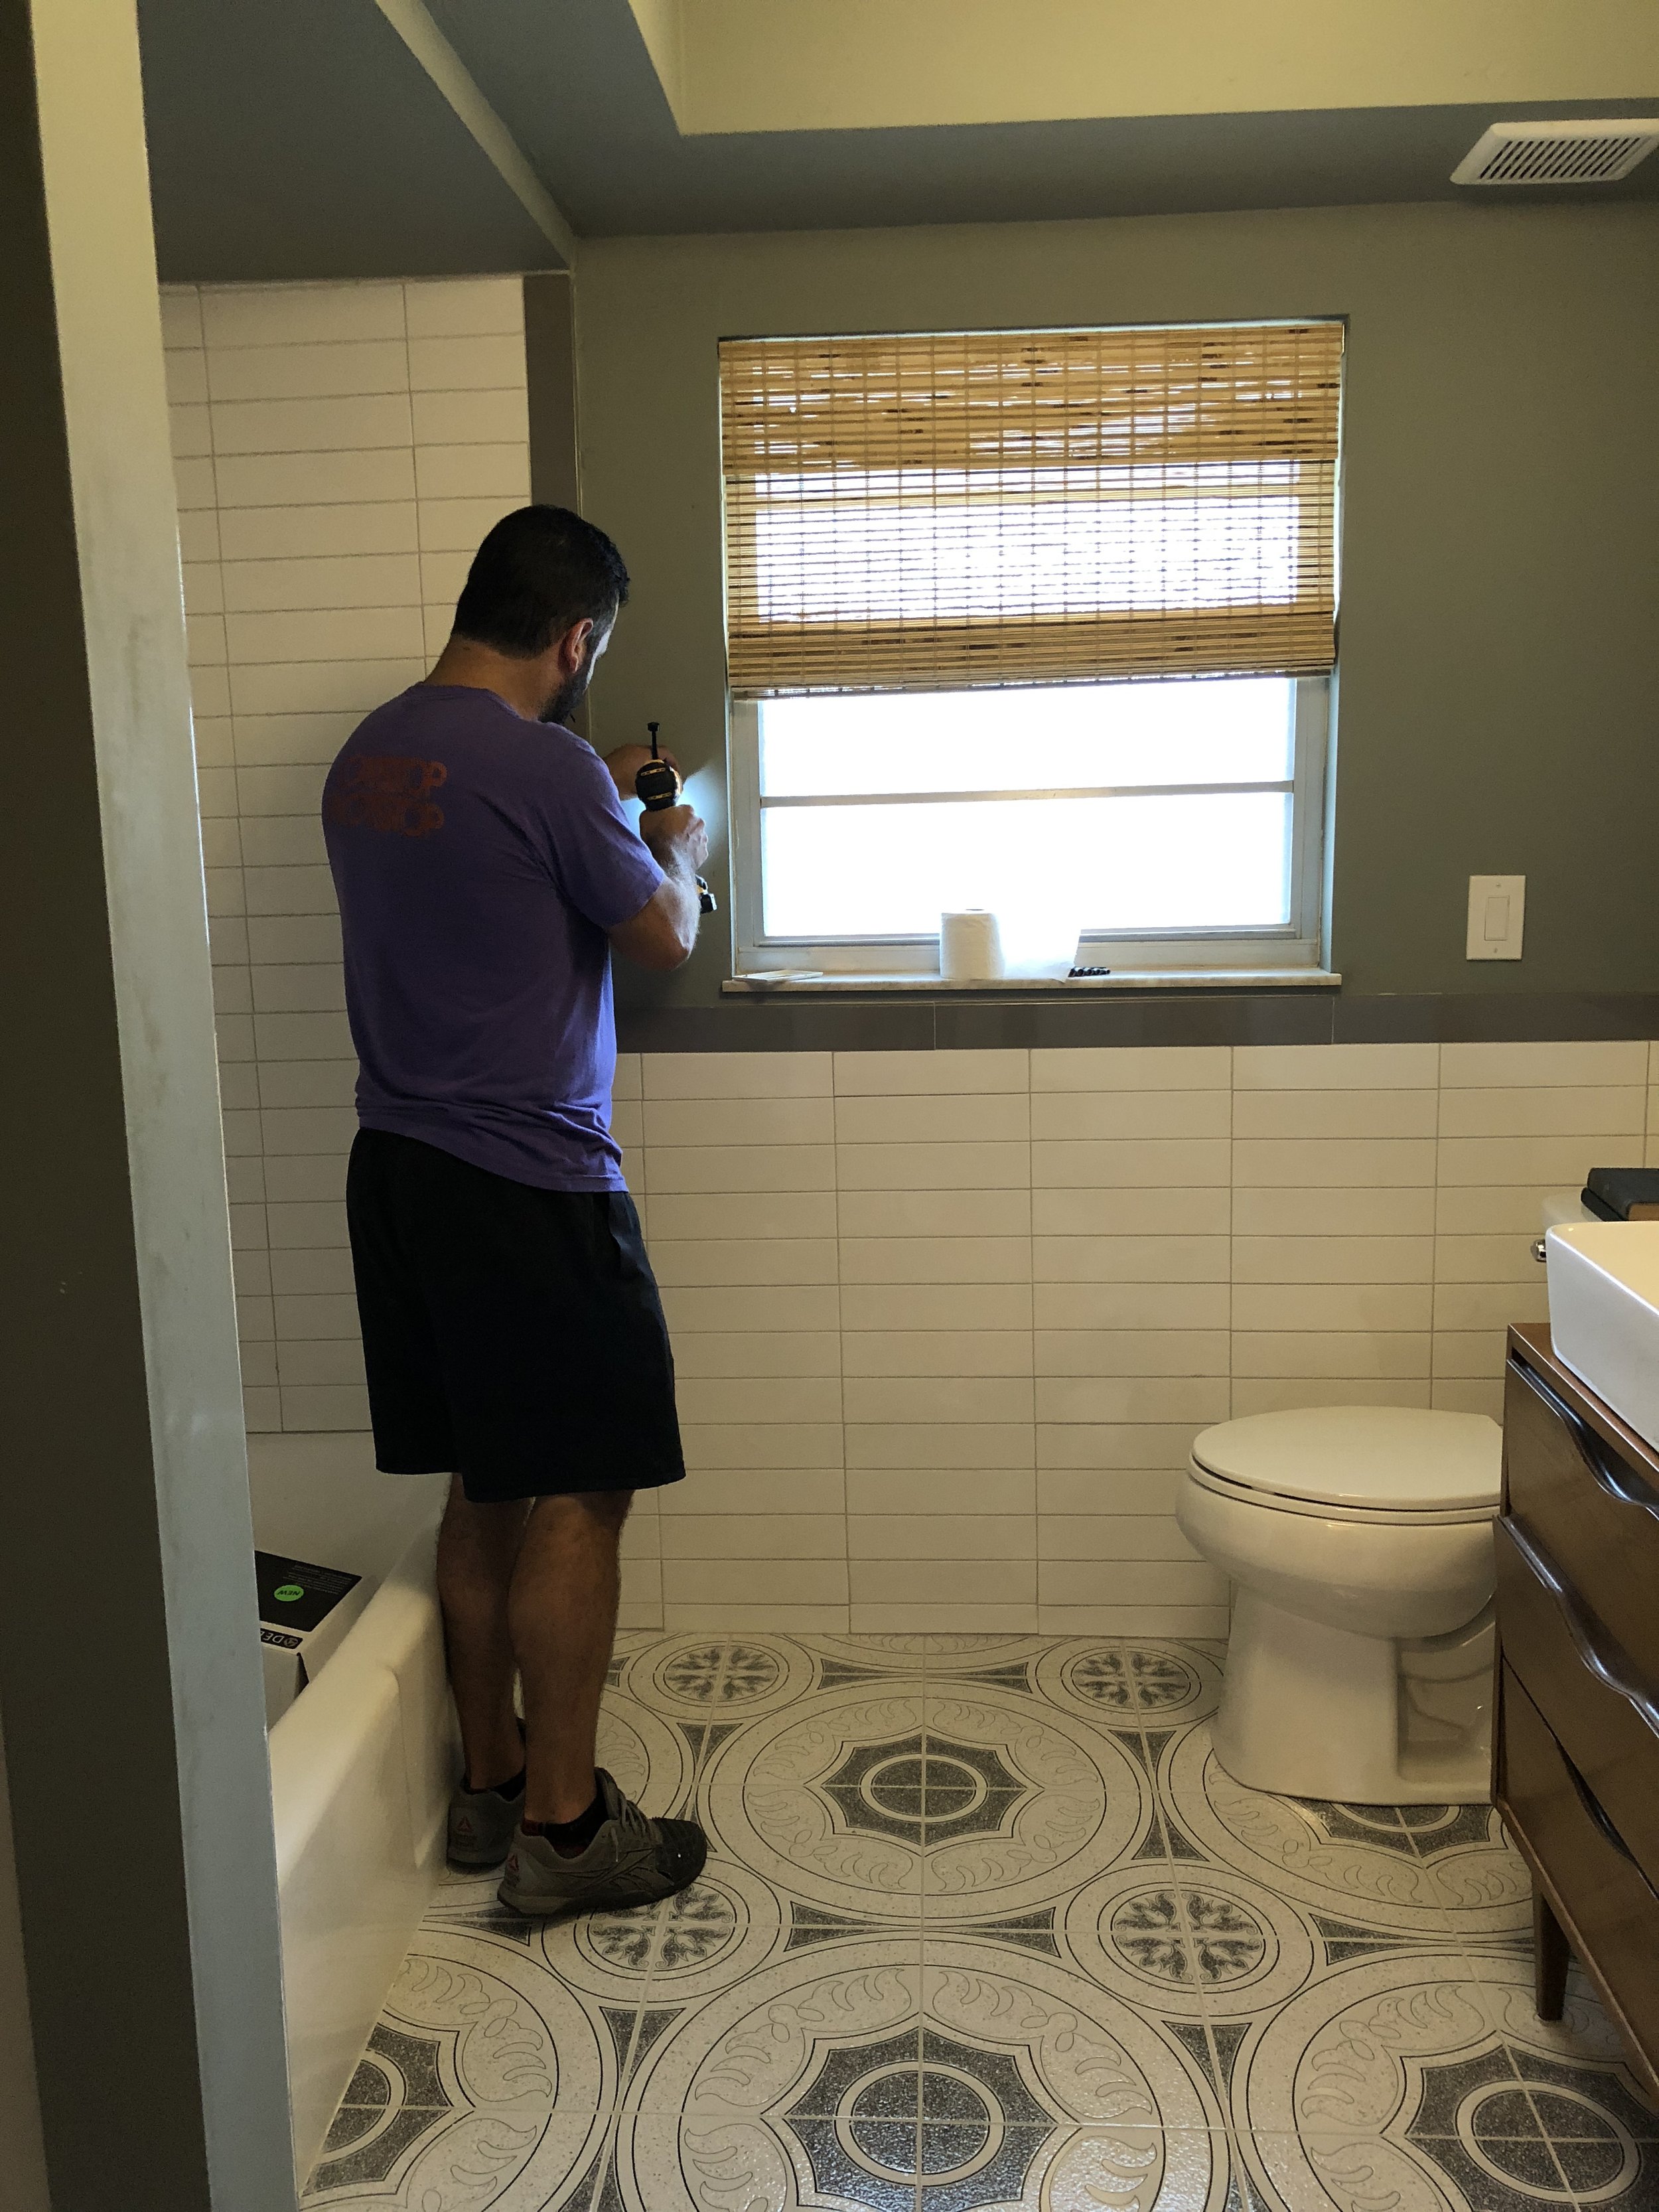
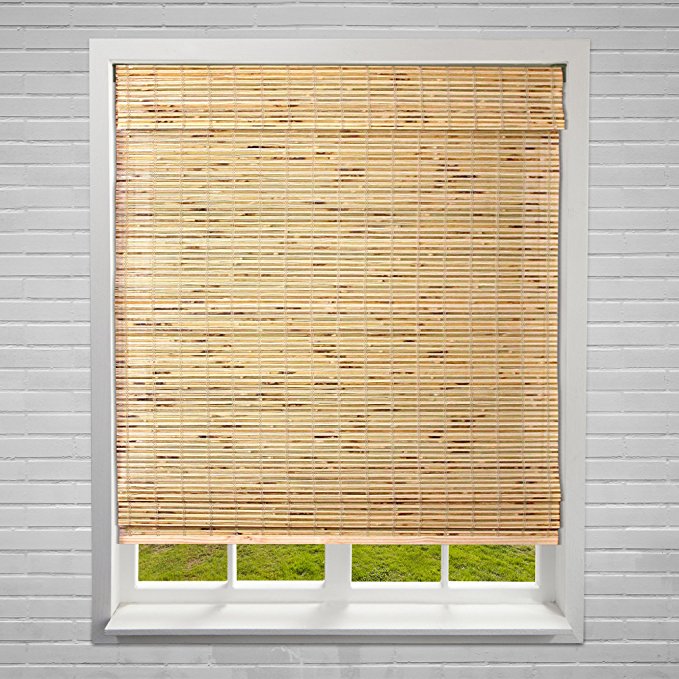
I also got a window shade for this room, even though the window already has privacy glass. It was more to add texture and make the window look more finished, and Ryan only threw out a few dozen expletives while hanging it up. ;)

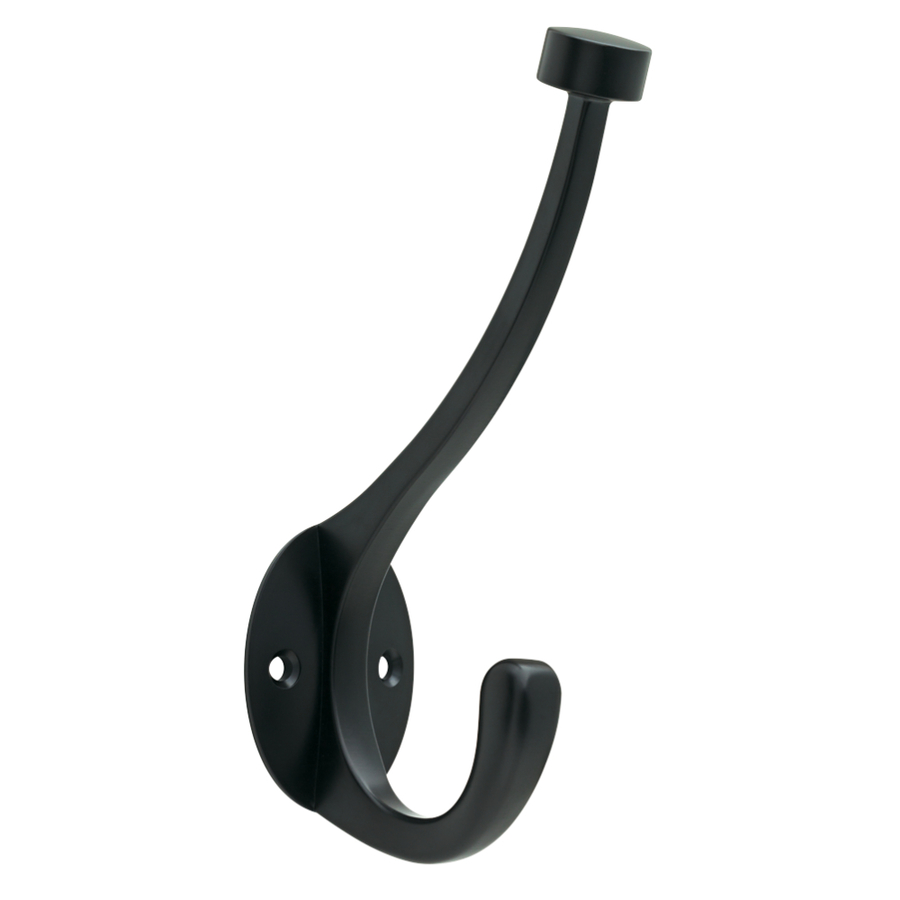
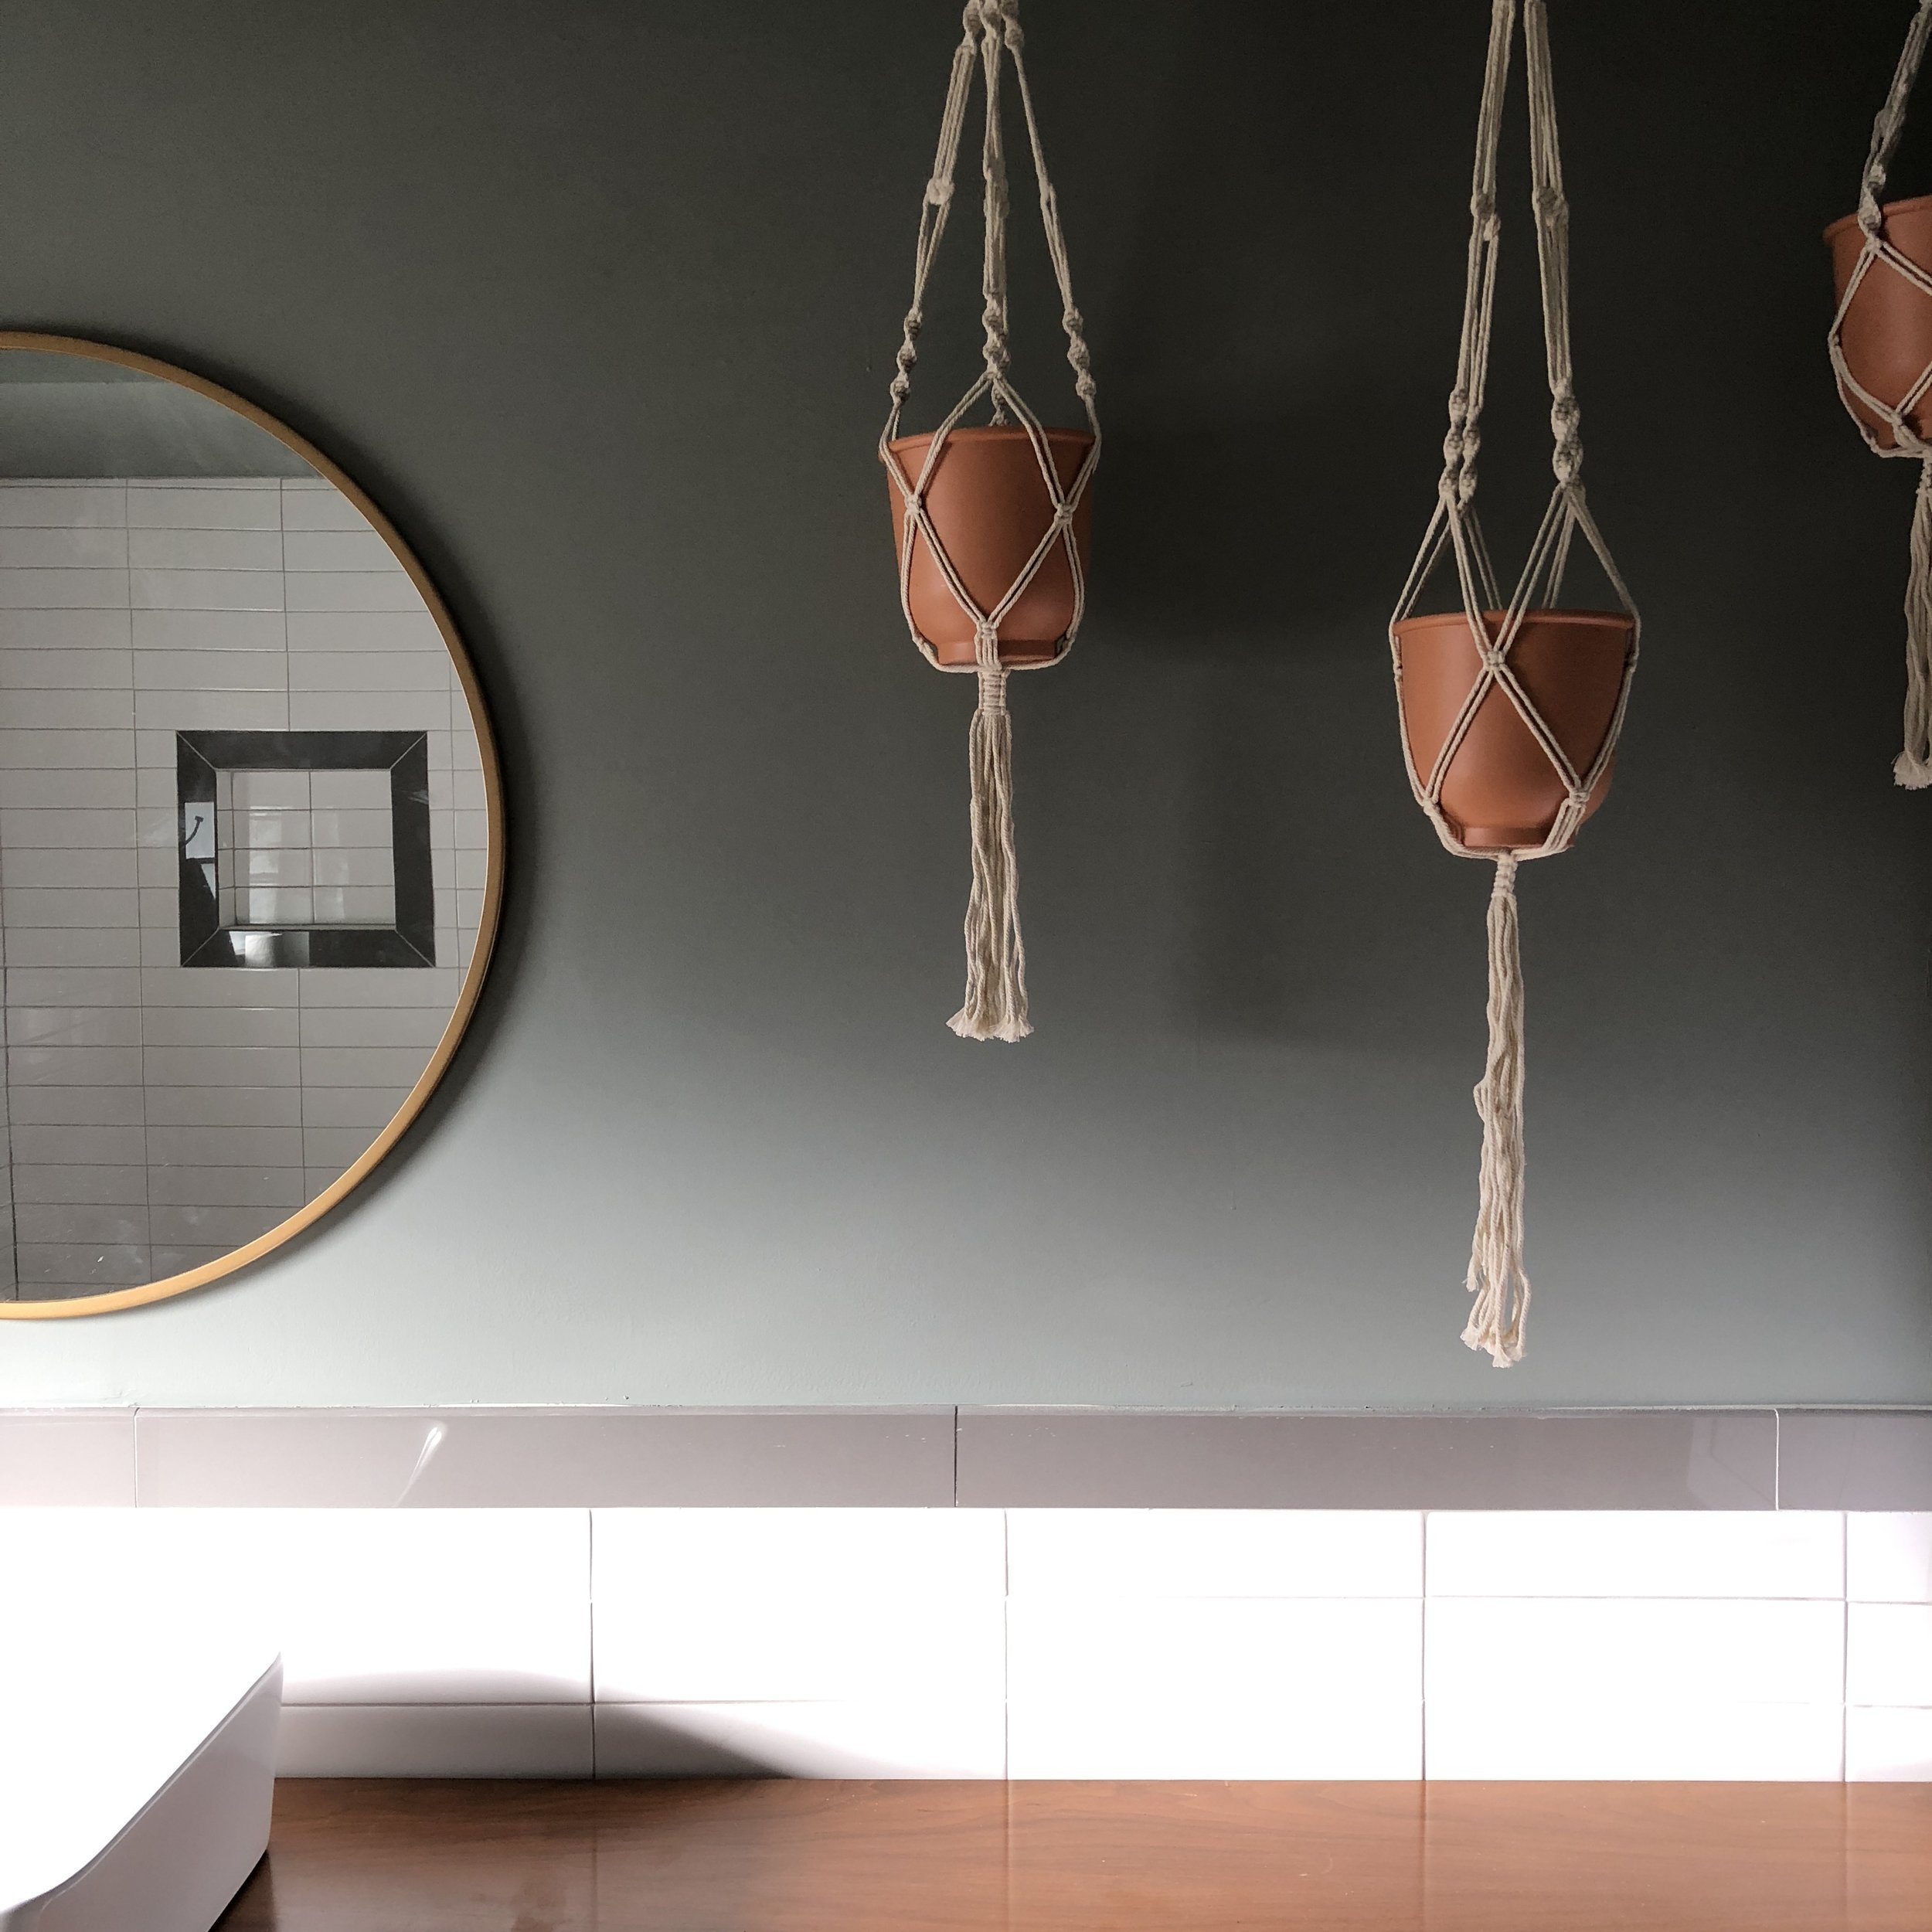
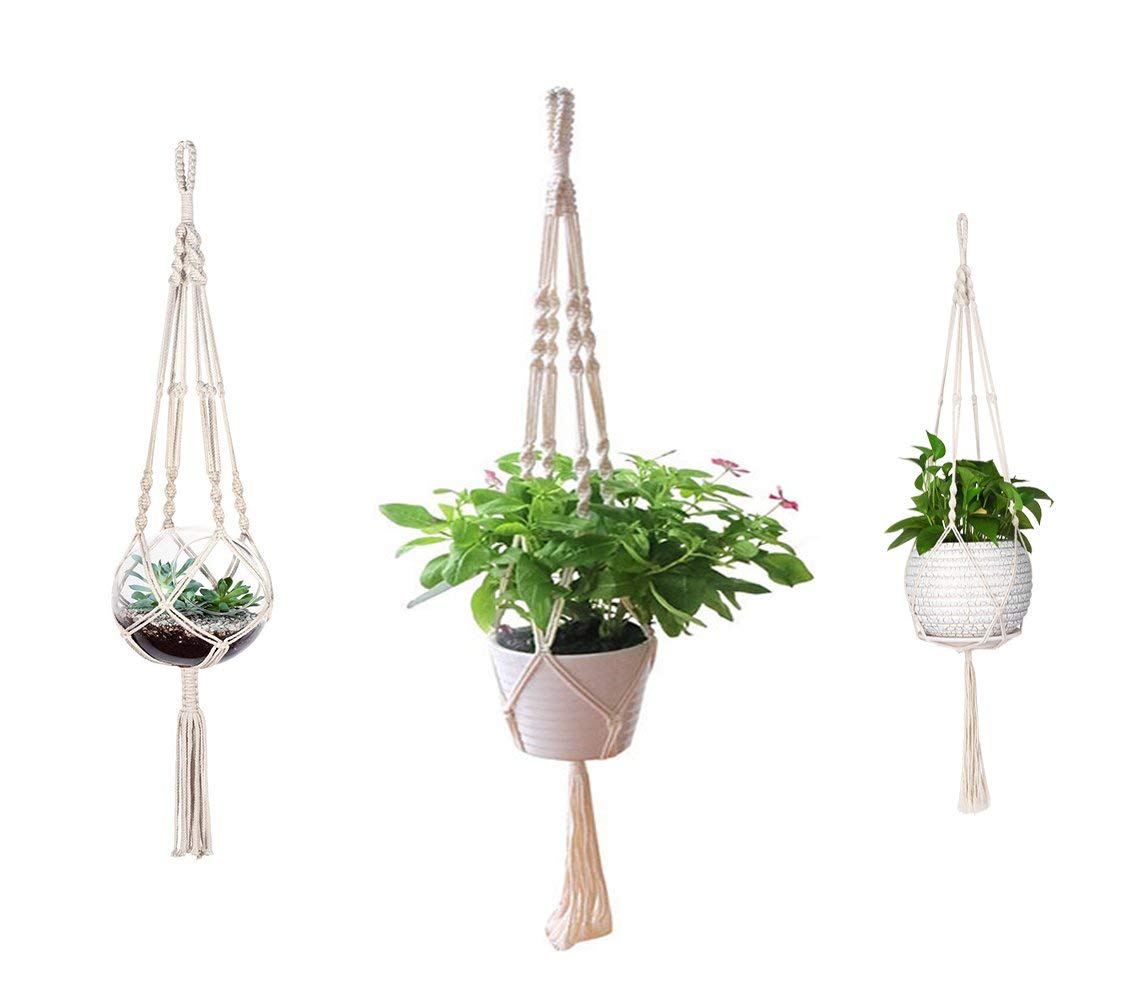
In other fun news, we now have another functioning toilet in the house! Woop woop. You can see it making it’s first public appearance in the photo below. We also hung up a hook for towels near the shower, hung the mirror, and added hanging planters above the vanity. I’ll talk all about the vanity in next week’s post - it’s one ball of plumbing putty away from being completely done and useable!

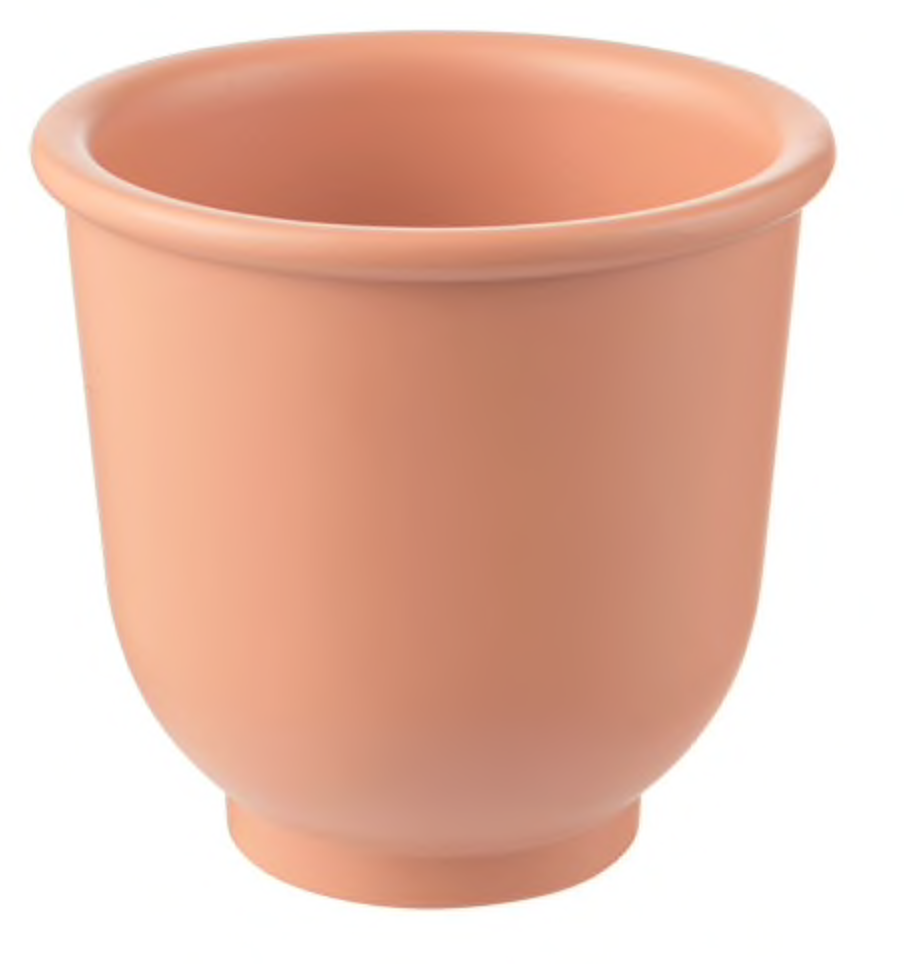
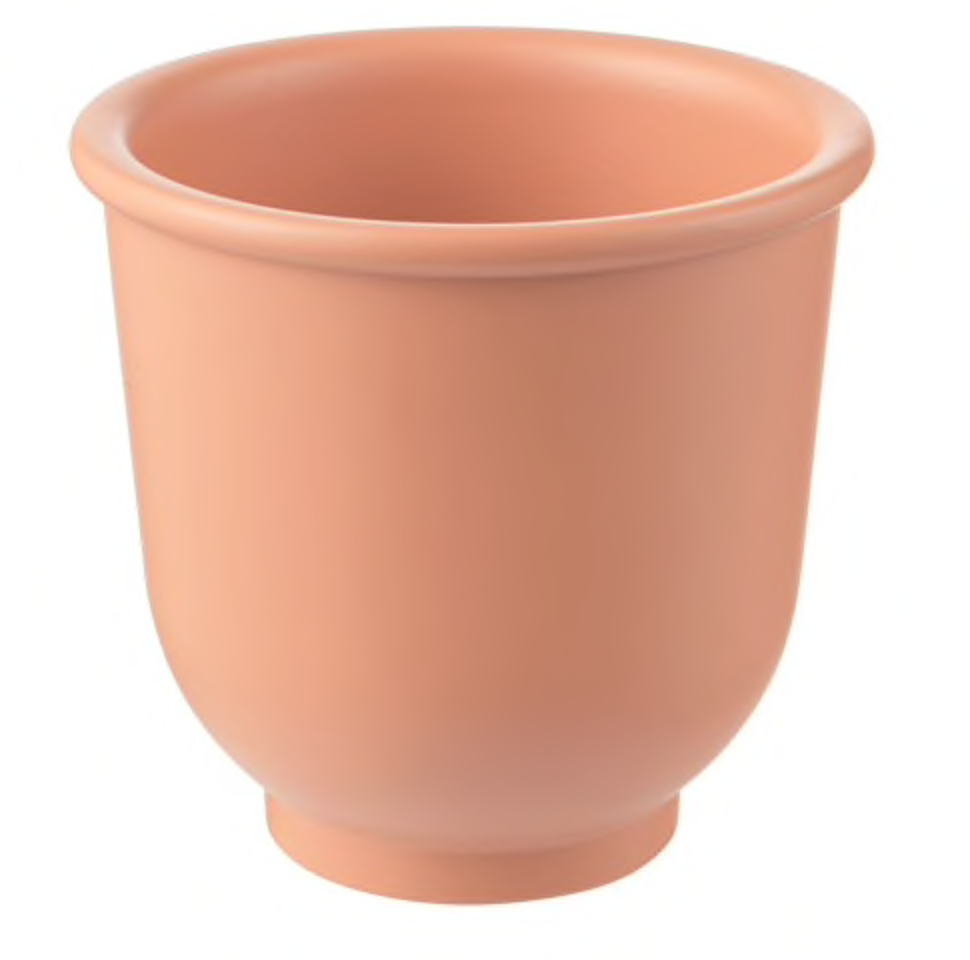
My vision for this space is getting more and more solidified each week, and I already love how it’s coming together! What do you think of these hanging planters? Would you ever try them in your bathroom? I love the color of the terra-cotta pots against that green - mmmmmm!
Don’t forget to check up on everyone else’s One Room Challenge progress! I can’t believe we’re already half way through, and will be seeing everyone’s finished spaces in a few short weeks.
SHOP THE POST

Guest Bathroom Tilepalooza - One Room Challenge Week 2
Welcome back for Week 2 of the Fall 2018 One Room Challenge! This week we’re talking tile in our guest bathroom. (Catch up on last week here)
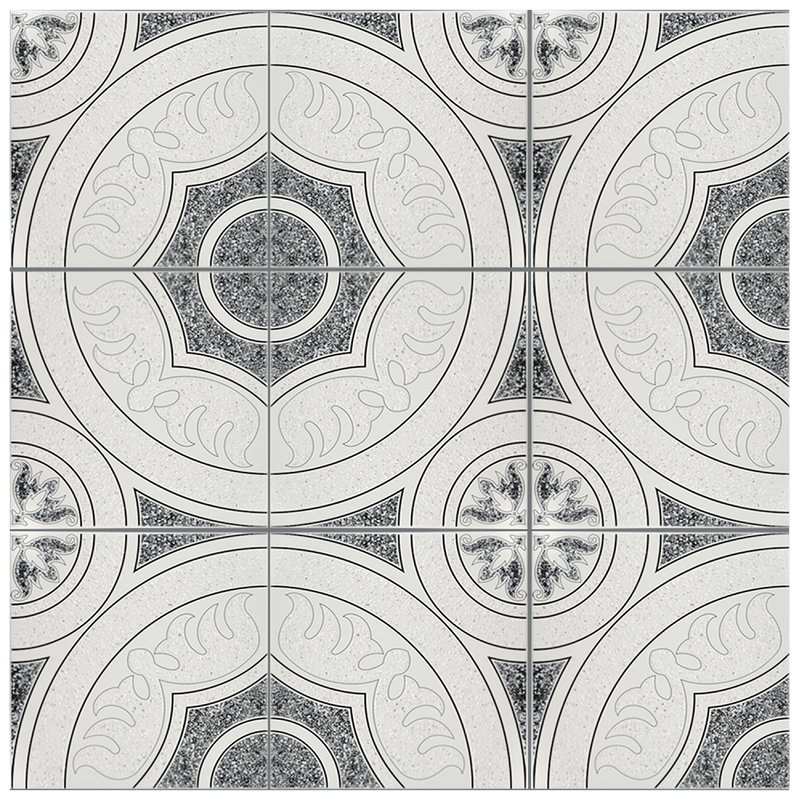
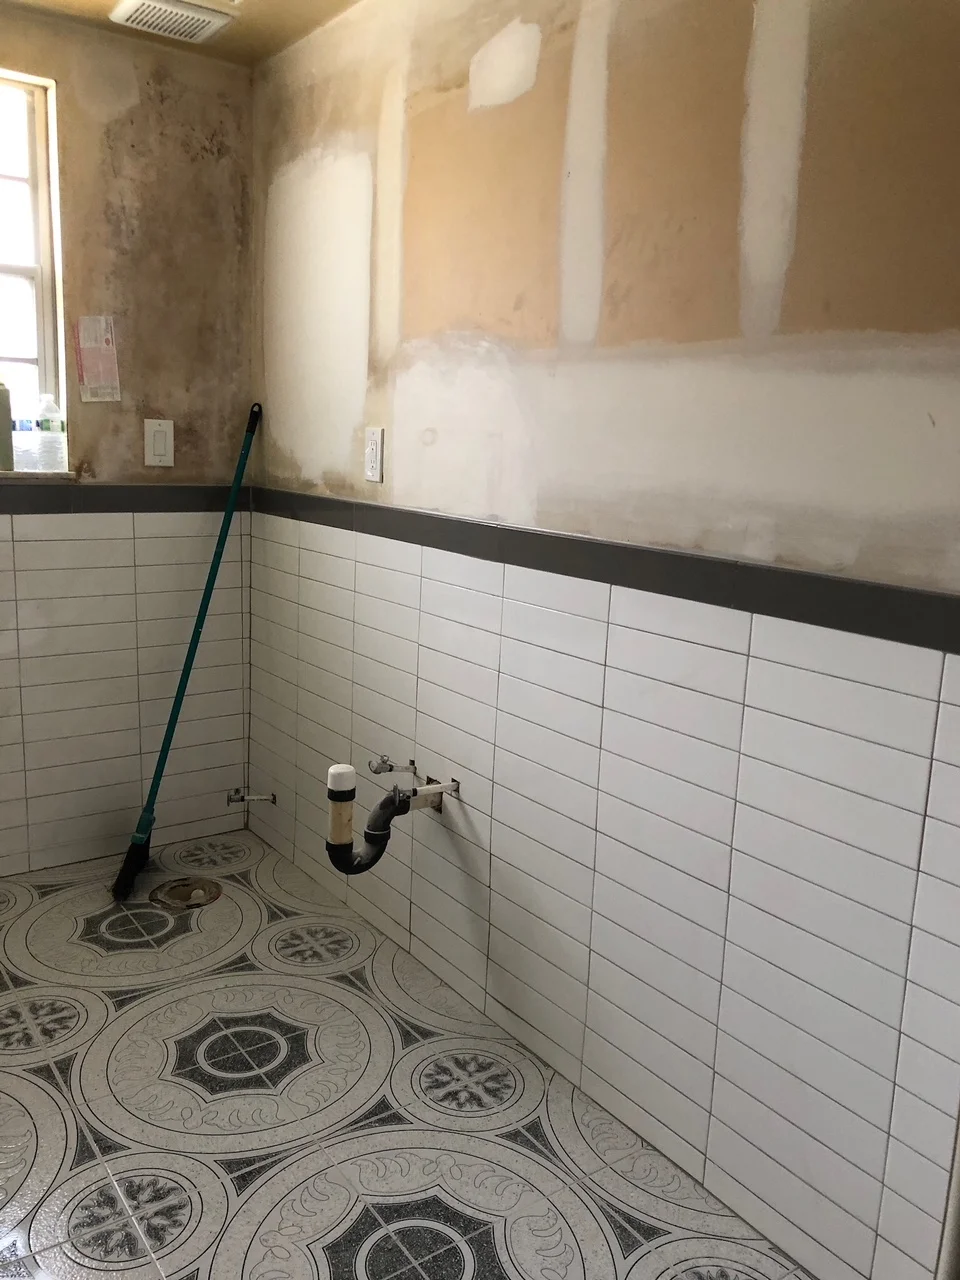
The floor tile in this room has been done for a few weeks - our contractor’s guys laid it when they did the rest of the flooring throughout the house. I went back and forth for months leading up to that about which tile to use in here. I finally decided to search for terrazzo-inspired tiles (a nod to the era the house was built) and that’s when I found my winner.
Welcome back for Week 2 of the Fall 2018 One Room Challenge! This week we’re talking tile in our guest bathroom. (Catch up on last week here)
The floor tile in this room has been done for a few weeks - our contractor’s guys laid it when they did the rest of the flooring throughout the house. I went back and forth for months leading up to that about which tile to use in here. I finally decided to search for terrazzo-inspired tiles (a nod to the era the house was built) and that’s when I found my winner.
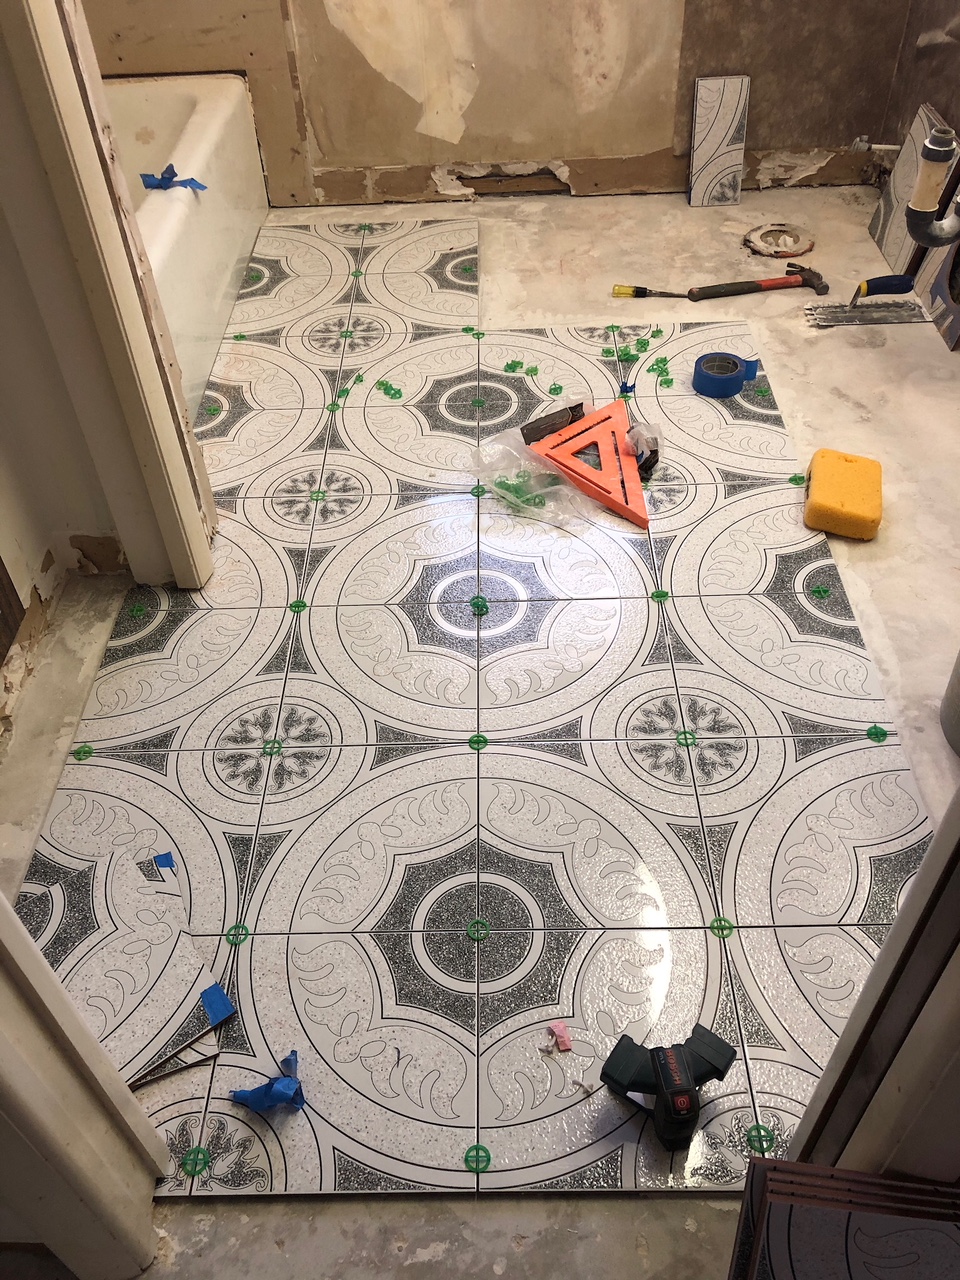
I love that this tile has (faux) terrazzo detailing, an awesome pattern, and isn’t STARK black and white. Judging by the amount of messages I got about this tile over on Instagram, I think everyone else is a fan too! We chose to use Mapei Warm Gray grout, and it does a fabulous job of just blending into the tile and not distracting from the pattern.
Next up was the tile for the shower surround. We had a bunch of boxes of plain white 3x12 subway tile laying around, so even though it wouldn’t have been my first choice in here…the practical side of me won out. Free tile is free tile, after all. We ended up having it installed in a stacked pattern, and extended it all the way around the room. The edges have a gray bullnose tile, and we went with the same warm gray grout that we used on the floors.
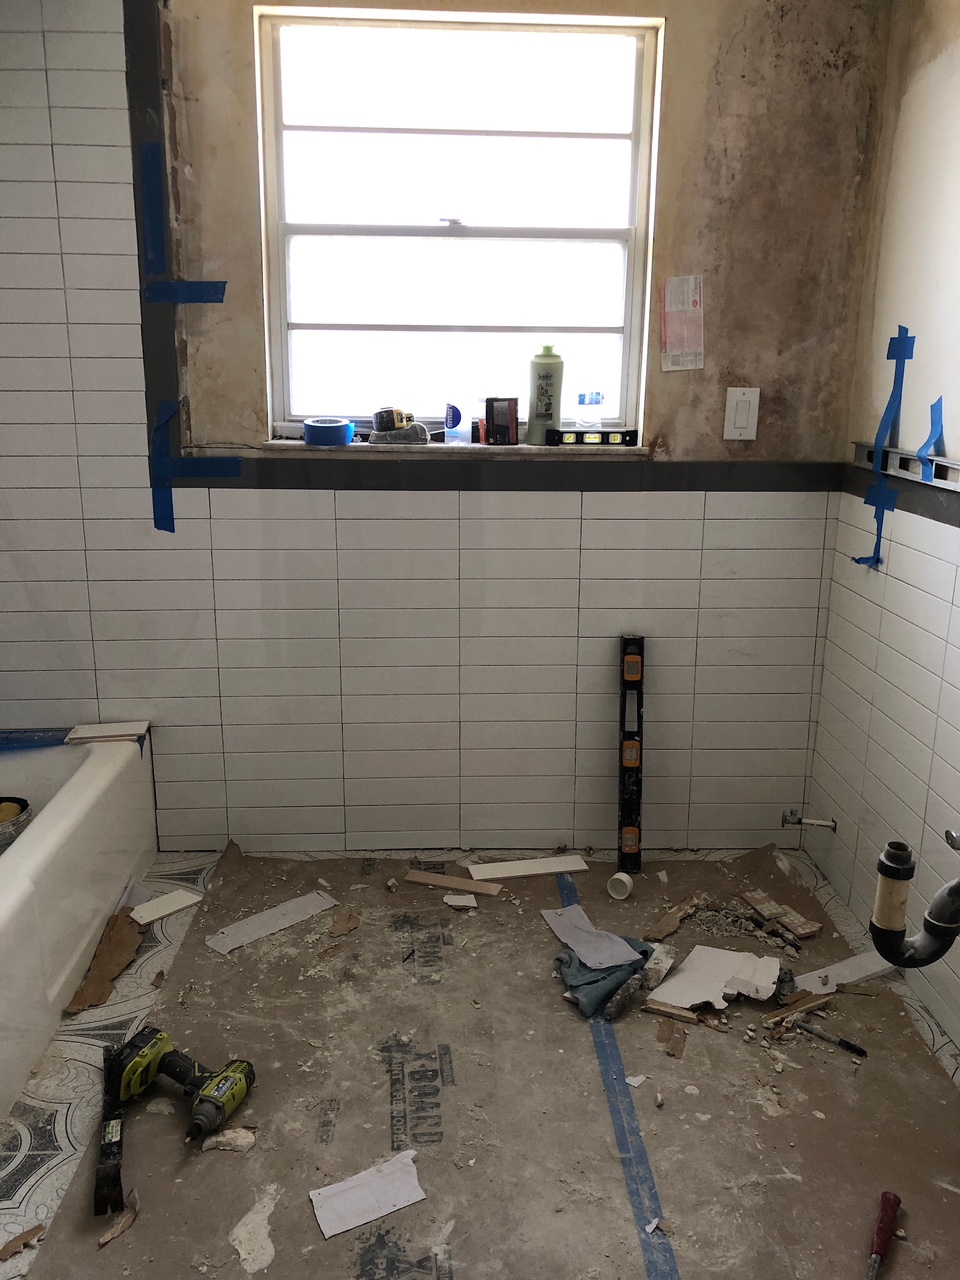
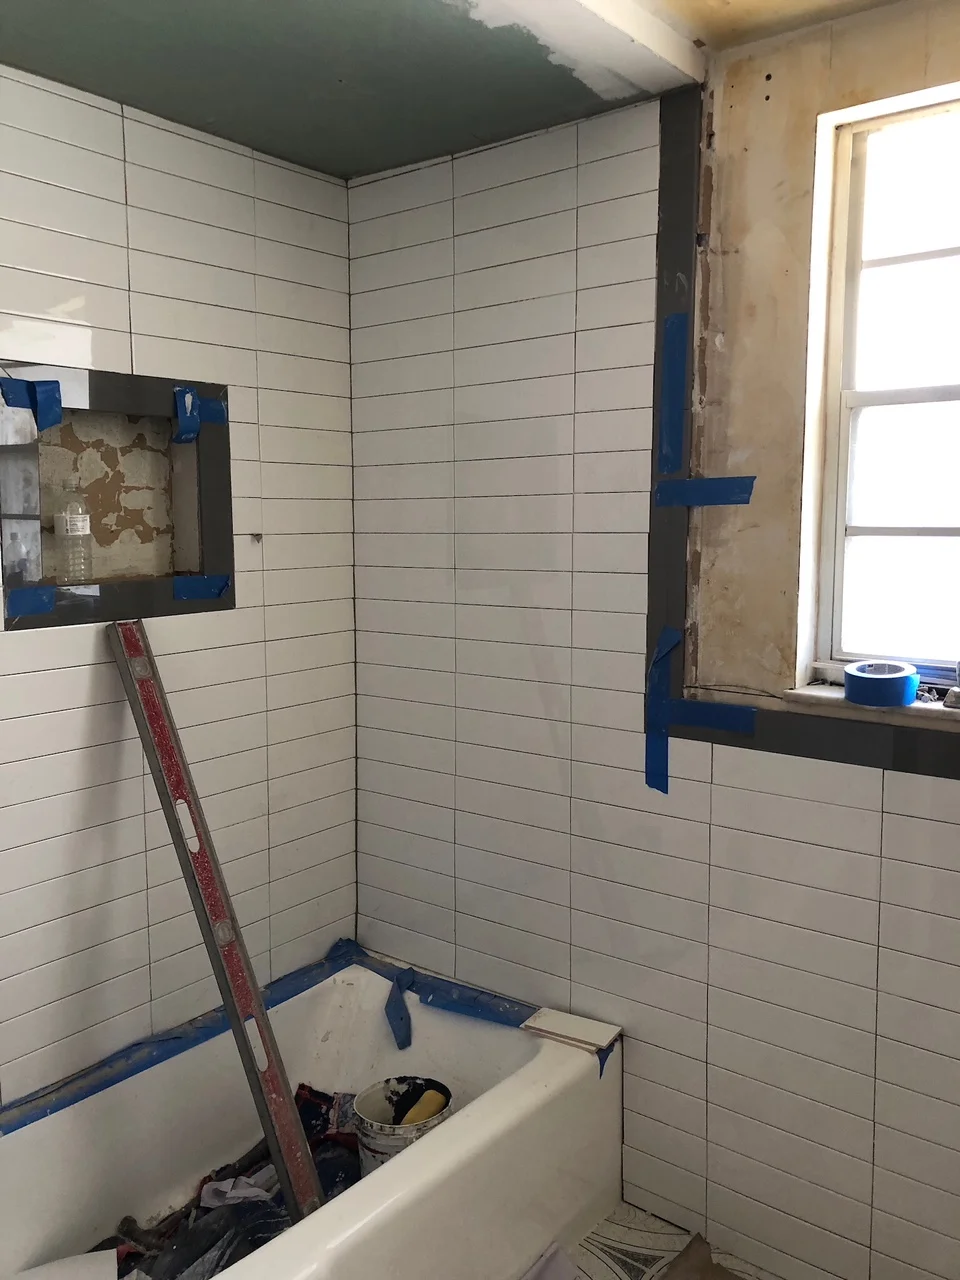
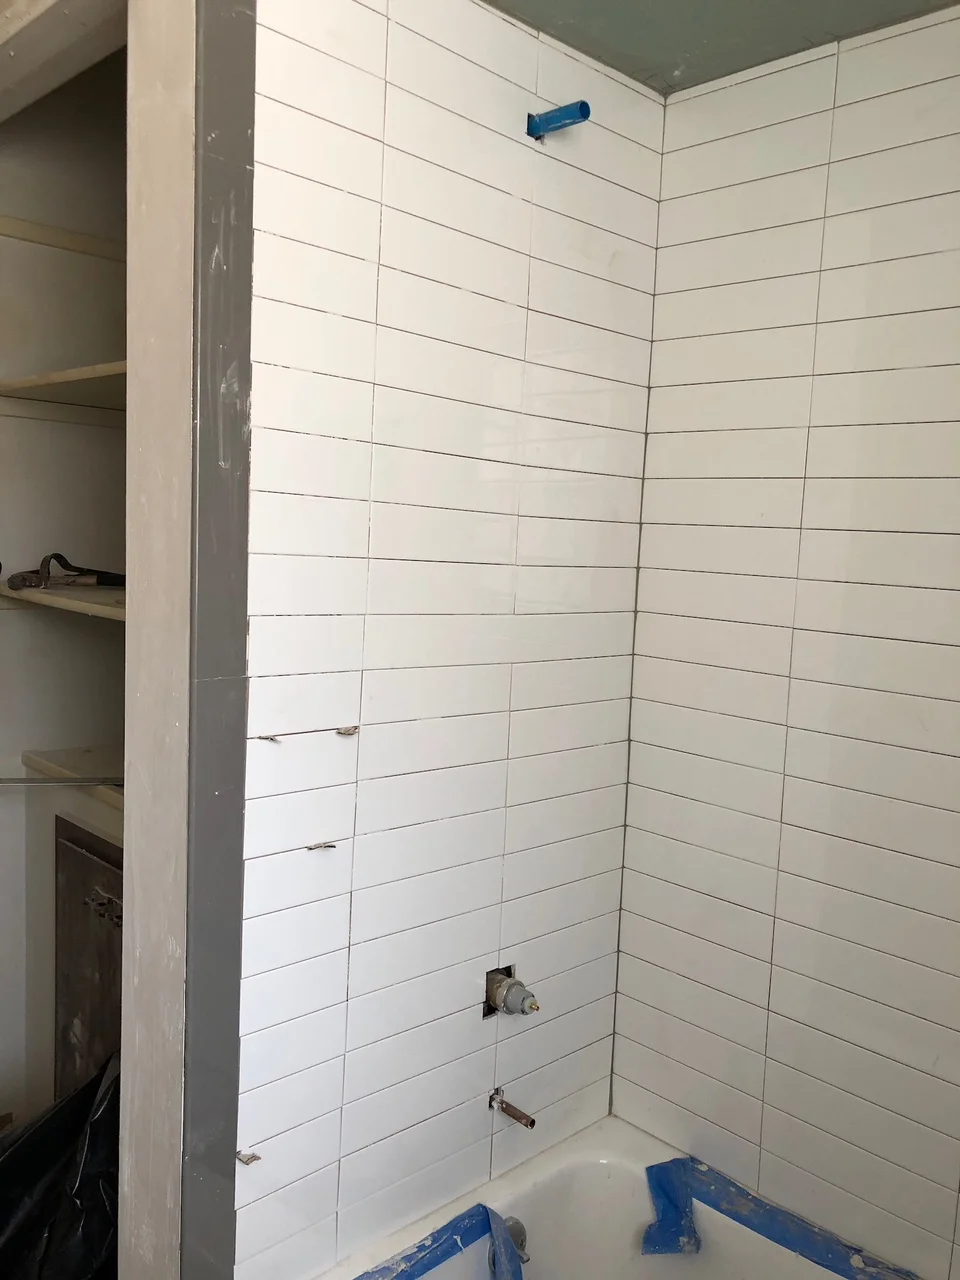
I also made sure to have a niche put in the shower. There’s nothing worse than having bottles piled up on the sides of the tub, and I personally hate those caddies that hang over a shower head. A niche solves those problems!
So there you have it - the finished floor and wall tile for our One Room Challenge guest bathroom makeover! In case you didn’t get the hint above… we did NOT tile any of this ourselves. I’m more interested in the design part of rooms, not the DIY… and my poor husband tiled more than his fair share of walls at our previous house, and was dreading doing this bathroom. It was worth hiring it out for his sanity! ;)
Don’t forget to check out all of the other transformations going on - from what I’ve seen on the #oneroomchallenge hashtag, everyone’s rooms are well underway!