

Touraine Project | Great Room Reveal
Hey strangers! My blogging game has been weak lately, but now that we’re (semi) settled into our new house, I really want to get back in a groove with it. What better way to ease in than finally revealing our previous house, aka The Touraine Project?! I’ve shared plenty of glimpses of it over on Instagram (are you following us yet?!) but wanted to dive a little deeper and share it here on the blog too. First up is the biggest - some may even say greatest - room in the house…the Great Room! Which is the catchall term I’m using for our open concept kitchen, living, and dining room area.
Hey strangers! My blogging game has been weak lately, but now that we’re (semi) settled into our new house, I really want to get back in a groove with it. What better way to ease in than finally revealing our previous house, aka The Touraine Project?! I’ve shared plenty of glimpses of it over on Instagram (are you following us yet?!) but wanted to dive a little deeper and share it here on the blog too. First up is the biggest - some may even say greatest - room in the house…the Great Room! Which is the catchall term I’m using for our open concept kitchen, living, and dining room area.
Let me take you all the way back to the year… 2016. When Ryan and I first walked into this (not so) great room, here’s the magic that greeted us:

That may or may not be a pee-soaked mattress on the left there… charming right?!

As you can see, you walked right into a wall, which I’m pretty sure is universally frowned upon. Ready for some afters?!


I’m currently sitting in that chair up there writing this blog post. I got two of them off of Craigslist for 60 bucks, and Ryan HATED them. I think they’ve grown on him a bit though… they’ve obviously made the move with us and are #heretostay! ;) You can also see a blurry peak into the dining room, so let’s jump over to that area. Here are a few of the scary before photos…


We had a lot of walls, a lot of brown, and a LOT of extremely dusty ceiling fans on our hands. Ready for the afters?


I could not love this space more and am obsessed with how the photographs turned out, thanks to Sarah’s mad skills! I chose to mix a more farmhouse style dining room table with modern copper chairs for contrast. It’s one of my favorite things to do with design - it just adds so much interest! I added sheep skins to the chairs for texture and comfort. Although we sold both the table and chairs to the new homeowners, the sheep skins made the move with us, and are looking mighty fine draped over our new dining chairs.
Painting the brick on the fireplace and adding a distressed wood mantel really lightened things up in here.. We added shiplap on the walls next to the fireplace and after living with those walls painted white for a bit, ended up painting them Benjamin Moore Cheating Heart. I’m so glad we did! It was looking (dare I say) TOO white in there, and there’s nothing I love more than balancing bright and airy with moody! The dark walls accomplish that and ground the space.
And the room everyone really wants to see… the kitchen!


There was a huge wall dividing the kitchen from the dining area, making the kitchen into a tight, galley-style layout. The cabinets were falling apart and everything was dirty as all get out. After a few minor changes (ha!) here are the afters:


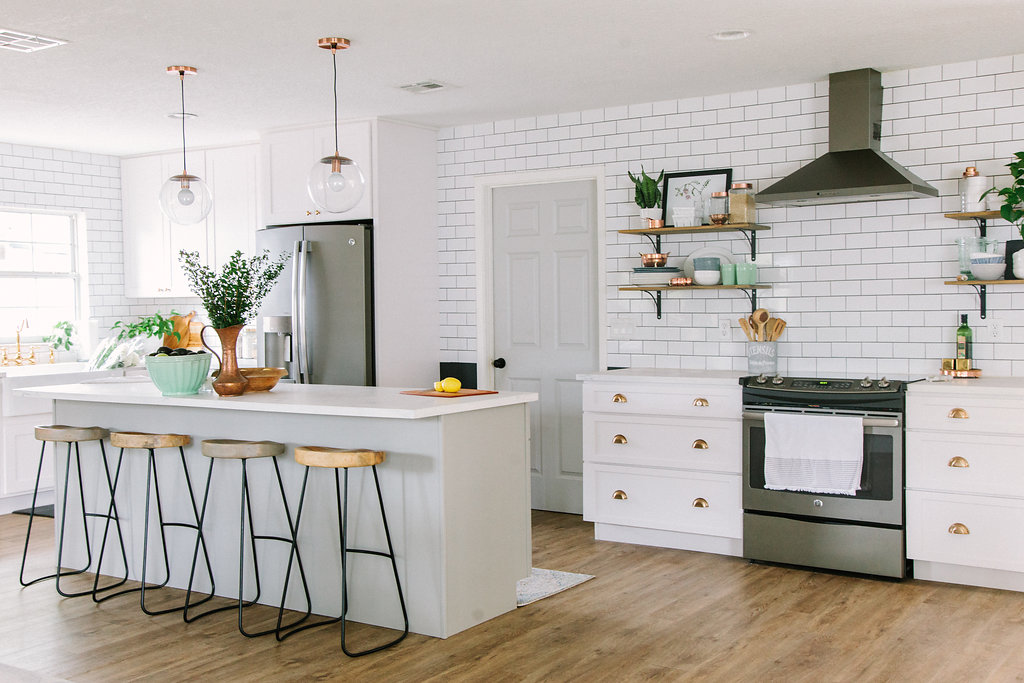


So much better without all those walls! We gained so much space in the kitchen, and got to add an 8 foot island that made me feel like I was on a cooking show when I stood behind it. My darling husband tiled that whole backsplash (and may or may not have wanted to kill me for making it go all the way to the ceiling…), installed the open shelving, and added the cabinet hardware. Talk about pressure - there’s really no room for error when you’re drilling into your brand new tile/cabinets.
When I look at the before photos of the kitchen remodel, I can hardly believe it’s the same space. It took a lot of blood, sweat, and tears (and, let’s be honest - money) to take this space from the before to the after, but it was well worth it. There’s not much that’s more satisfying as a designer - taking a space that’s rundown and scary and turning into something beautiful and functional.
Stay tuned for more Touraine Project reveals! And if you have your own Orlando renovation project to tackle, don’t hesitate to reach out - I’d love to help you design the space of your dreams!
Pssst - if you’re interested in sources for anything, you can now shop our house! I am slowly but surely getting everything possible up there - if it’s not on there, it’s probably from Craigslist or Homegoods! ;)
Homespo Reno - Weeks 4&5 Progress
Well we're over one month into our renovation, and it just now feels like we've turned a corner! Week four was pretty slow and frustrating - a delayed electrician meant that everything else was on hold. The walls couldn't be patched, which meant we couldn't paint, which meant we couldn't lay floors... oooof. So we fell a week or so behind schedule, but we more than made up for that in week 5!
Well we're over one month into our renovation, and it just now feels like we've turned a corner! Week four was pretty slow and frustrating - a delayed electrician meant that everything else was on hold. The walls couldn't be patched, which meant we couldn't paint, which meant we couldn't lay floors... oooof. So we fell a week or so behind schedule, but we more than made up for that in week 5!
Ryan's awesome sister Courtney flew down last weekend for the sole purpose of helping us with the house! What a gem. We got a ton done while she was here, and we've kept up that momentum going into week 6! (But you'll have to wait for the next post for those details)
Here's what we knocked out in weeks 4 and 5...
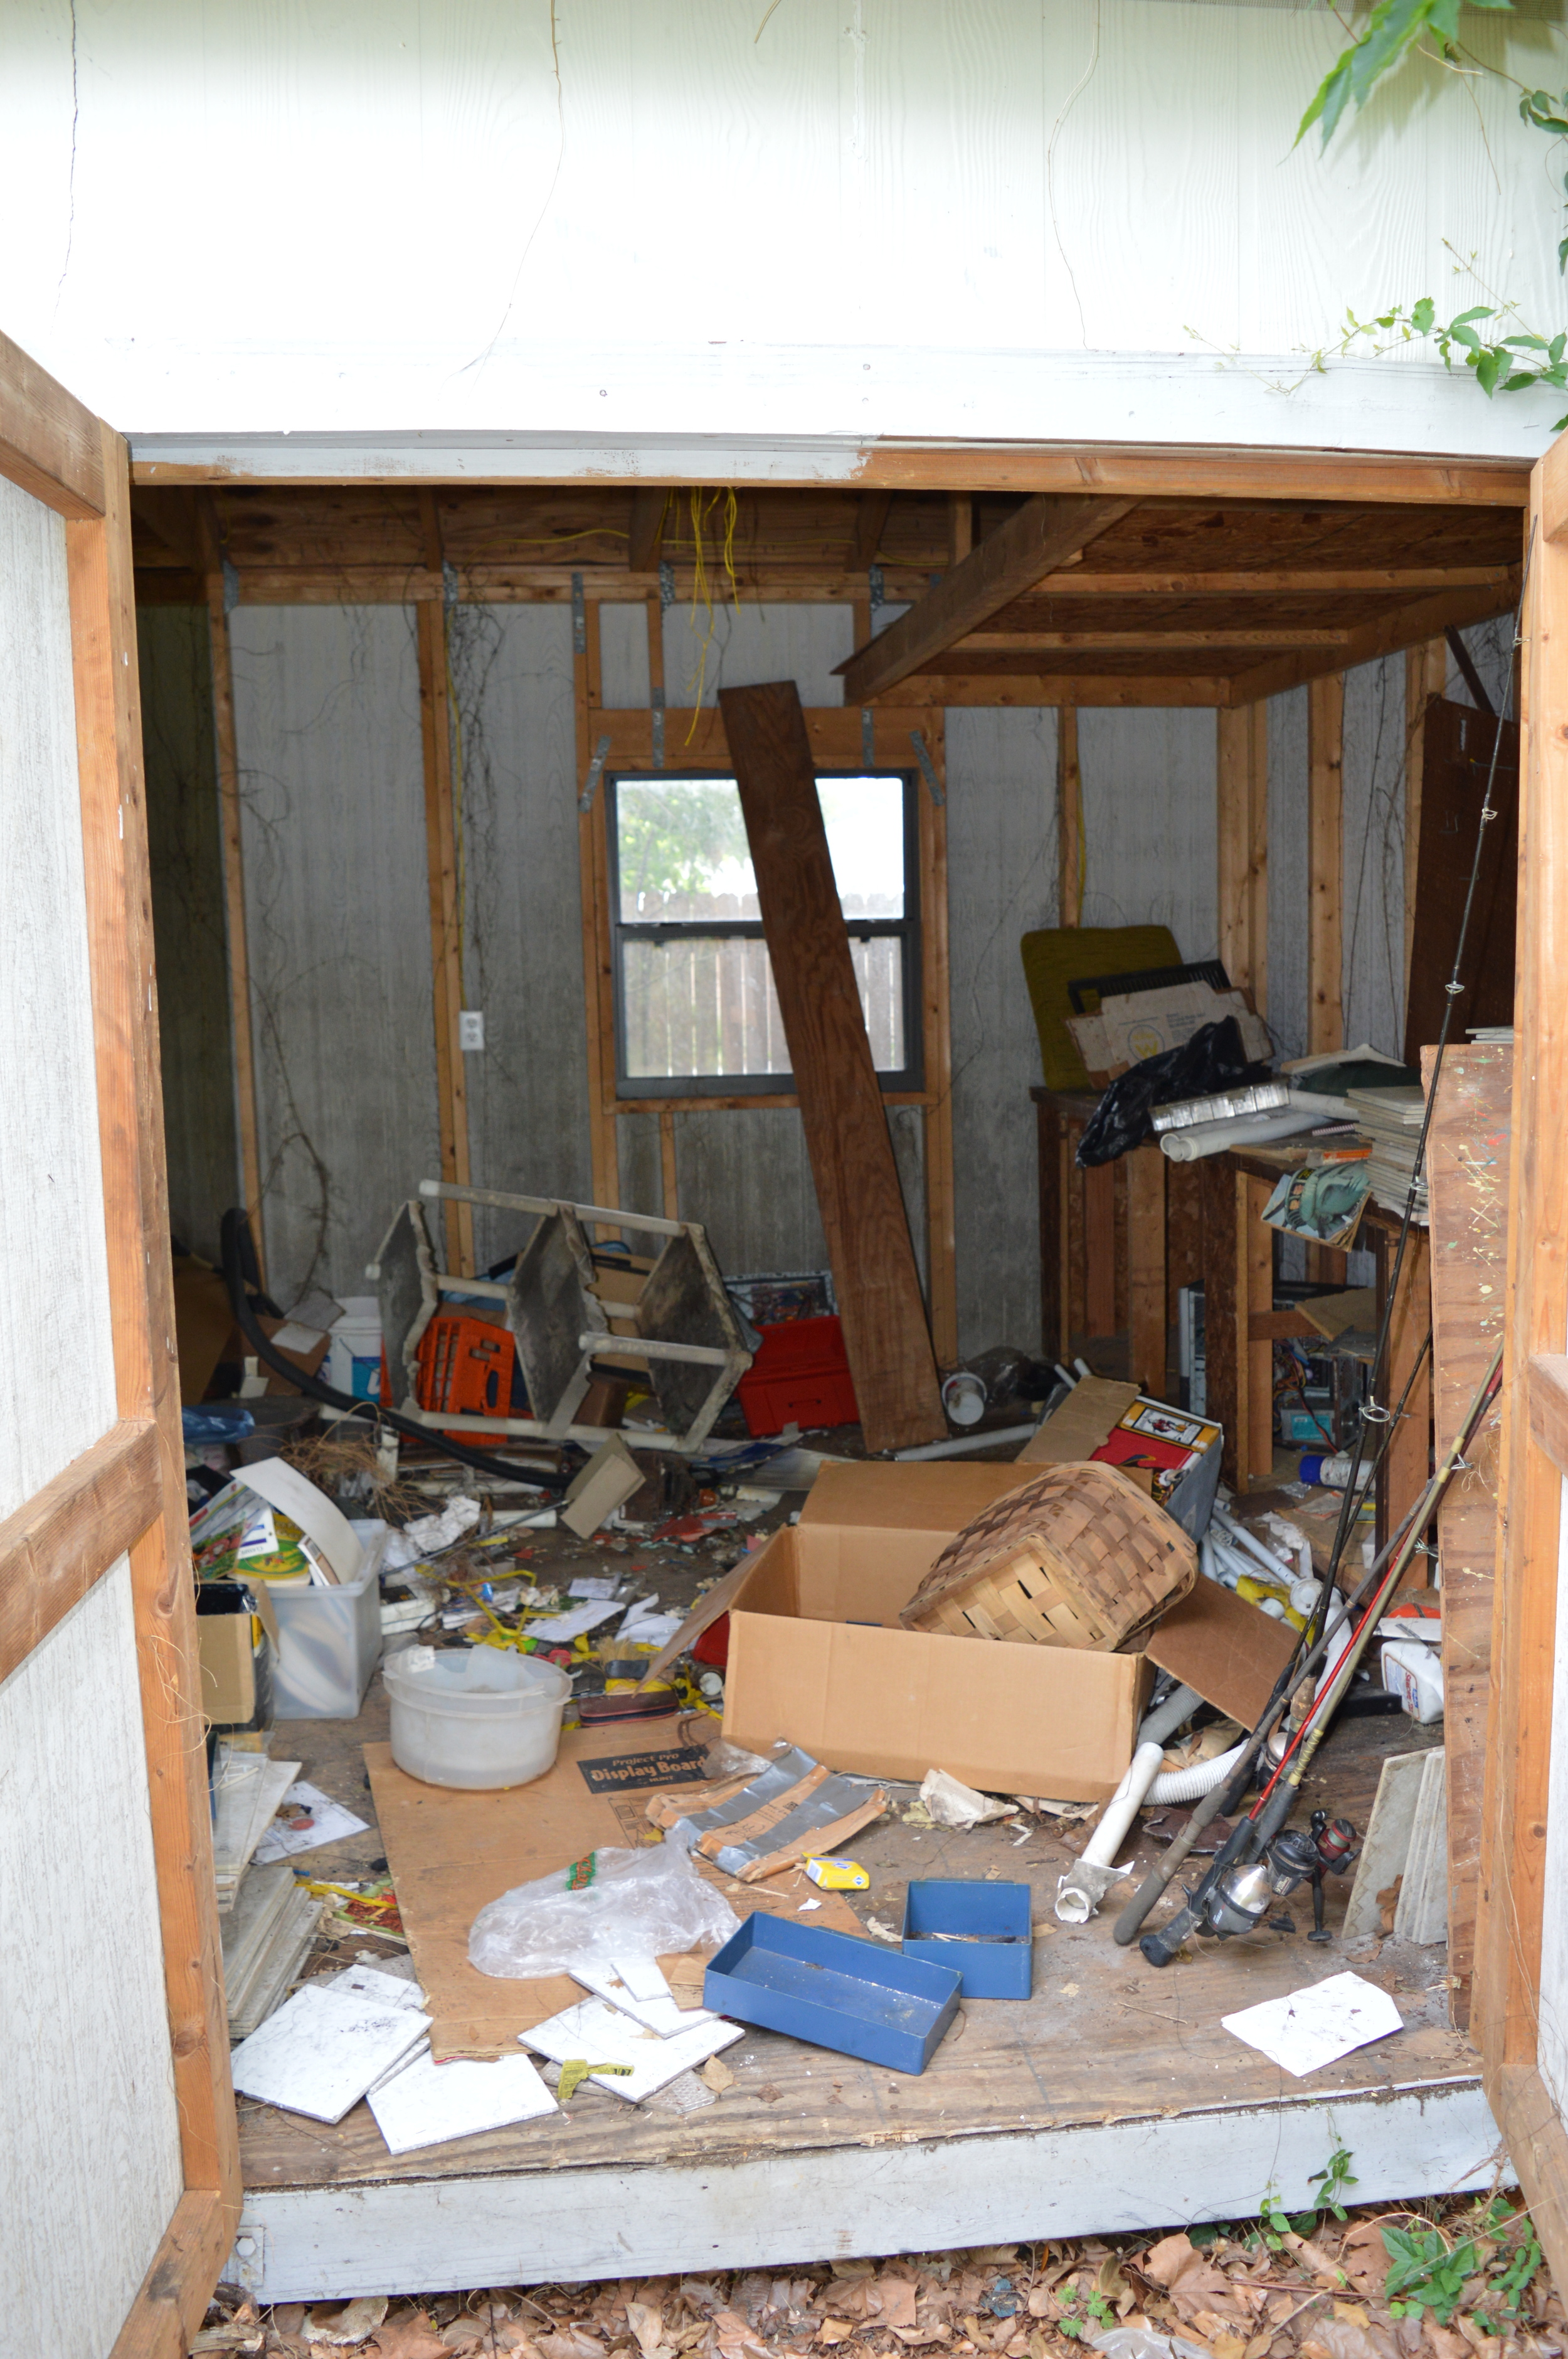
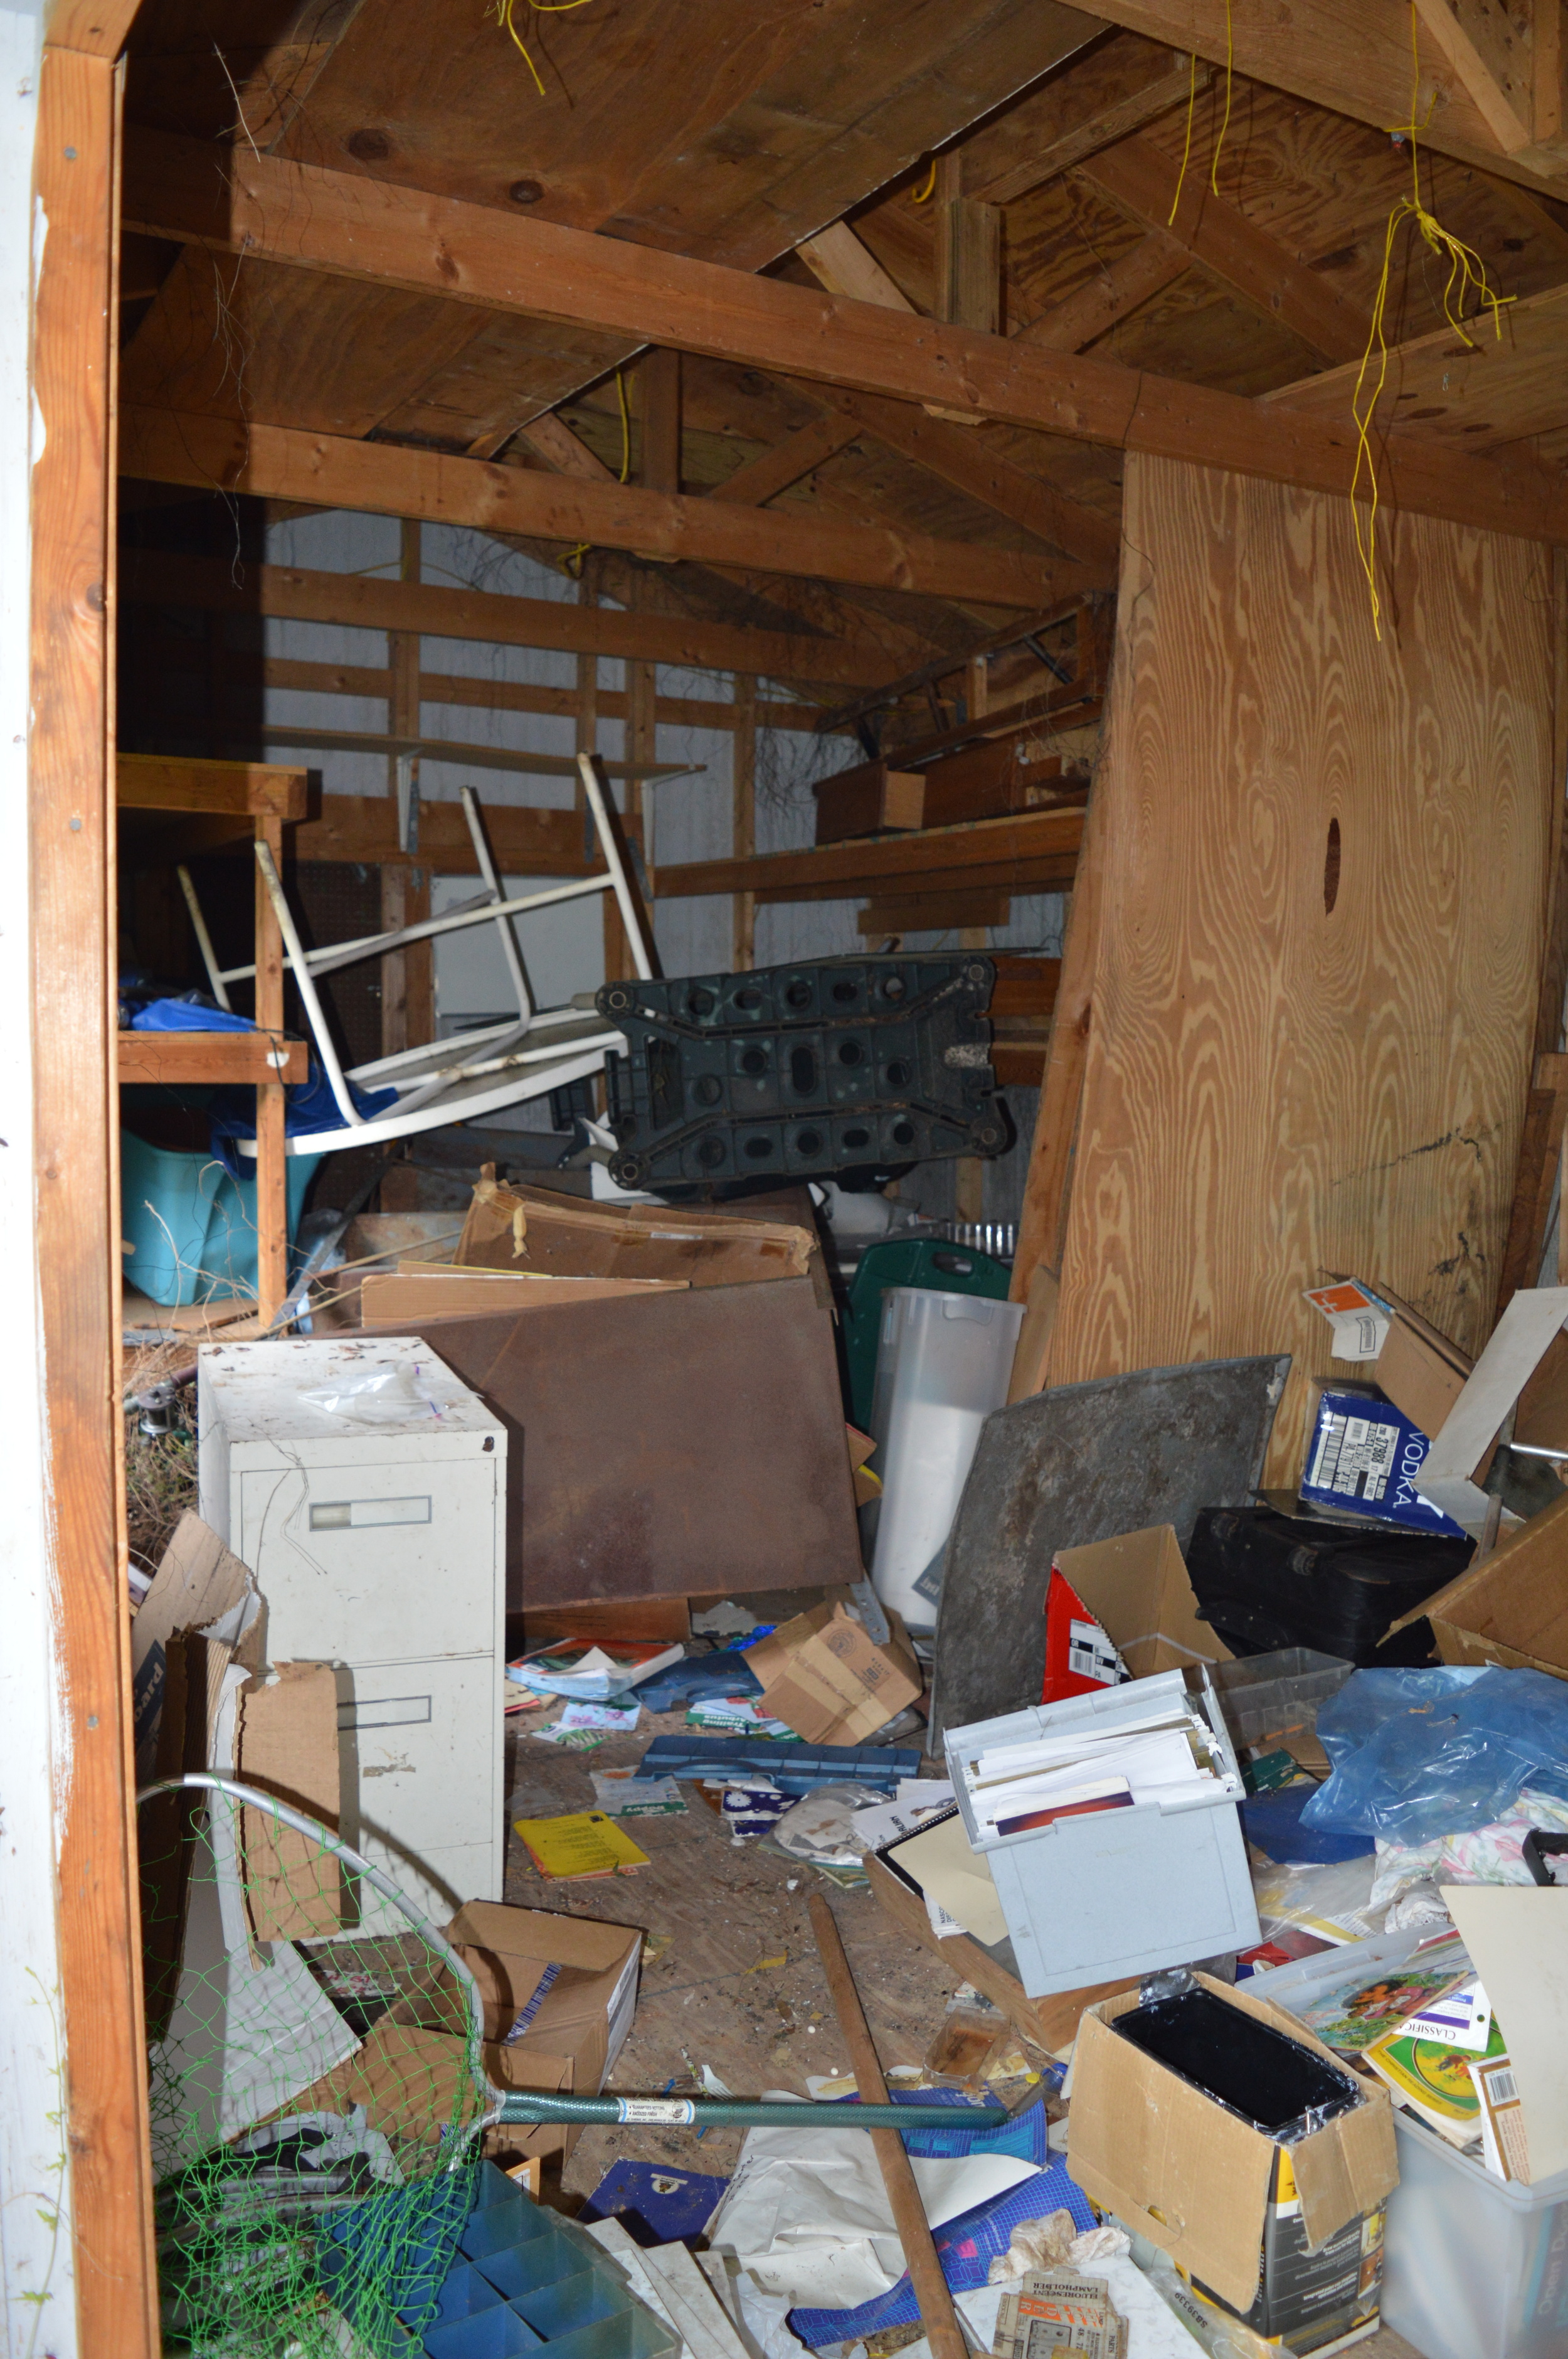
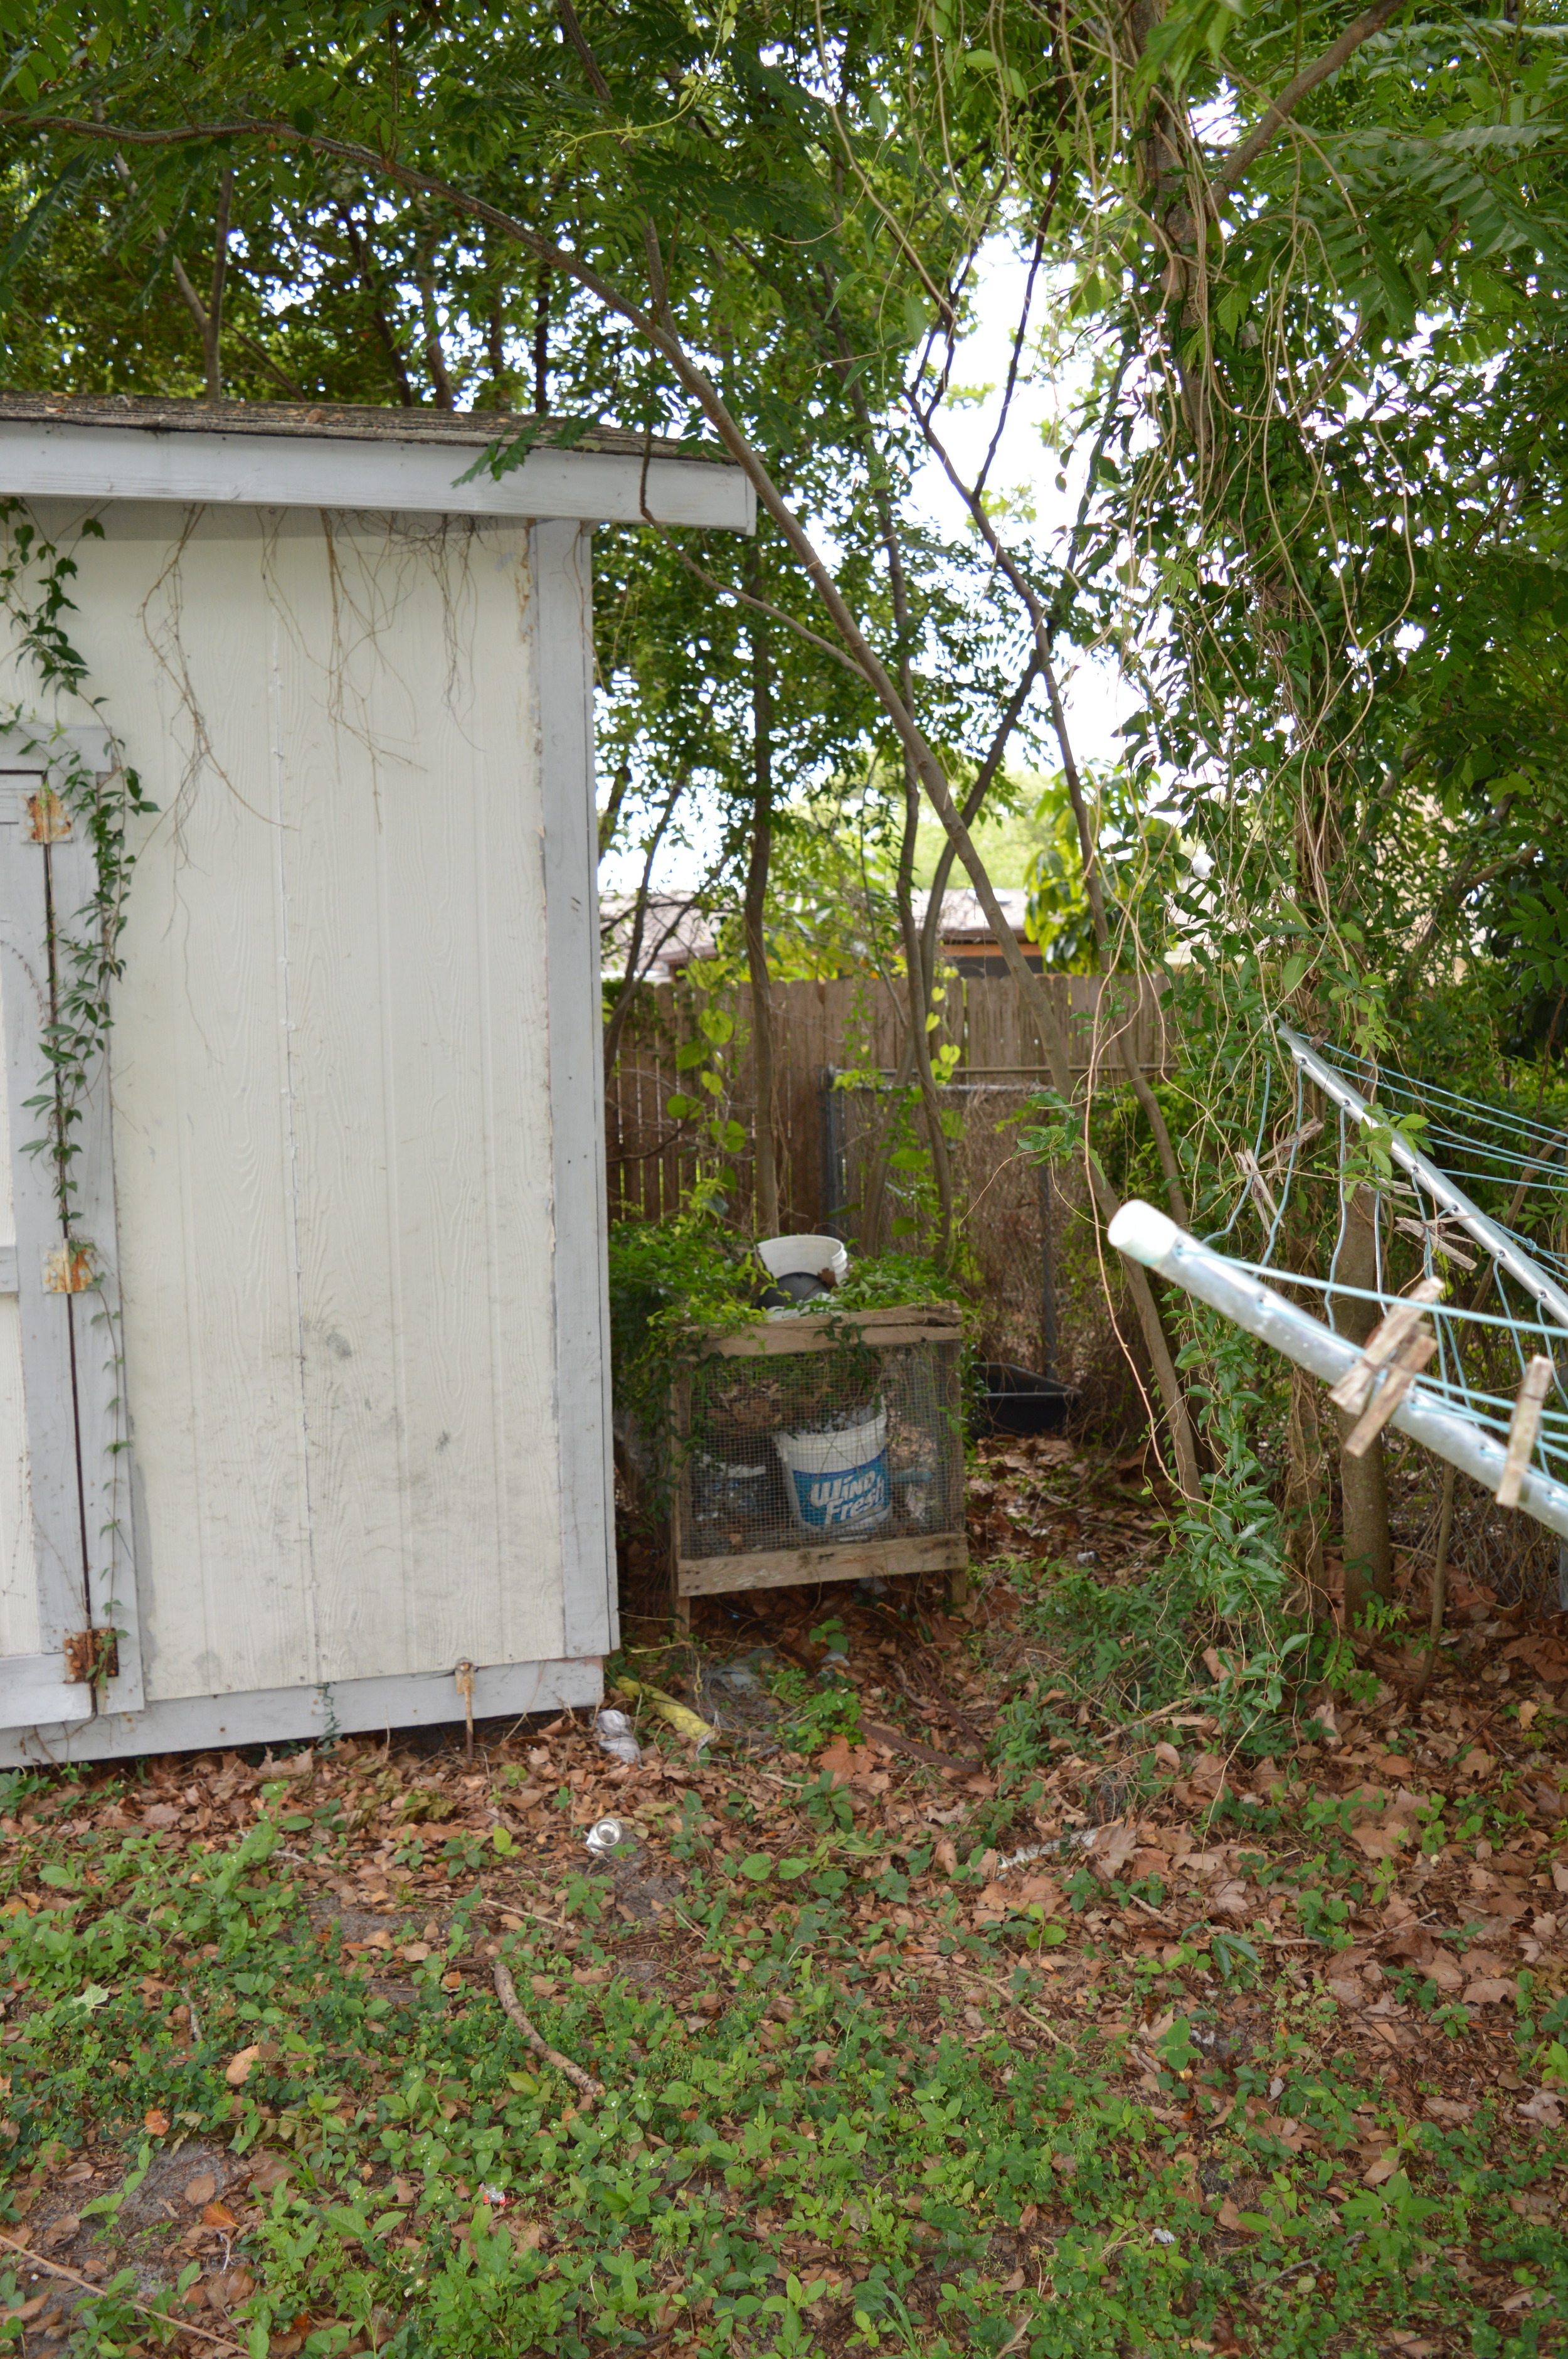
Cleared Out the Hoarder Shed
Oh, our backyard shed. It was the stuff of nightmares. It's 24' x 8' and basically every single inch of that was packed with crap. Big shout out to the former homeowner for leaving us with all this wonderful treasure to deal with... NOT.
It took me, Courtney, and Ryan almost 3 hours to empty it all out. We filled a 30 yard dumpster with all the stuff - it was insane. We were literally scooping it out with a shovel. Let's just say I couldn't be happier this particular task is crossed off the list. It was the worst!

The scary before

Tossing crap out by the shovelful!
Walls Patched
Do you remember all of the holes in our walls from our last post? Those finally got patched, mudded, and sanded, which means we have whole walls (instead of hole walls) again - hooray!
Got the Guest Bathroom Vanity
Originally we were planning on leaving the guest bathroom as-is. Cleaning the heck out of it, of course, but that was about it. However, it soon became apparent that that wasn't going to fly. It all started with the vanity - the drawers were all janky, and it was absolutely gross.
So we decided to replace that, but when we pulled it out we saw that the bathroom tile didn't extend under the old vanity. That left us with a vanity-sized hole in the tile that our new purchase wouldn't completely fill... which led to us ripping out all of the existing tile. When we were ripping out the tile, part of the dry wall came off, revealing gross mold on the bottom of the walls... which led to us taking out drywall. Aiy yi yi! So our guest bathroom has snowballed from "leaving it alone" to close to a full gut job. Oops!
For the new vanity, we purchased this antique dresser from Craigslist. We got this vessel sink and this faucet to go with it. Now it's up to Ryan to turn it from dresser to vanity... he just loves when I come up with these grand plans! ;)

Our Craigslist dresser that will one day be the guest bathroom vanity
Painted the Baseboards & Doors
We had to get new baseboards for the house, and all 500+ linear feet of them needed painting. Enter the lovely Courtney, who painted all of them over two days! She got into a groove and knocked out two coats on every one of them, which we can't thank her enough for!

Courtney in the baseboard painting zone!

We also got all new doors for the house, which we decided to paint gray. The color we ended up going with was Benjamin Moore's Stonington Gray.

Cut in with Paint

Again, Courtney was a huge help on this one! She did all of the cutting in on the bedroom side of the house, and Ryan finished up in the main room. That was a huge thing to cross off the list, and made the rolling portion of things (to come in week 6!) go so much faster!
Those were the big tasks we accomplished over the last two weeks! It's awesome to finally see it starting to look like a house, and the finish line feels like it's finally in sight. Stand by for week 6 updates!

Homespo Reno - Weeks 2&3 Progress
Holy cow - has it really been 3 weeks since our renovation started? Time is flying - but somehow not going fast enough at the same time - since we're anxious for our house to be finished!
In the meantime, we're trying to enjoy the process. The changes in weeks two and three were a lot less visually dramatic (no knocking down a million walls), but things are moving along all the same. Here's the rundown of where we're at!
Our Garage Door Opens

We finally have a garage door that opens! It's the little things. If you'll recall from the before pictures, our garage used to be an in-law suite. We decided to convert it back to a garage, and in a stroke of luck, the garage door and all of the rails needed for it to function already existed! They had dry walled over them when they converted the space, but we ended up only having to pay for labor to have the rails put in place - so much cheaper than having to buy new parts or a new garage door. Whew! We are still sans garage door opener (we're not made of money - ha), and will be that way for the foreseeable future.
We Got Our Appliances & Farm Sink

Our bath tub... I mean sink.
One thing I knew I had to have for our new kitchen was an awesome farm sink. We were originally planning on a 30" farm sink, but then our contractor informed us we actually needed a 36" sink because of our cabinet configuration. Holy cow, that's a lot of sink! I feel like this picture doesn't even do it justice - it's truly massive in person. But we loooooveeee it! After a ton of research, we bought our farm sink from Vintage Tub & Bath. It's the Whitehaus Duet Series 36 Inch Farmhouse Fireclay Farmhouse Kitchen Sink in the white finish, and was the most affordable one we could find.
We also purchased our appliances, & two out of three of them have been delivered. We ended up getting them from the Sears Outlet, and went with GE Appliances in a slate finish. I love love love how the slate looks, but thought Ryan would still want to go with stainless, since that was what he originally requested. After seeing the slate in person, he was actually the one who was pushing for us to get those ones! Well, twist my arm... ;)
We ended up with this range, this fridge, and this dishwasher. (And didn't pay anything near what they're listed for on the site - wooop!) We got pretty awesome deals on everything - the fridge and dishwasher are from the Sears Outlet, and I ordered the matching range online from Appliances Connection. I can't wait to show you guys a picture of them once they're all installed!
Paneling/Built-Ins Next to Fireplace are Gone

On either side of our fireplace we used to have lovely dark paneling with built-in shelves. We decided to have those suckers removed, and thank goodness we did! When the crew took the paneling down, pretty much the entire wall was covered in mold. Cool. So we got some new drywall, and we're in business! That room already looks so much lighter without the dark wood paneling dragging it down.
Re-wiring the Electric is Underway

A couple weeks ago we got our first really bad news call (which Ryan referred to as our Chip & Joanna call... #fixerupperobsessed) - we needed all new electric in our house. UGH. It's something that our inspector (who also happened to be our original contractor who we were NOT a fan of) should have caught. Funny how it can feel like someone is still screwing you over even after they're out of your life!
But I digress... our wiring was all aluminum... aka our house could spontaneously combust at any moment. Perhaps I'm being a tad dramatic - but really, it needed replacing. Replacing to the tune of $6,000. Oooof. The joys of home ownership... and fixer uppers... and renovations...
So the re-wiring started at the end of last week, and should be done this week. Then our contractor will patch the millions of holes that are now in our walls, and we'll be back in the saddle!
We're hoping to start painting and then laying floor by Memorial Day - fingers crossed that little dream works out for us - ha.

Homespo Reno - Week 1 Progress
We've made it through the first week of our renovation, and things are movin' and groovin' over at the house! Ryan and I have been over there pretty much every single day after work to check on how things are going. What can we say, we're just a tad excited! If you saw the post with our before pictures, you'll know how the house looked on the day we closed. One week later, here are our progress shots, and a breakdown of what's been going on.
We've made it through the first week of our renovation, and things are movin' and groovin' over at the house! Ryan and I have been over there pretty much every single day after work to check on how things are going. What can we say, we're just a tad excited! If you saw the post with our before pictures, you'll know how the house looked on the day we closed. One week later, here are our progress shots, and a breakdown of what's been going on.
Front Landscape (ahem, jungle) Taken Out

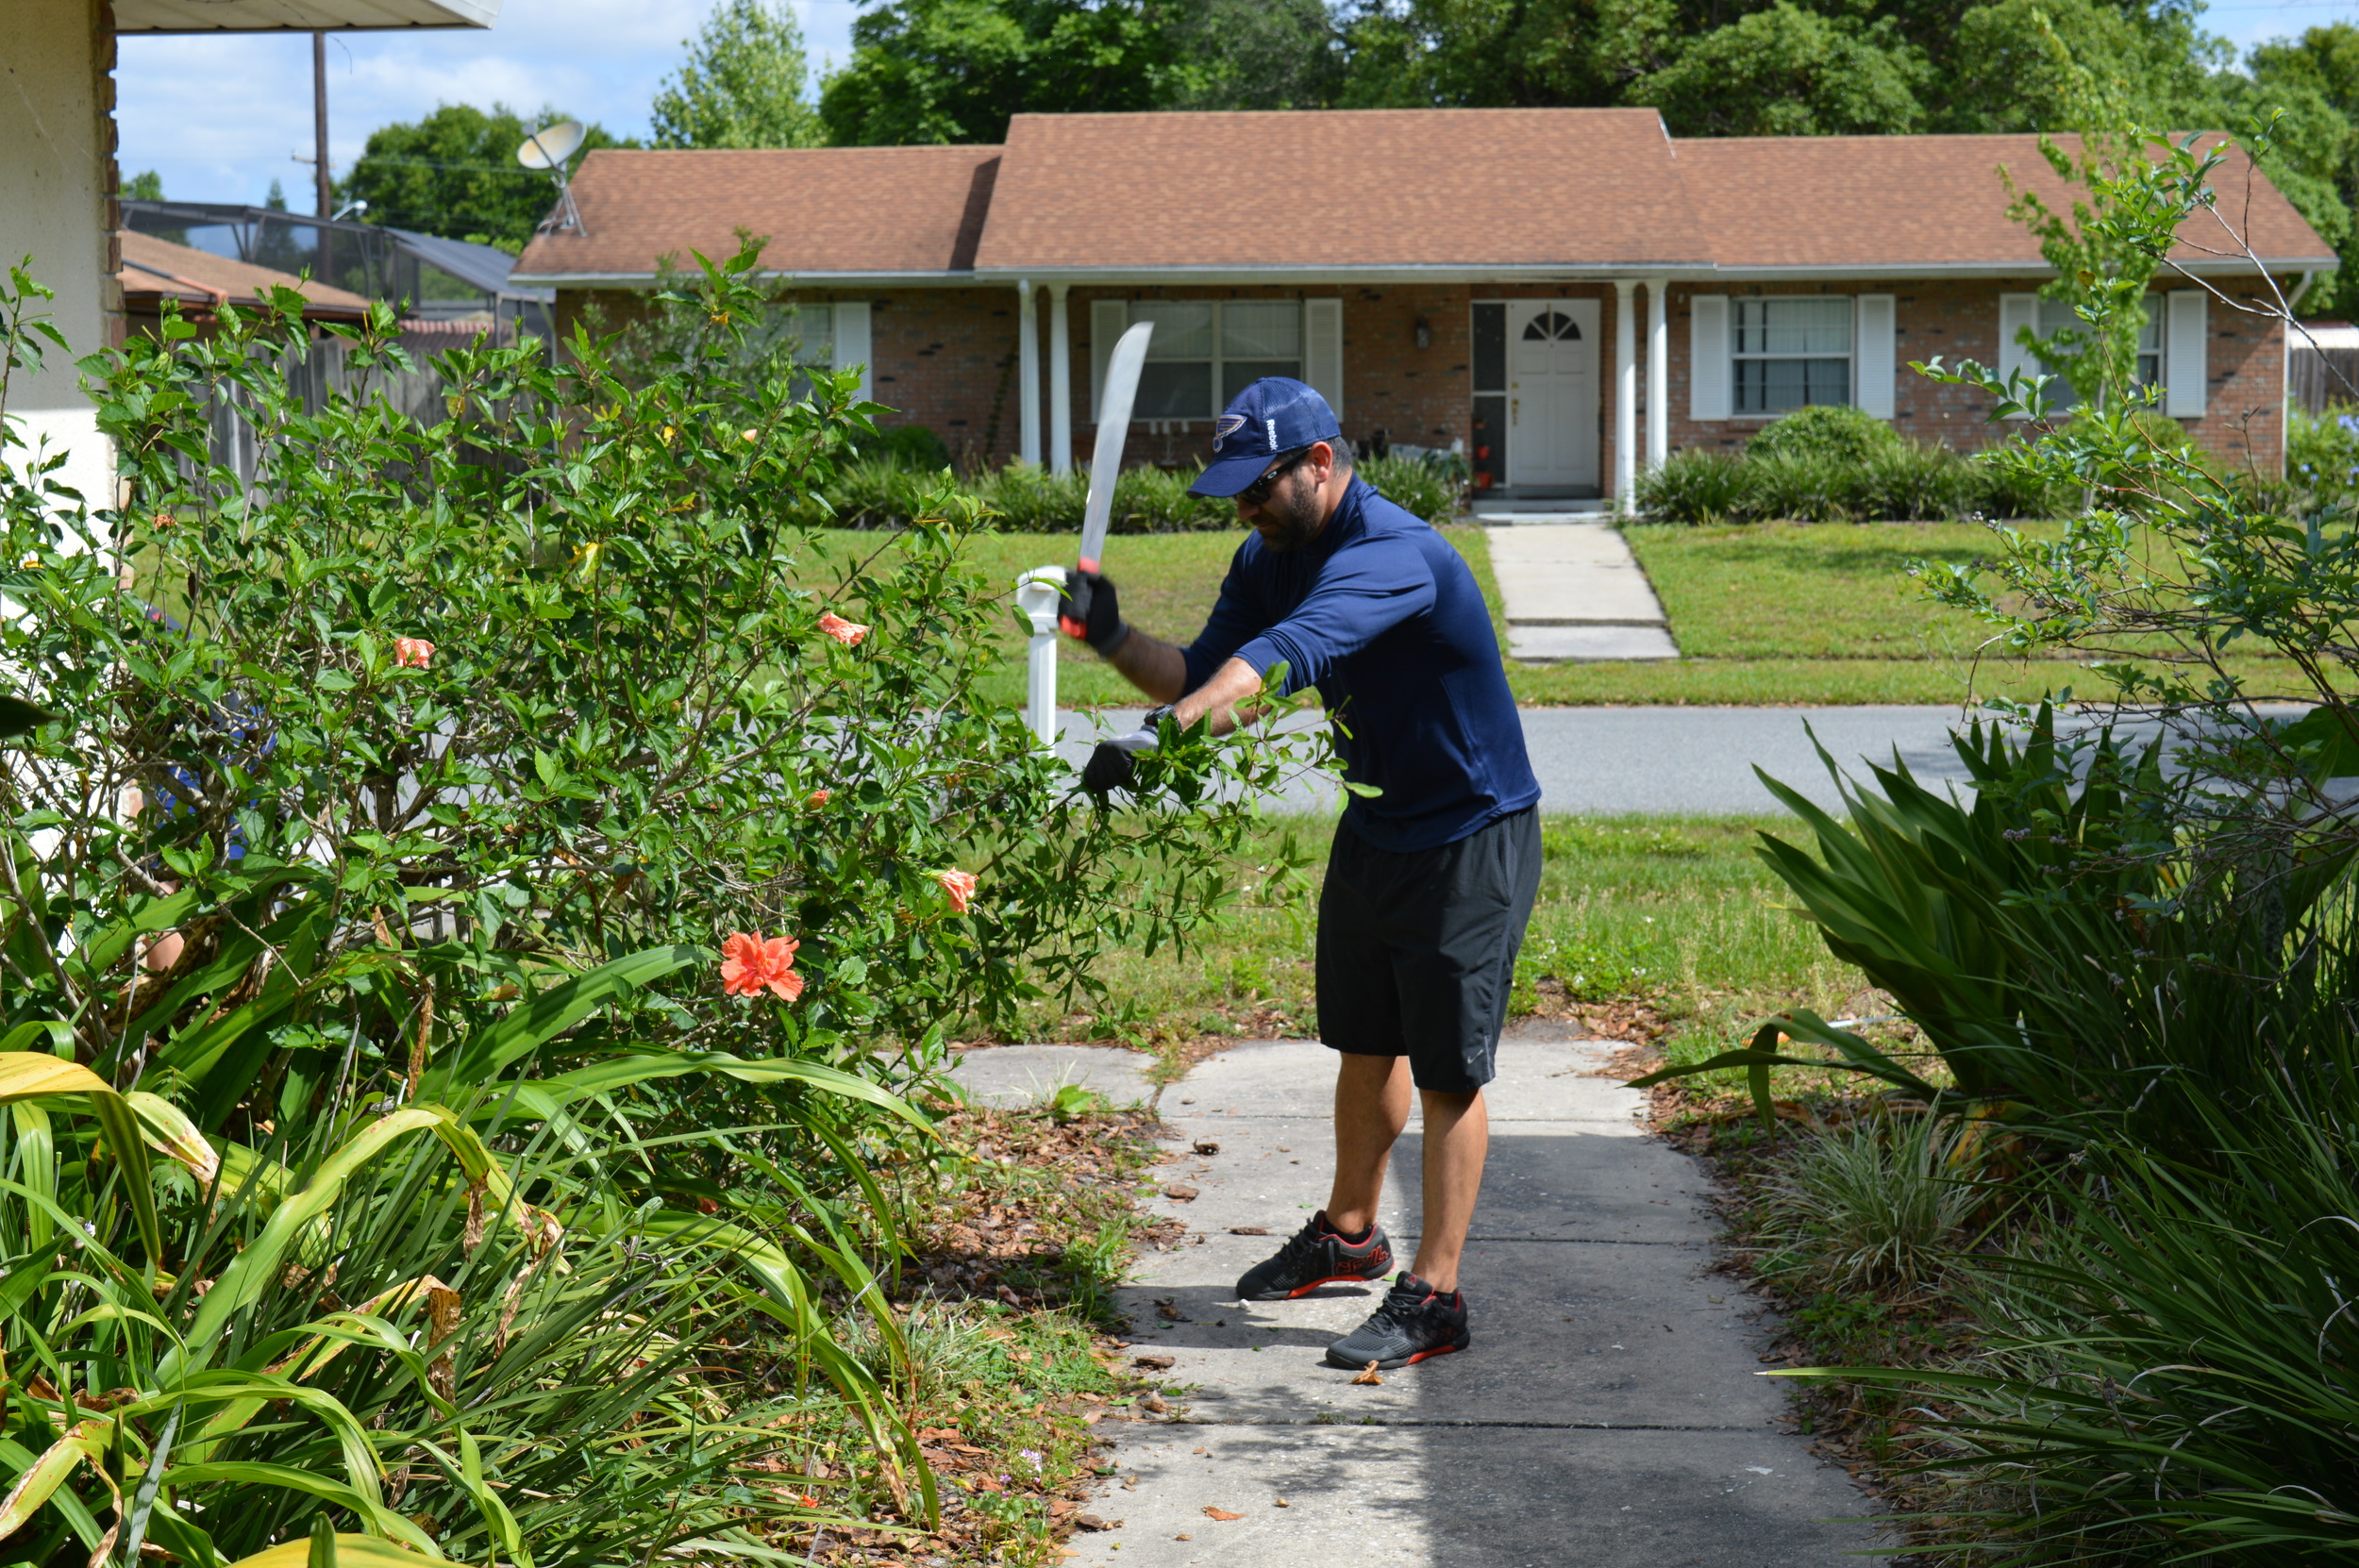

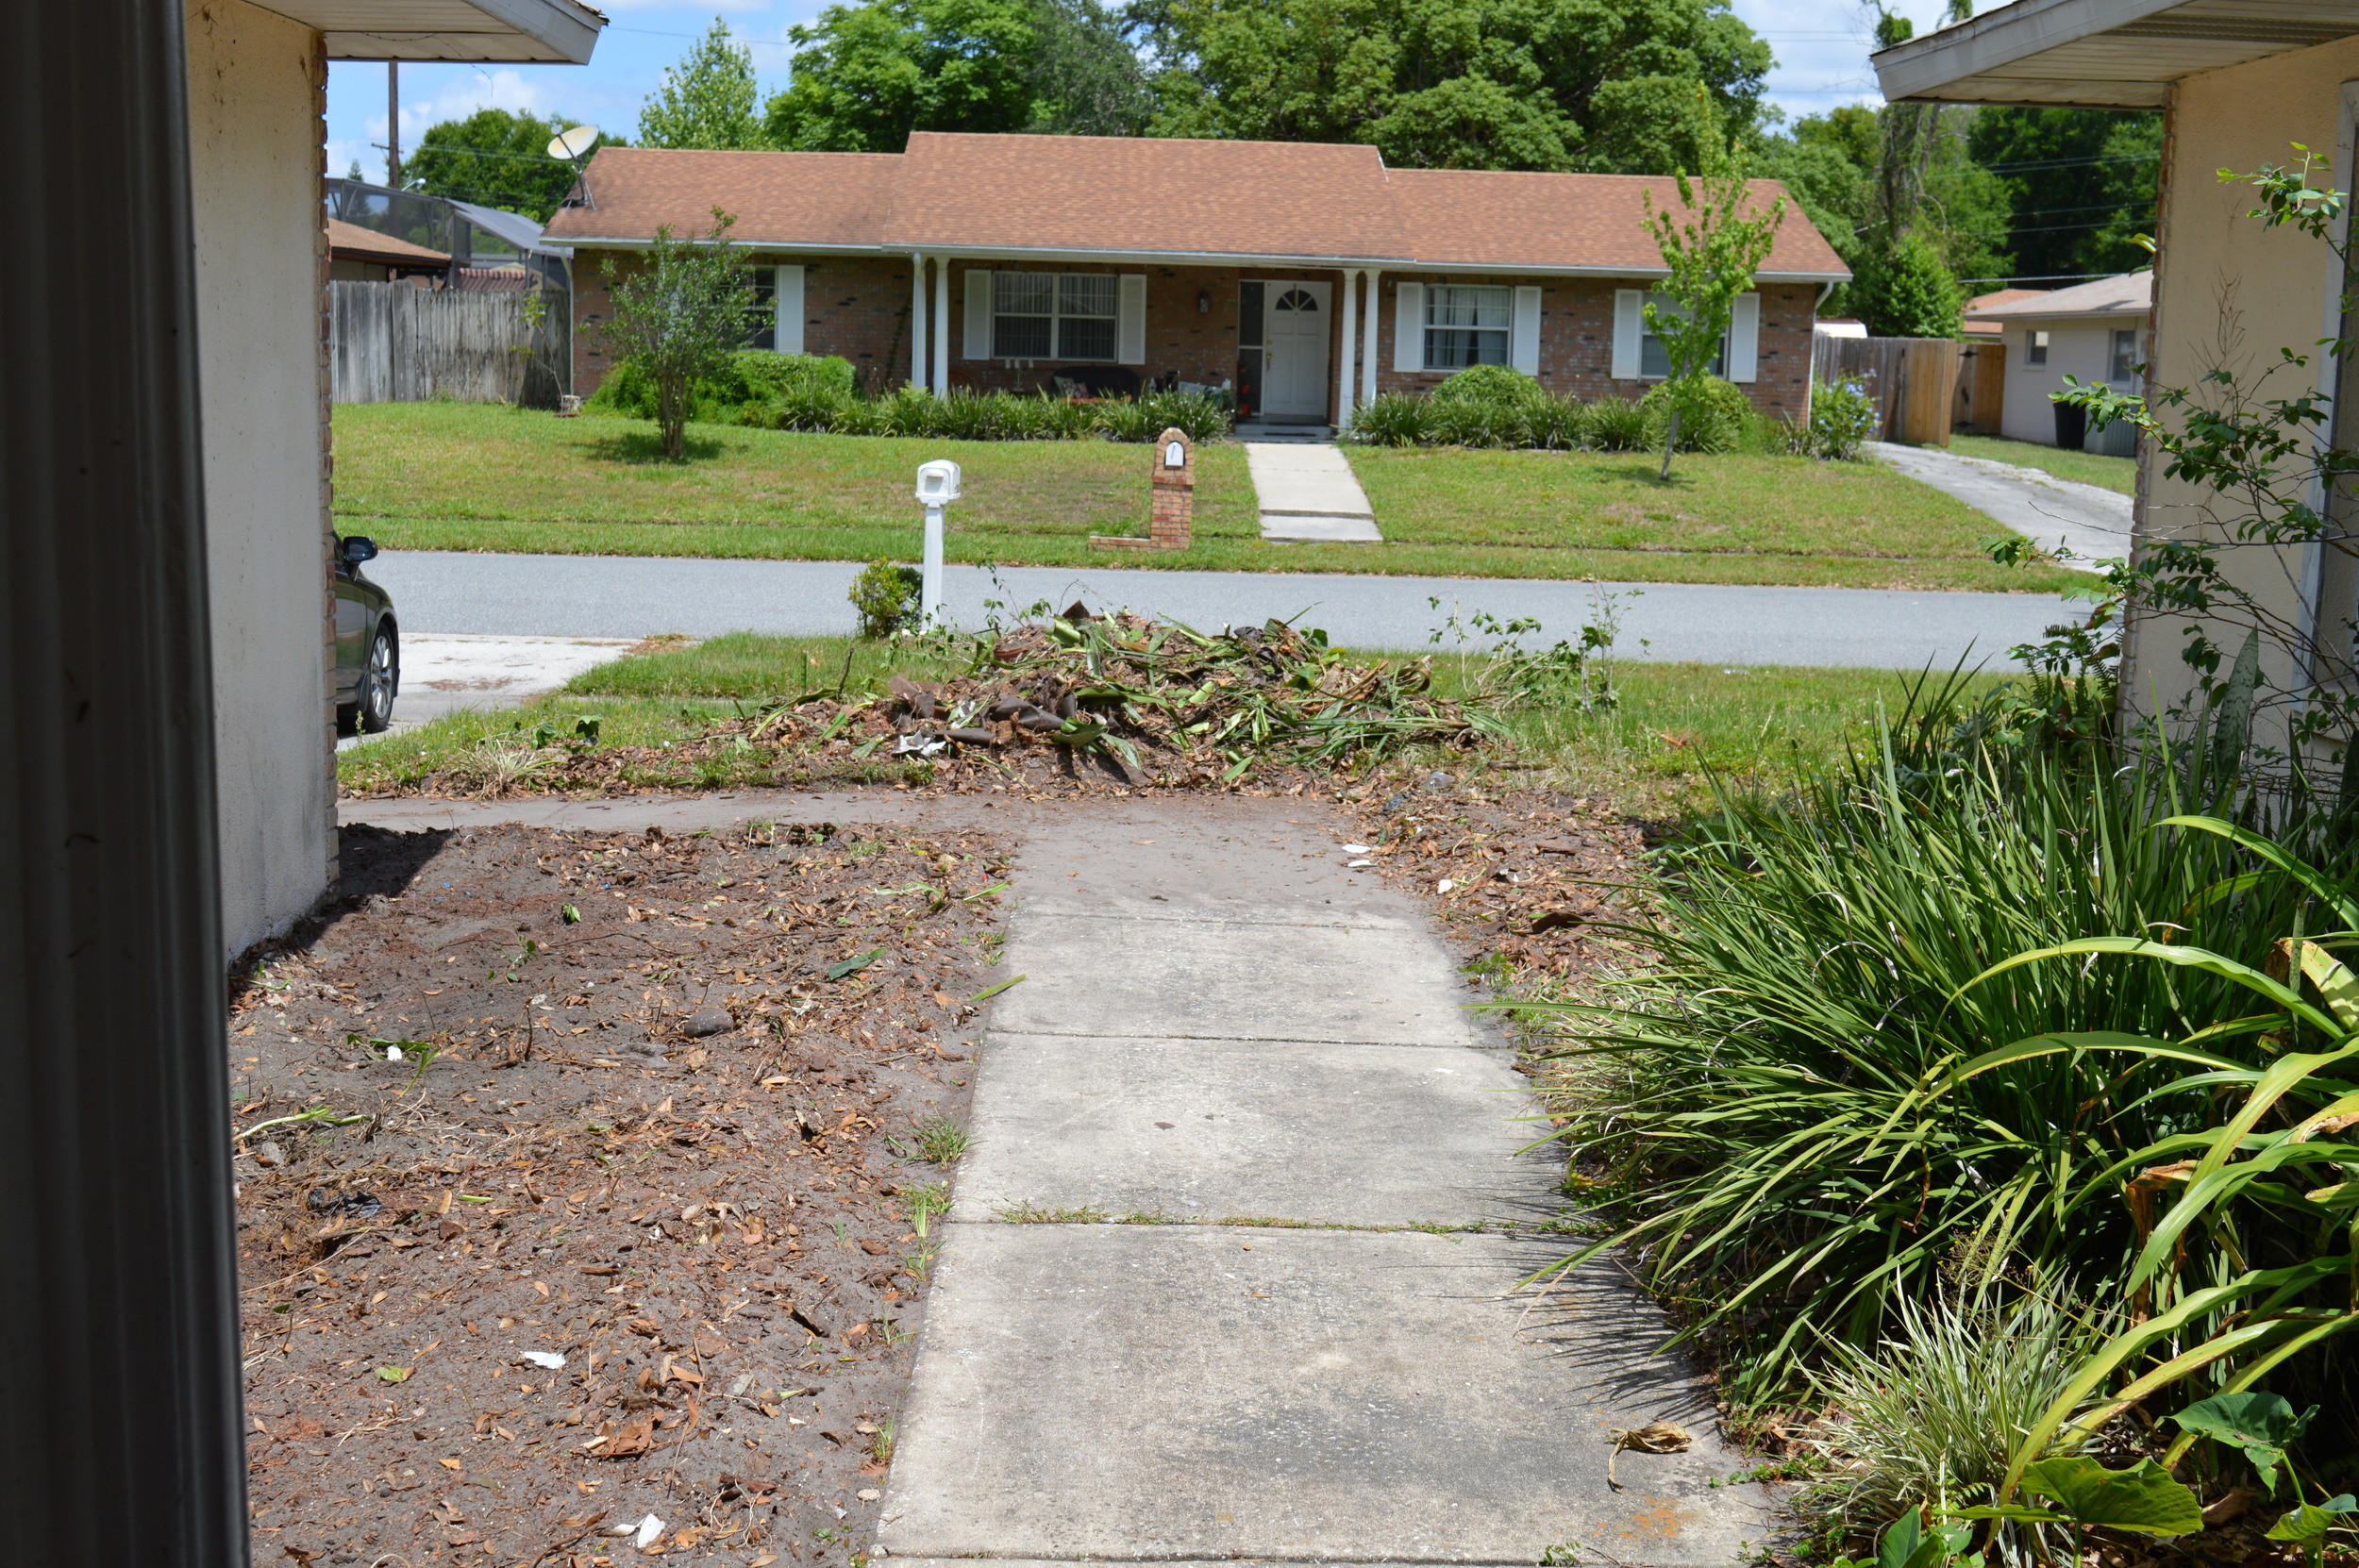


Ryan and our friend Heavey spent last Sunday tackling the jungle that was our front landscaping. After multiple hot-as-hell hours outside, you could actually see our house! The guys had fun wielding machetes and pick axes, and I... mostly offered moral support. Ha. We're grateful to have good friends who are willing to help us out! (Although we do feed Heavey a lot, soooo.... ;) )
The Contractor Started Demo


In just a few days, our contractor's crew tore the place up! Drywall removed, kitchen out, tile jackhammered... they weren't messing around. I never thought I'd be so excited for my house to be such a disaster.
We Bought Our Flooring!


All 110 boxes of it - oooof. We decided to go with NuCore Driftwood Oak Planks from Floor & Decor. I'll do another post on how we decided on this floor, but we love it, and it feels good to have such a big decision (and purchase) out of the way!
Walls Came Down

We walked in the house Saturday morning to a pleasant surprise - no walls! Sometime on Friday evening they removed all of the studs that had been up during the week. It's so exciting to finally see the house start becoming what we envisioned - the walls coming down was a huge part of that! It's getting easier and easier to see the end game now.
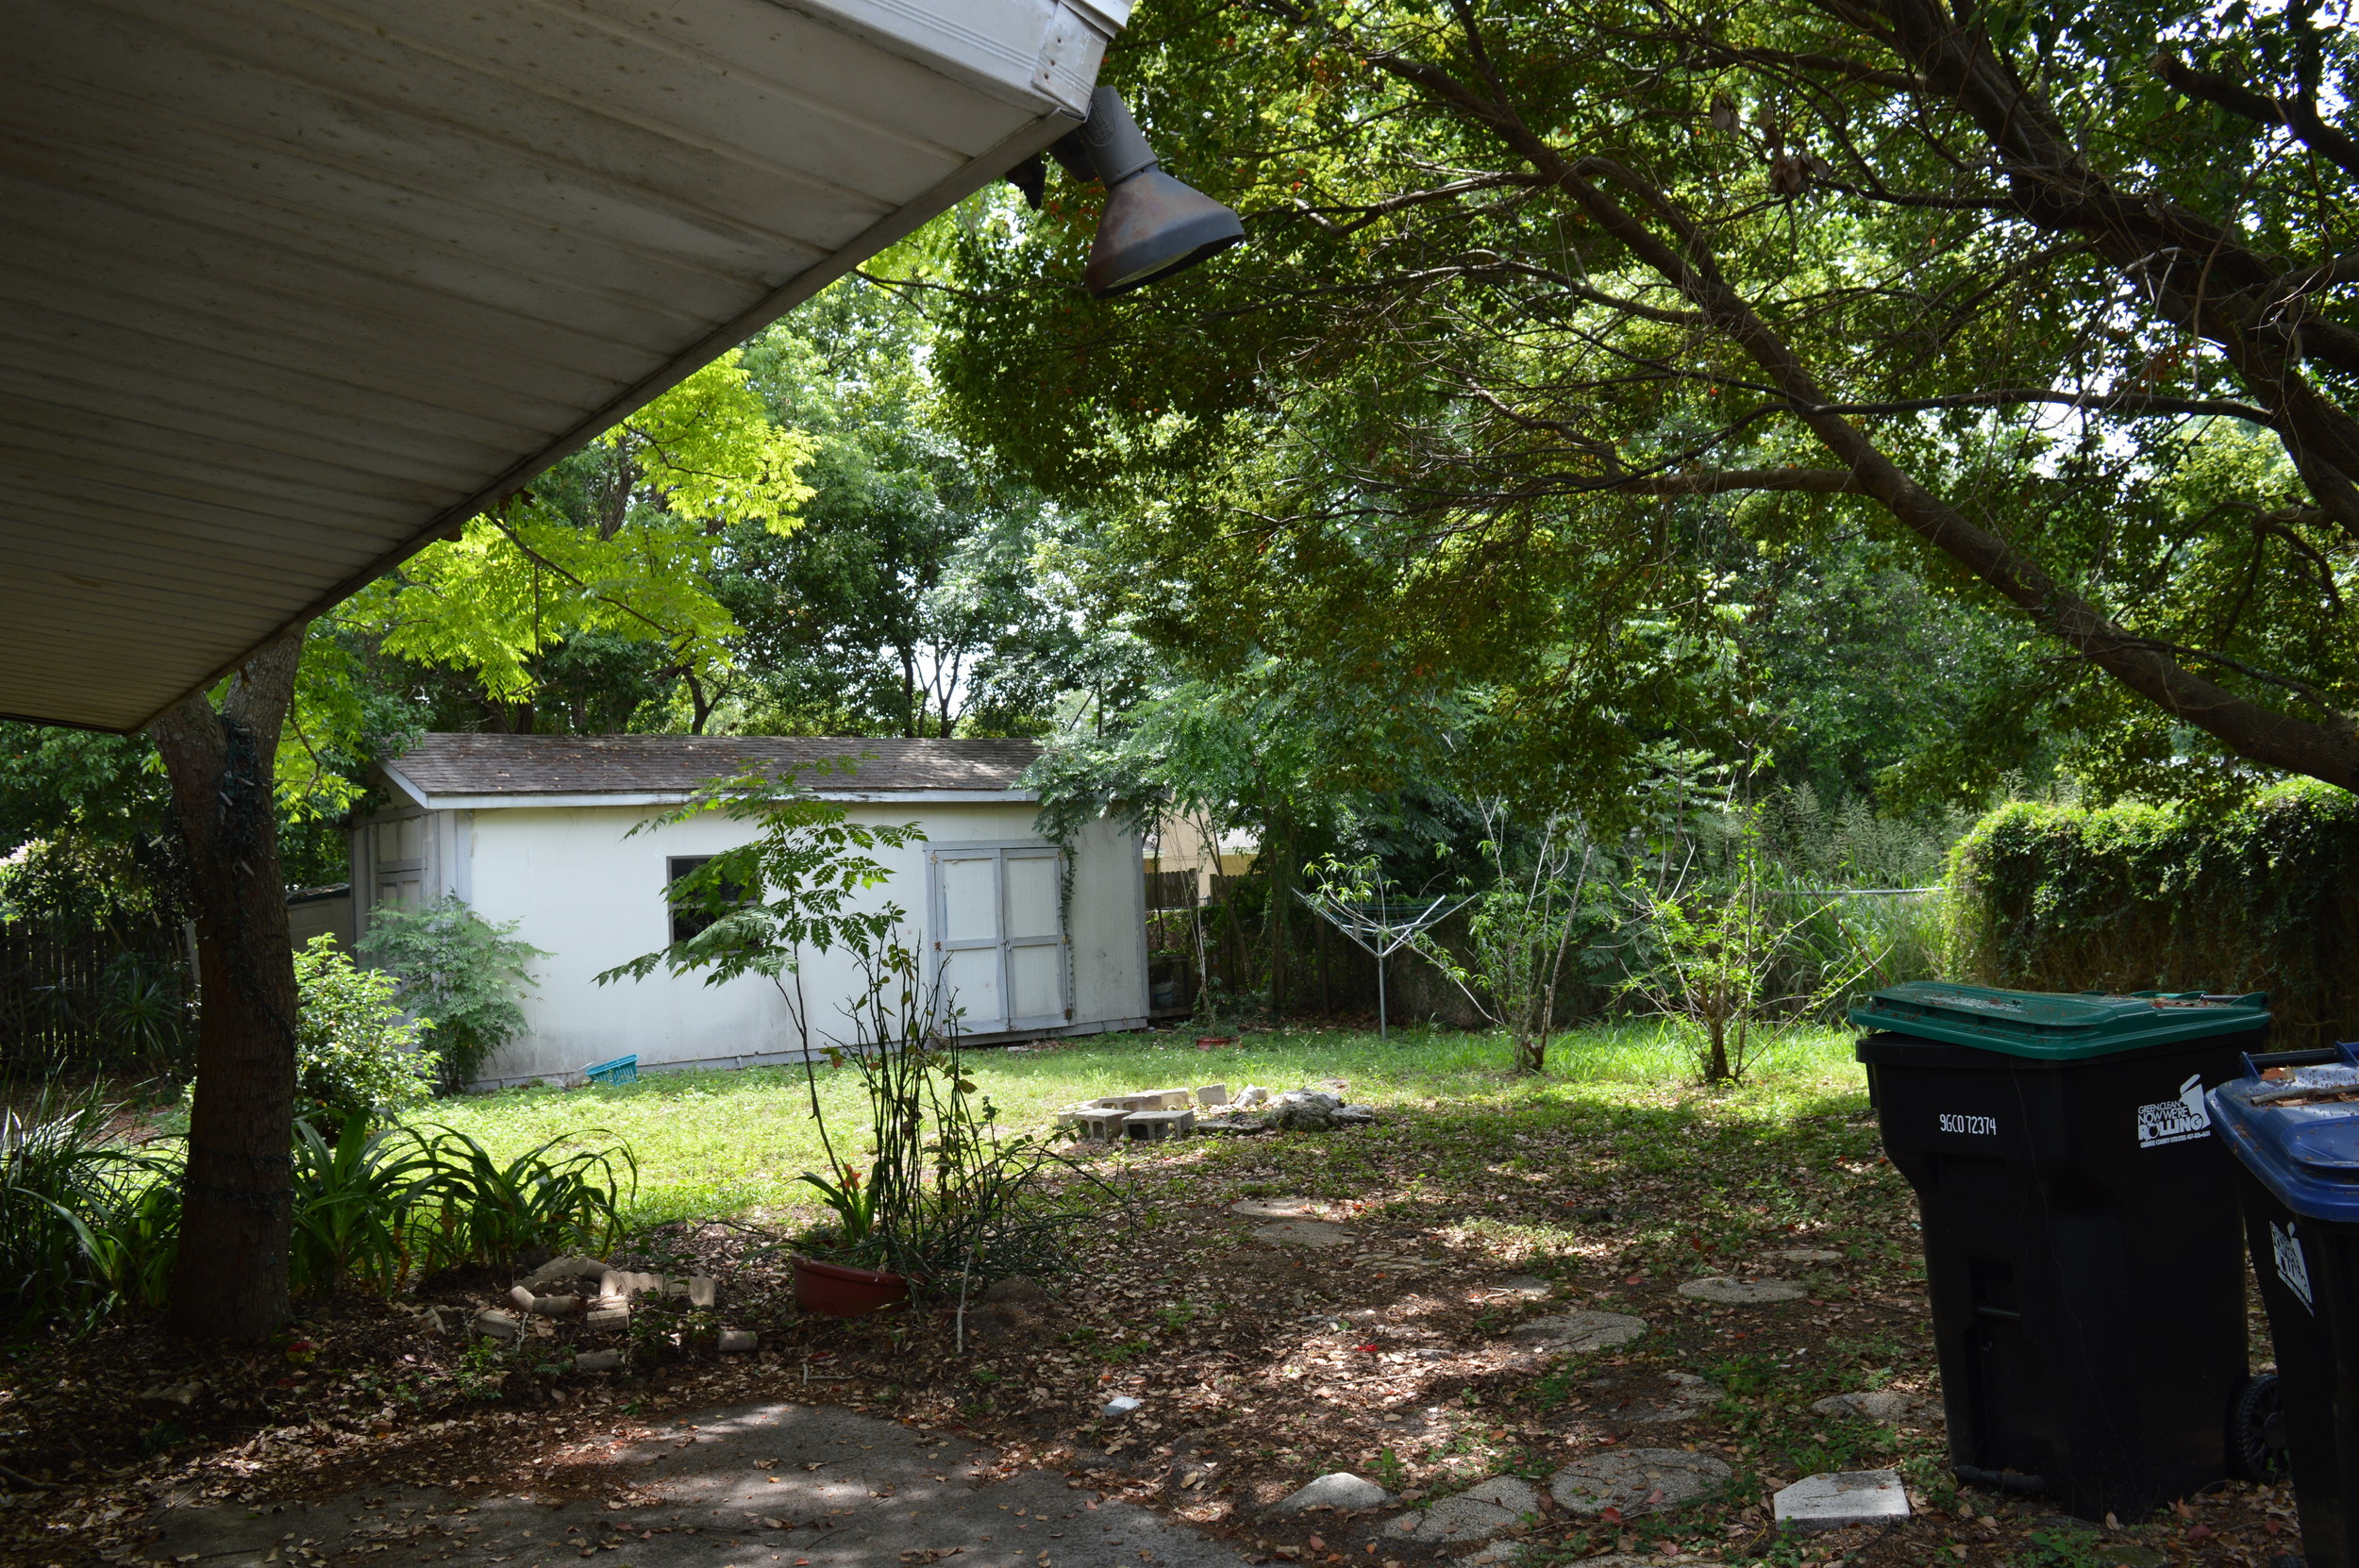
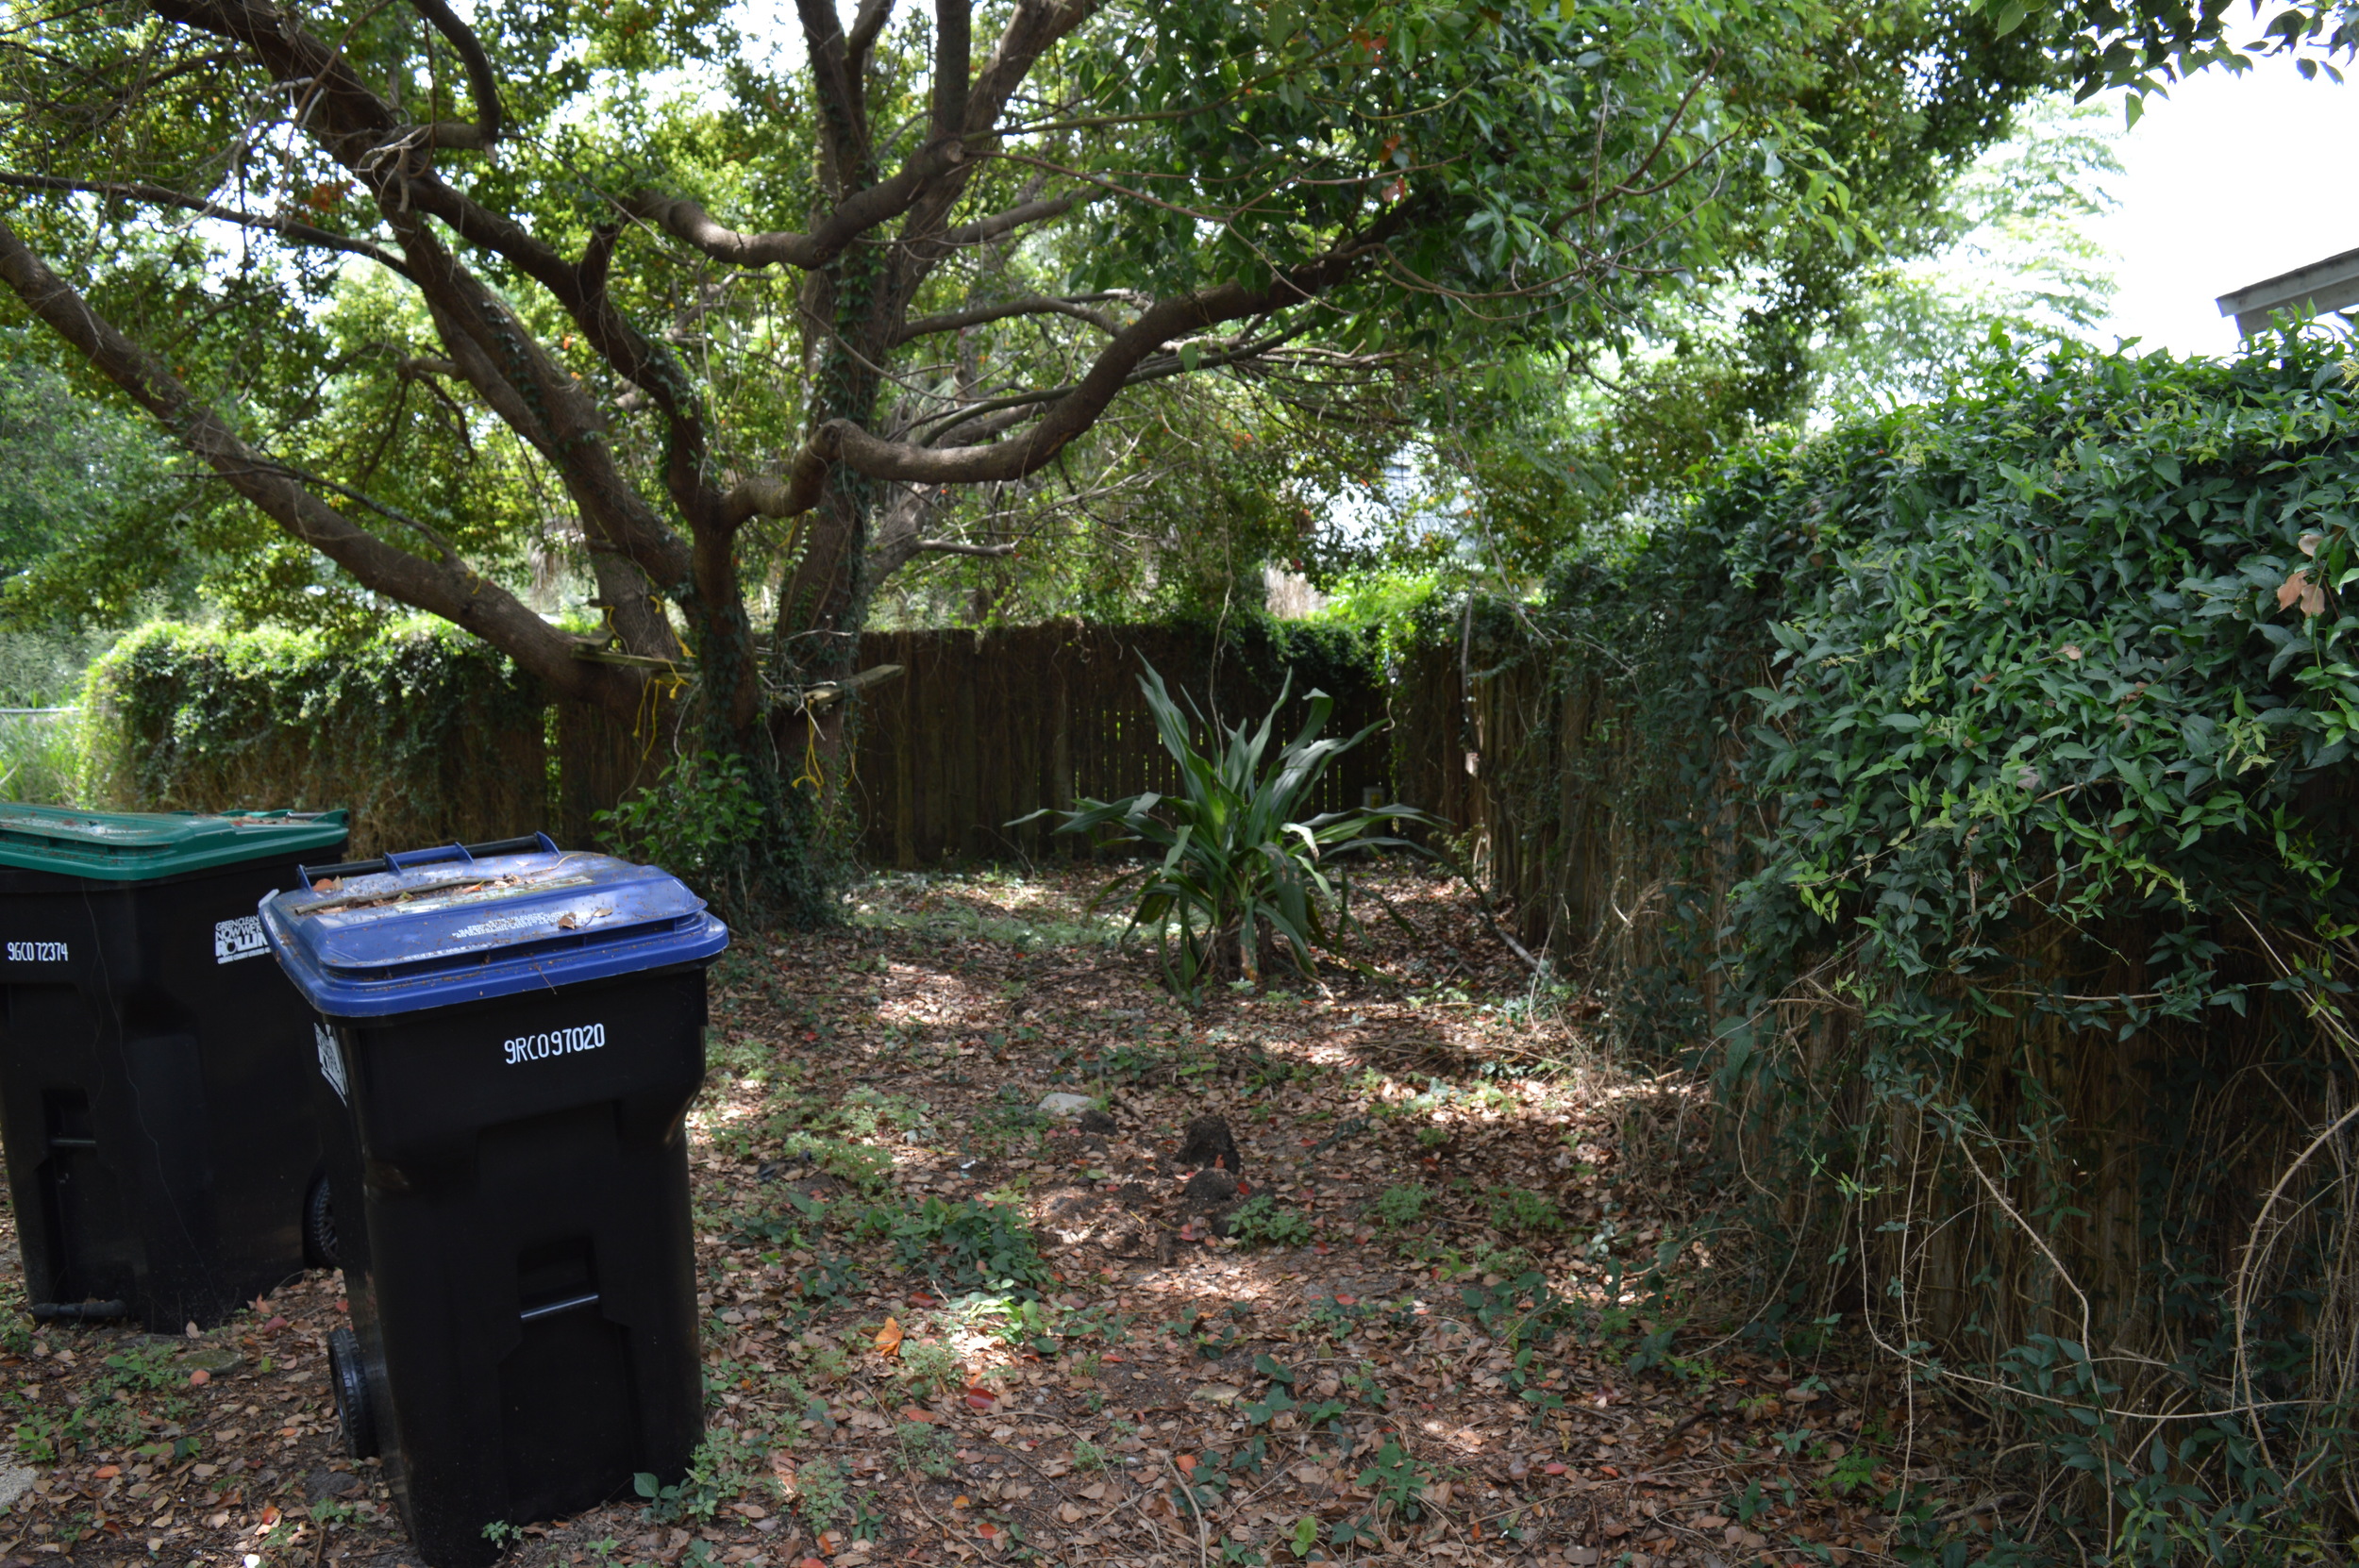
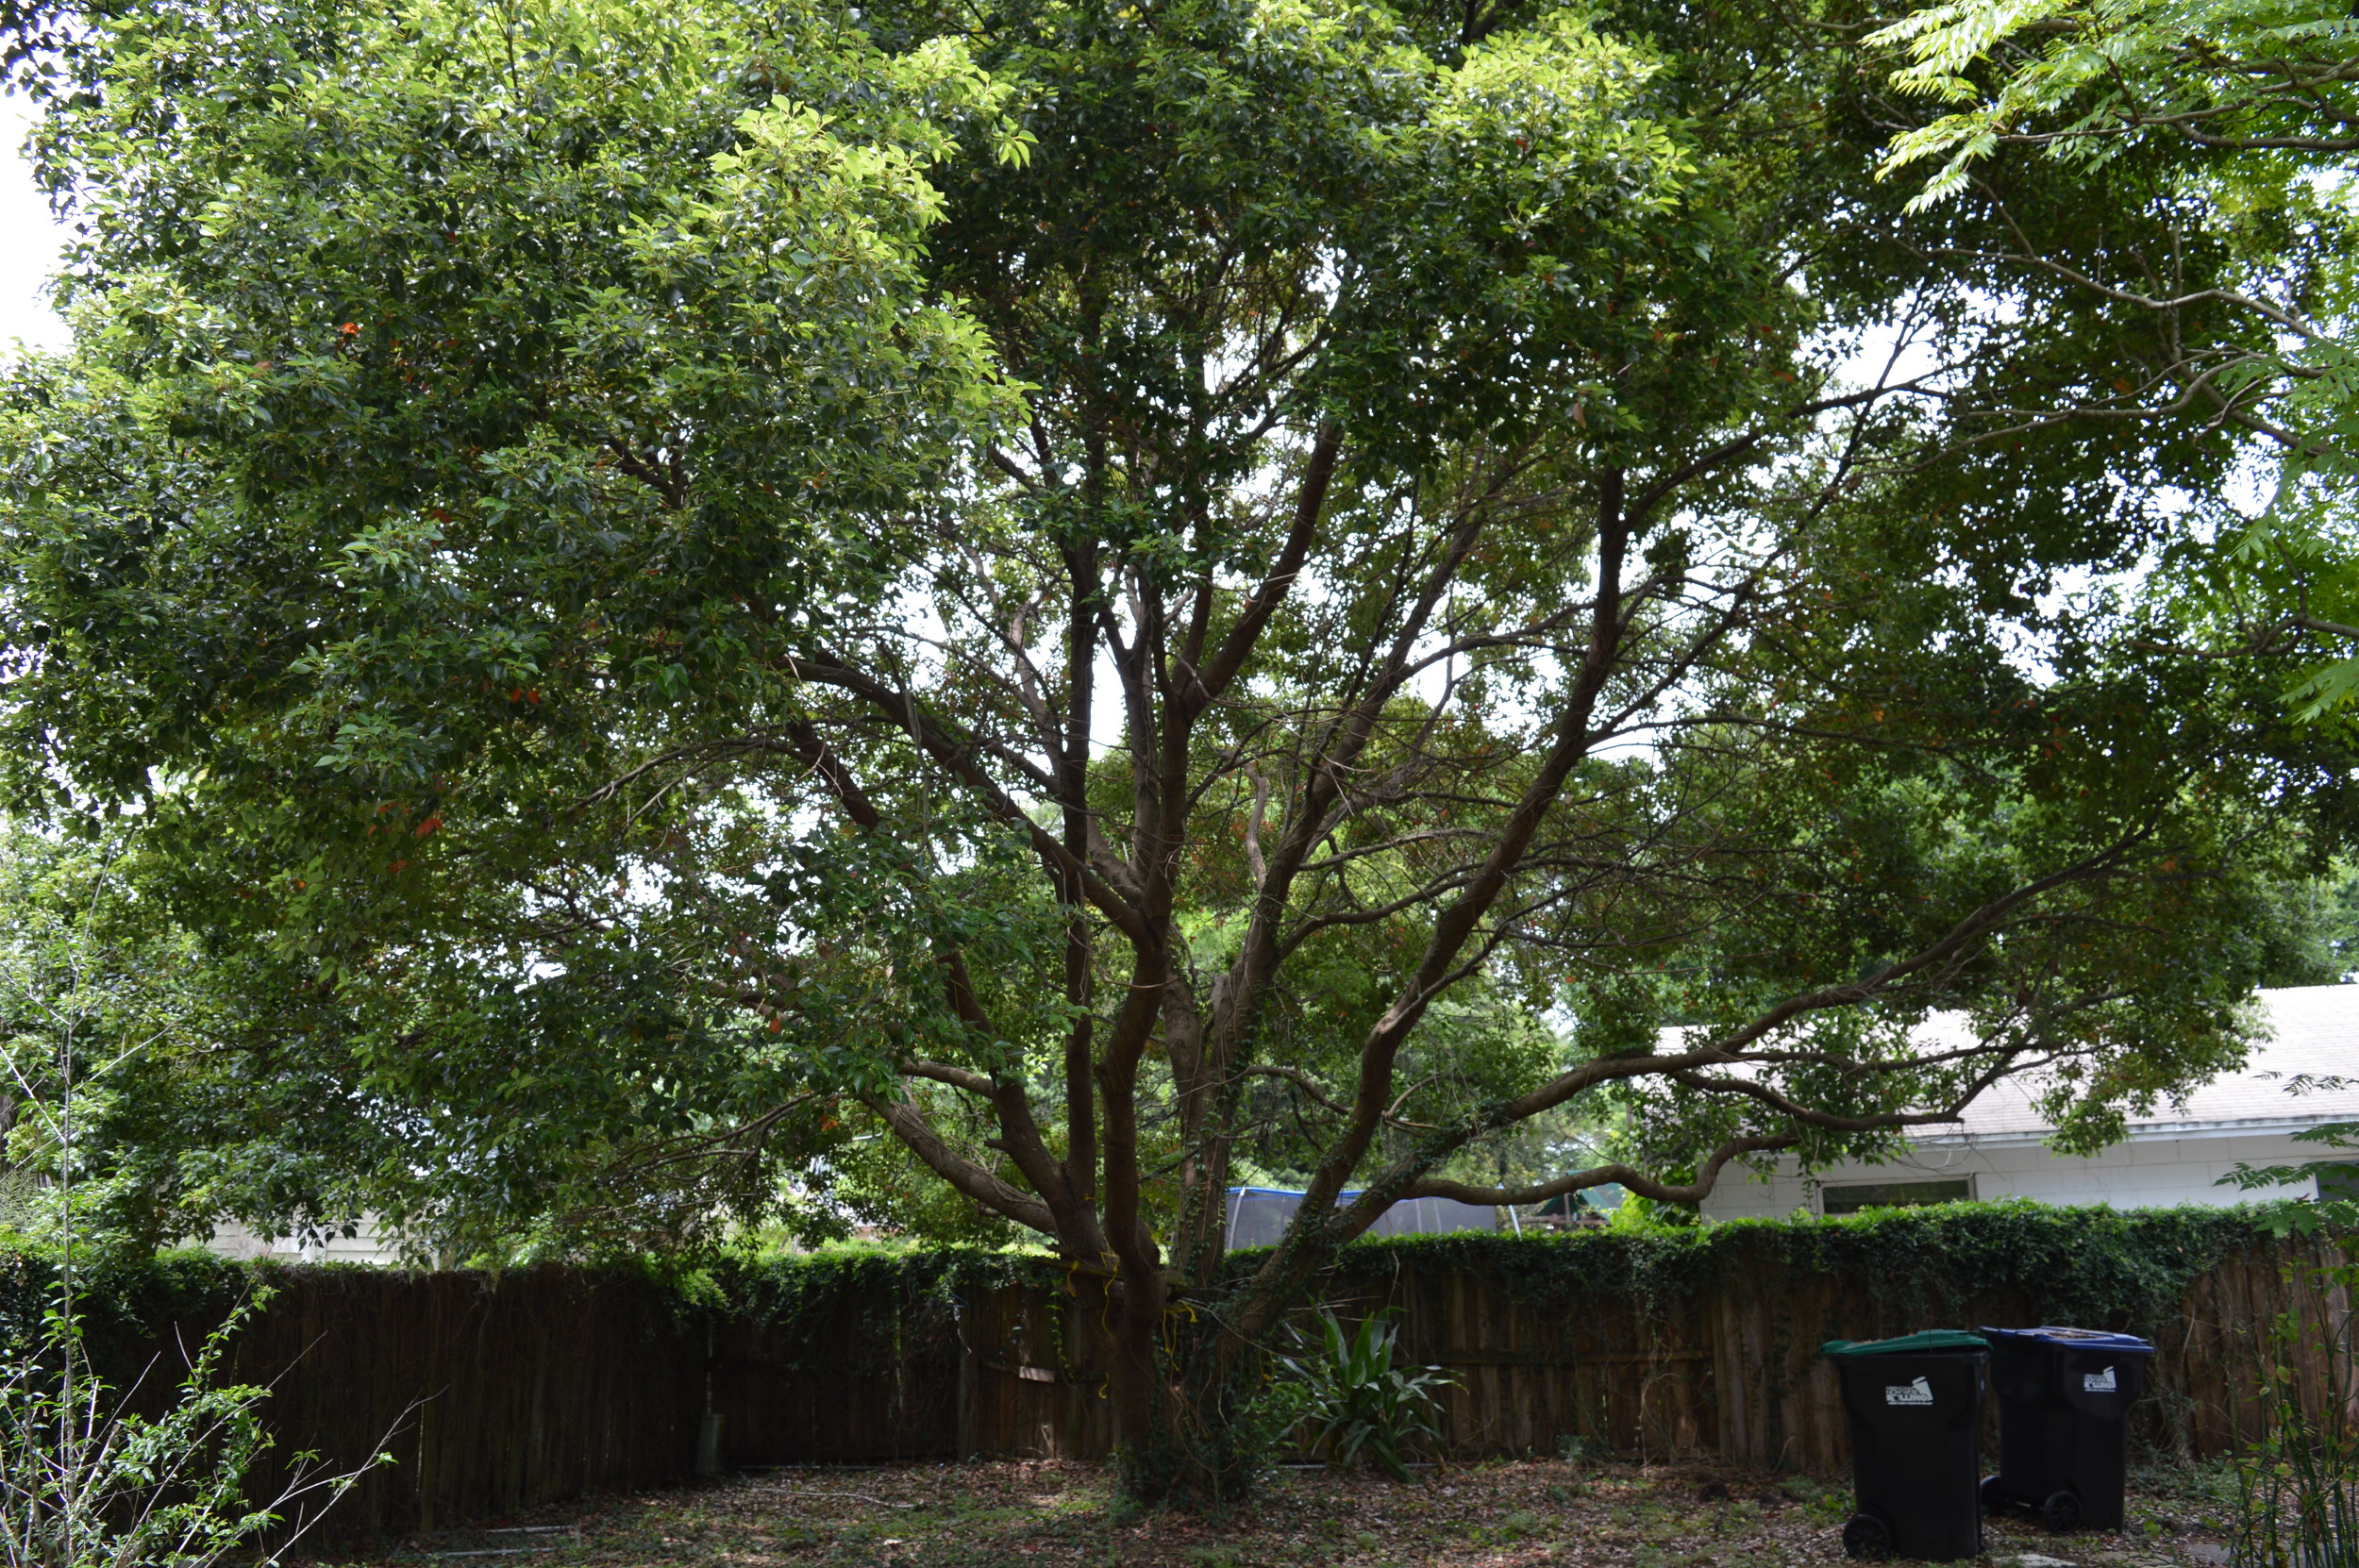
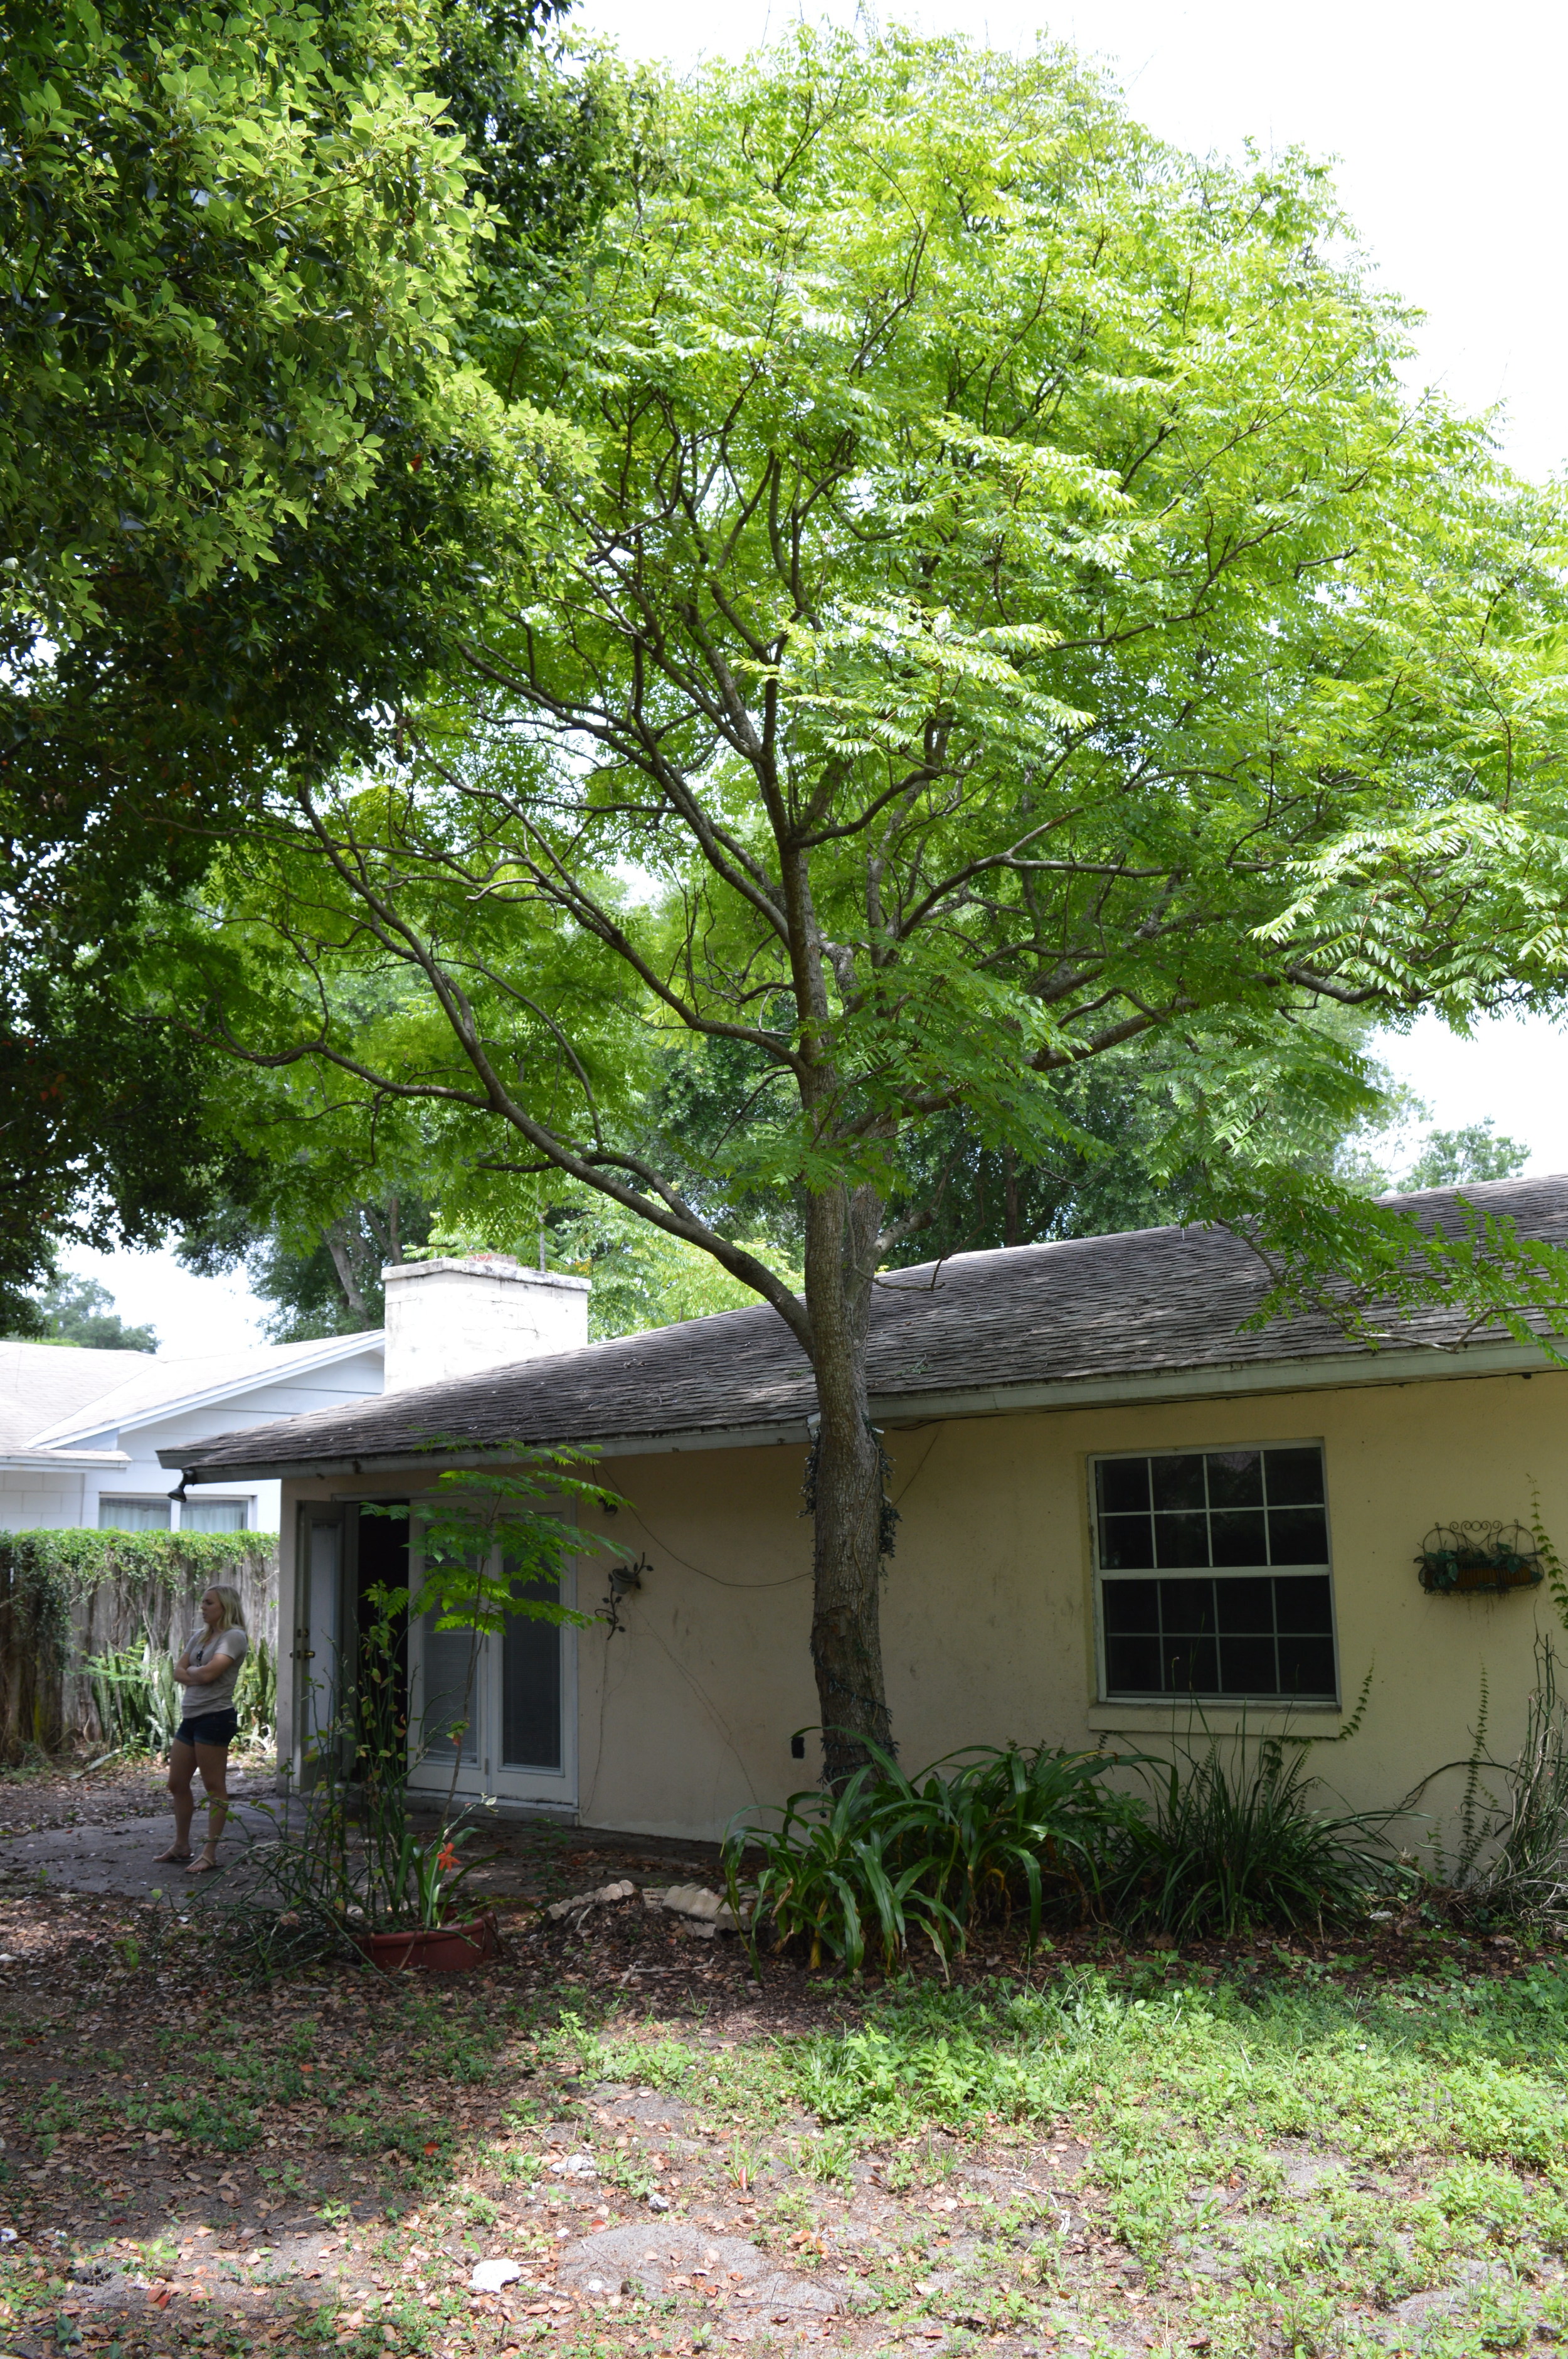
We Started Clearing the Backyard

Left side yard before

Left side yard after

Right side yard before

Right side yard after
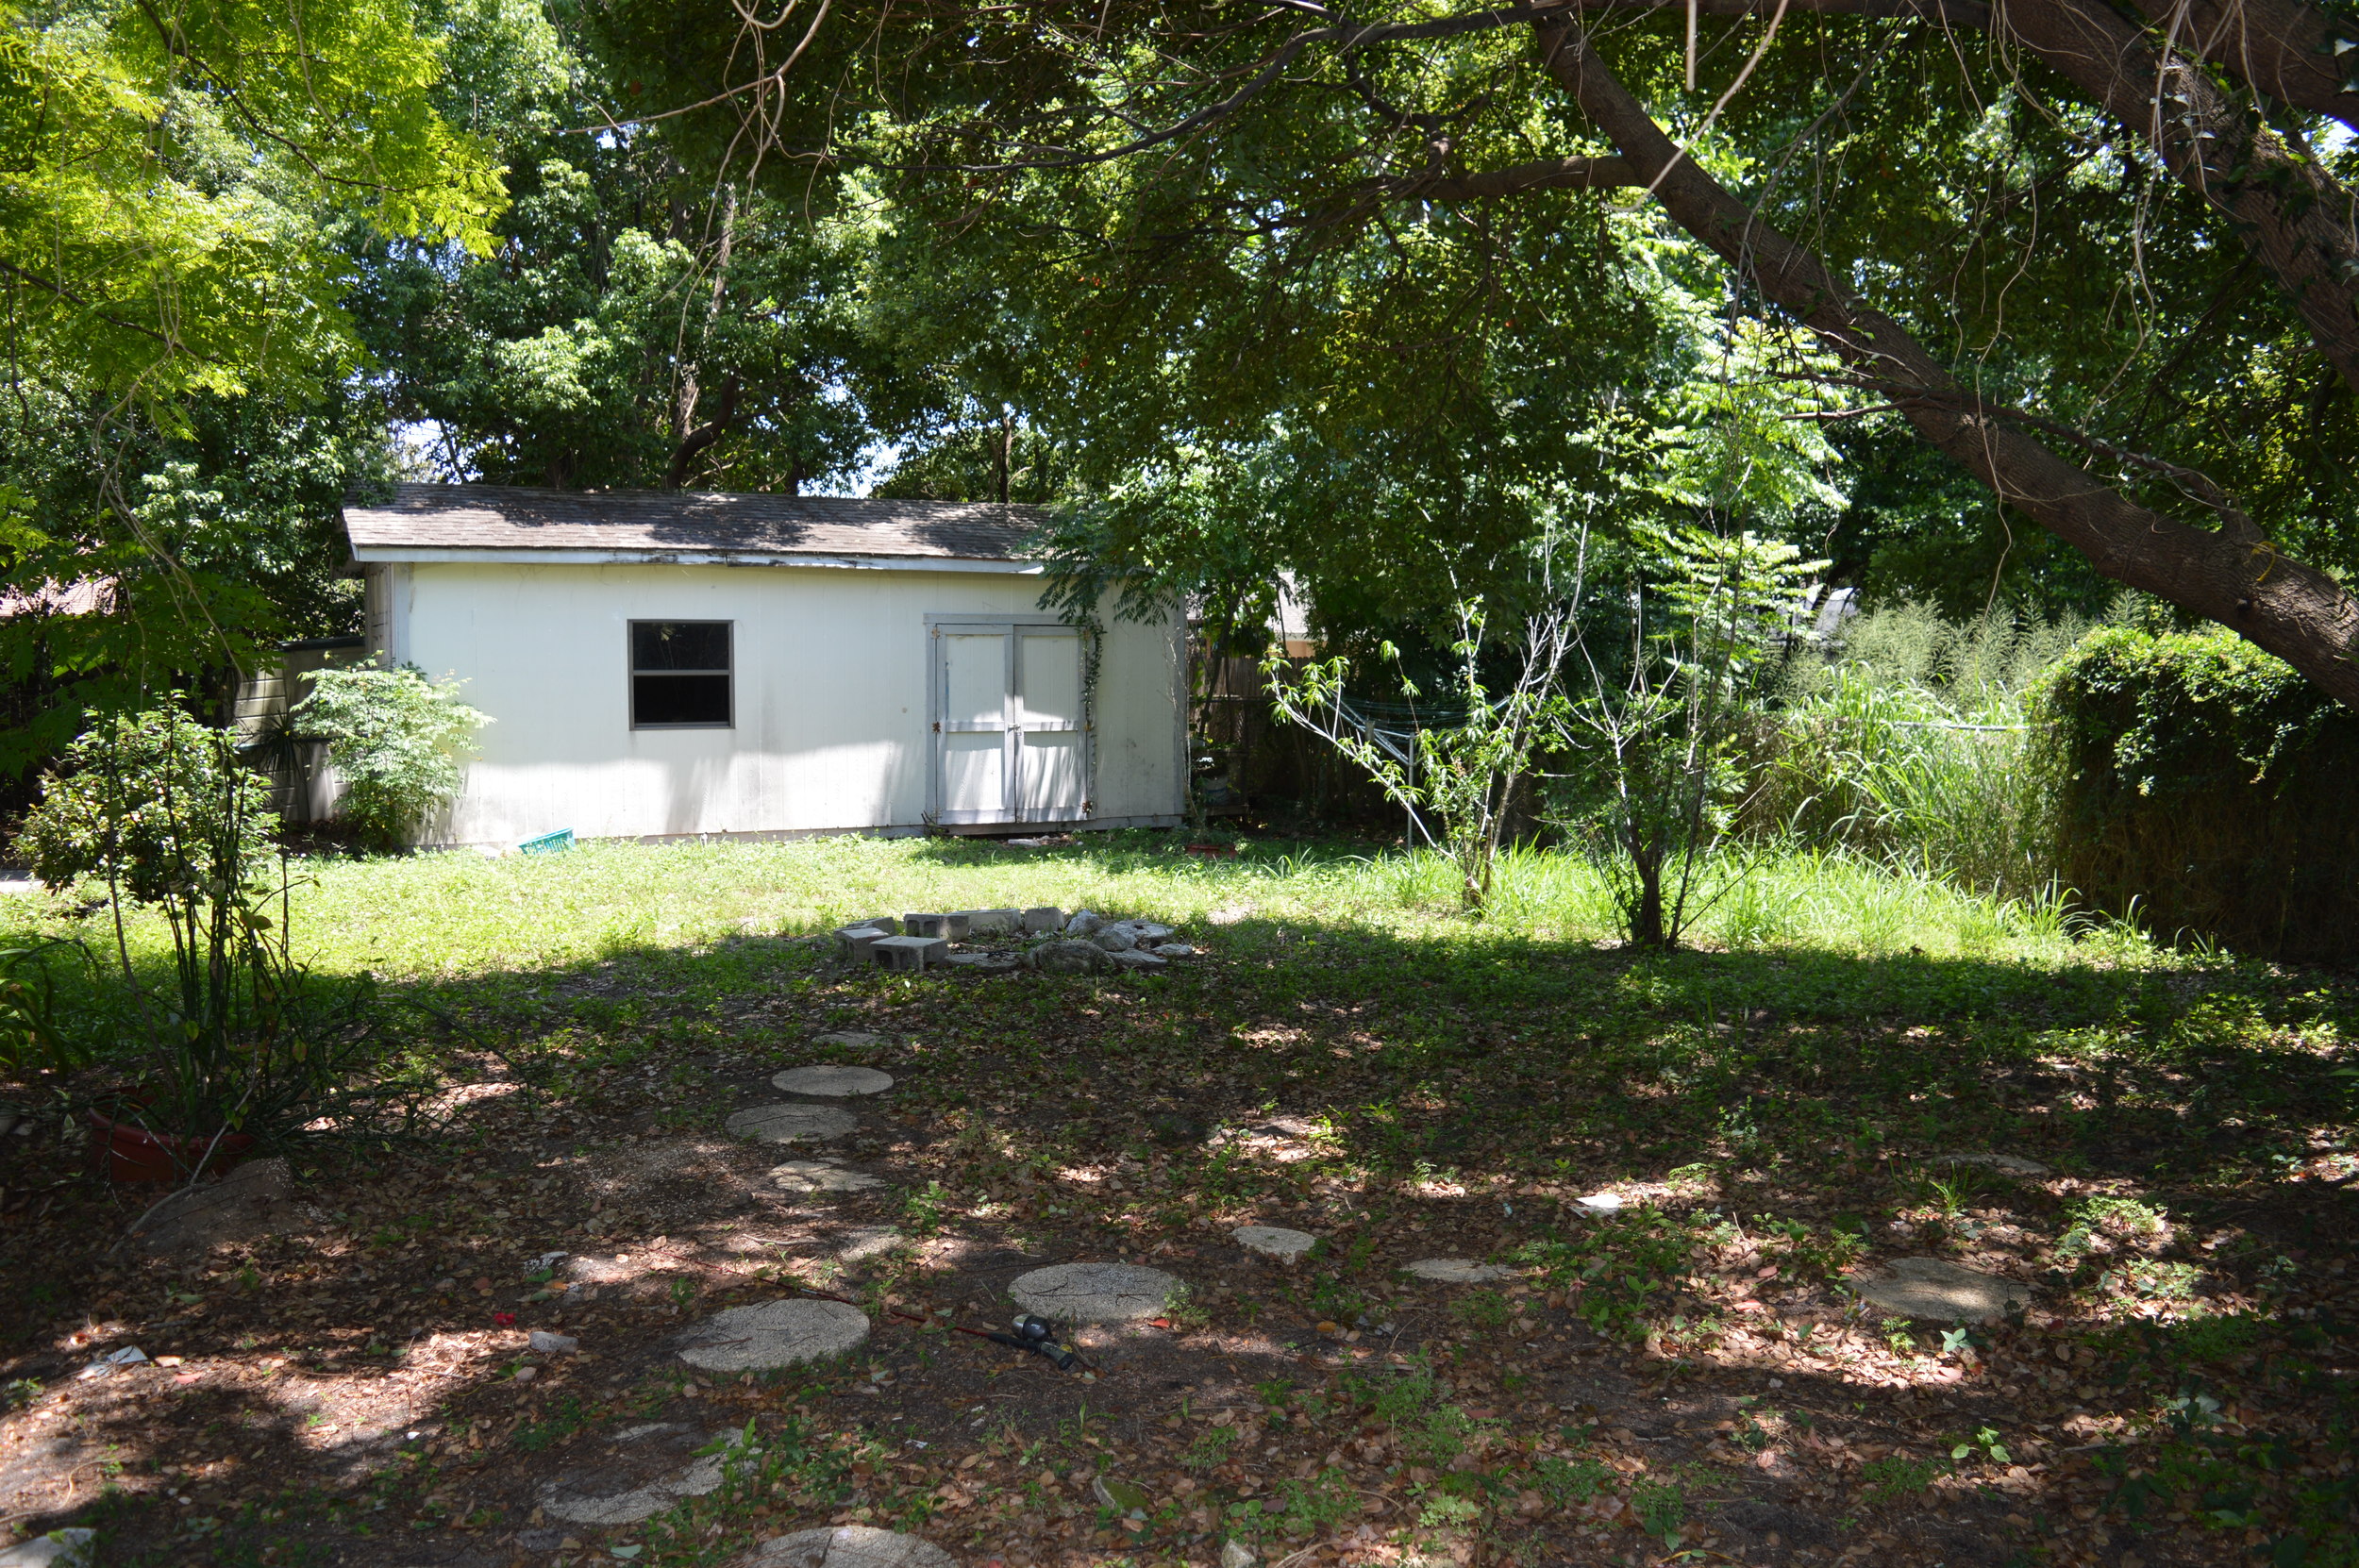
Back yard before

Back yard after
It might not come across in pictures, but we made a lot of headway back there! Again, thanks in large part to our wonderful friends who helped (including one 12-year-old boy who volunteered for yard work to get out of a 3-year-old Elsa birthday party - ha!)
That's a wrap on week one of our fixer upper renovation! Lots of destruction going on - I can't wait for it to start being put back together.

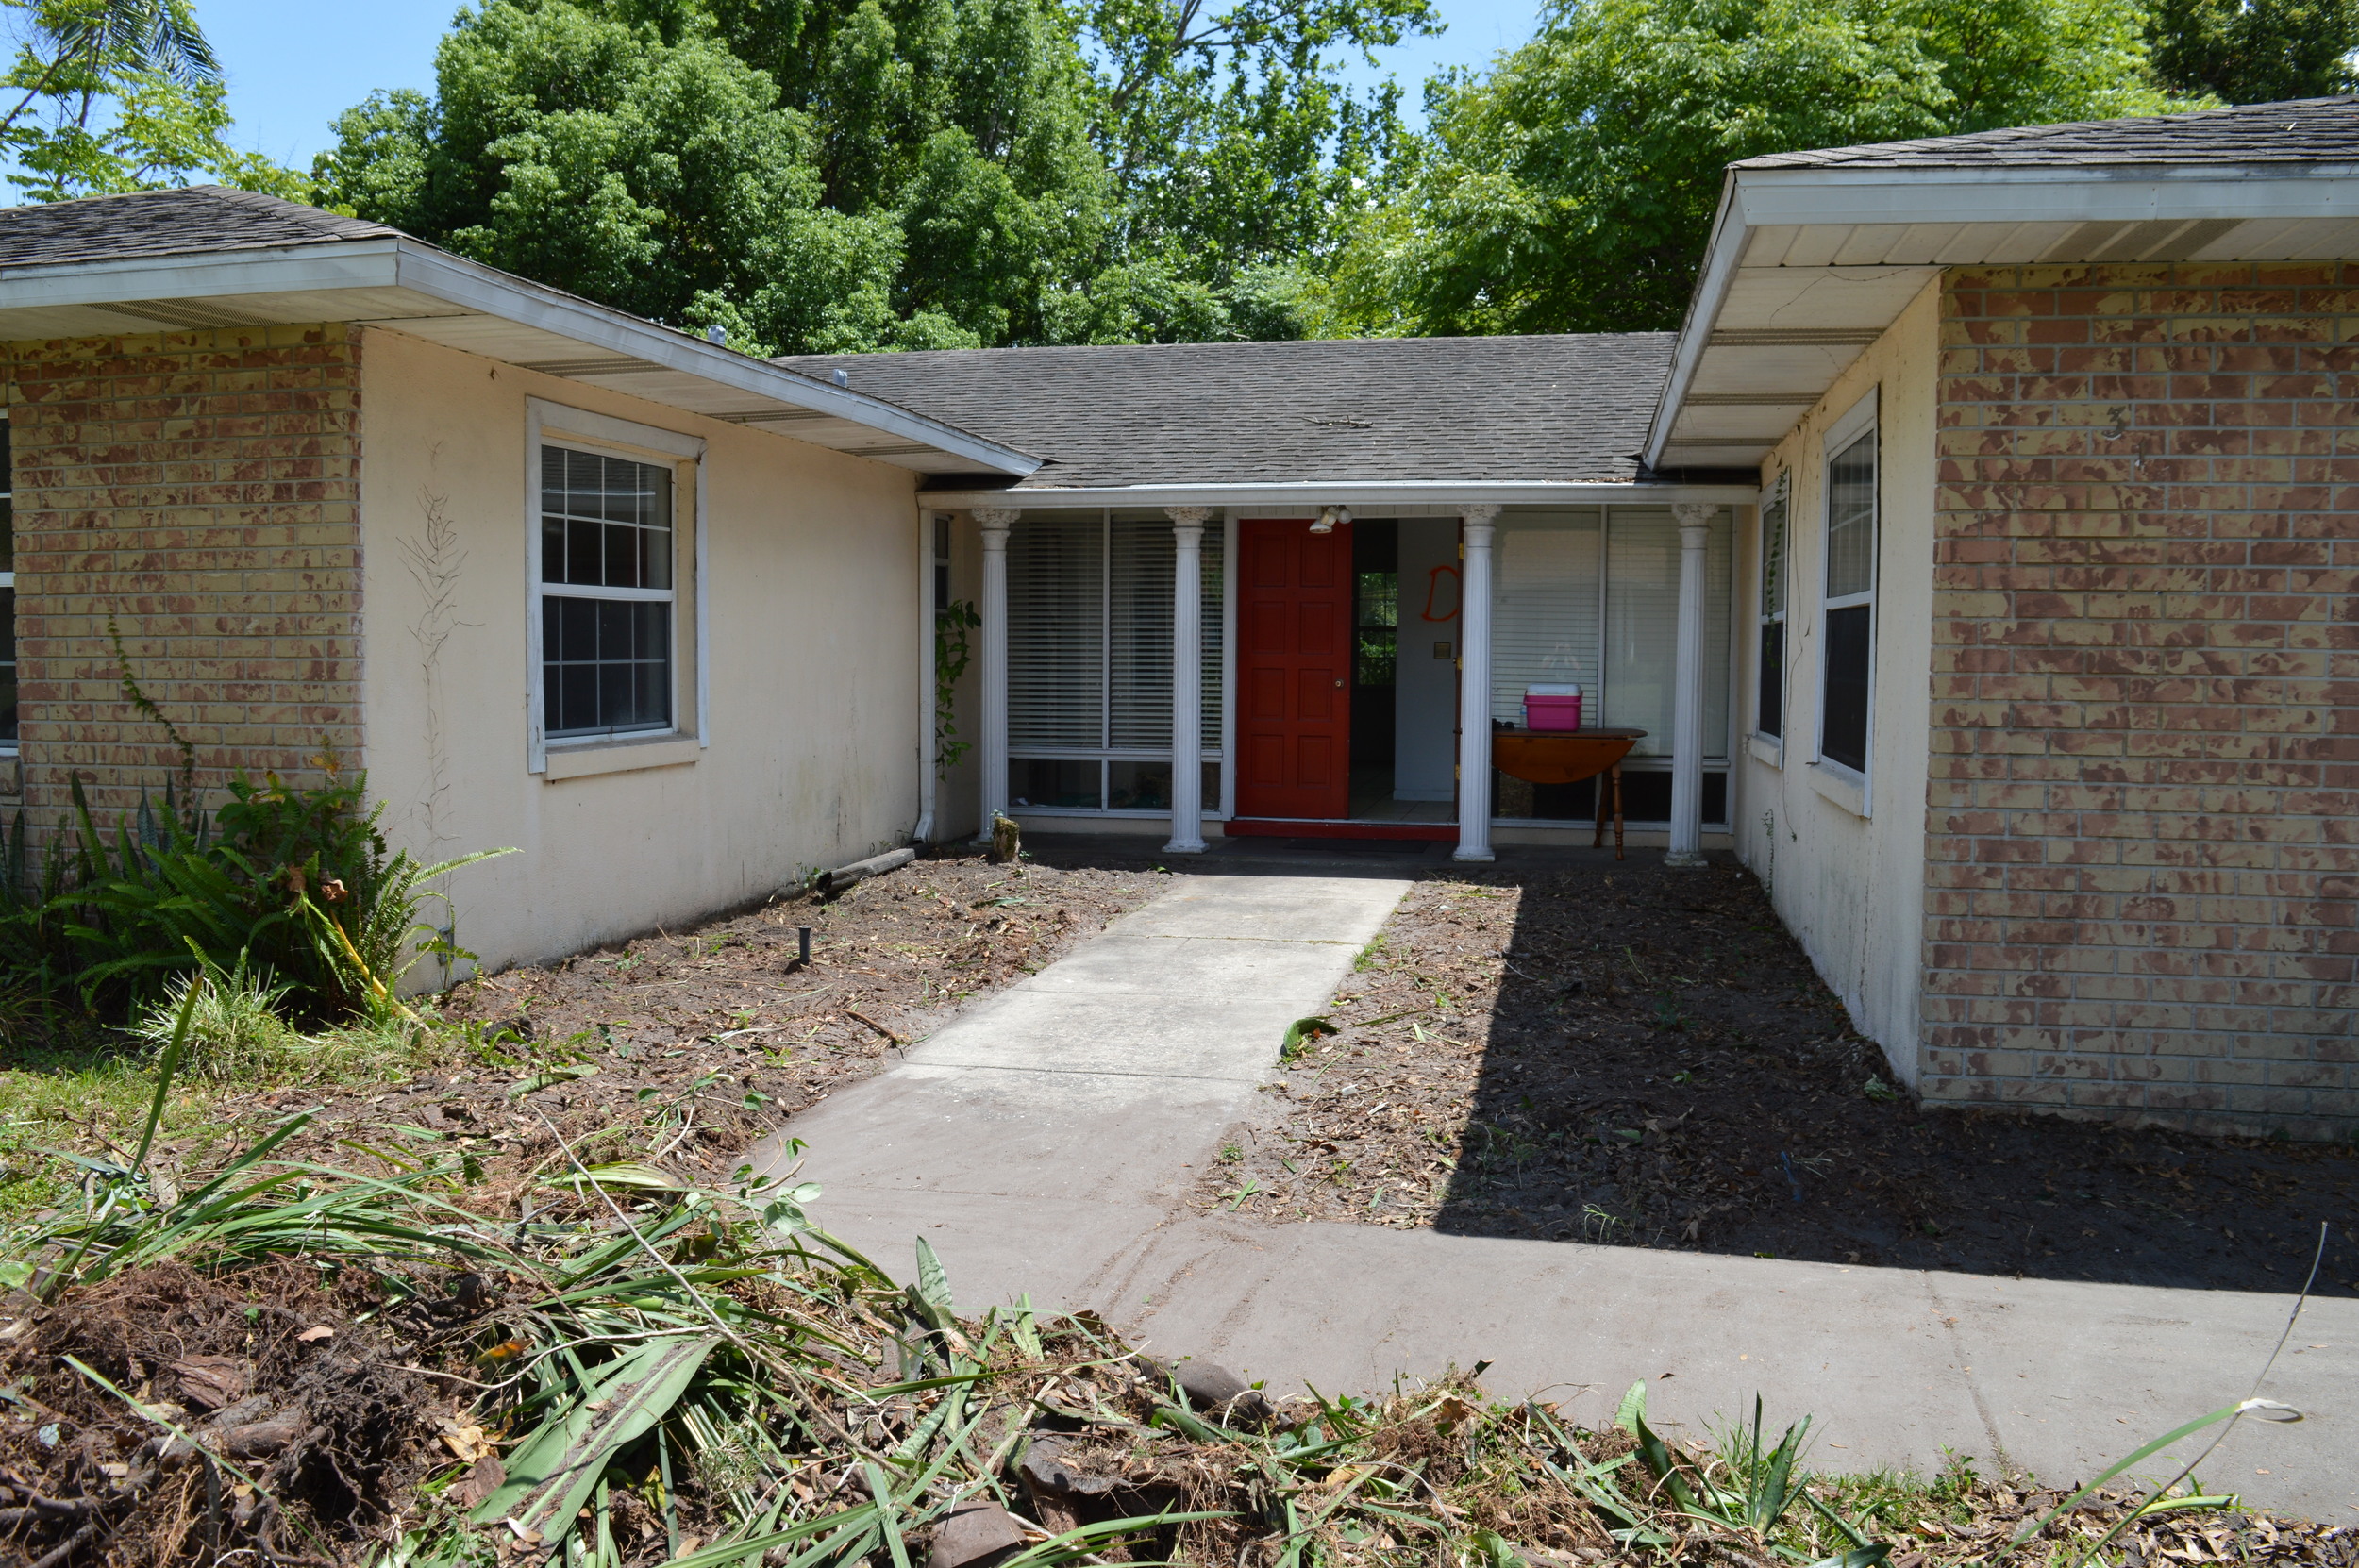
Our Fixer Upper Before Pictures
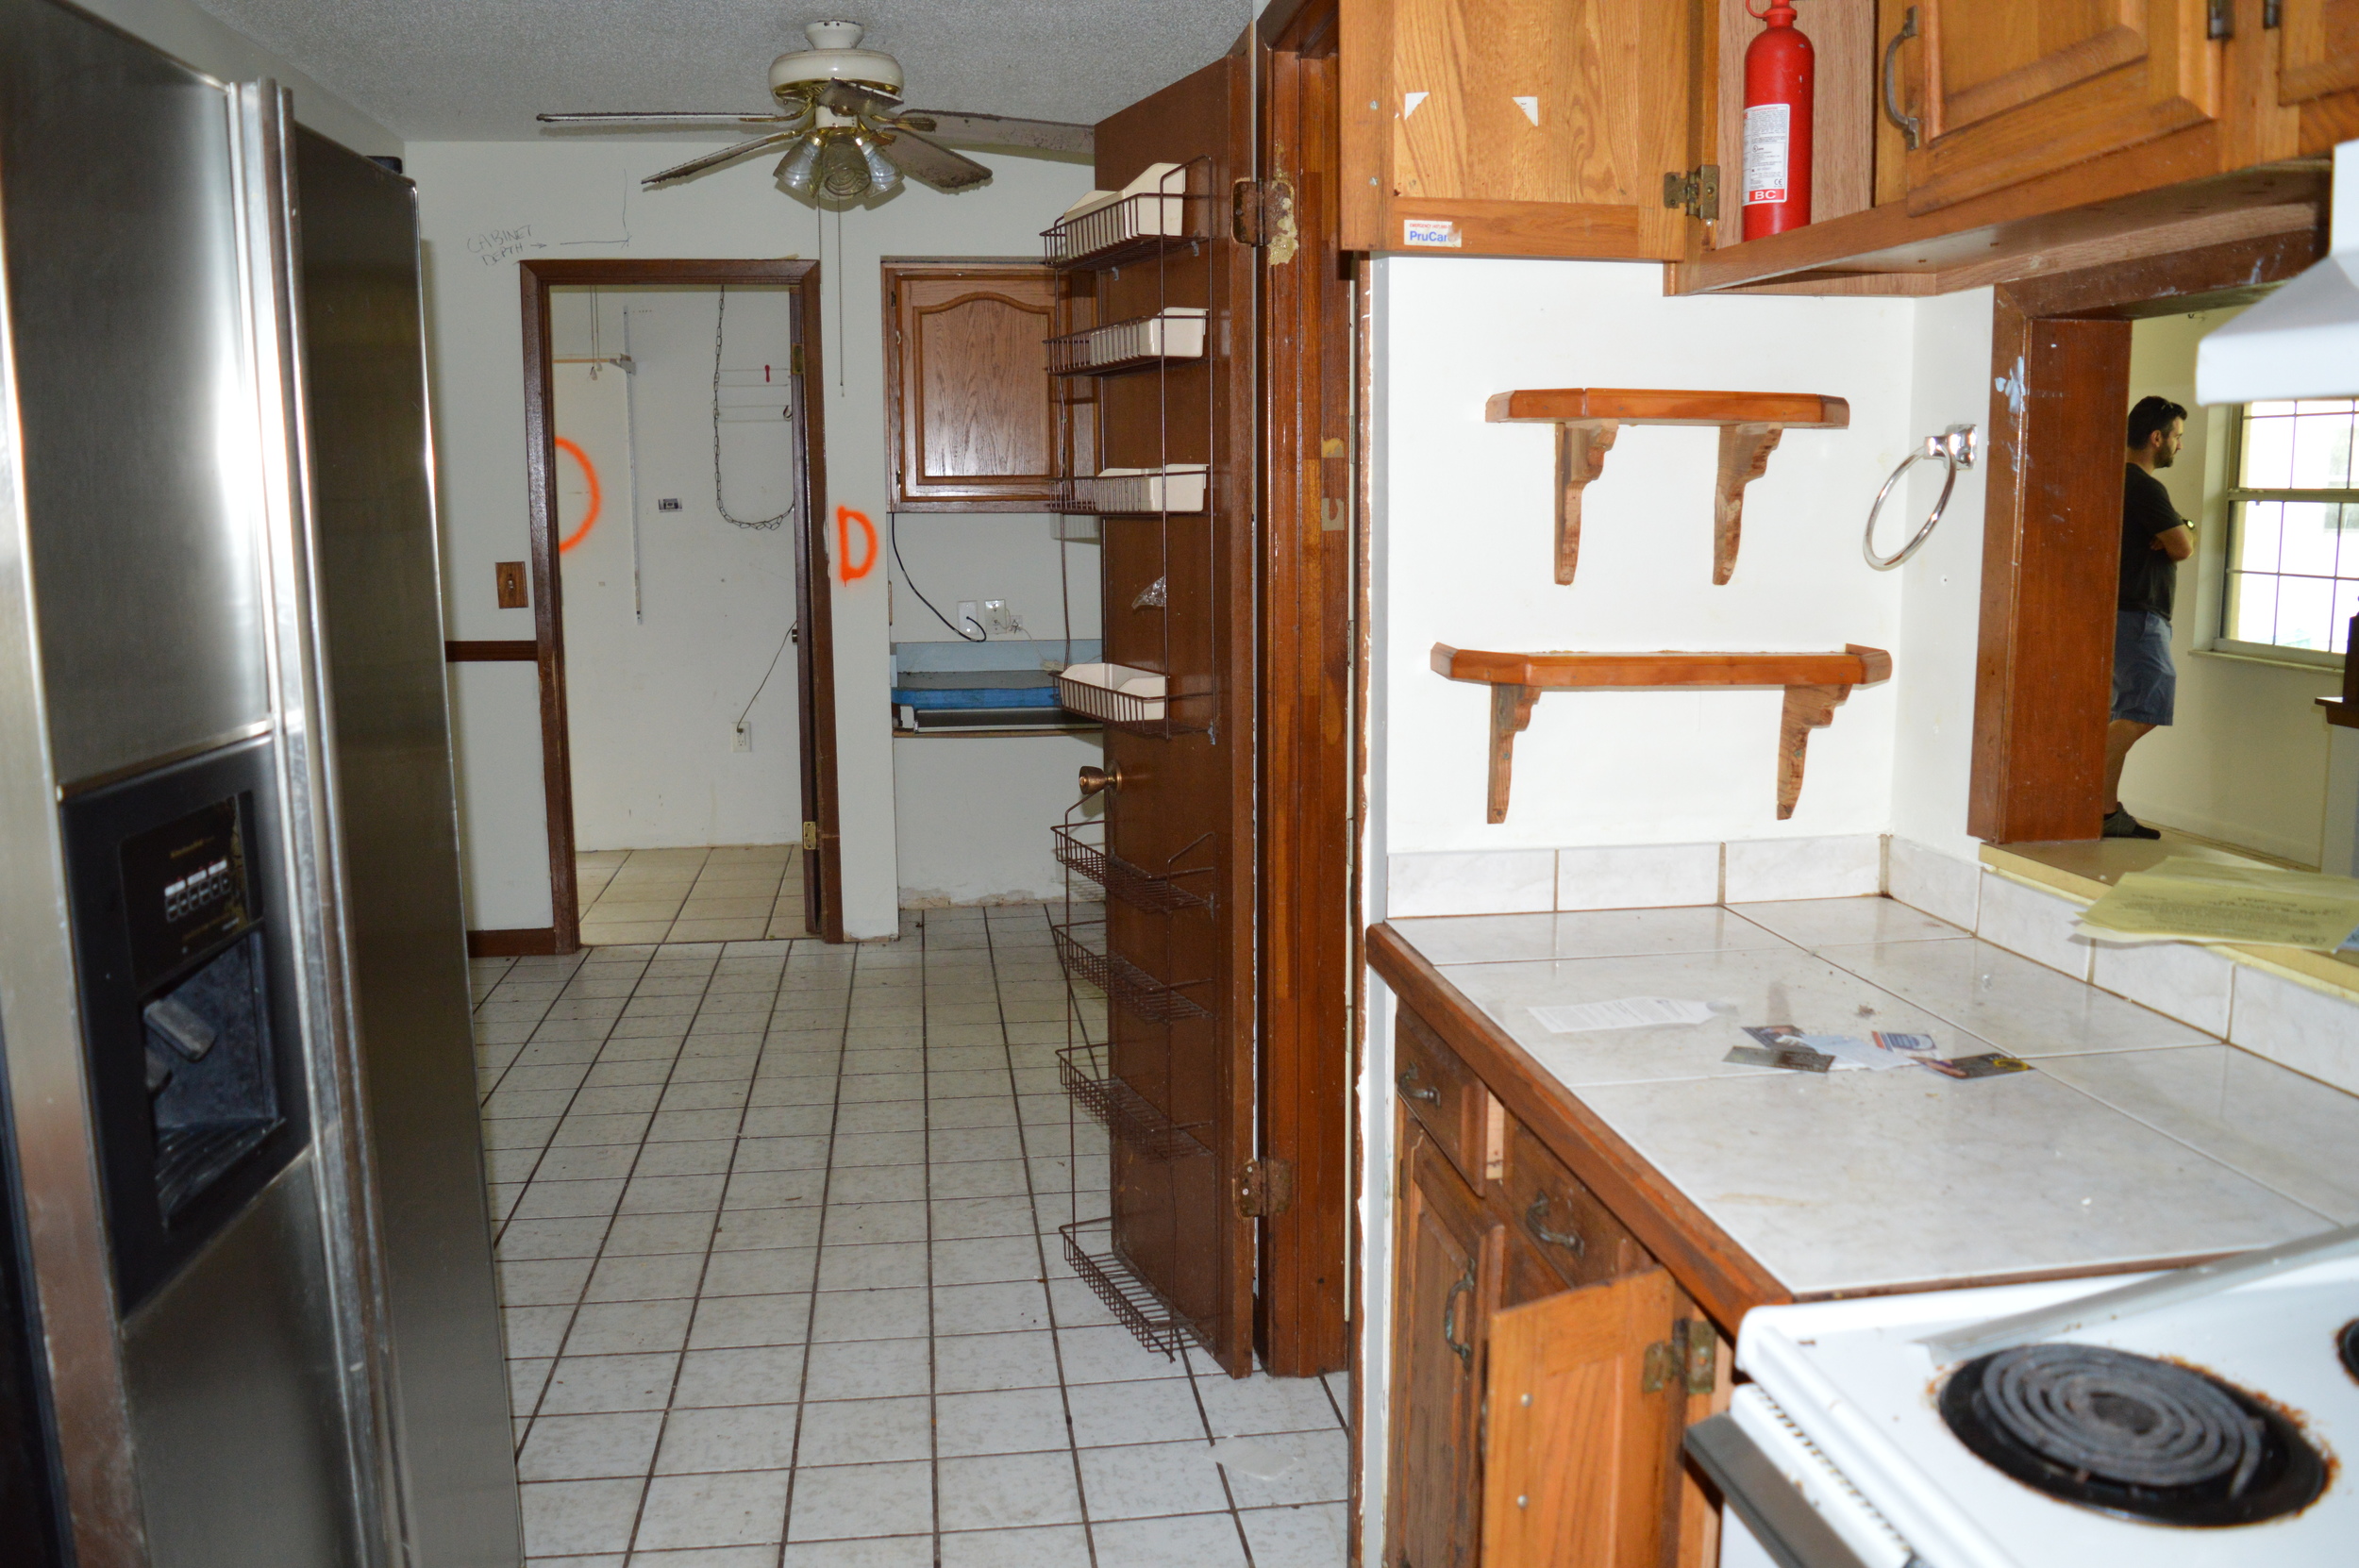
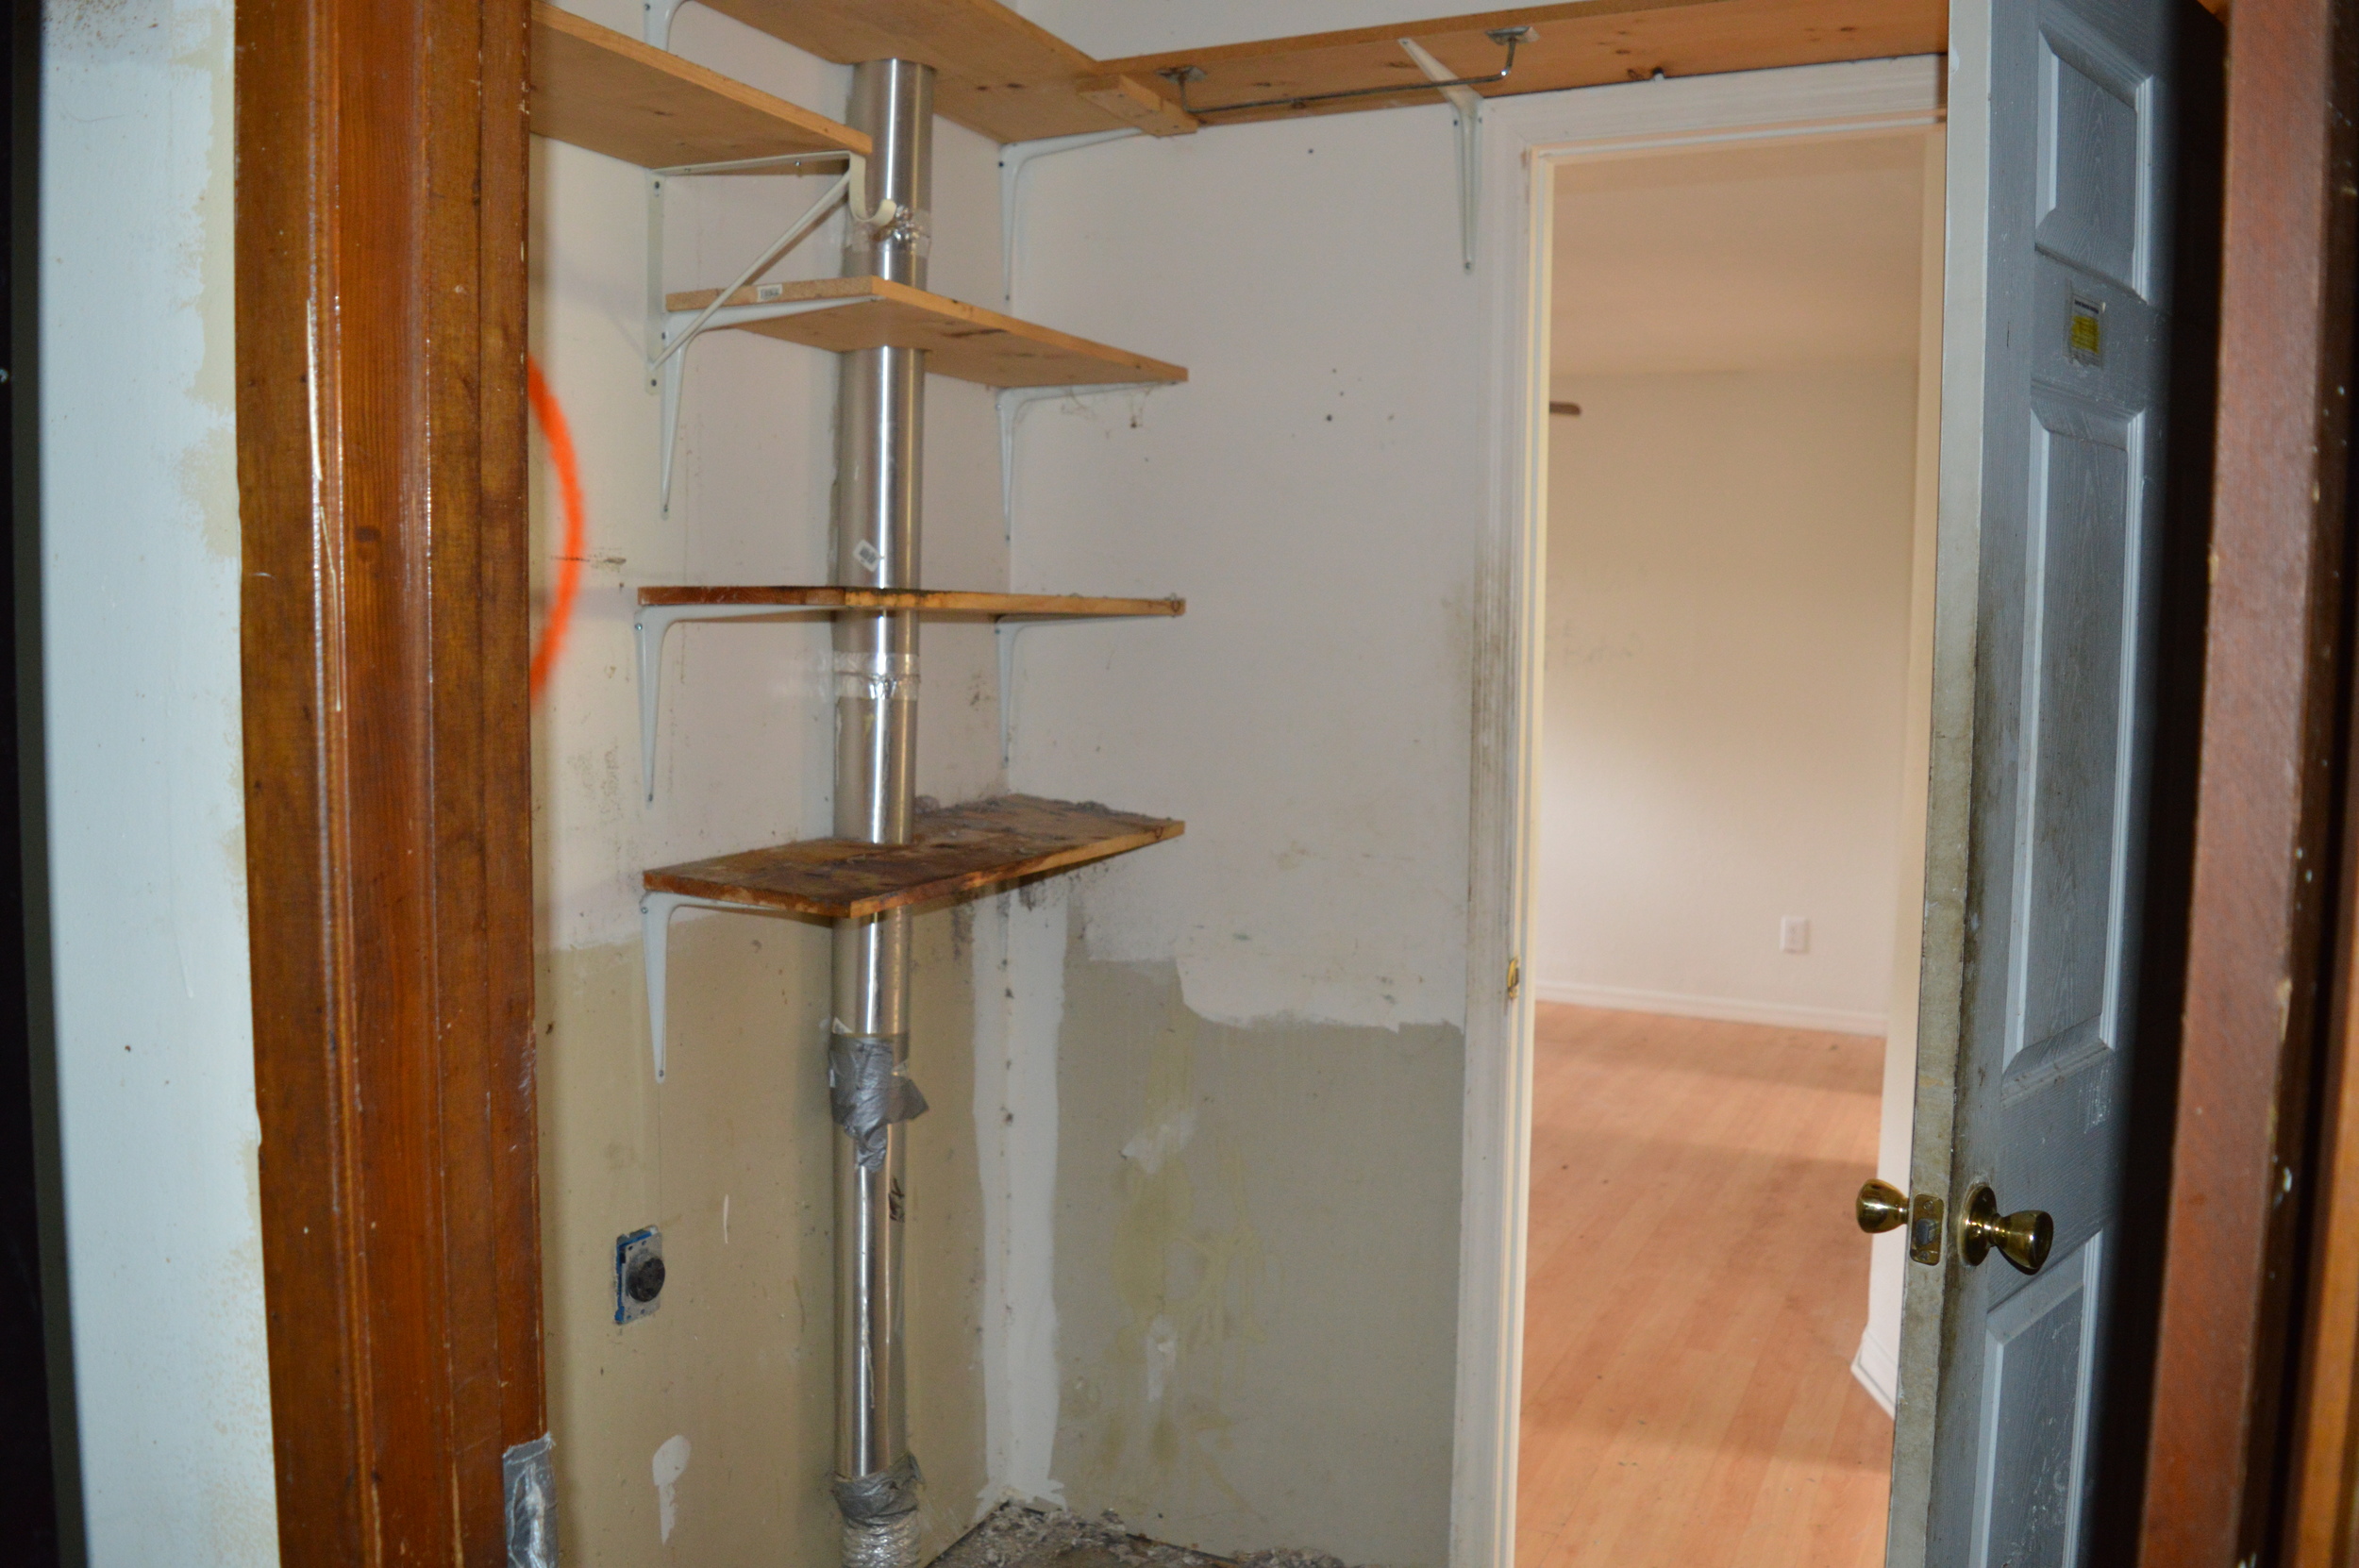
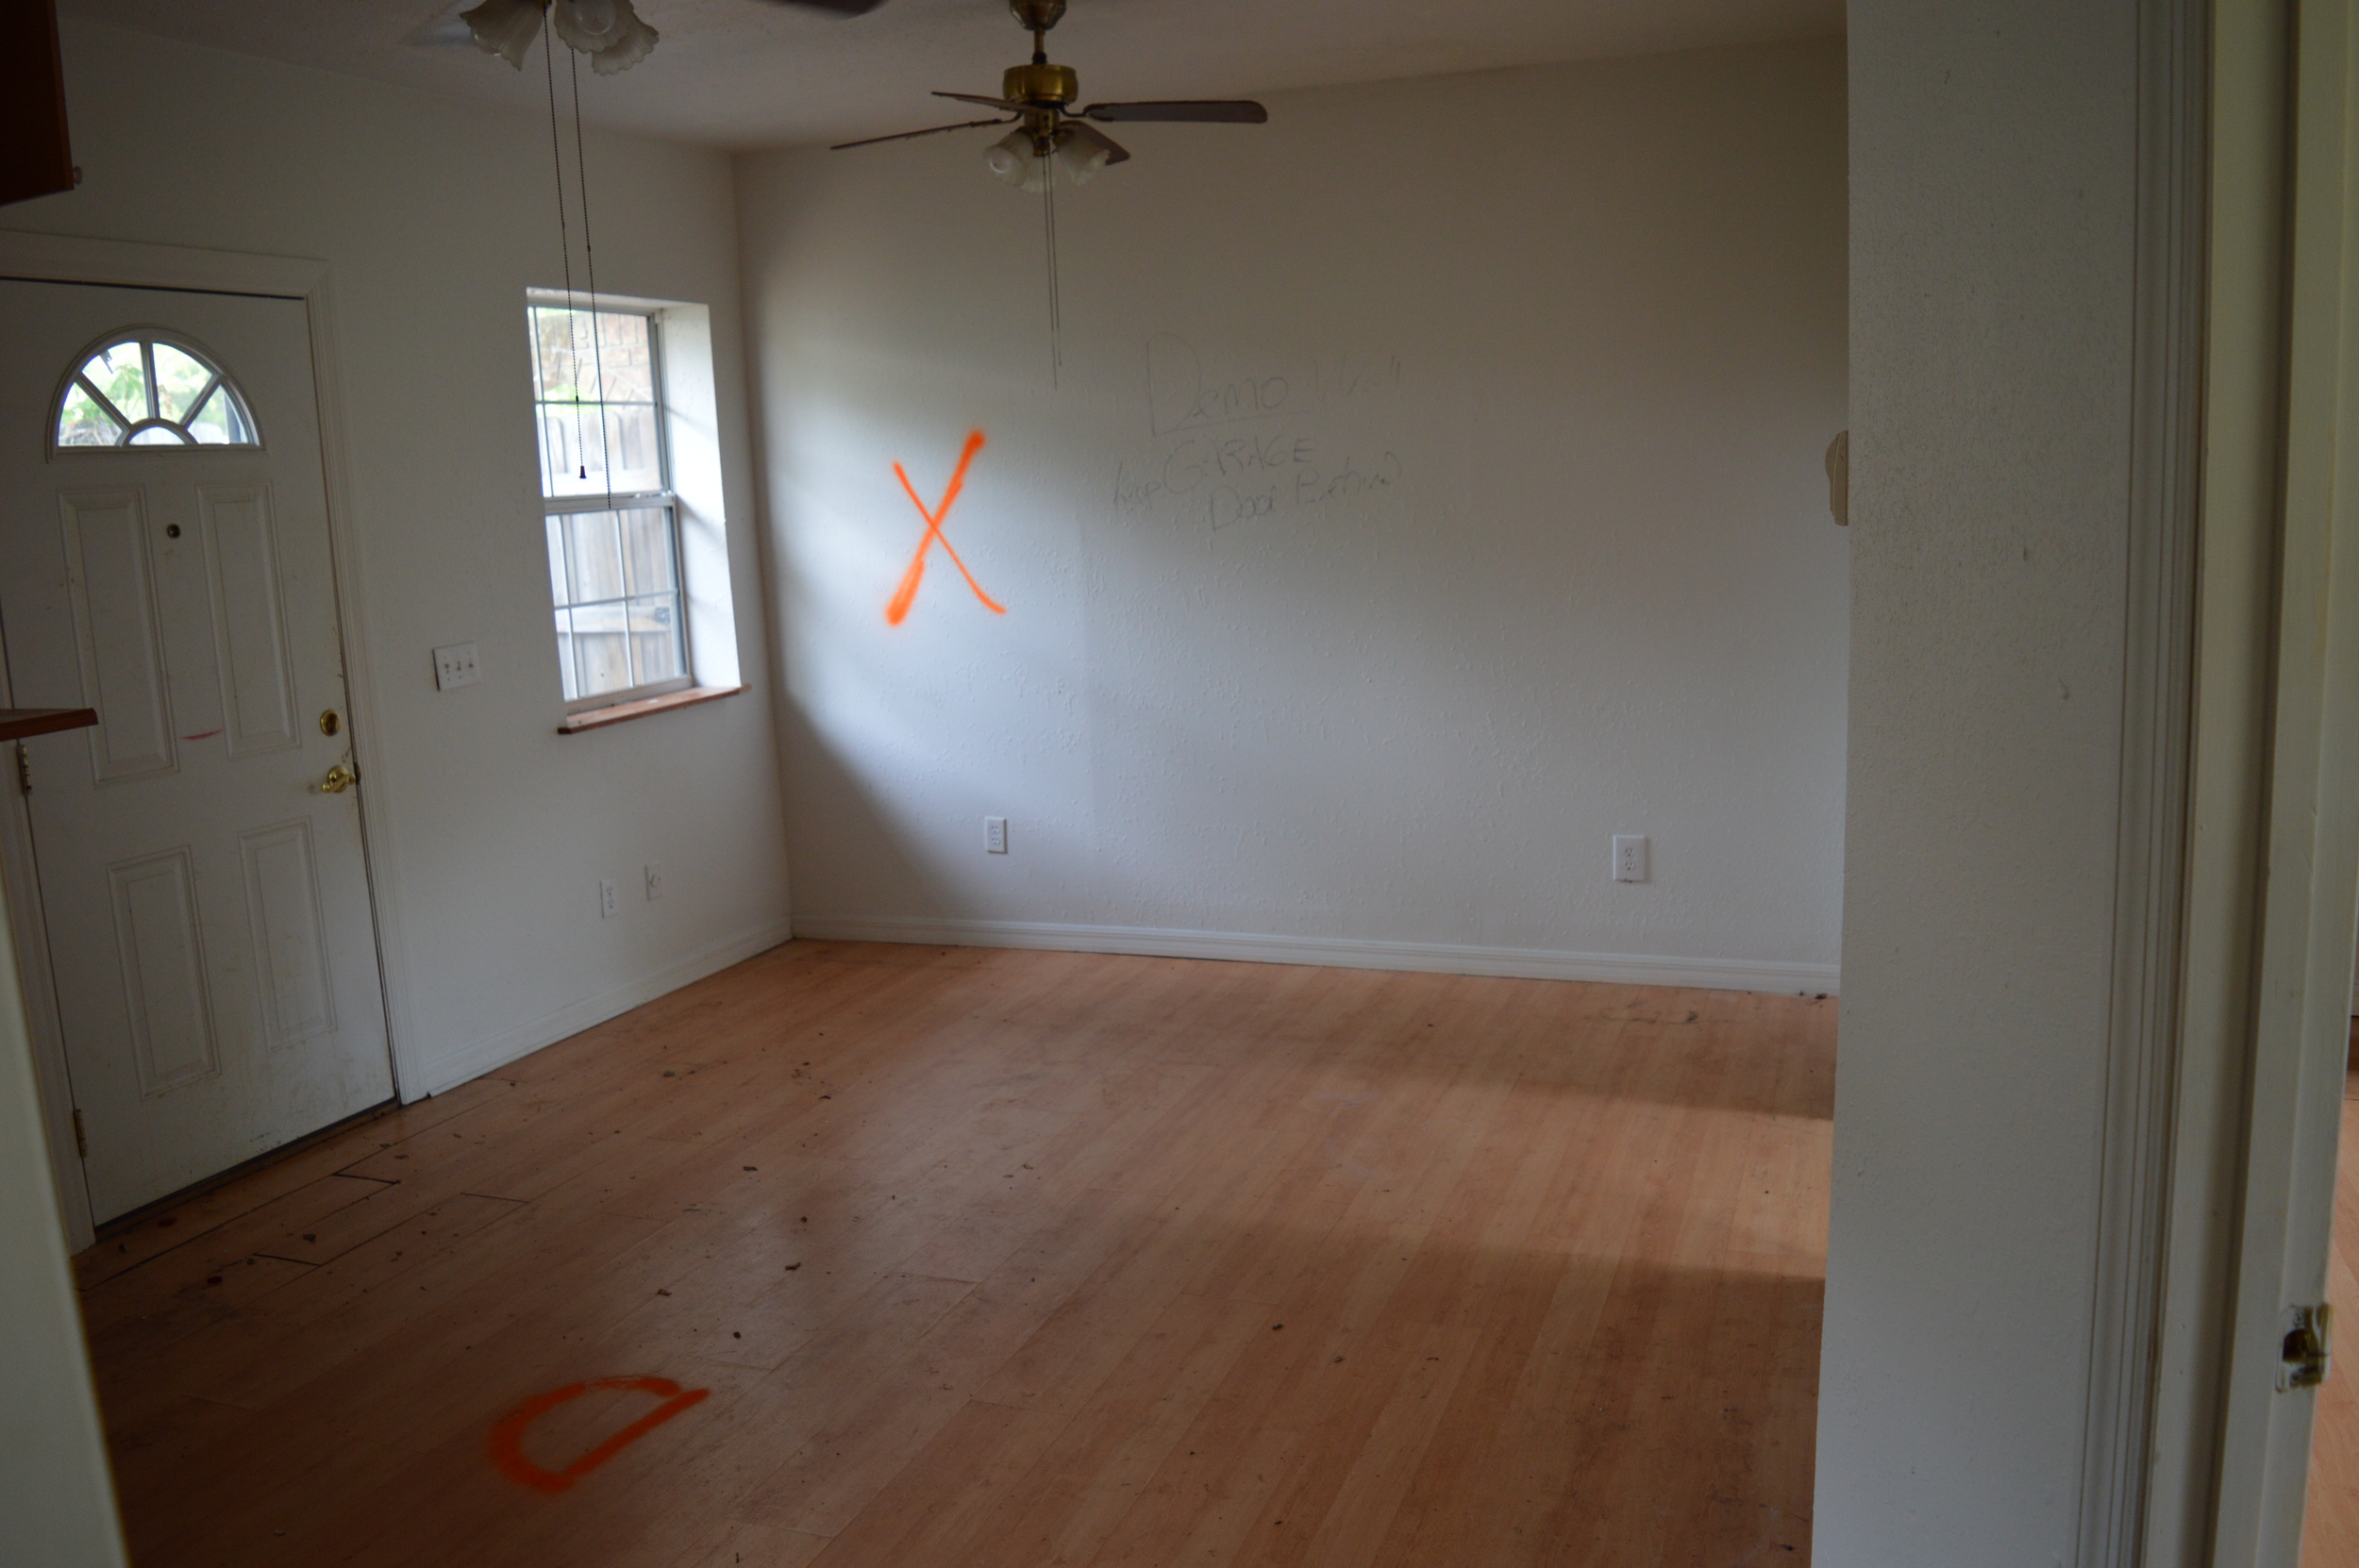
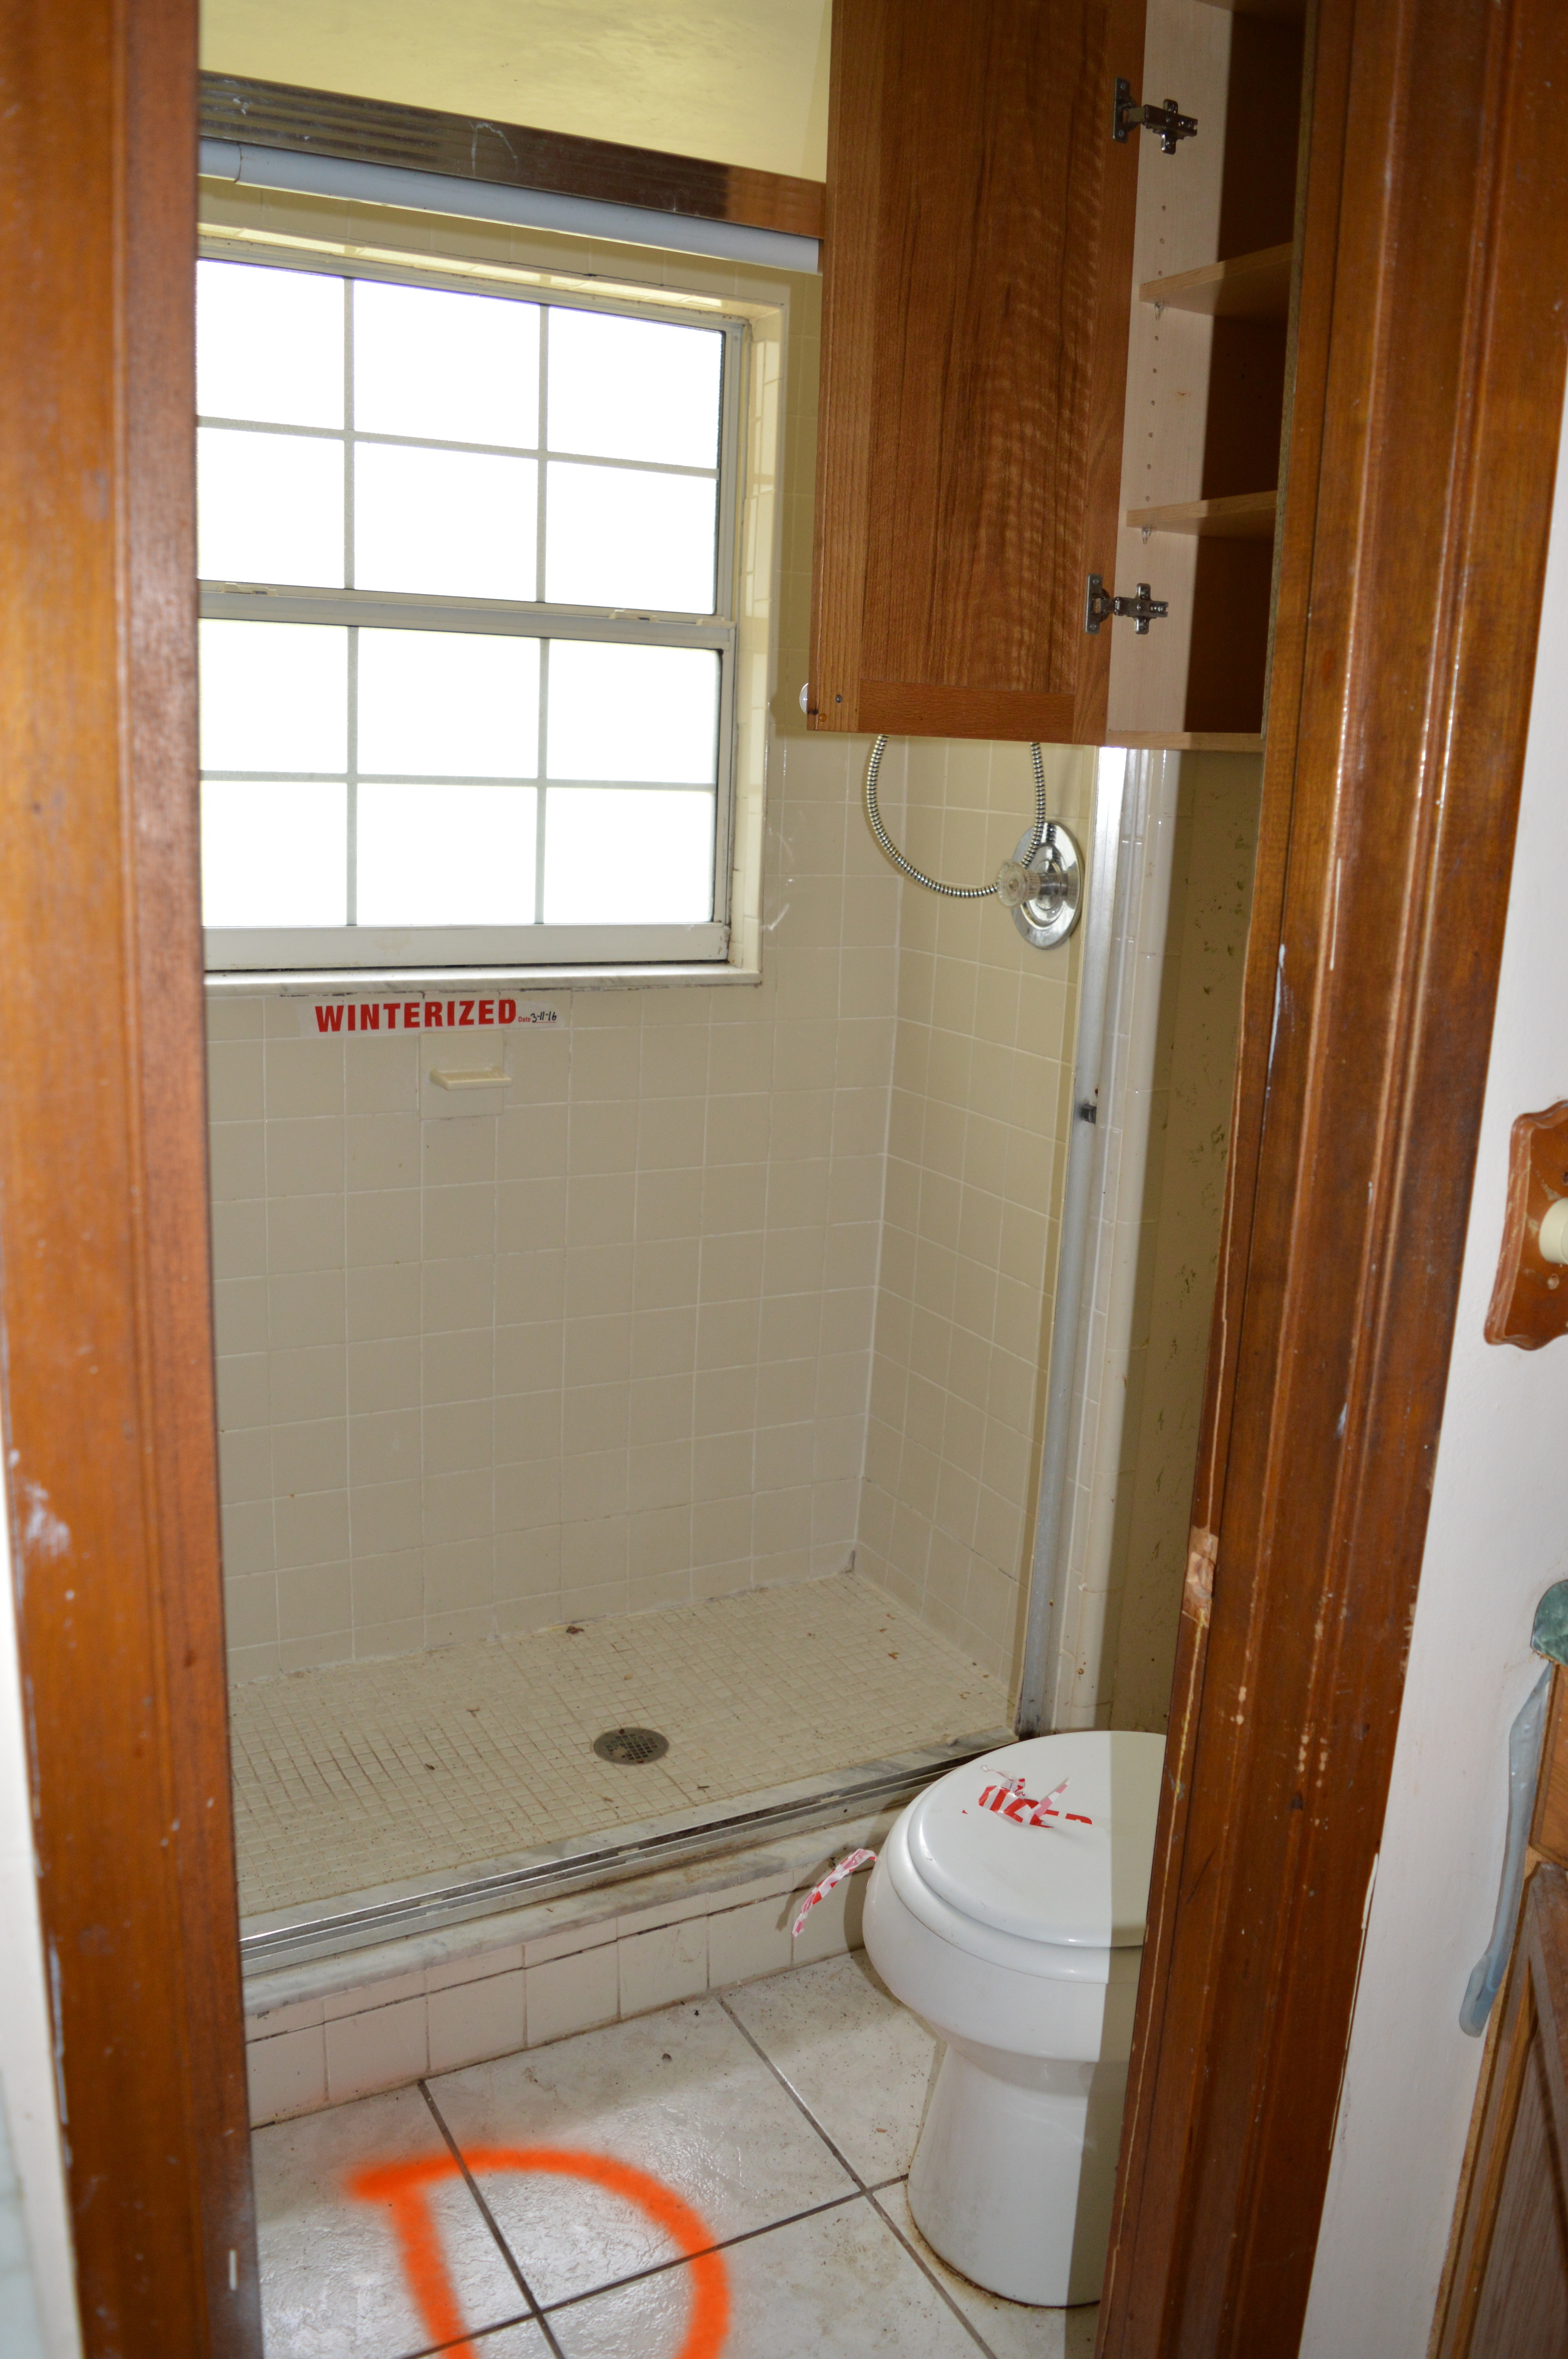
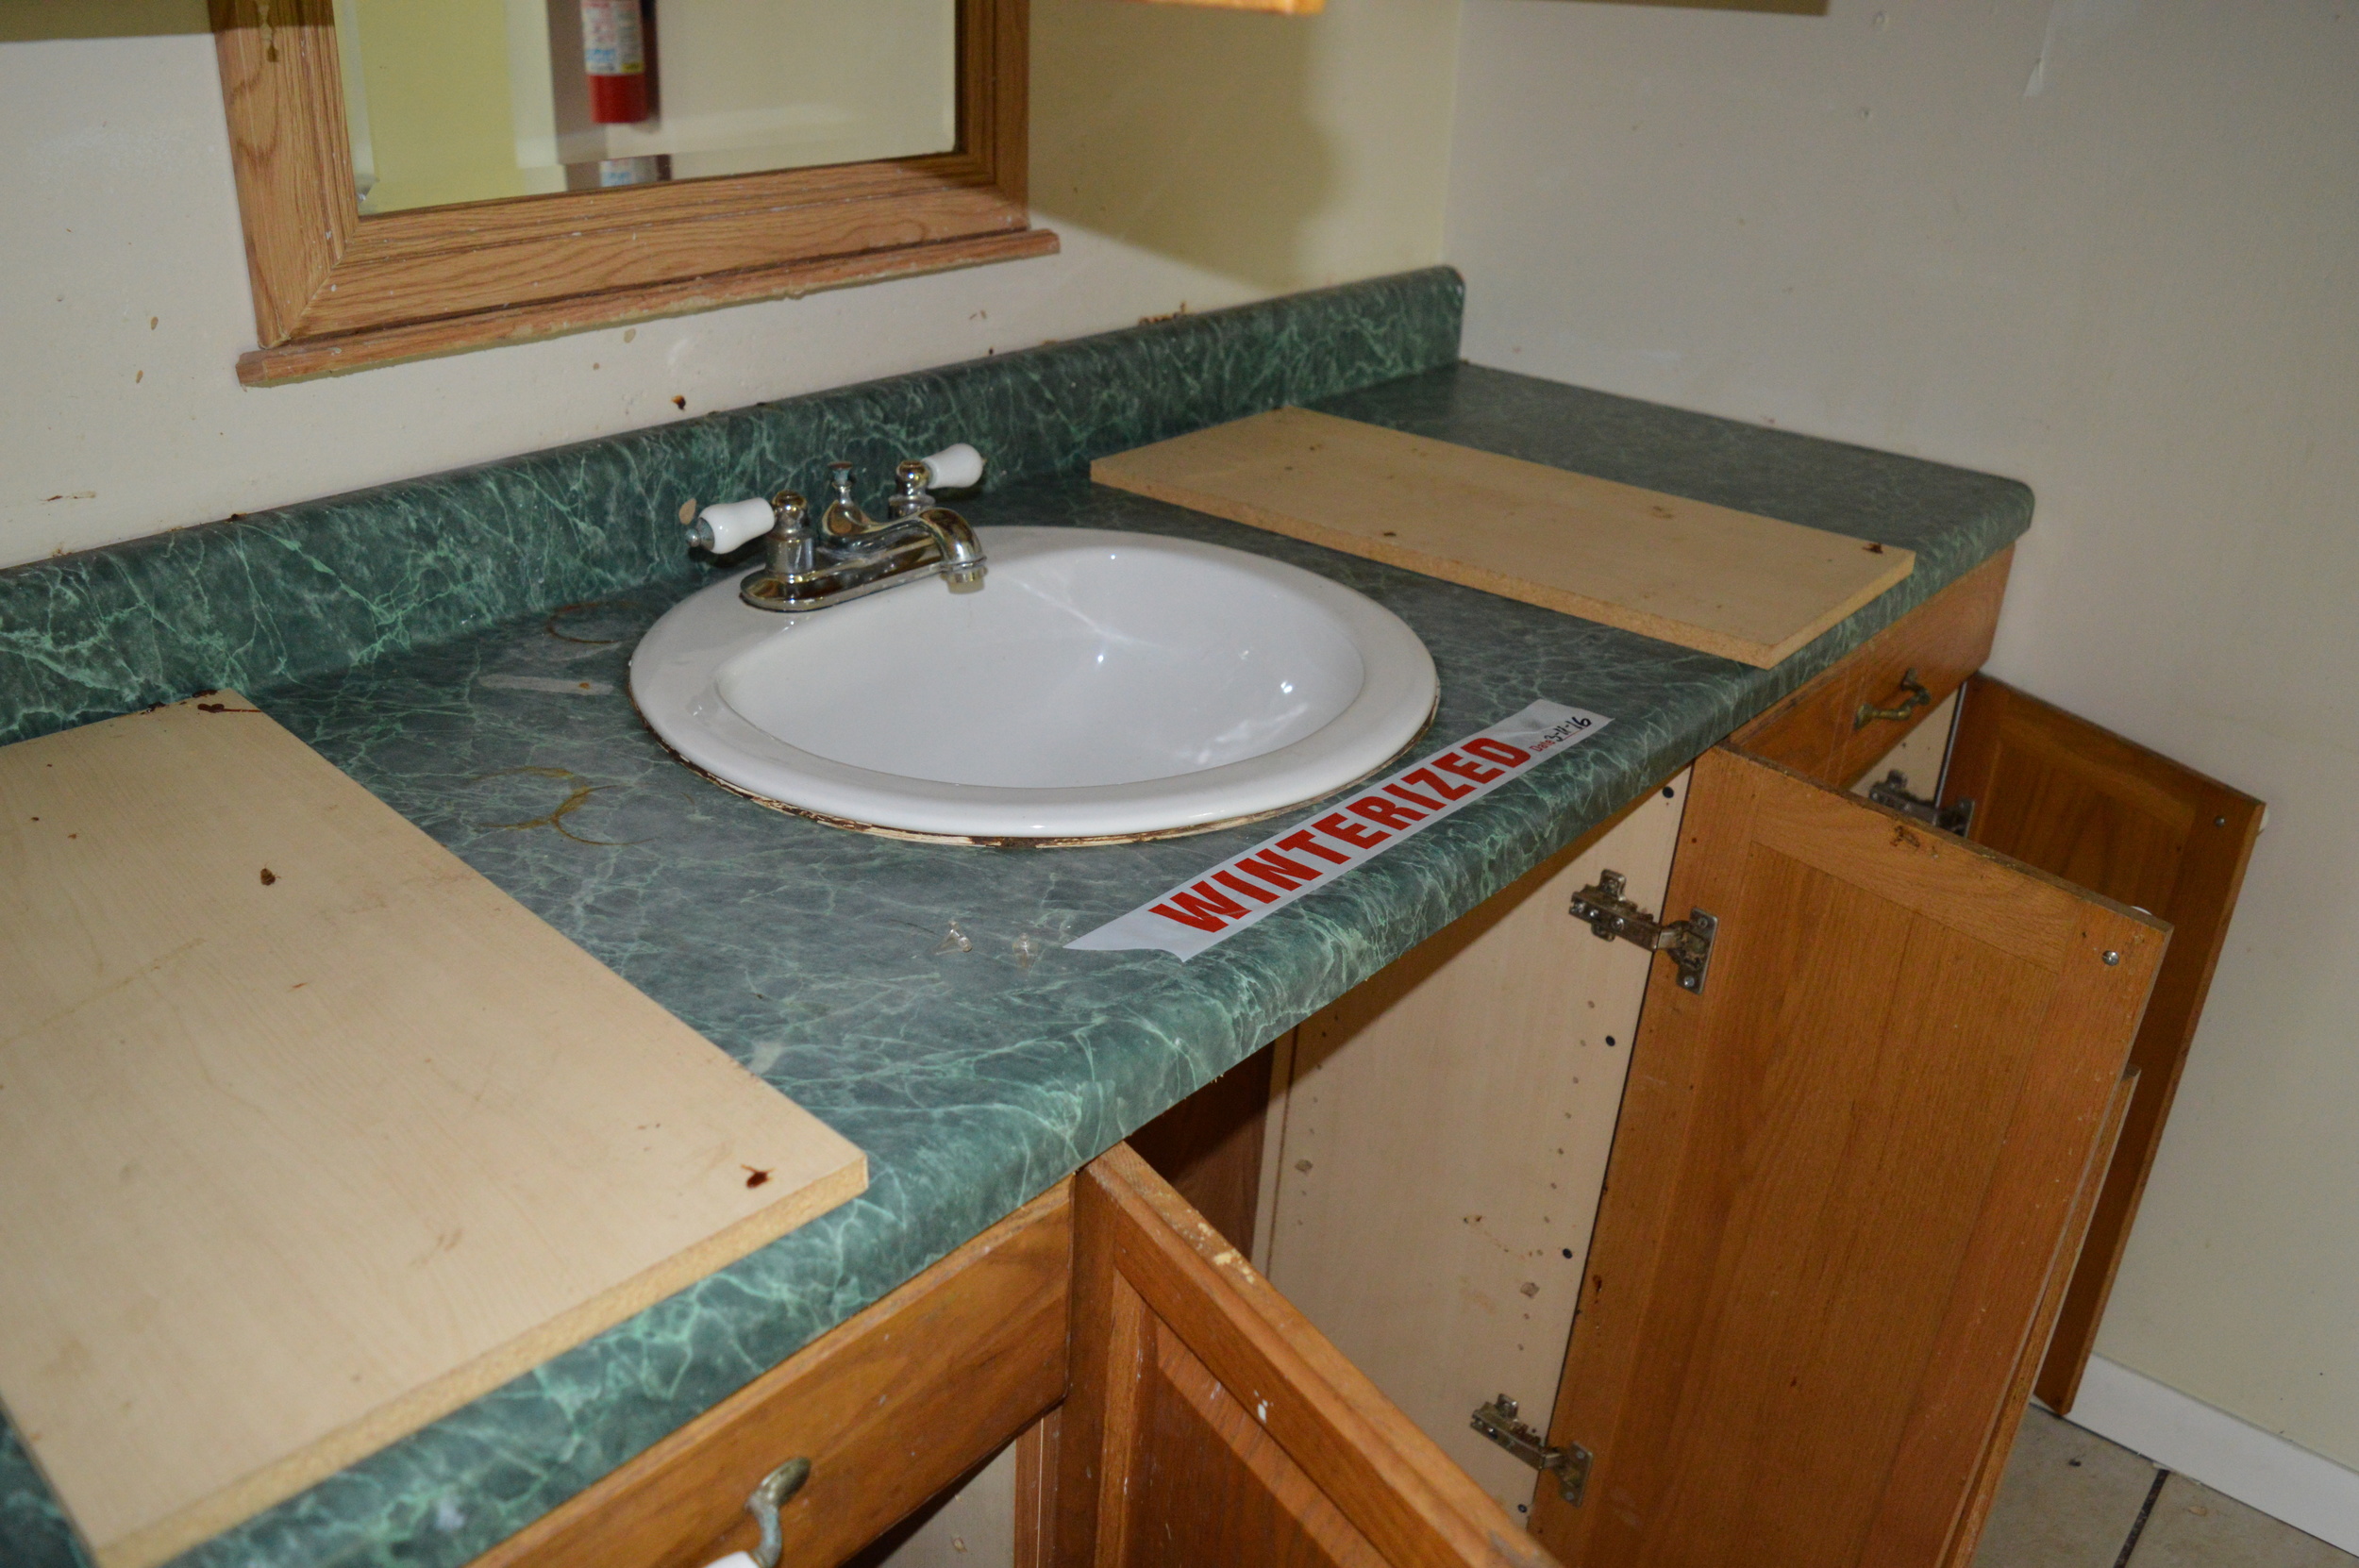
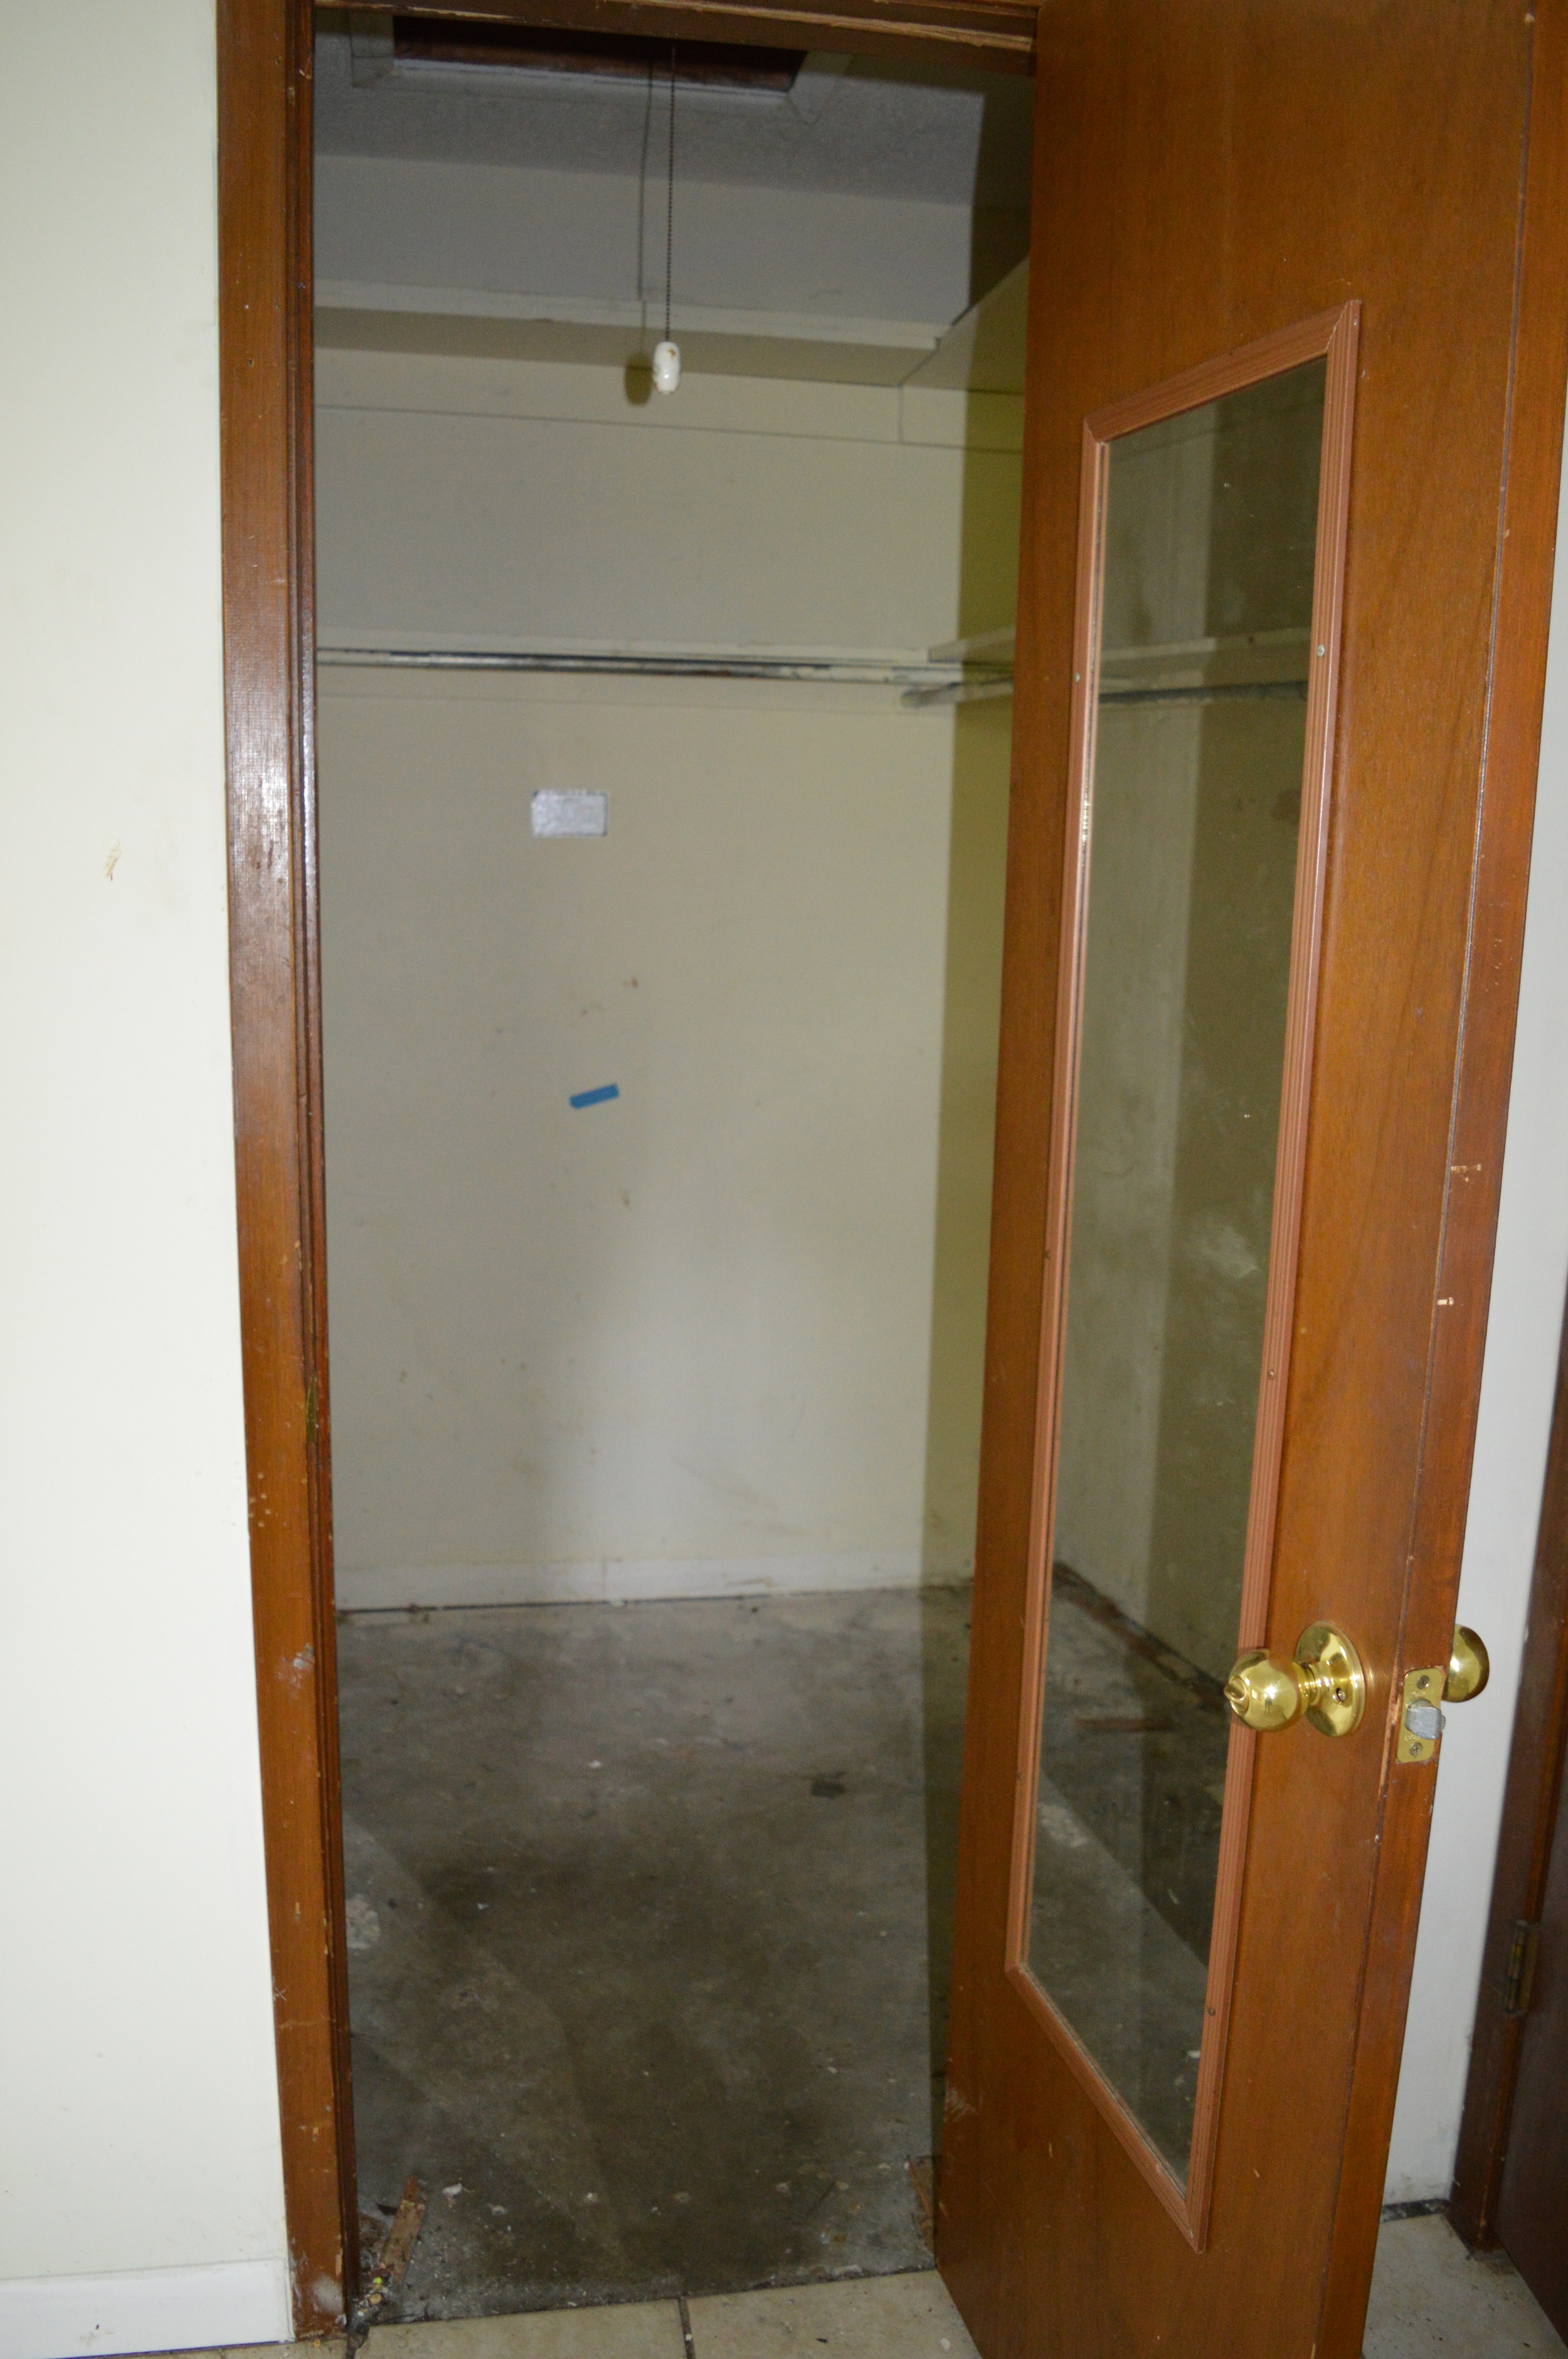
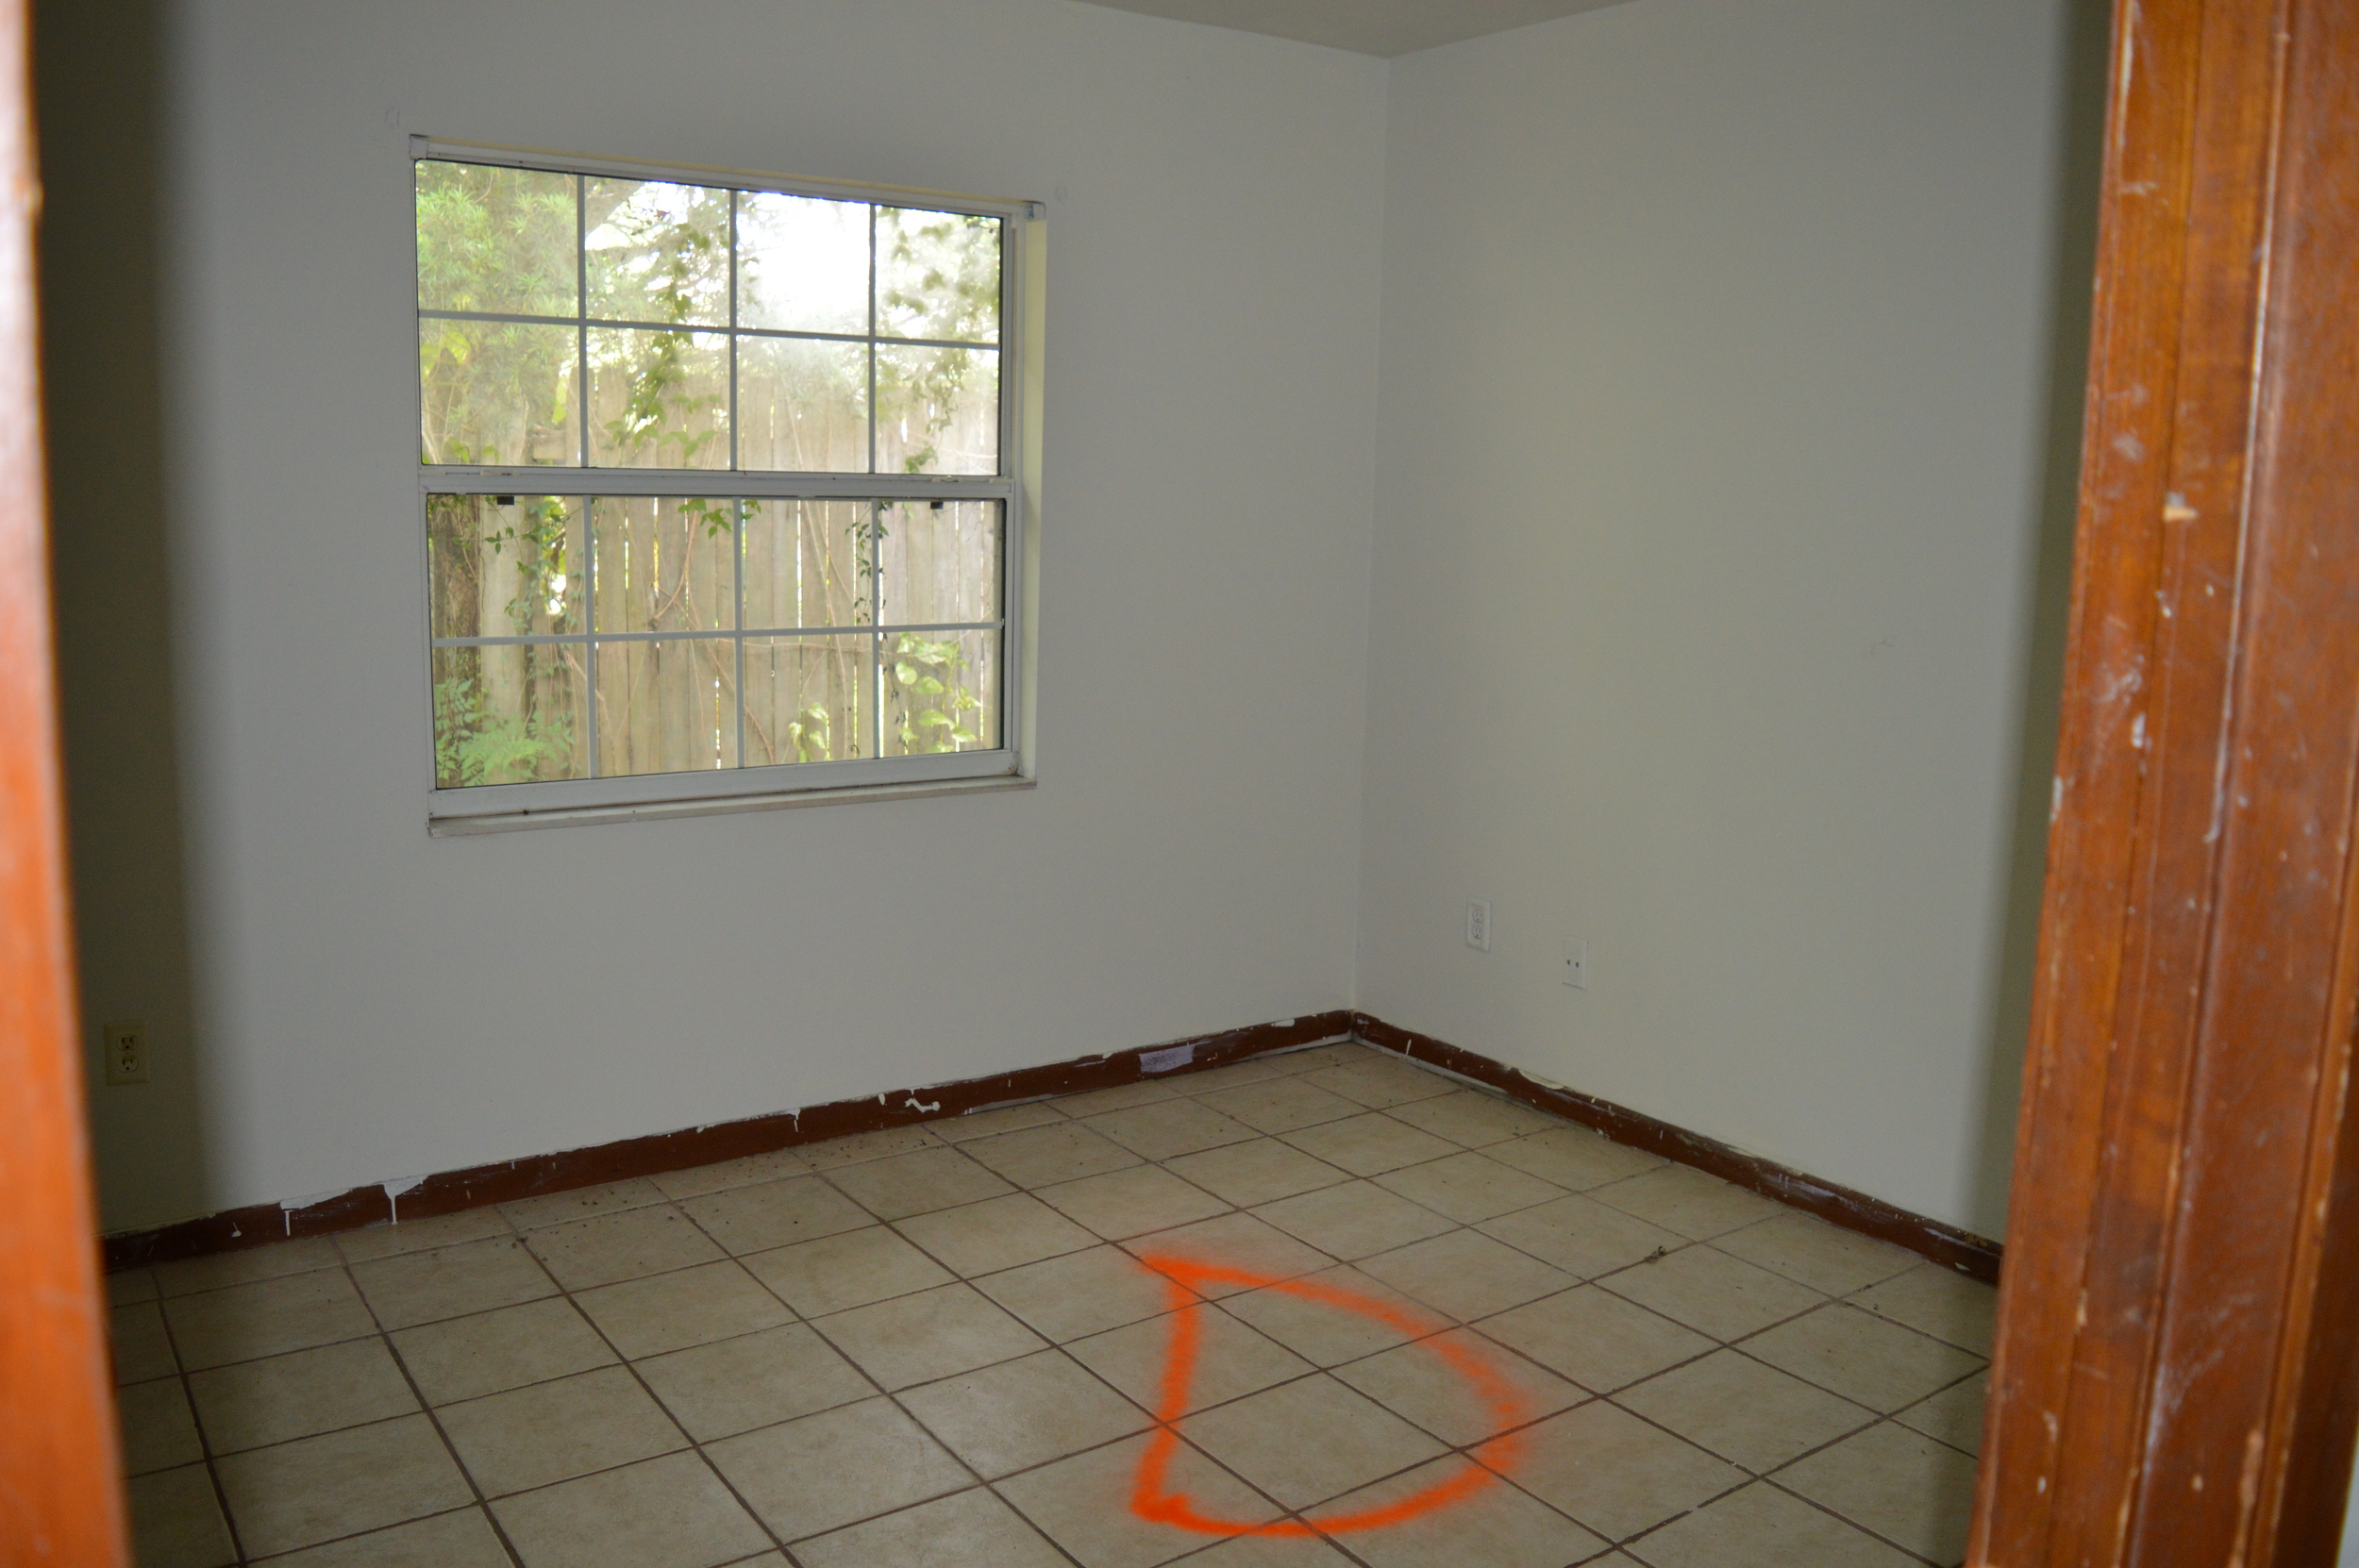
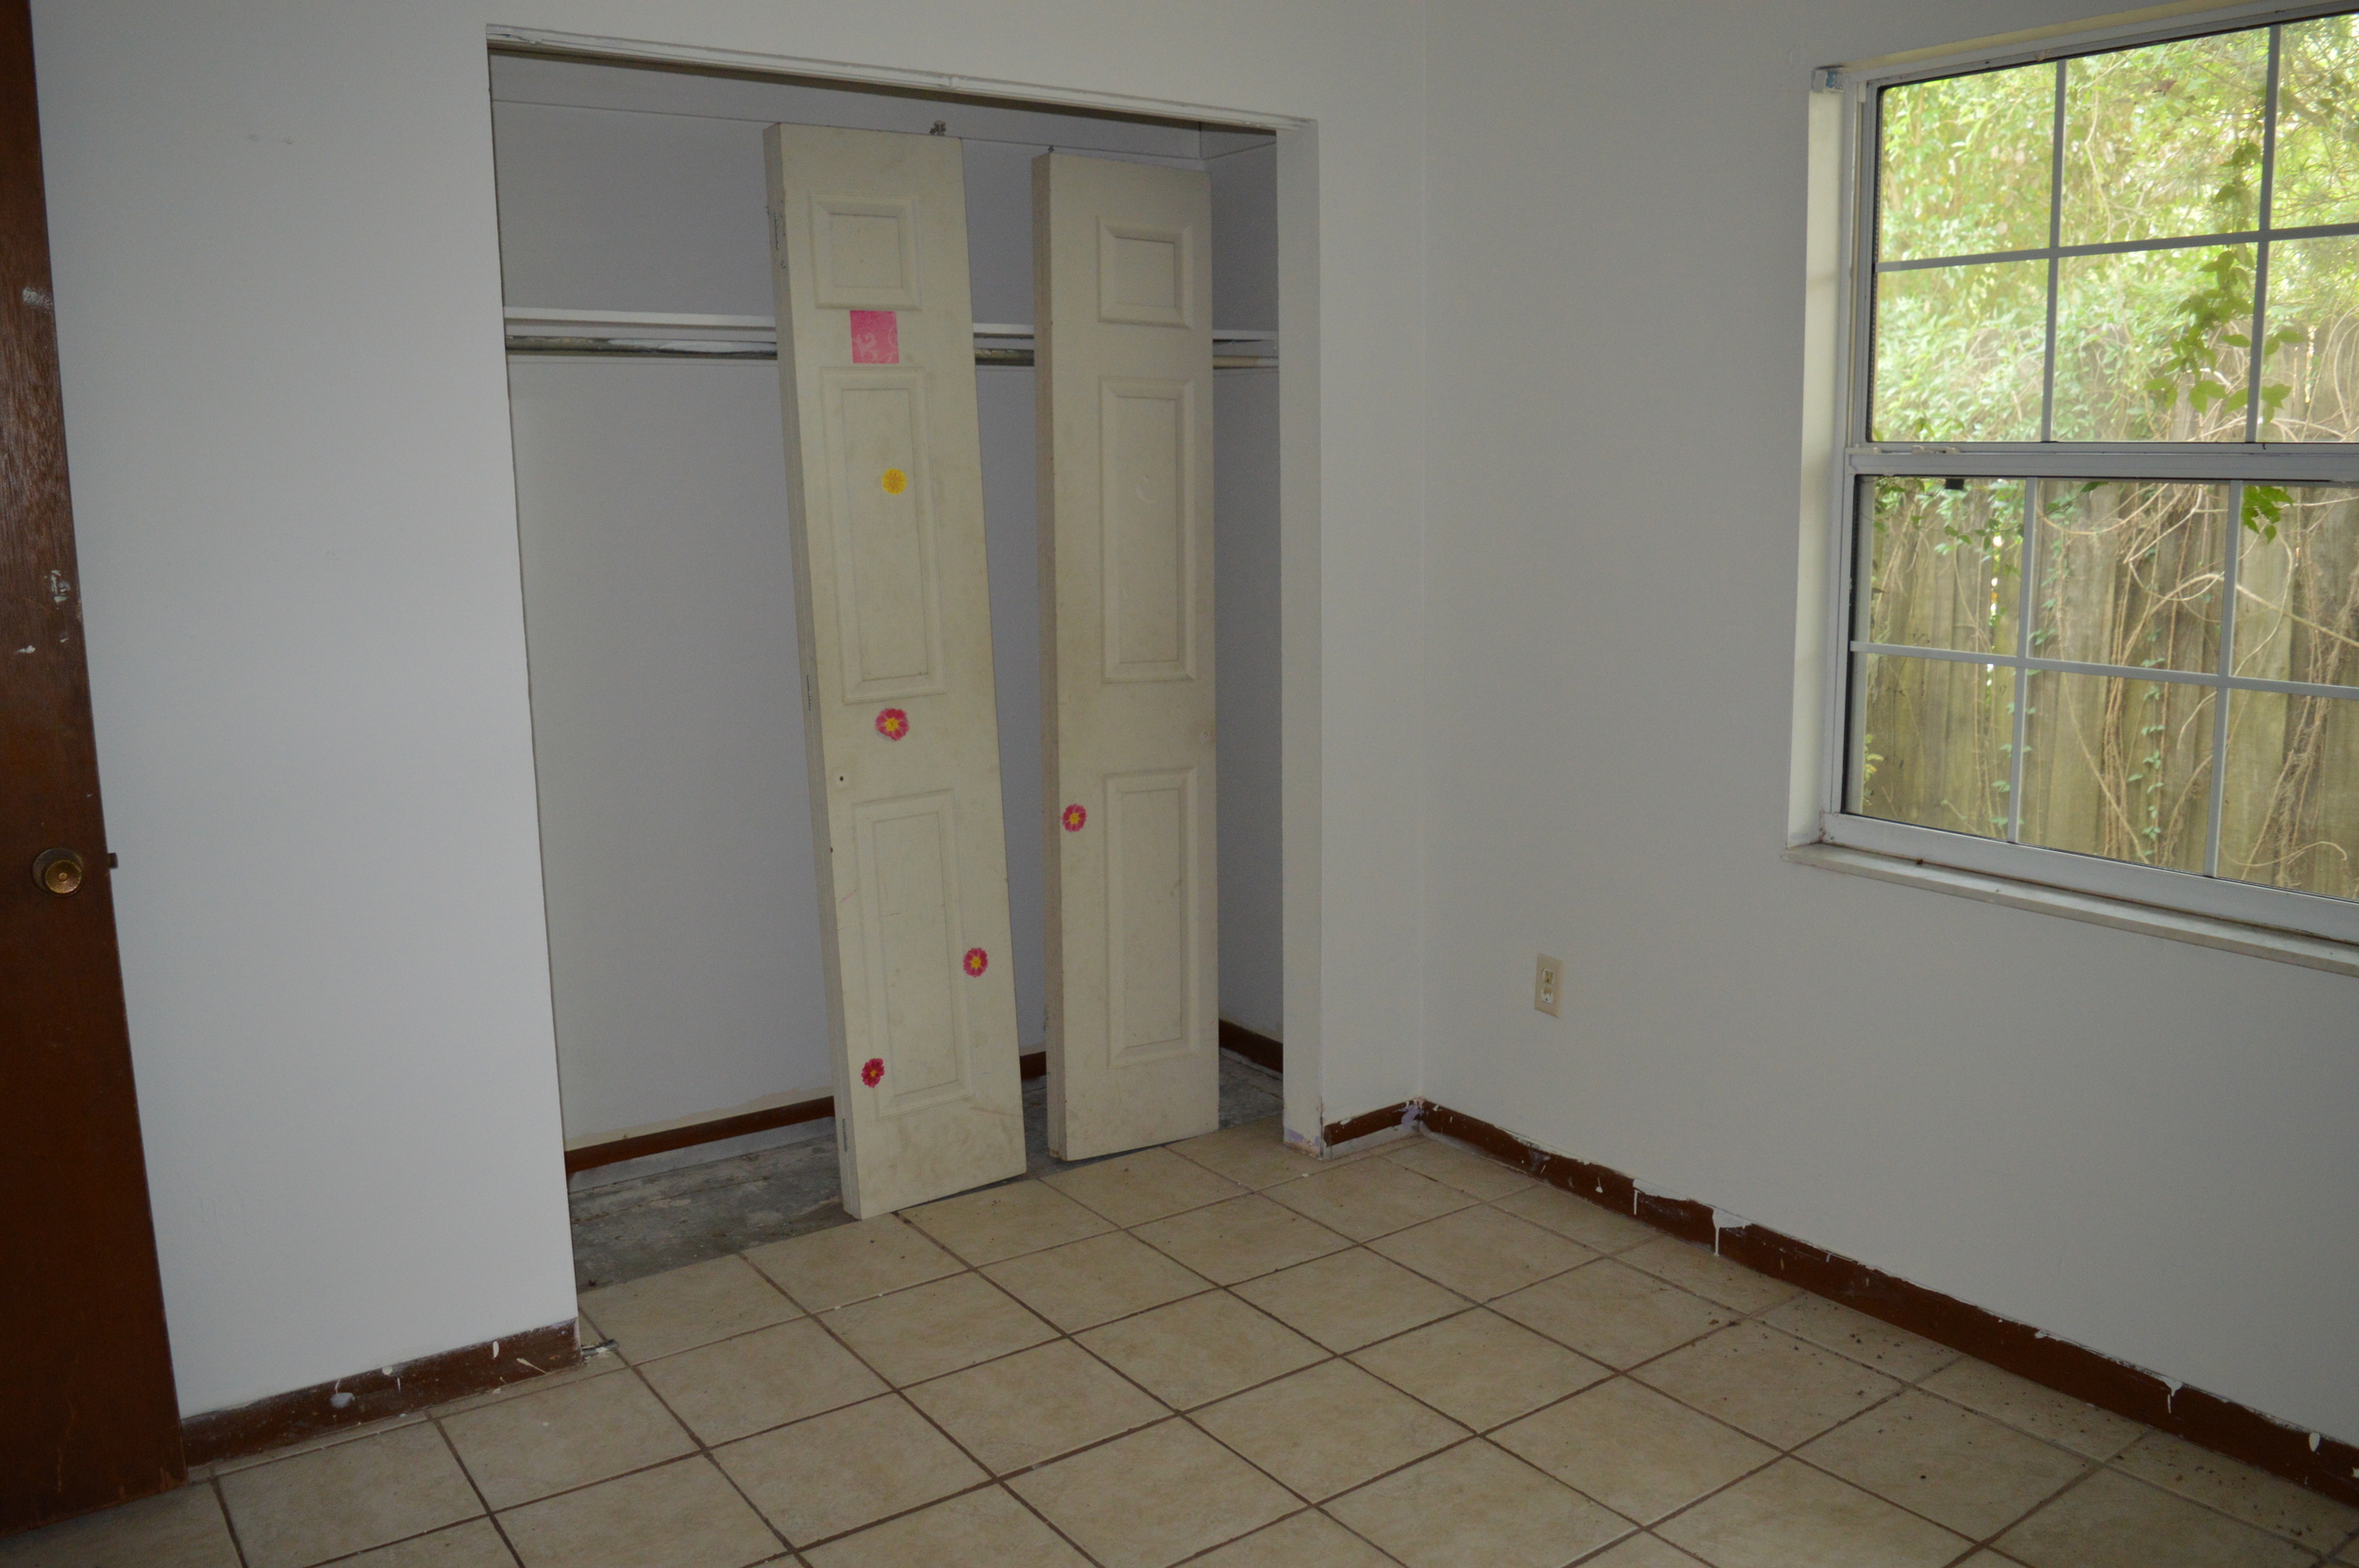
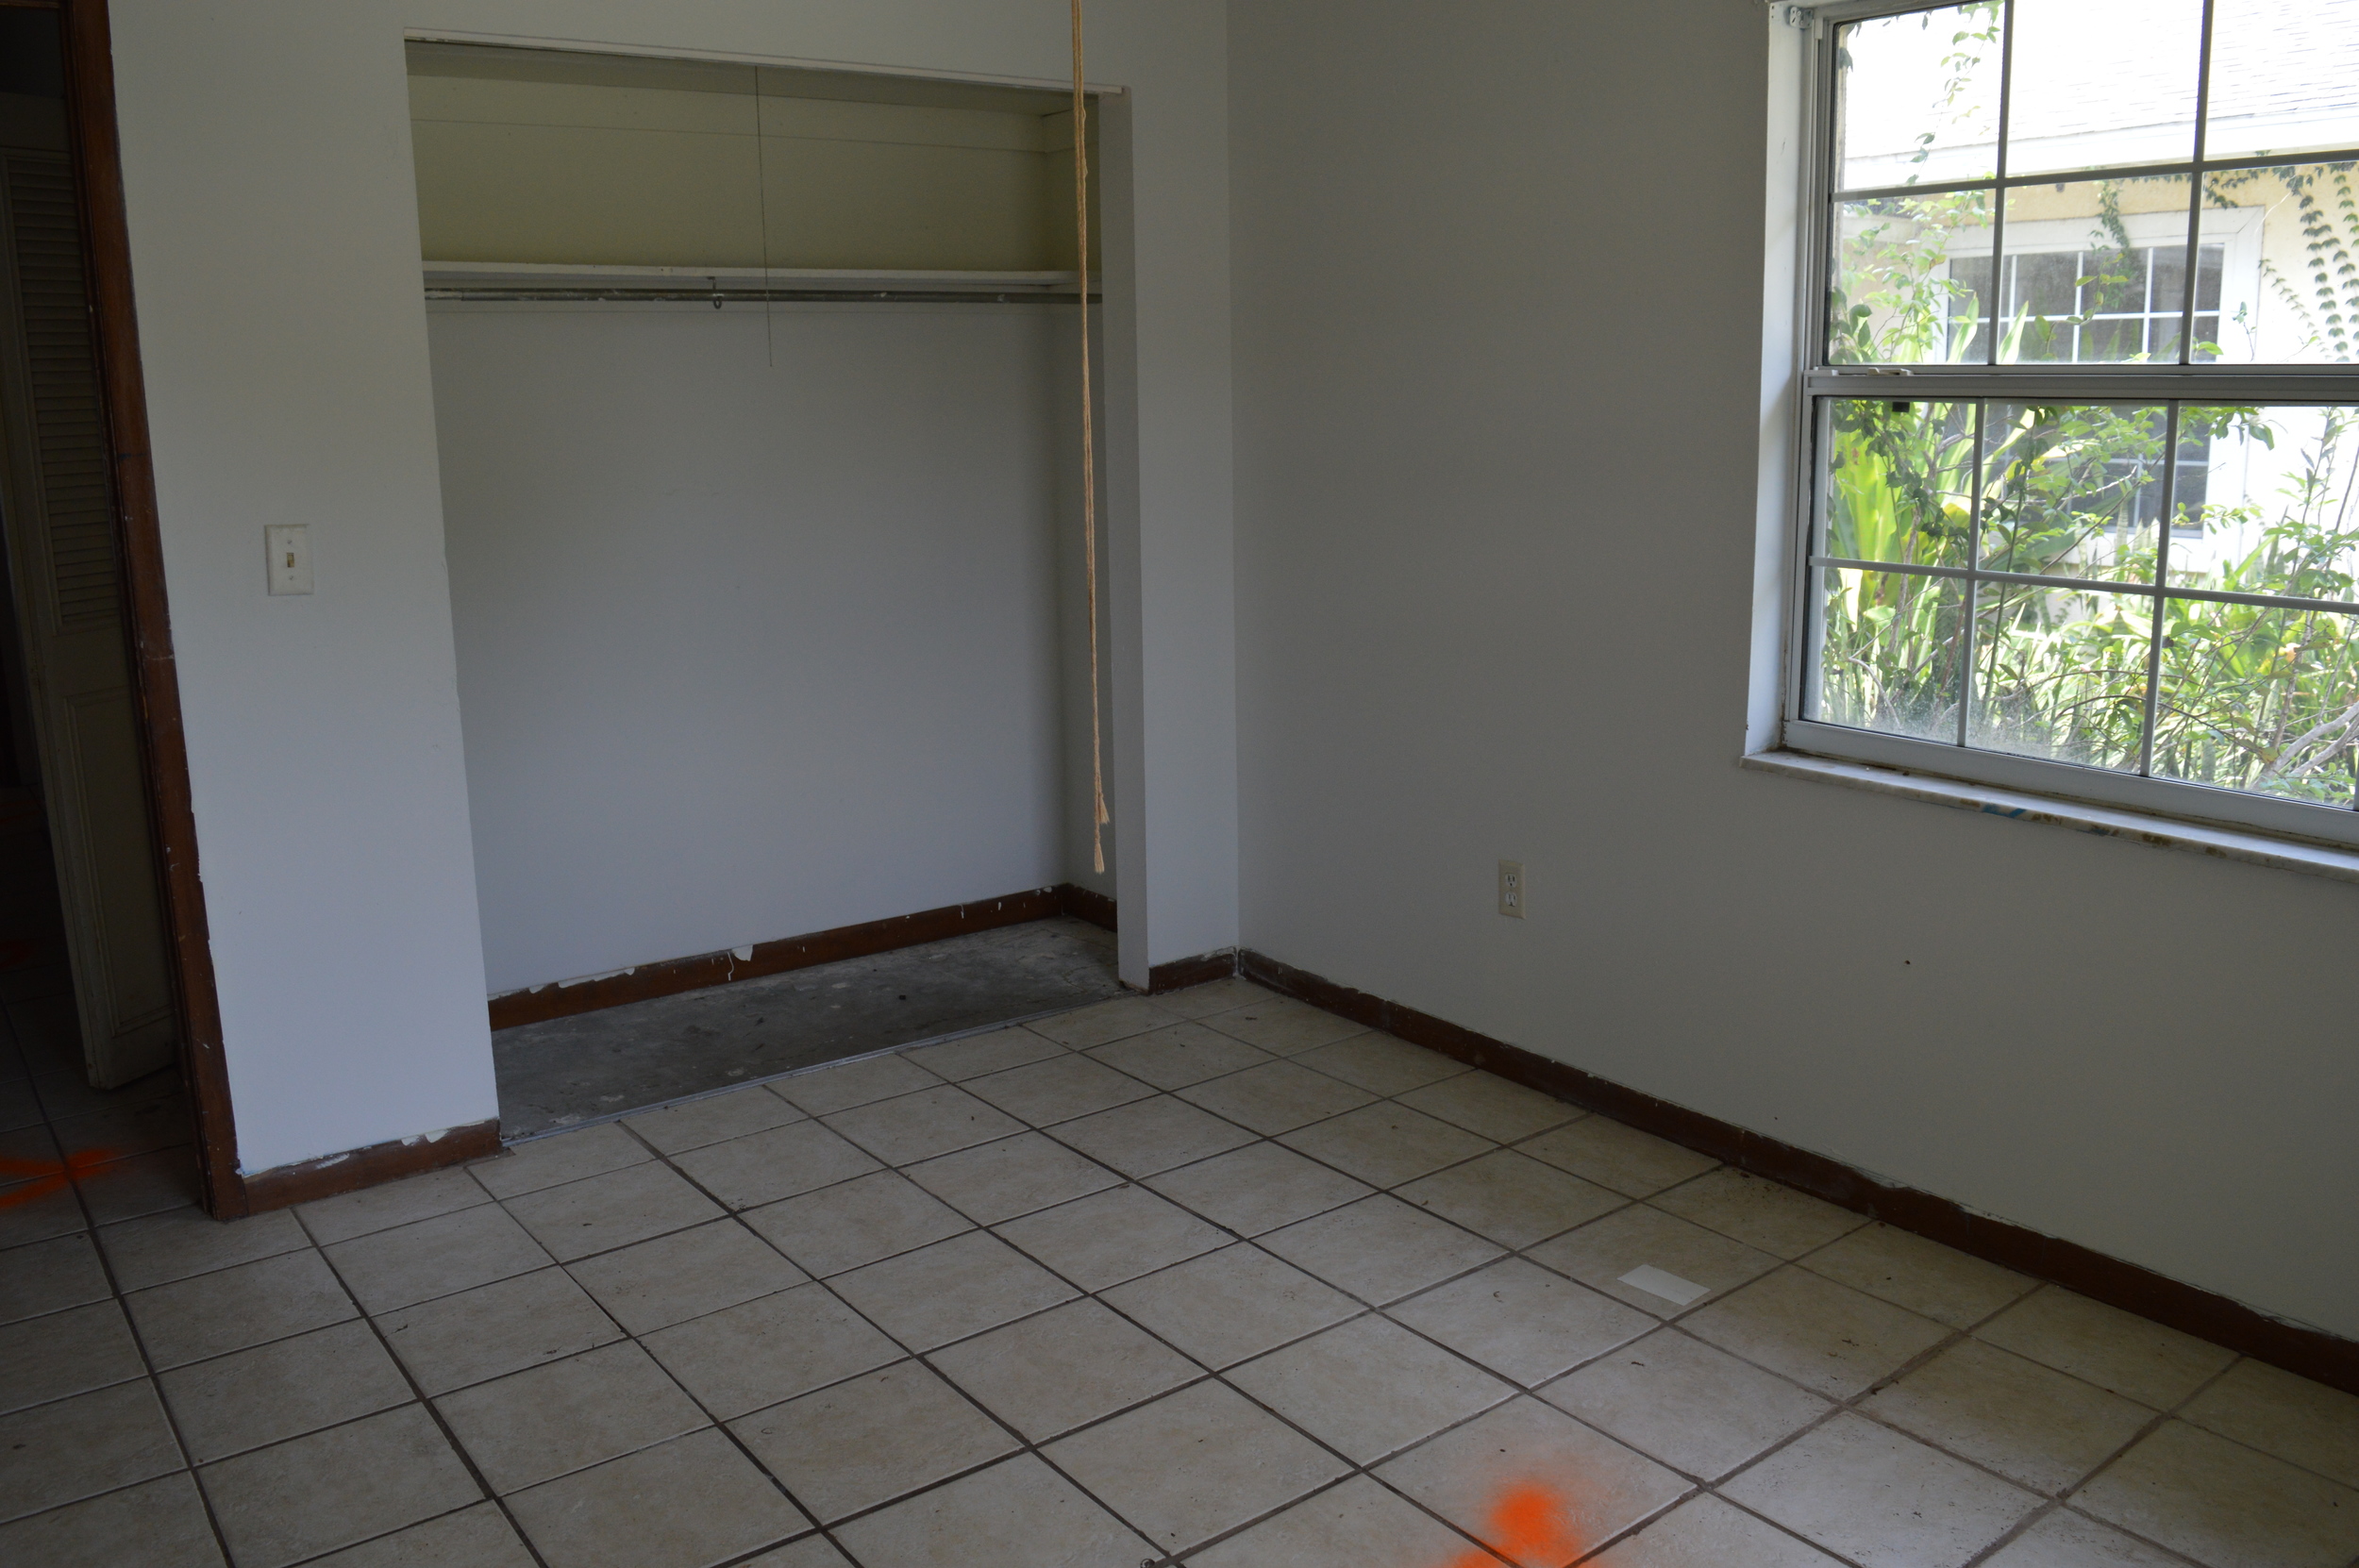
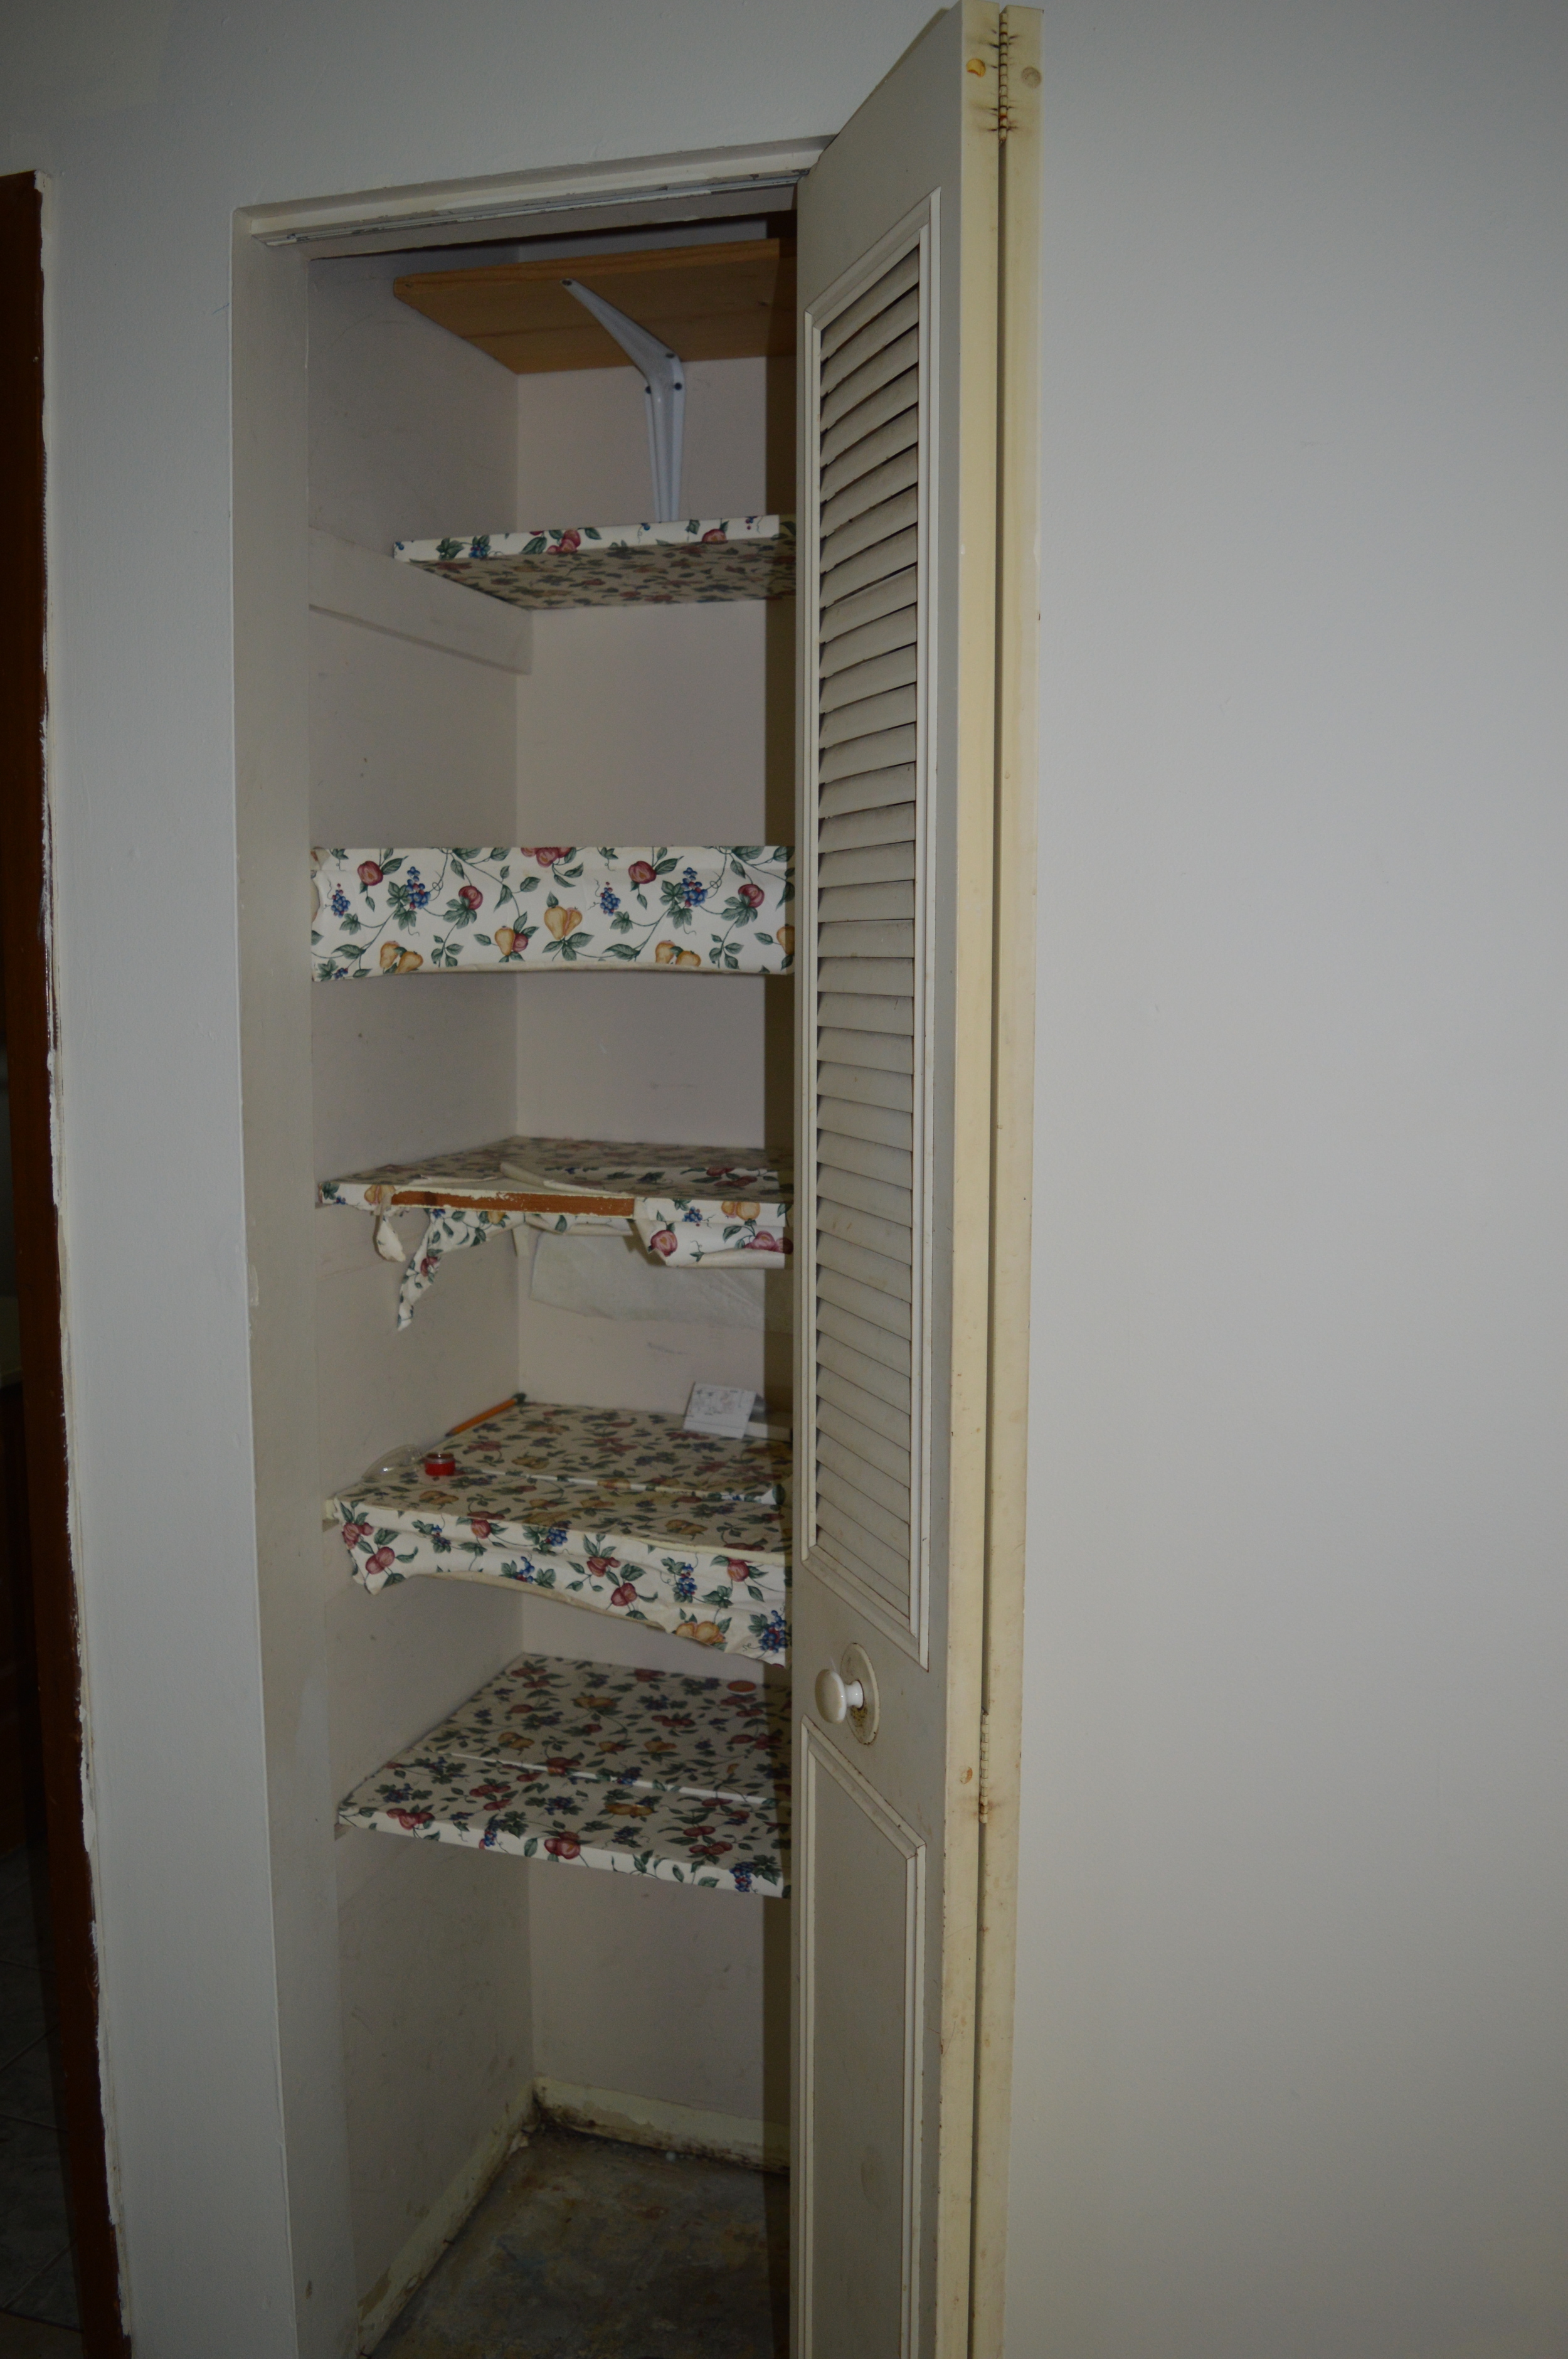
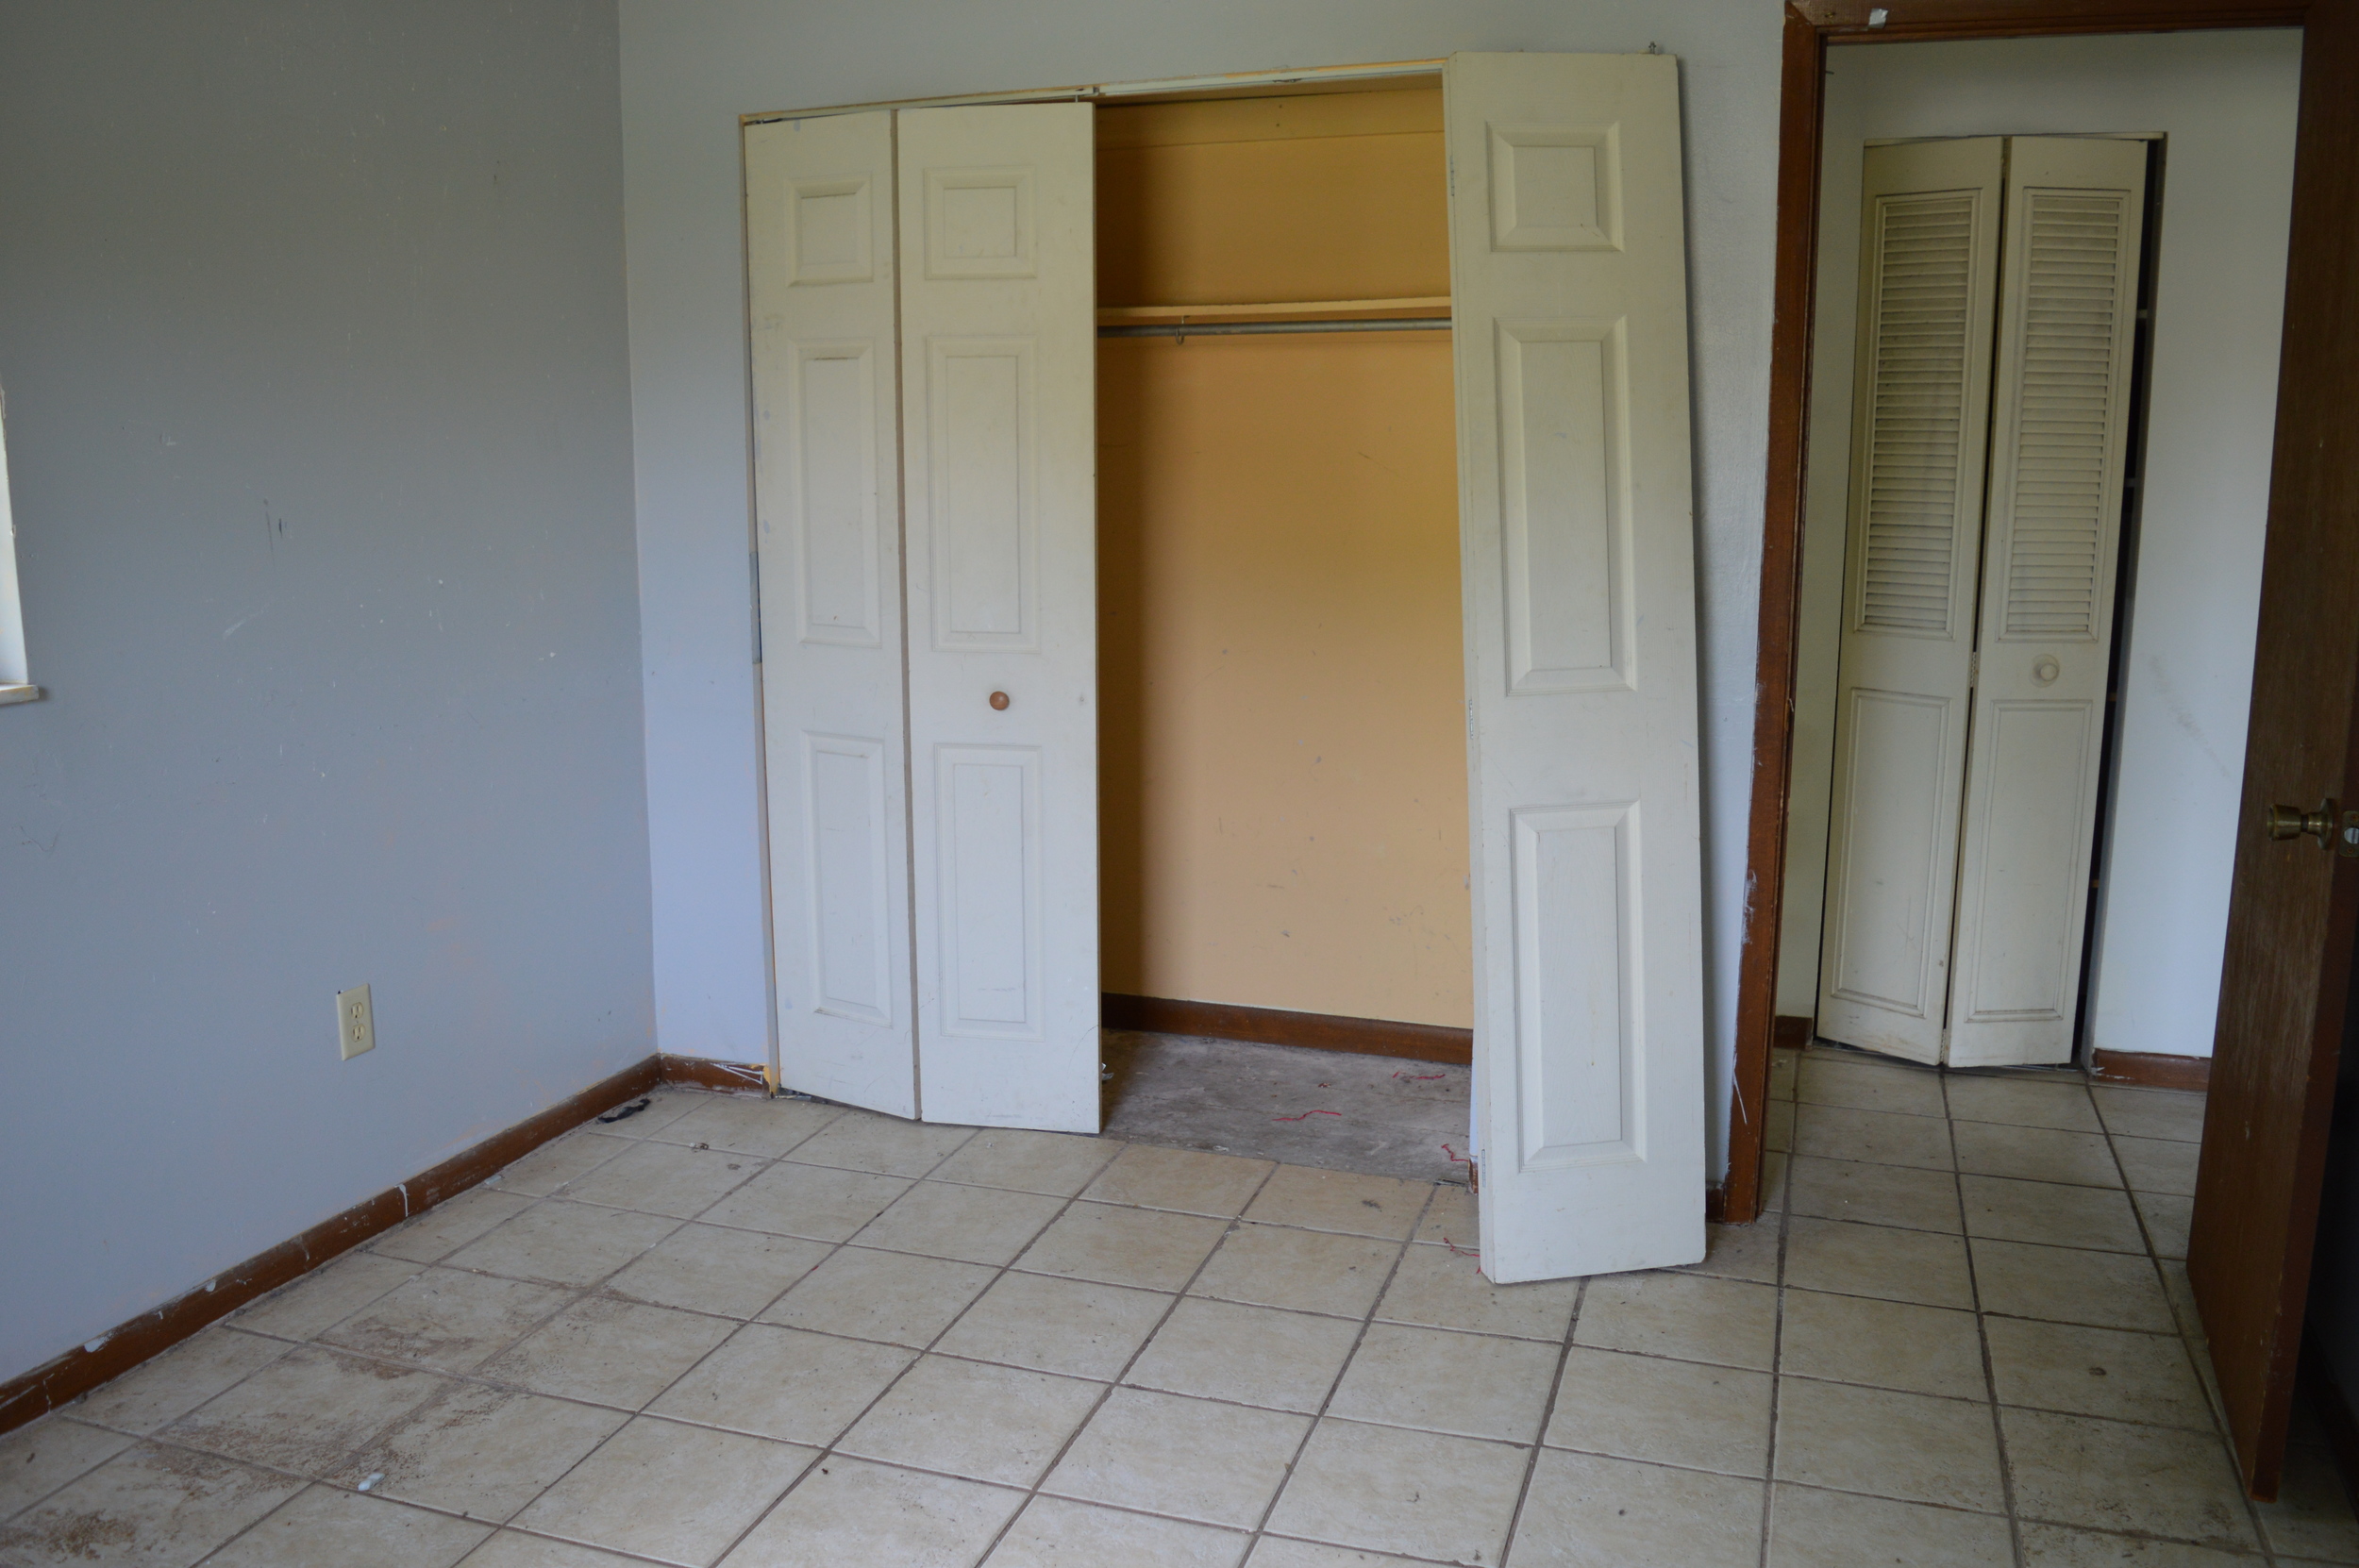
Welcome to our (currently cringe-worthy) abode! Last weekend we went in and took a ton of pictures before they started demo - and I'm glad we did, because one week later, this place looks totally different! So without further ado, here is a before picture photo dump! Everything marked with an orange "D" is getting demo'd - so you can see, we're losing quiteeee a few walls. Yes!
Welcome to our (currently cringe-worthy) abode! Last weekend we went in and took a ton of pictures before they started demo - and I'm glad we did, because one week later, this place looks totally different! So without further ado, here is a before picture photo dump! Everything marked with an orange "D" is getting demo'd - so you can see, we're losing quiteeee a few walls. Yes!
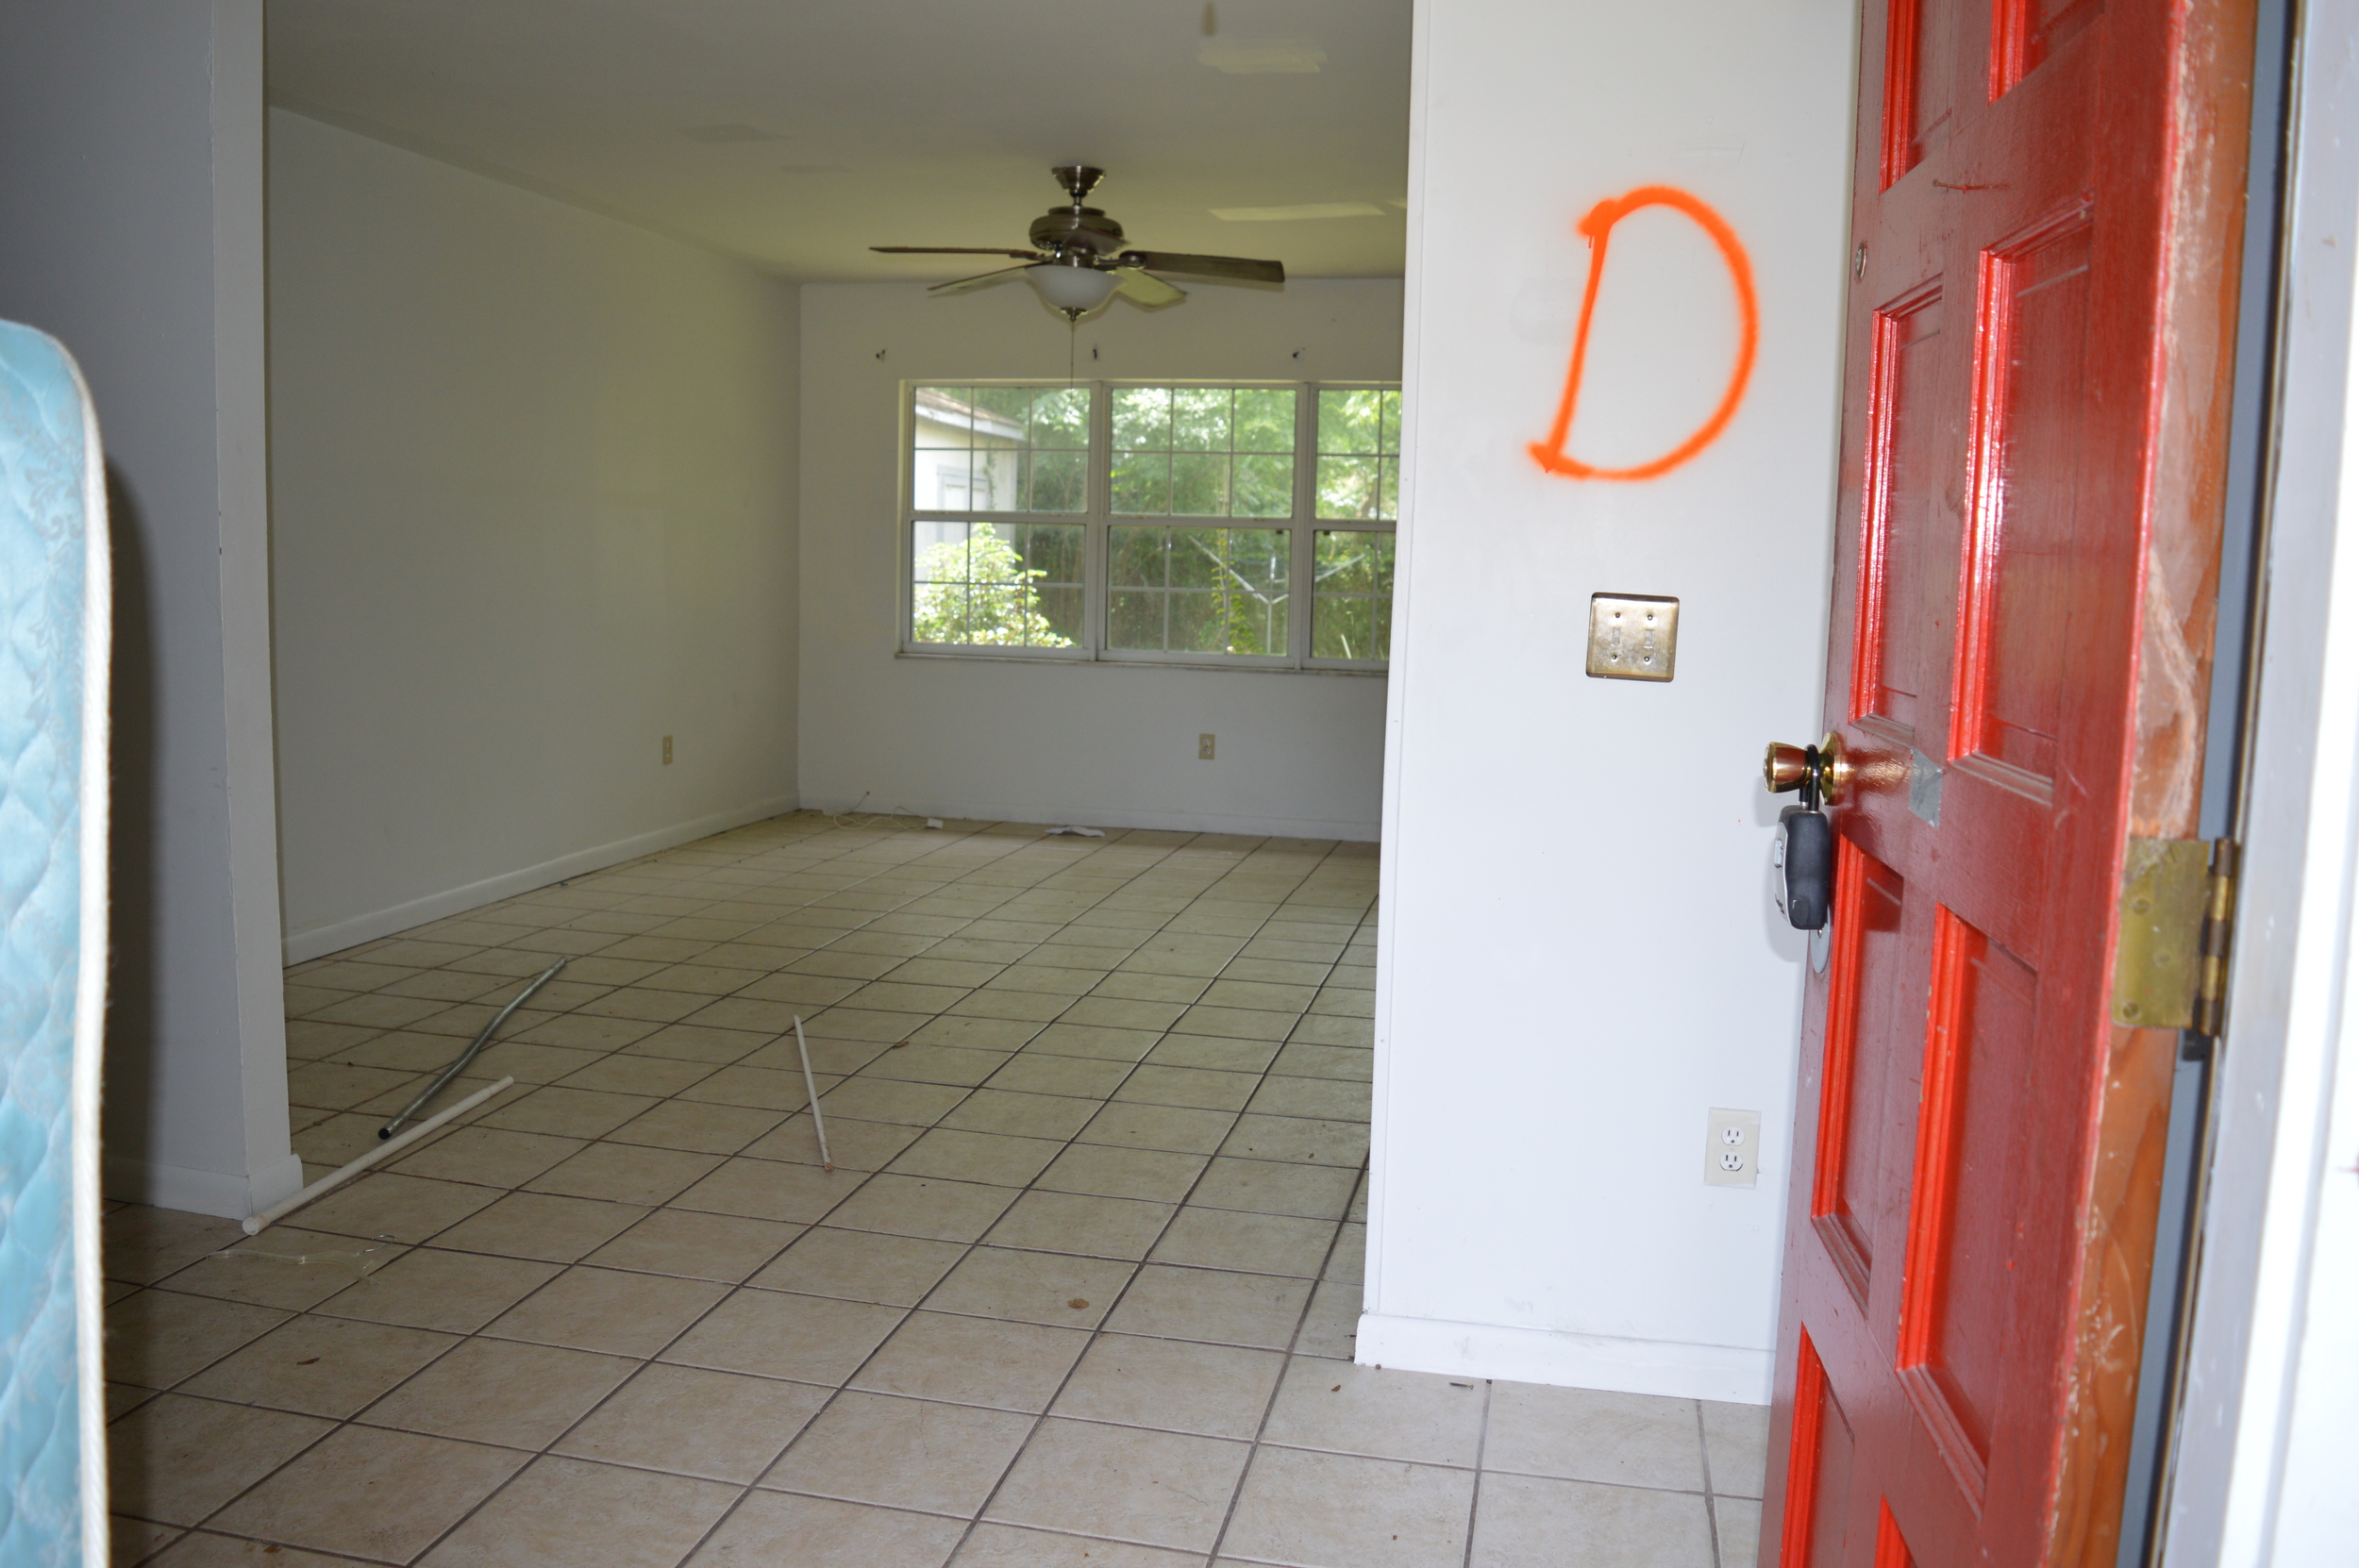
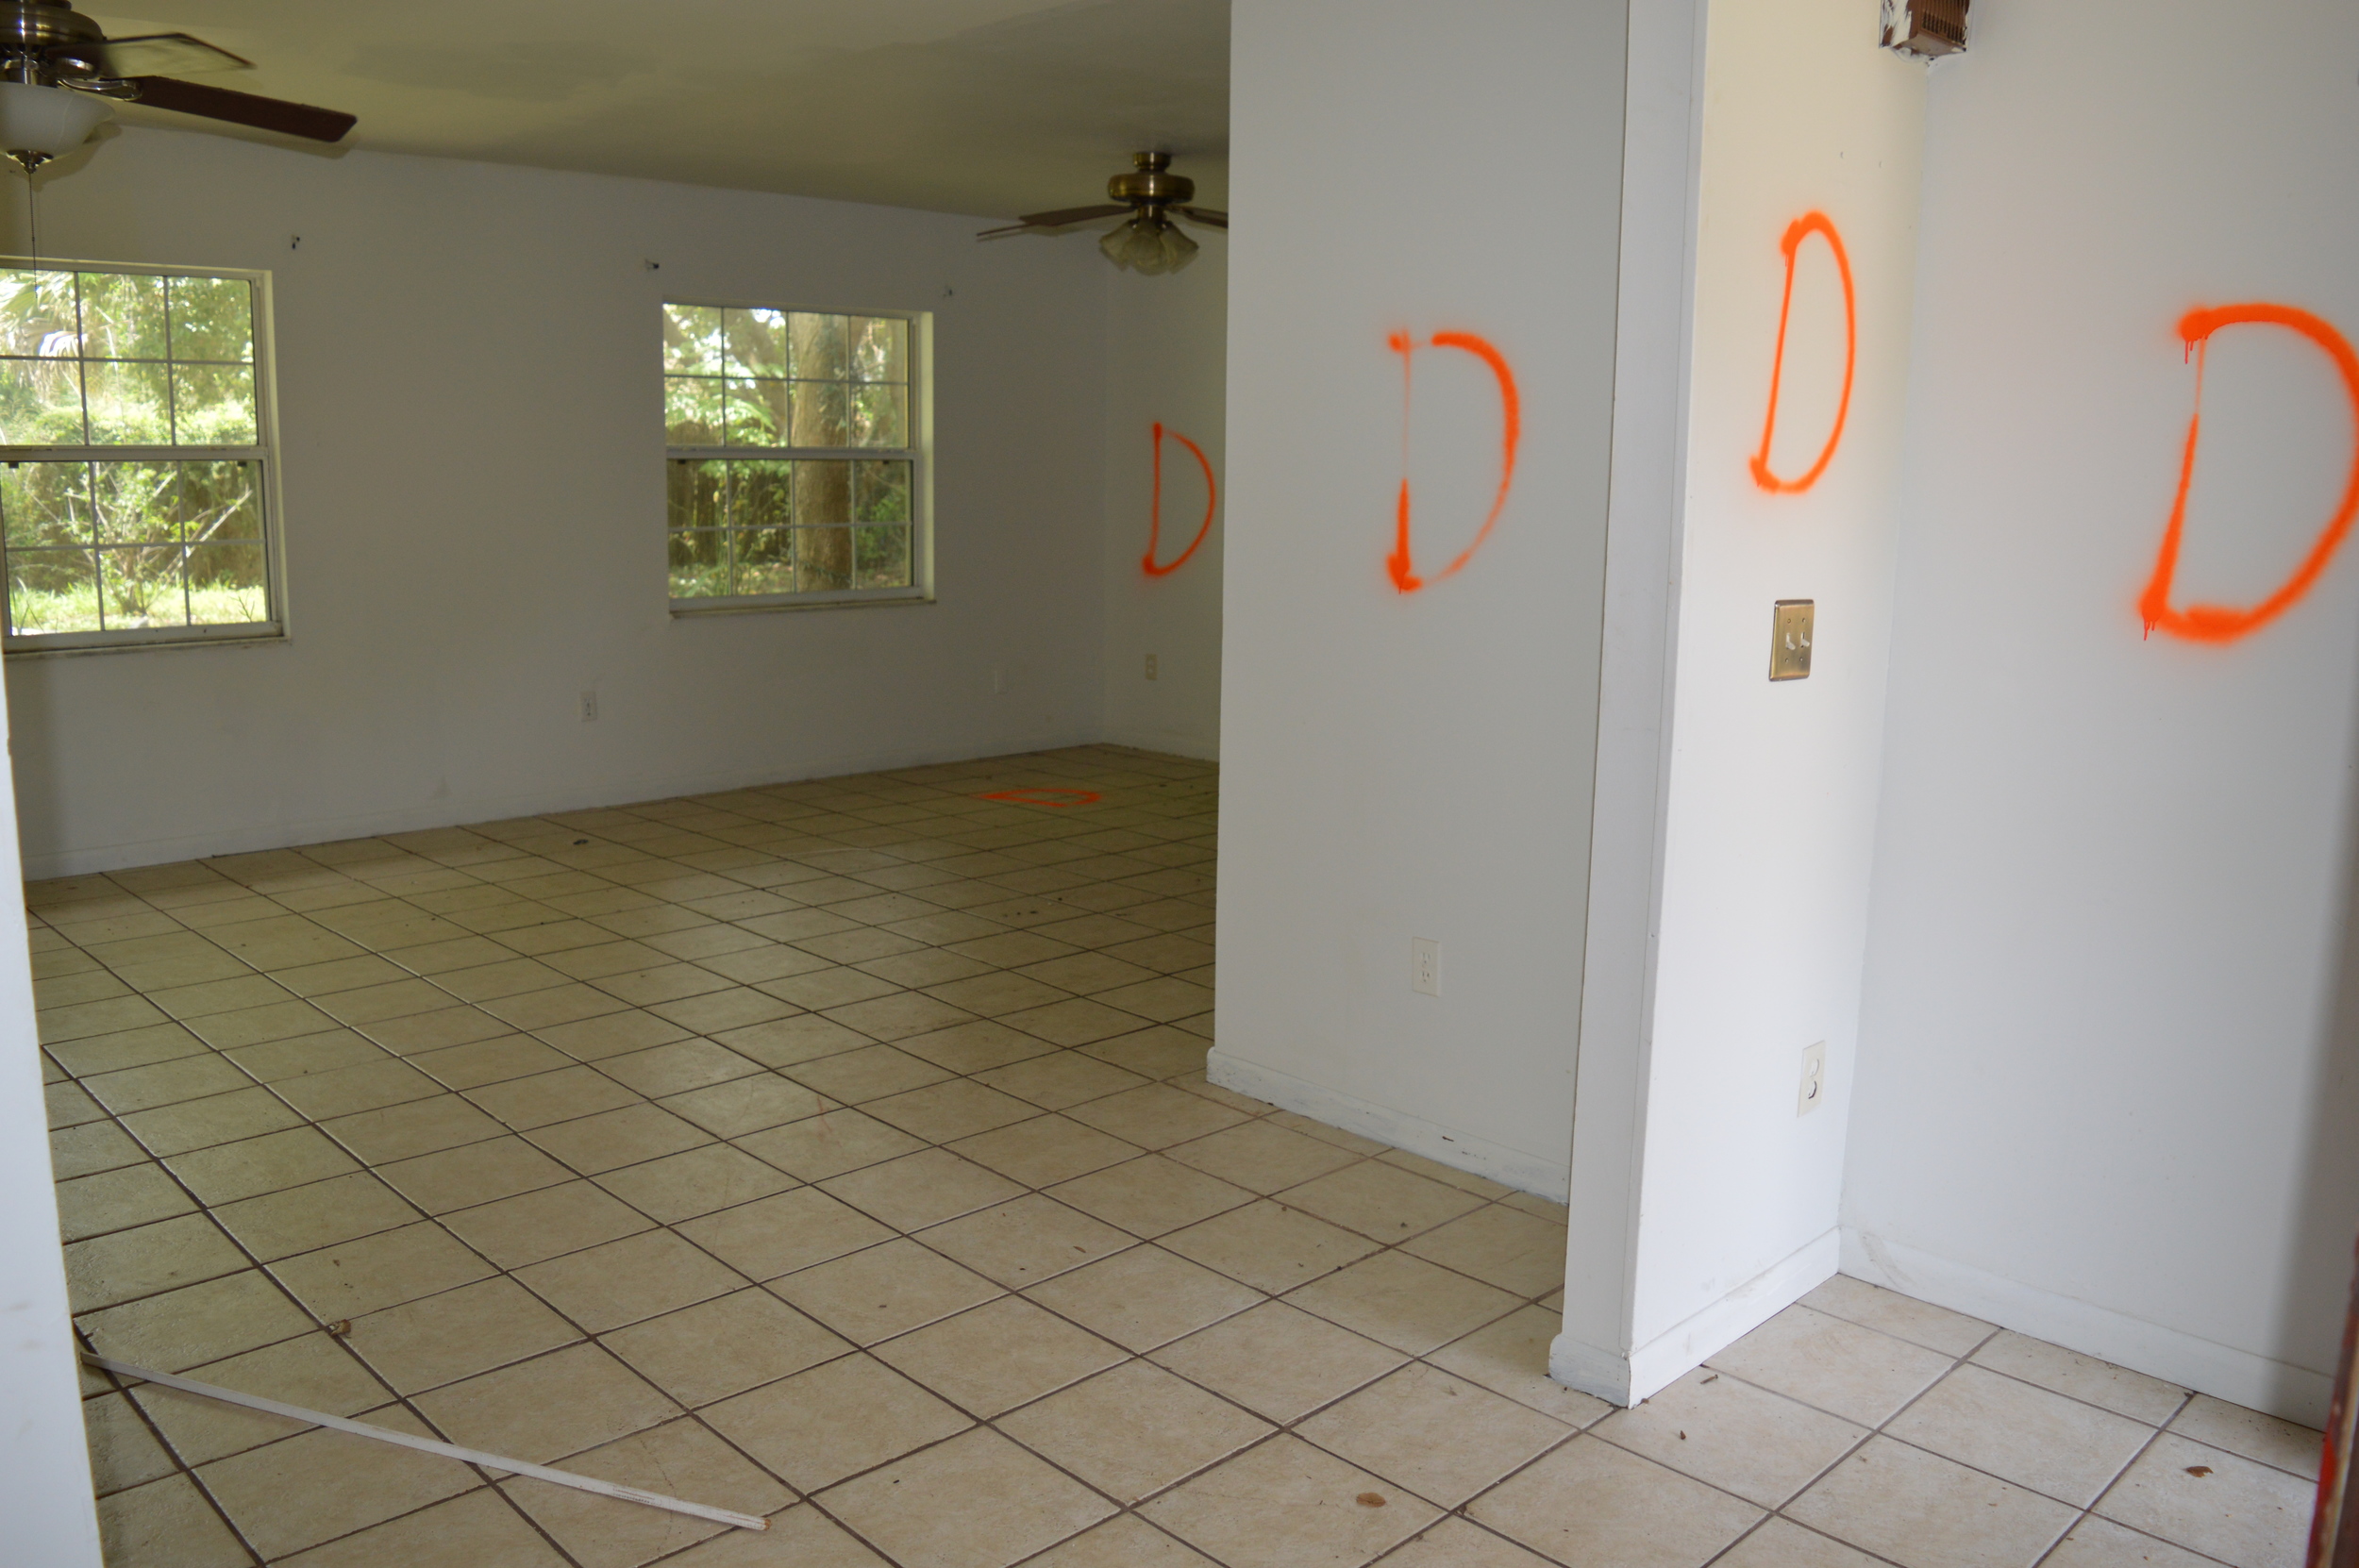
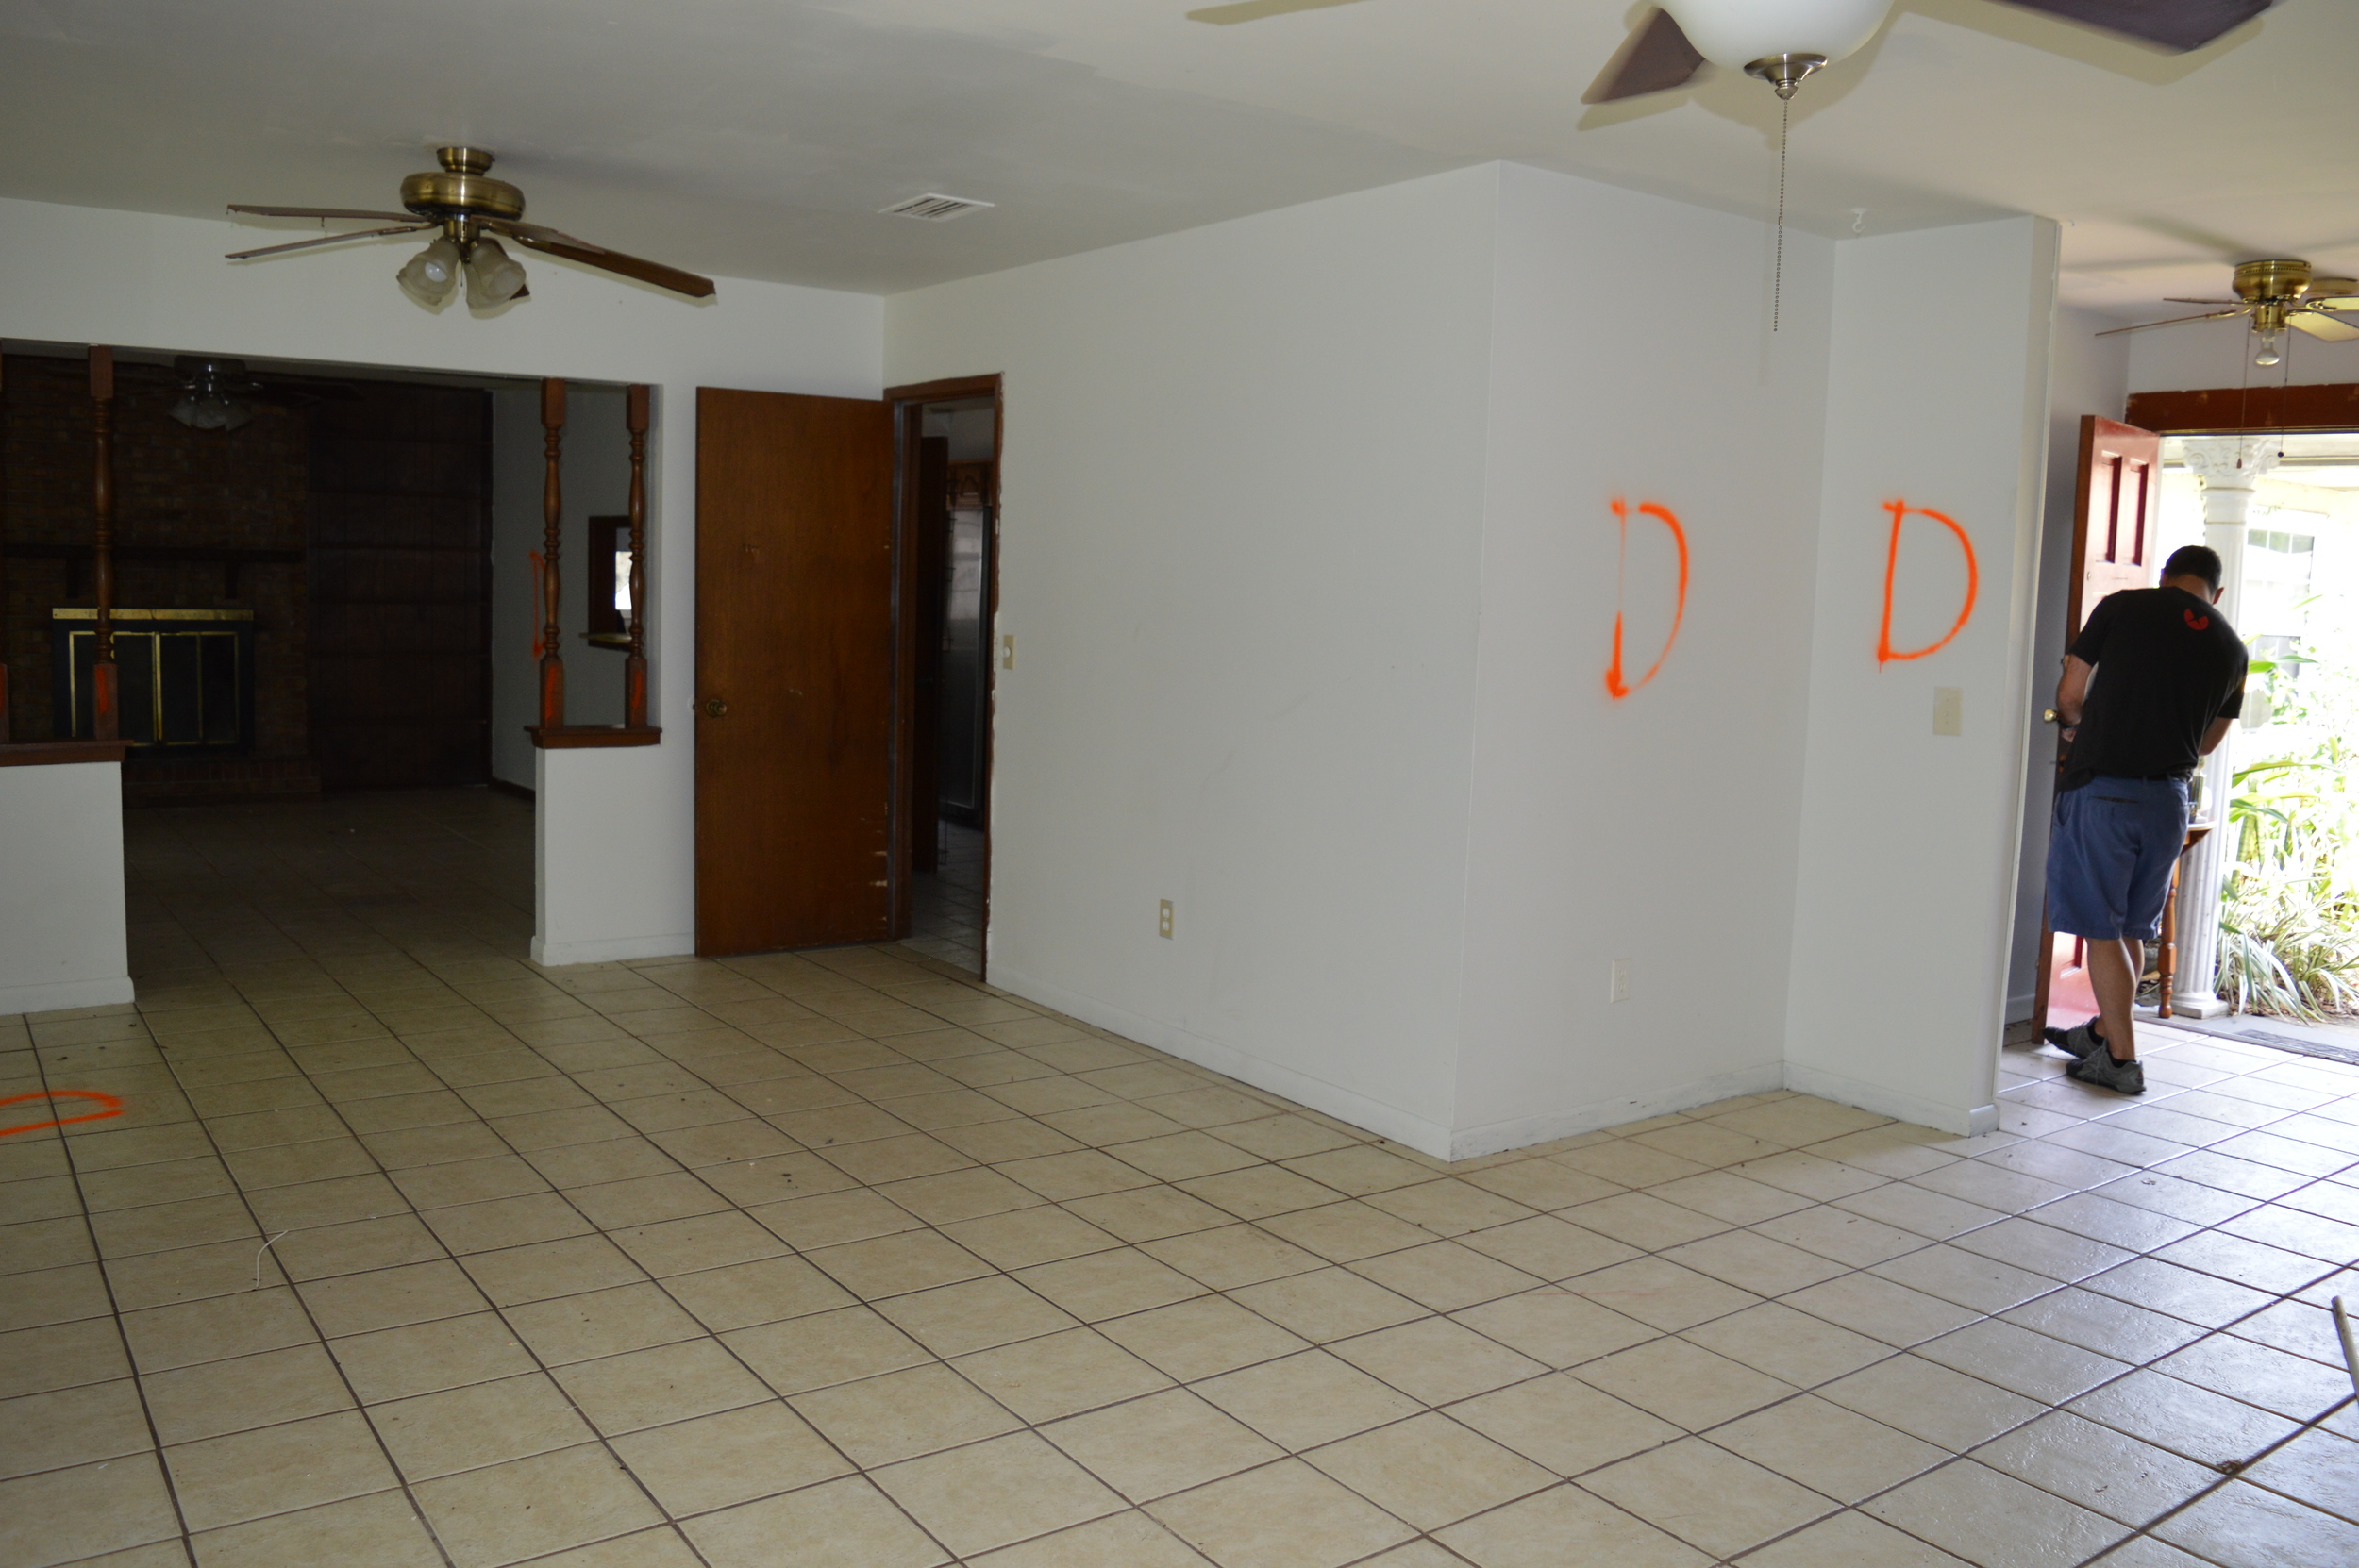
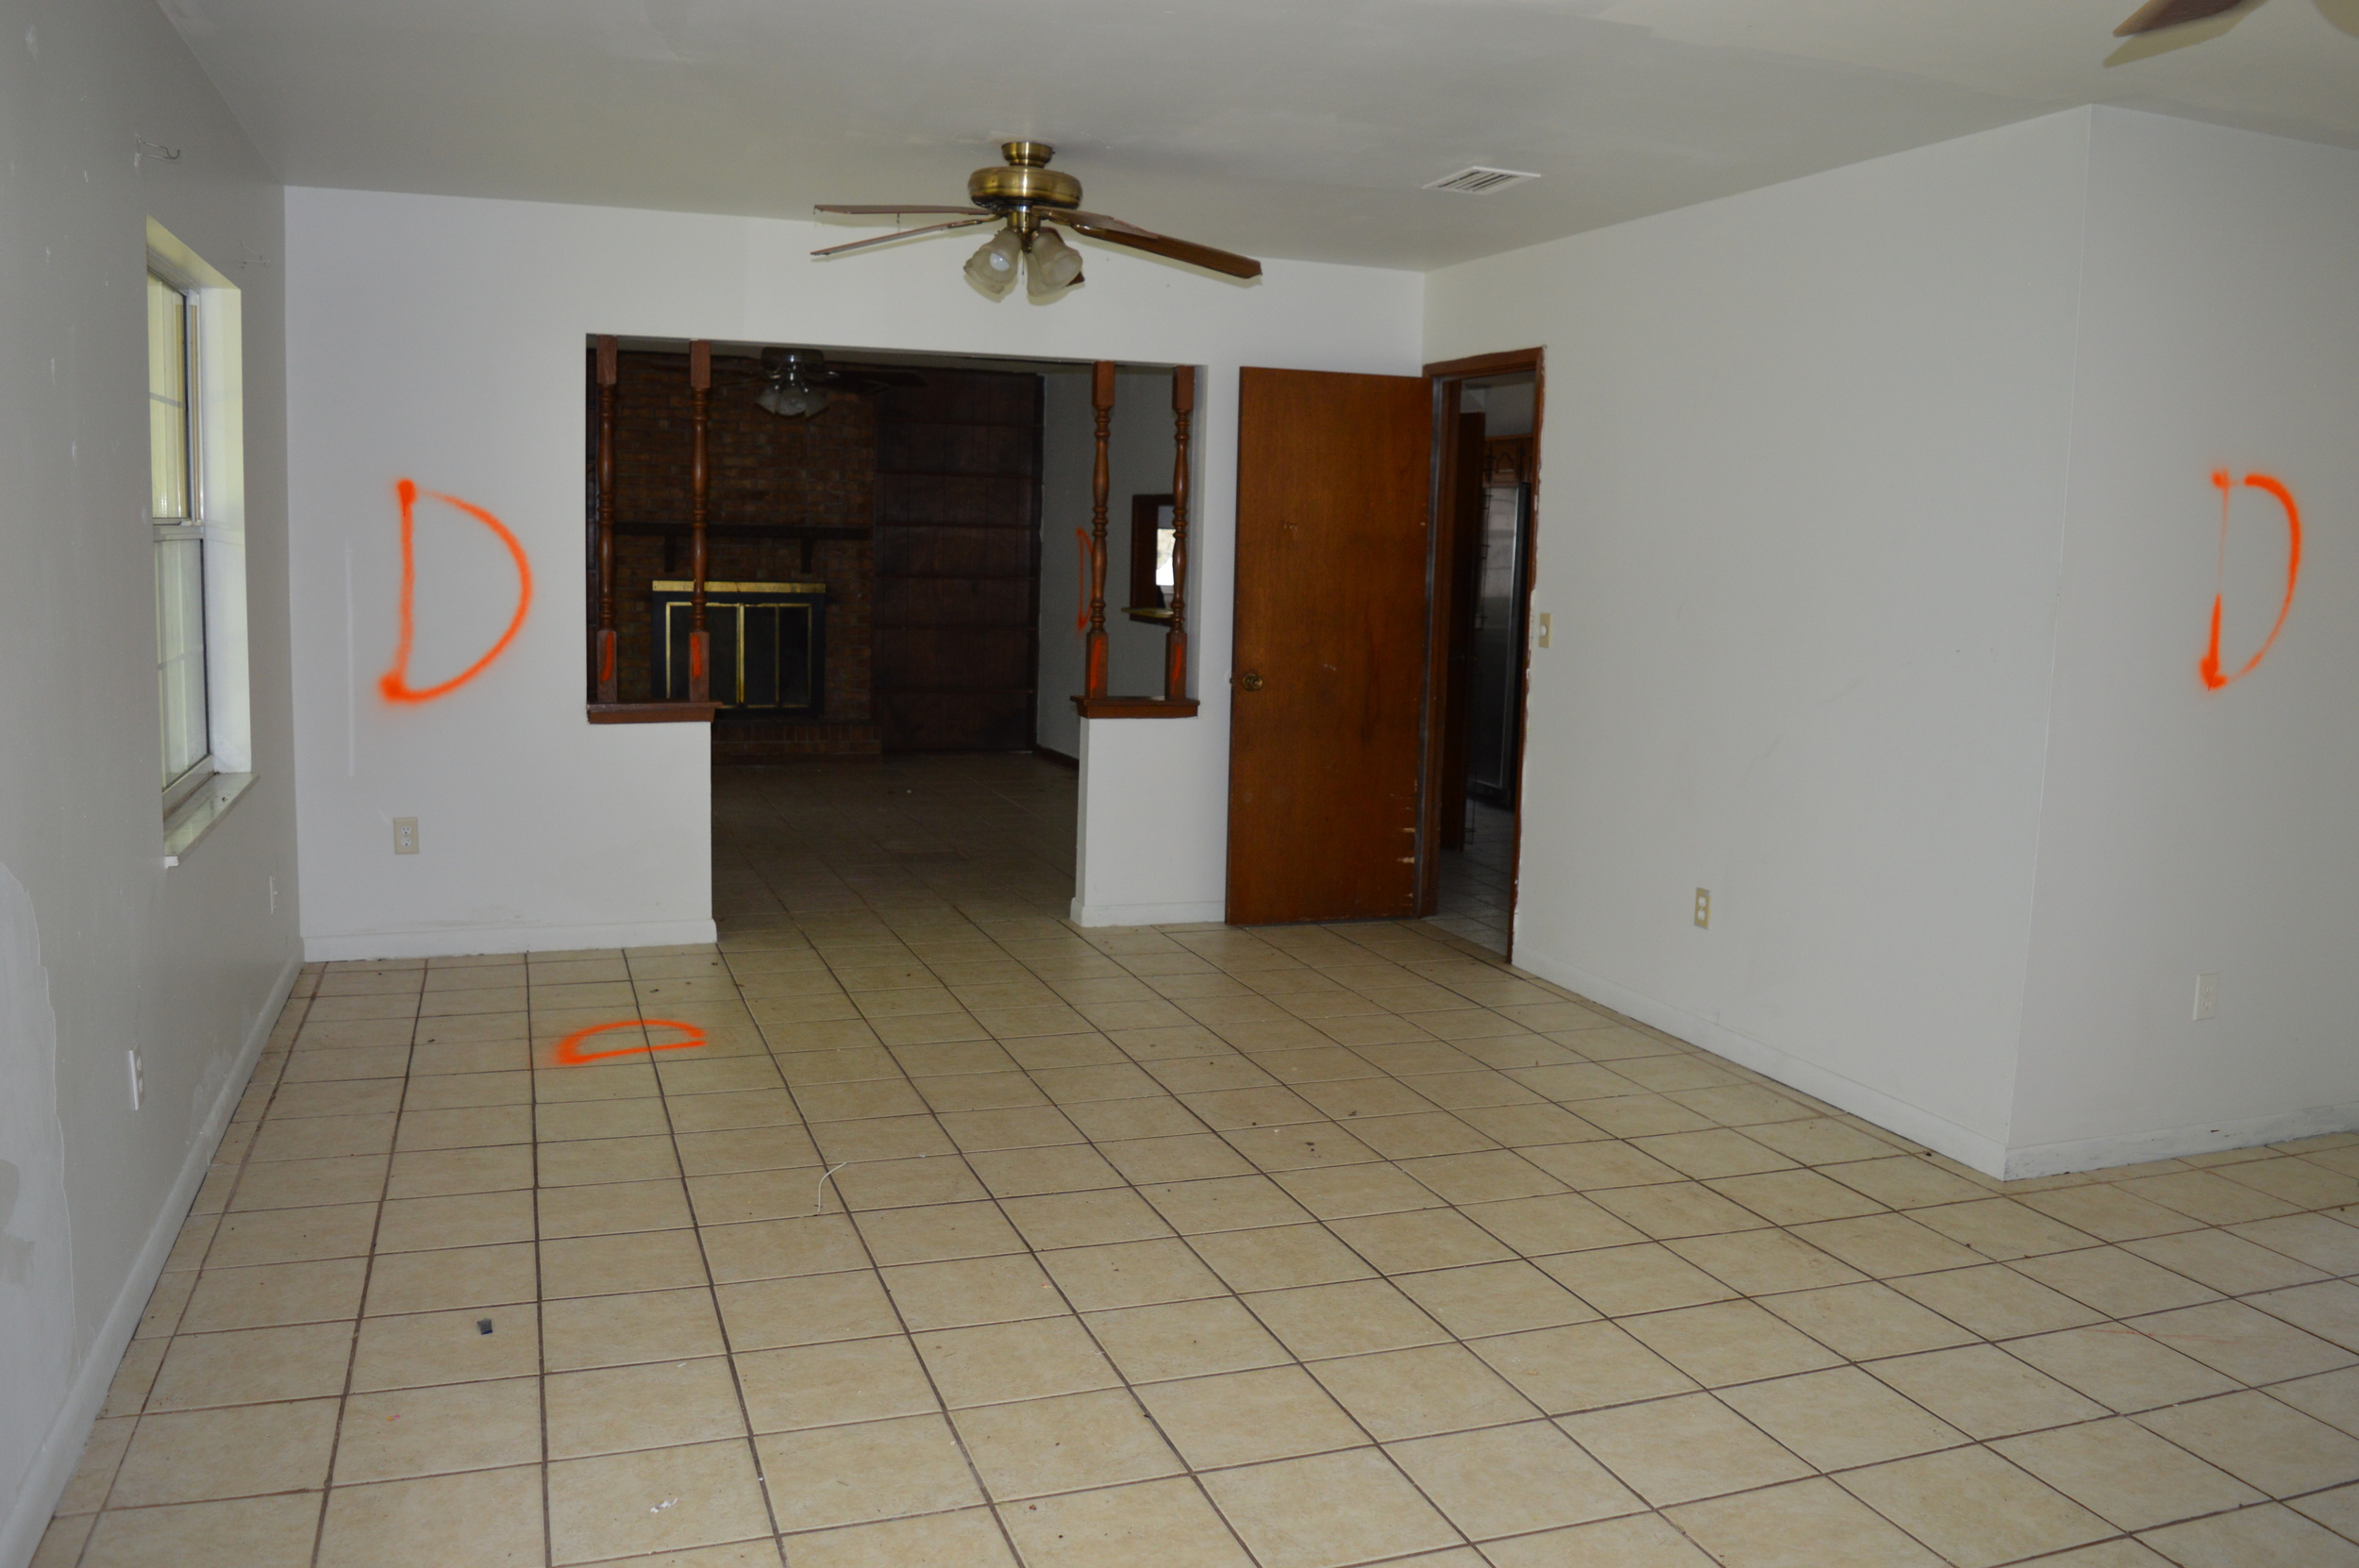
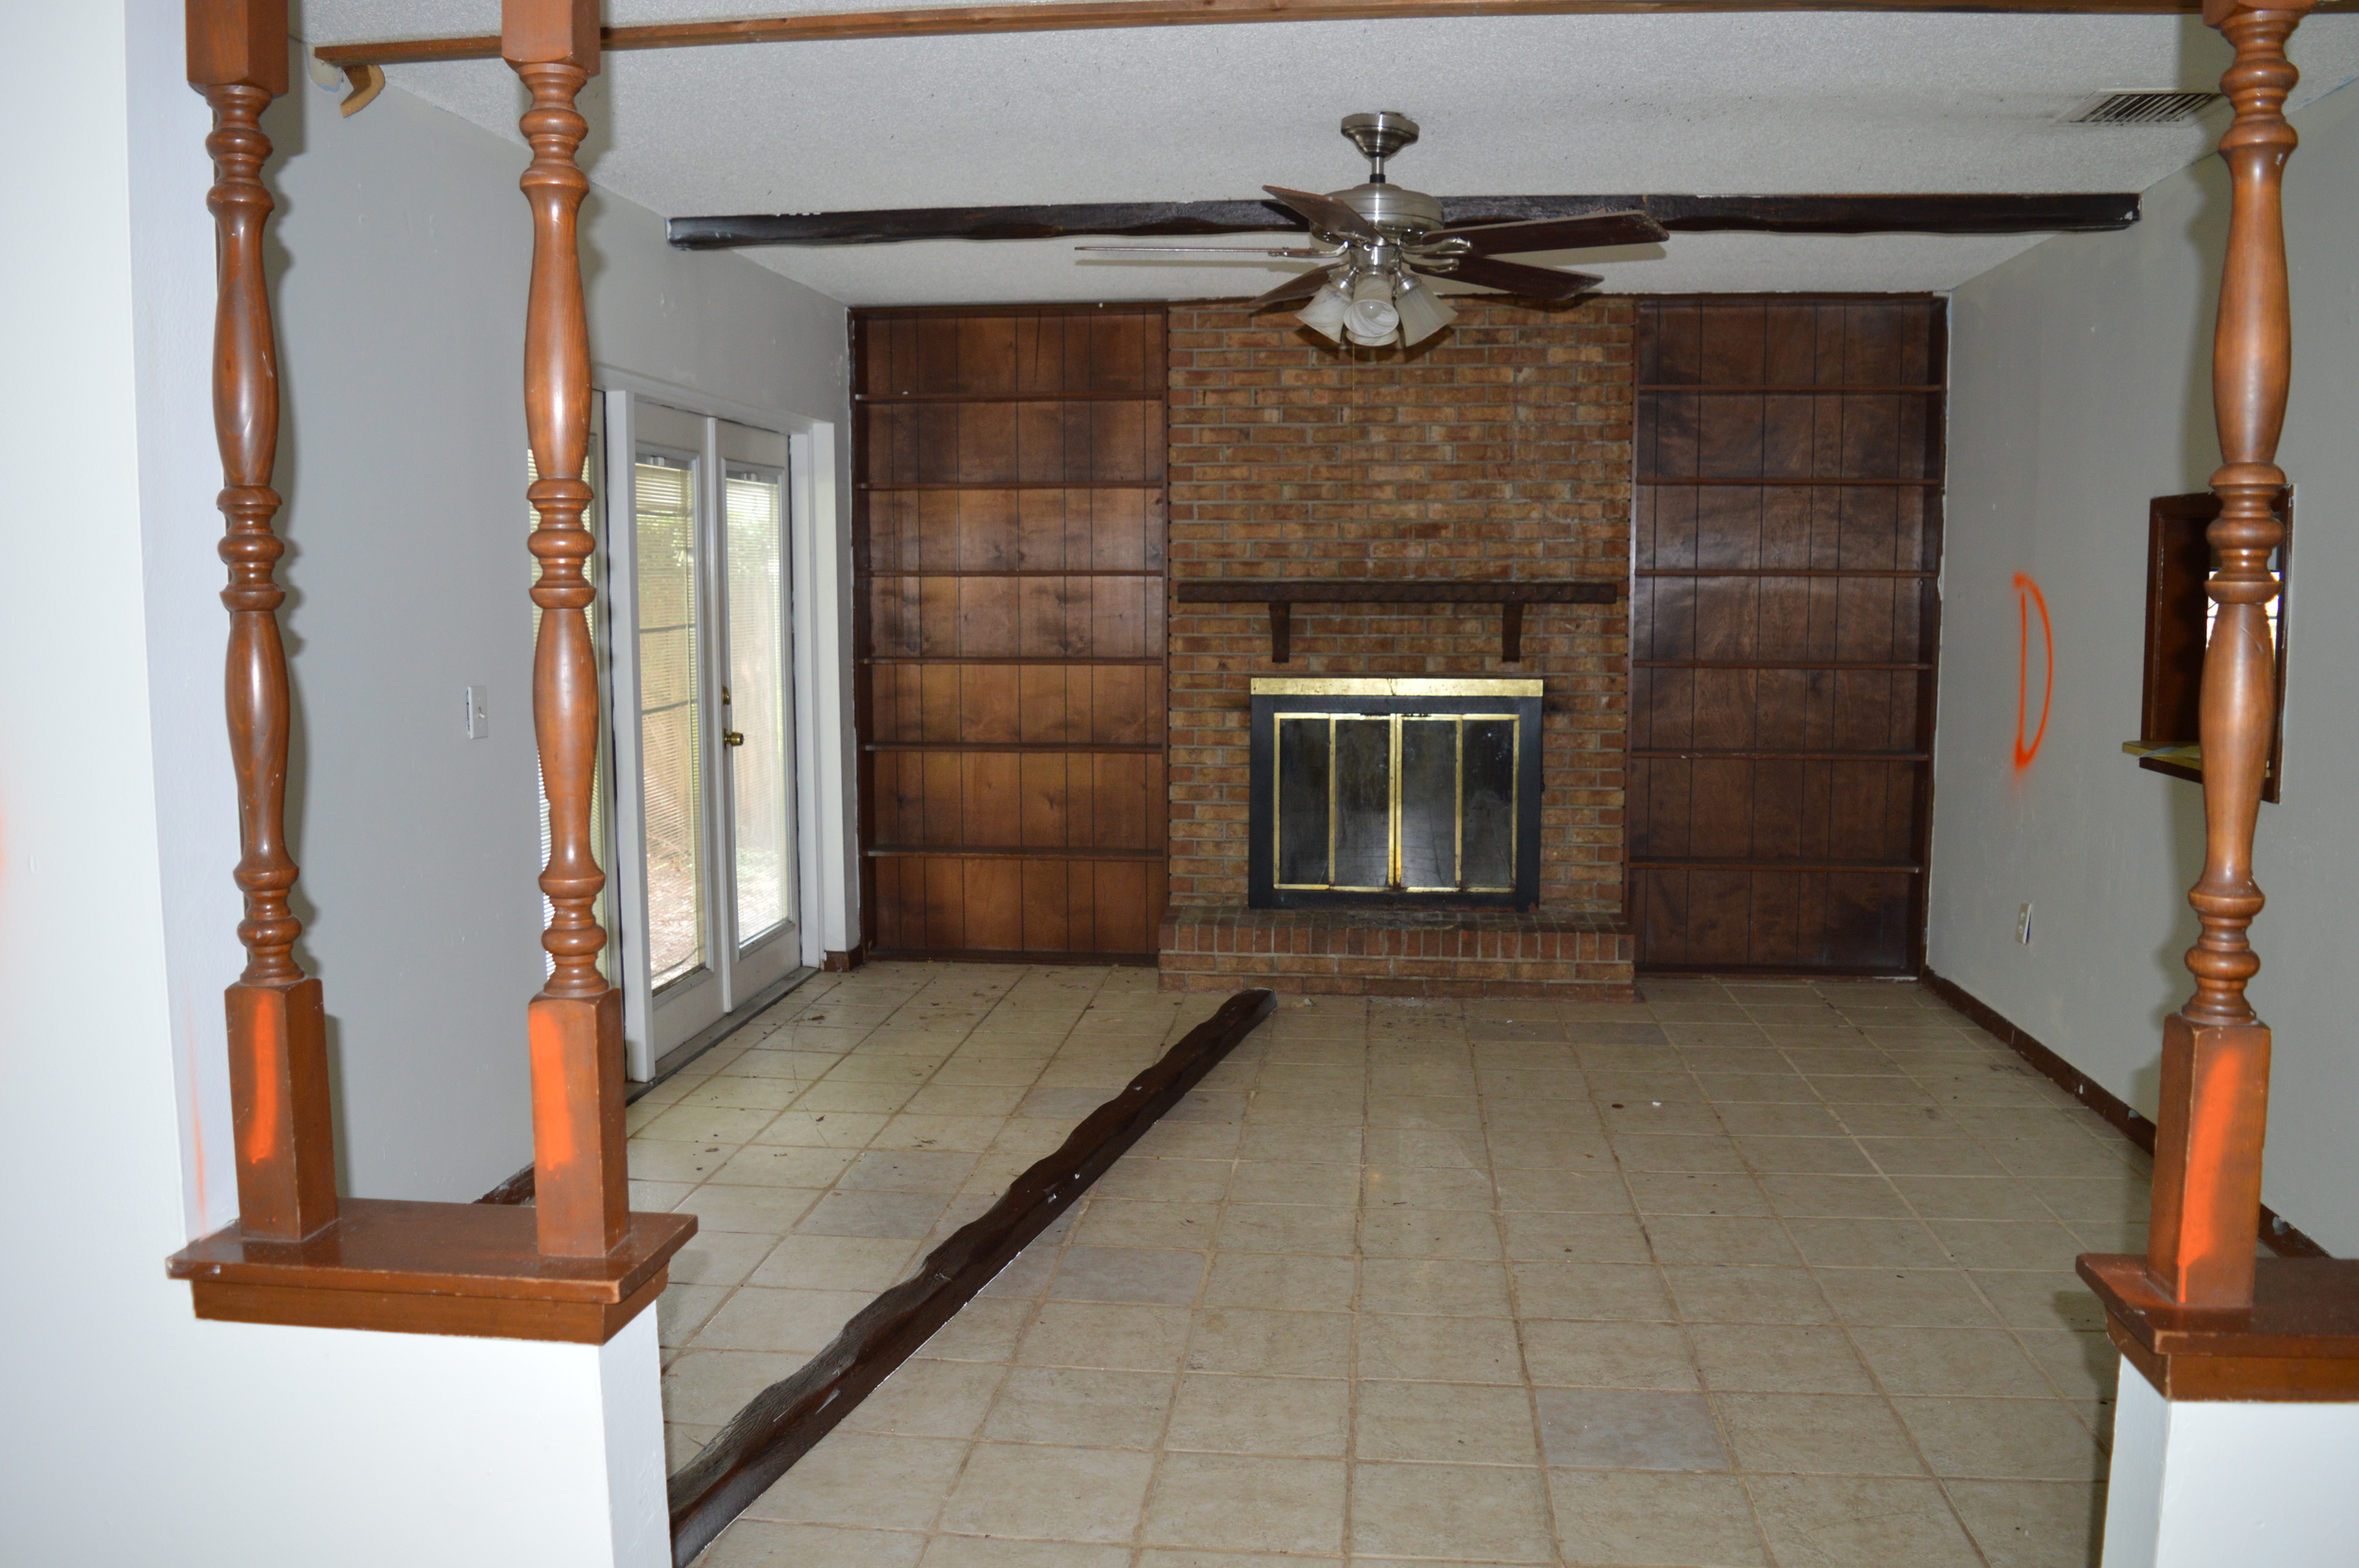
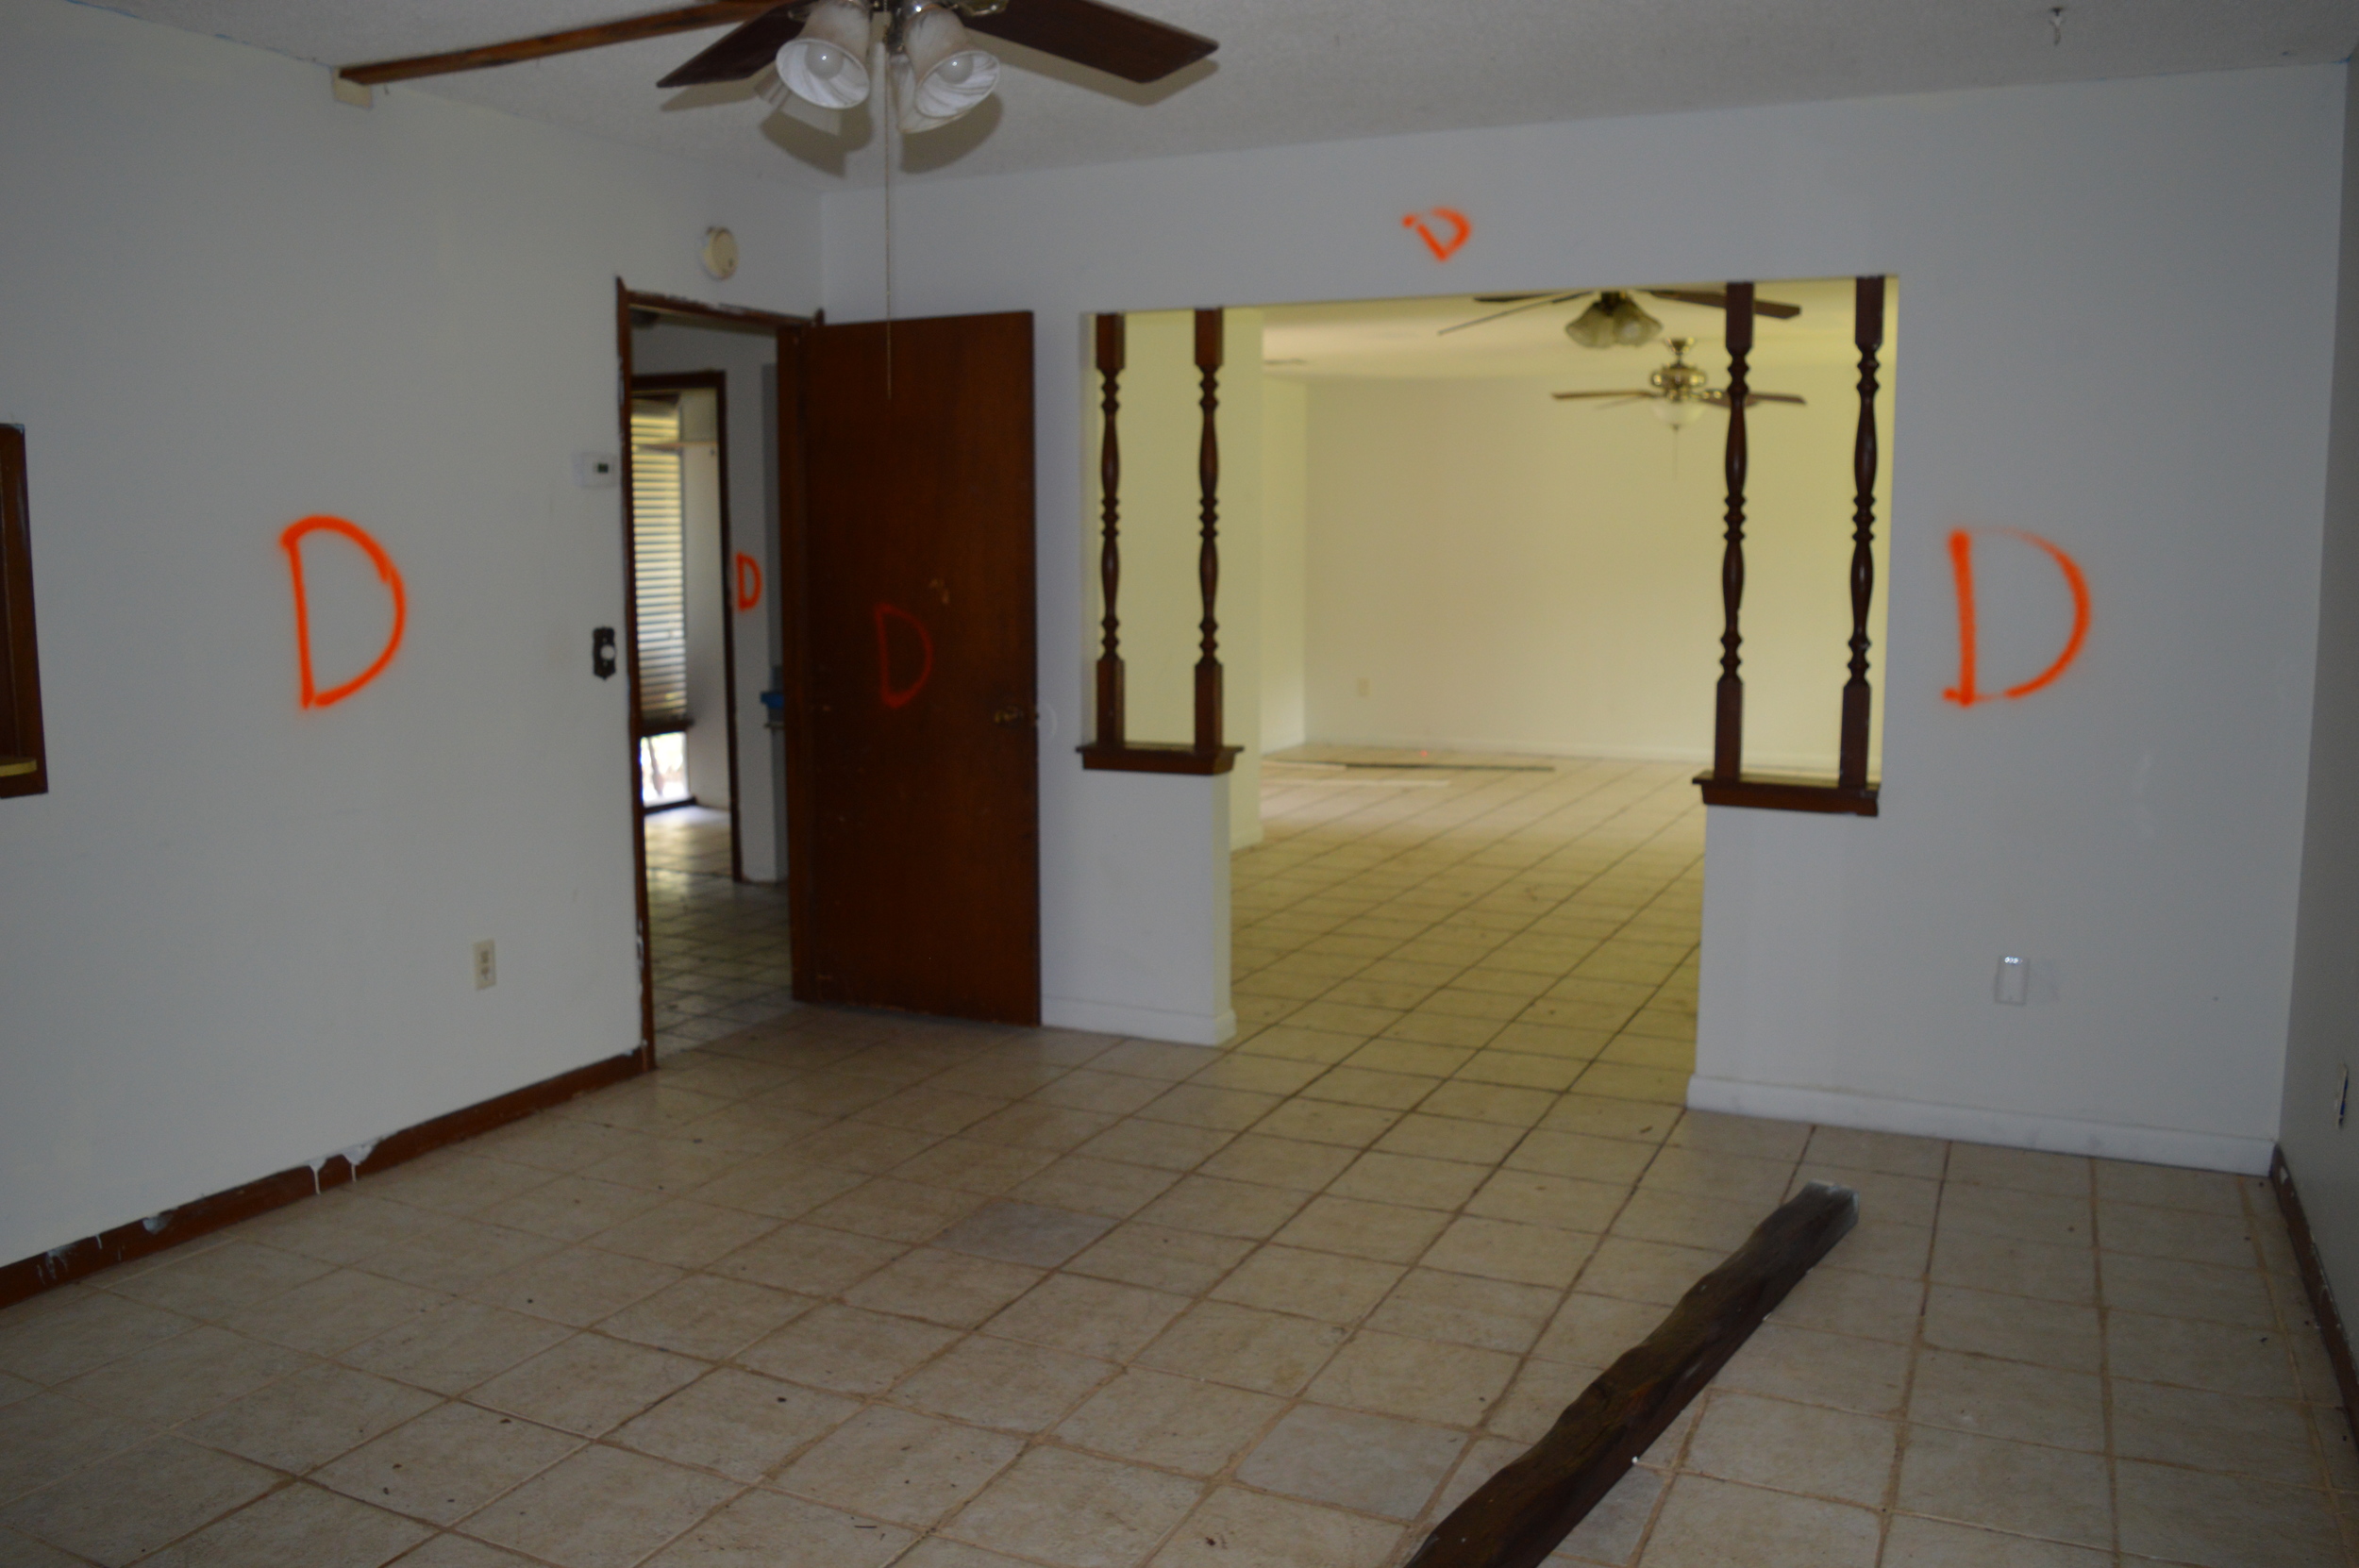
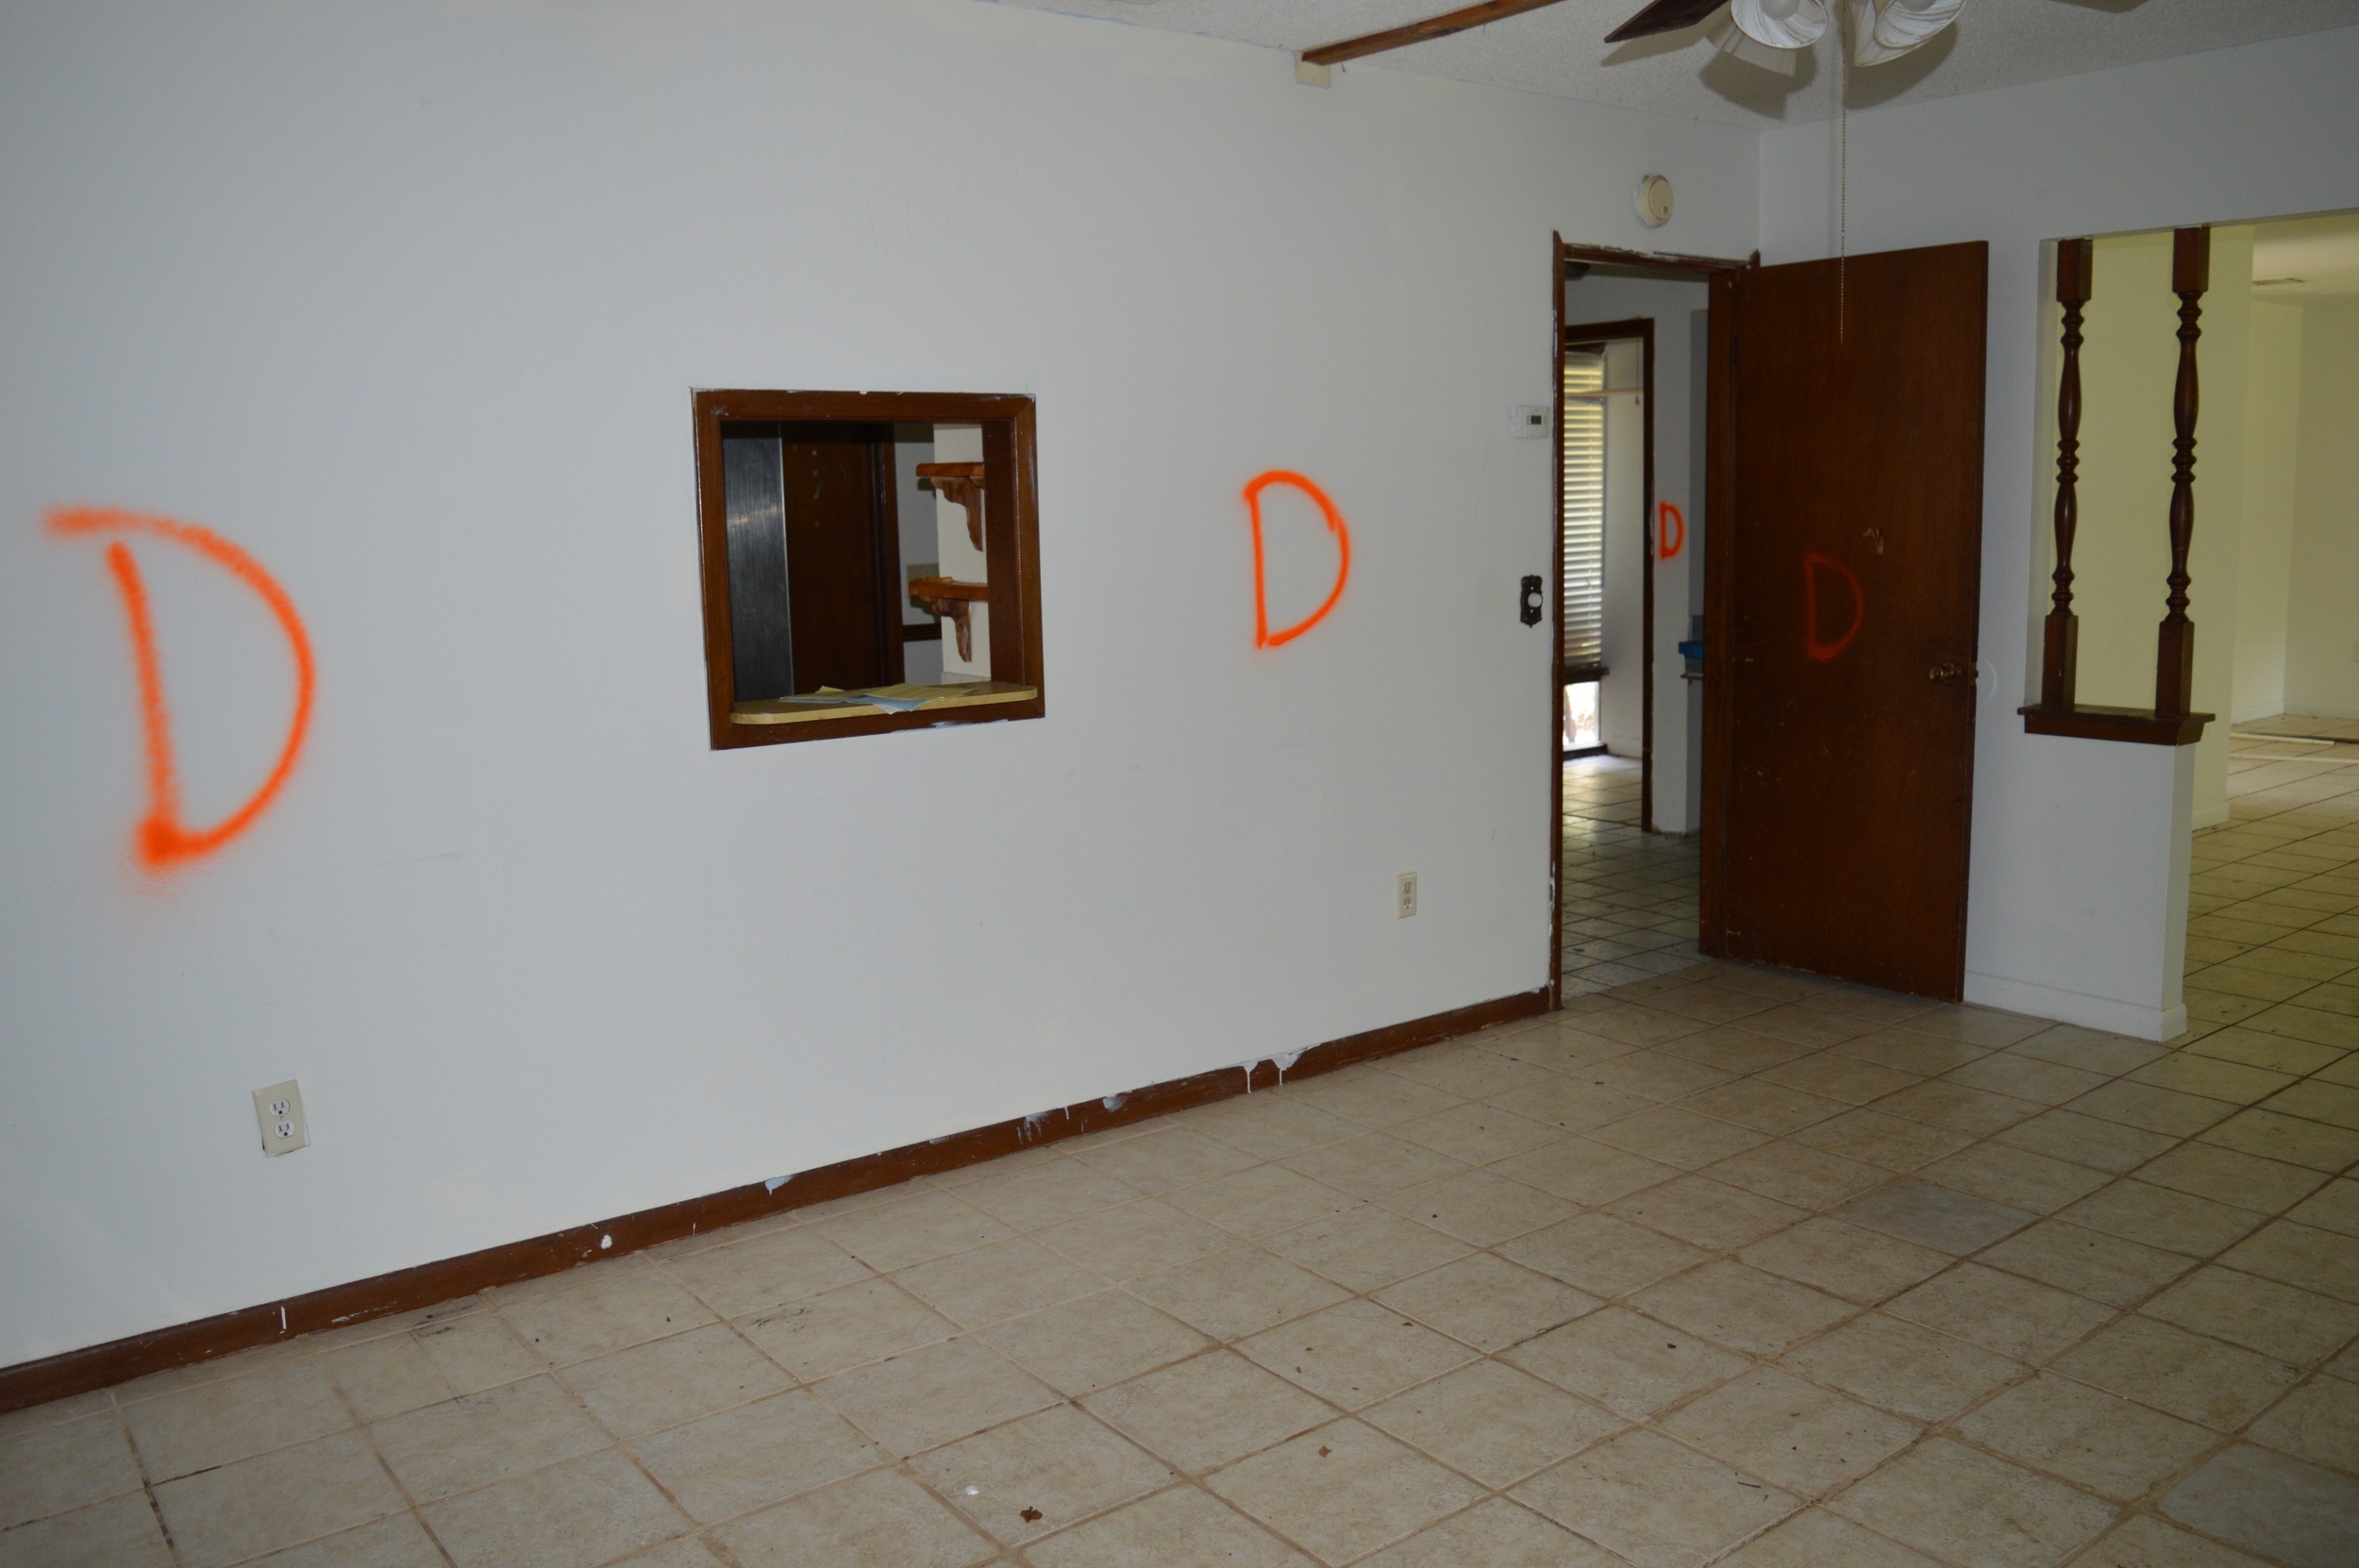

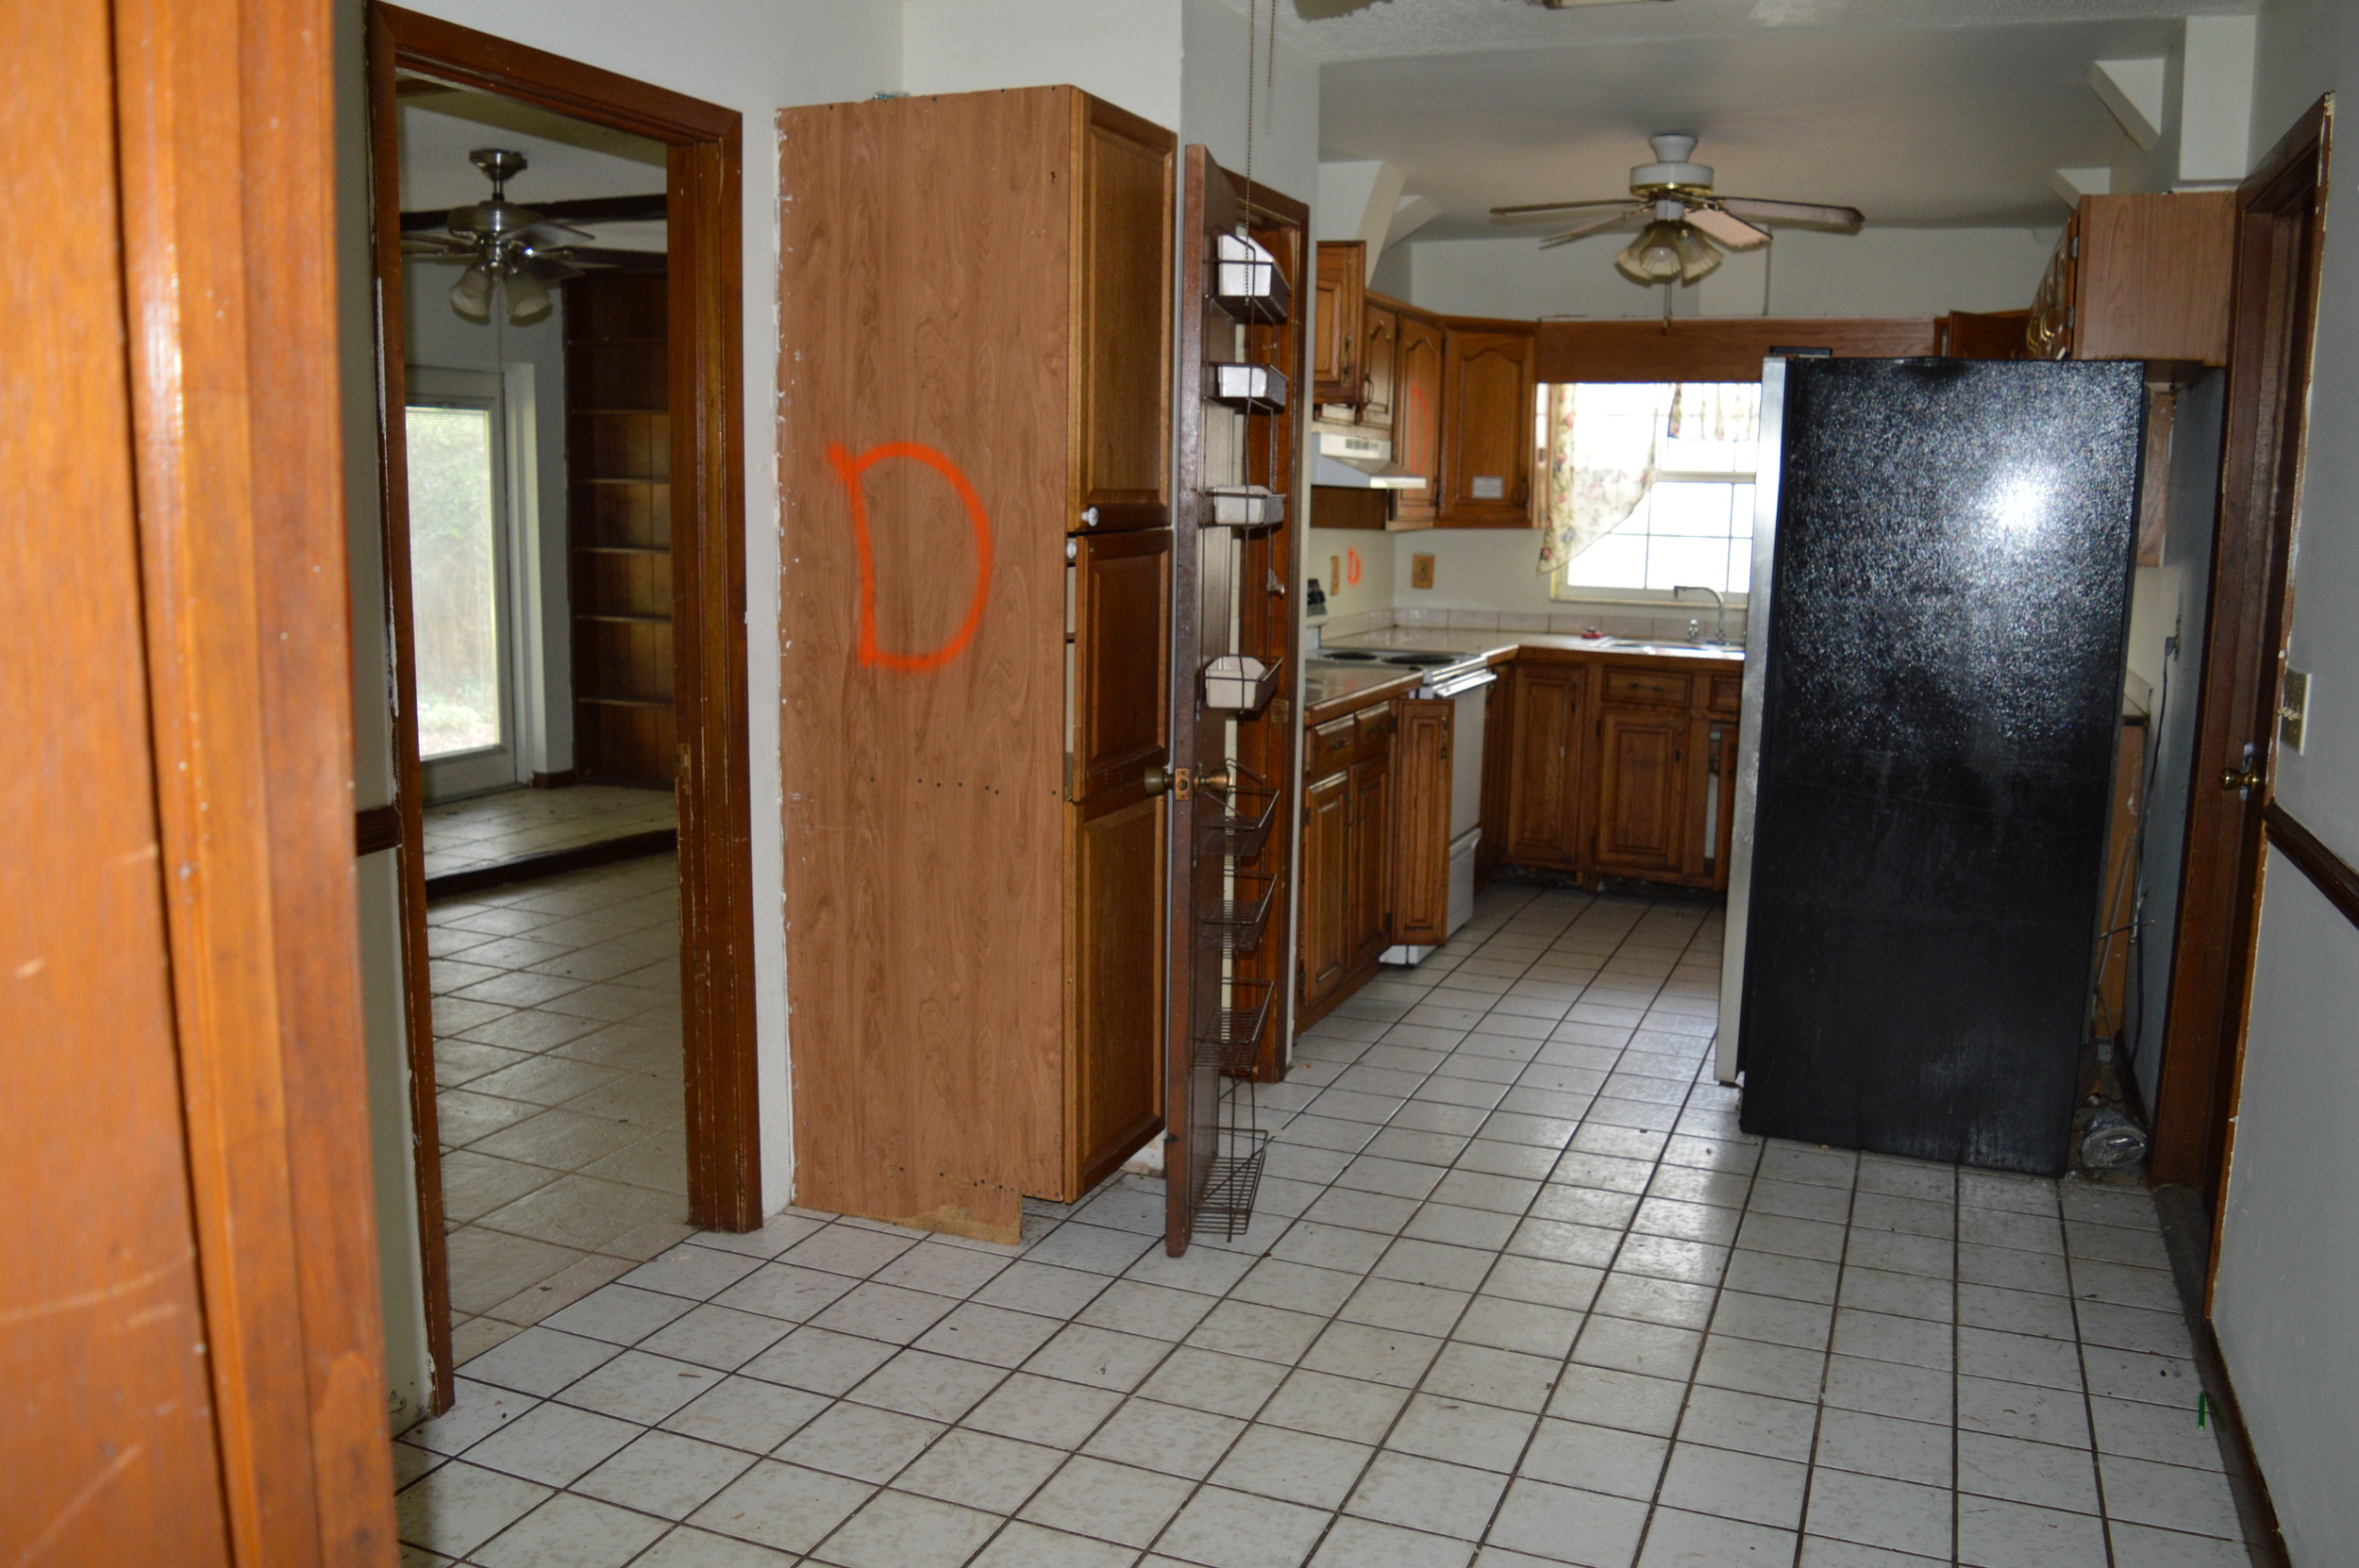


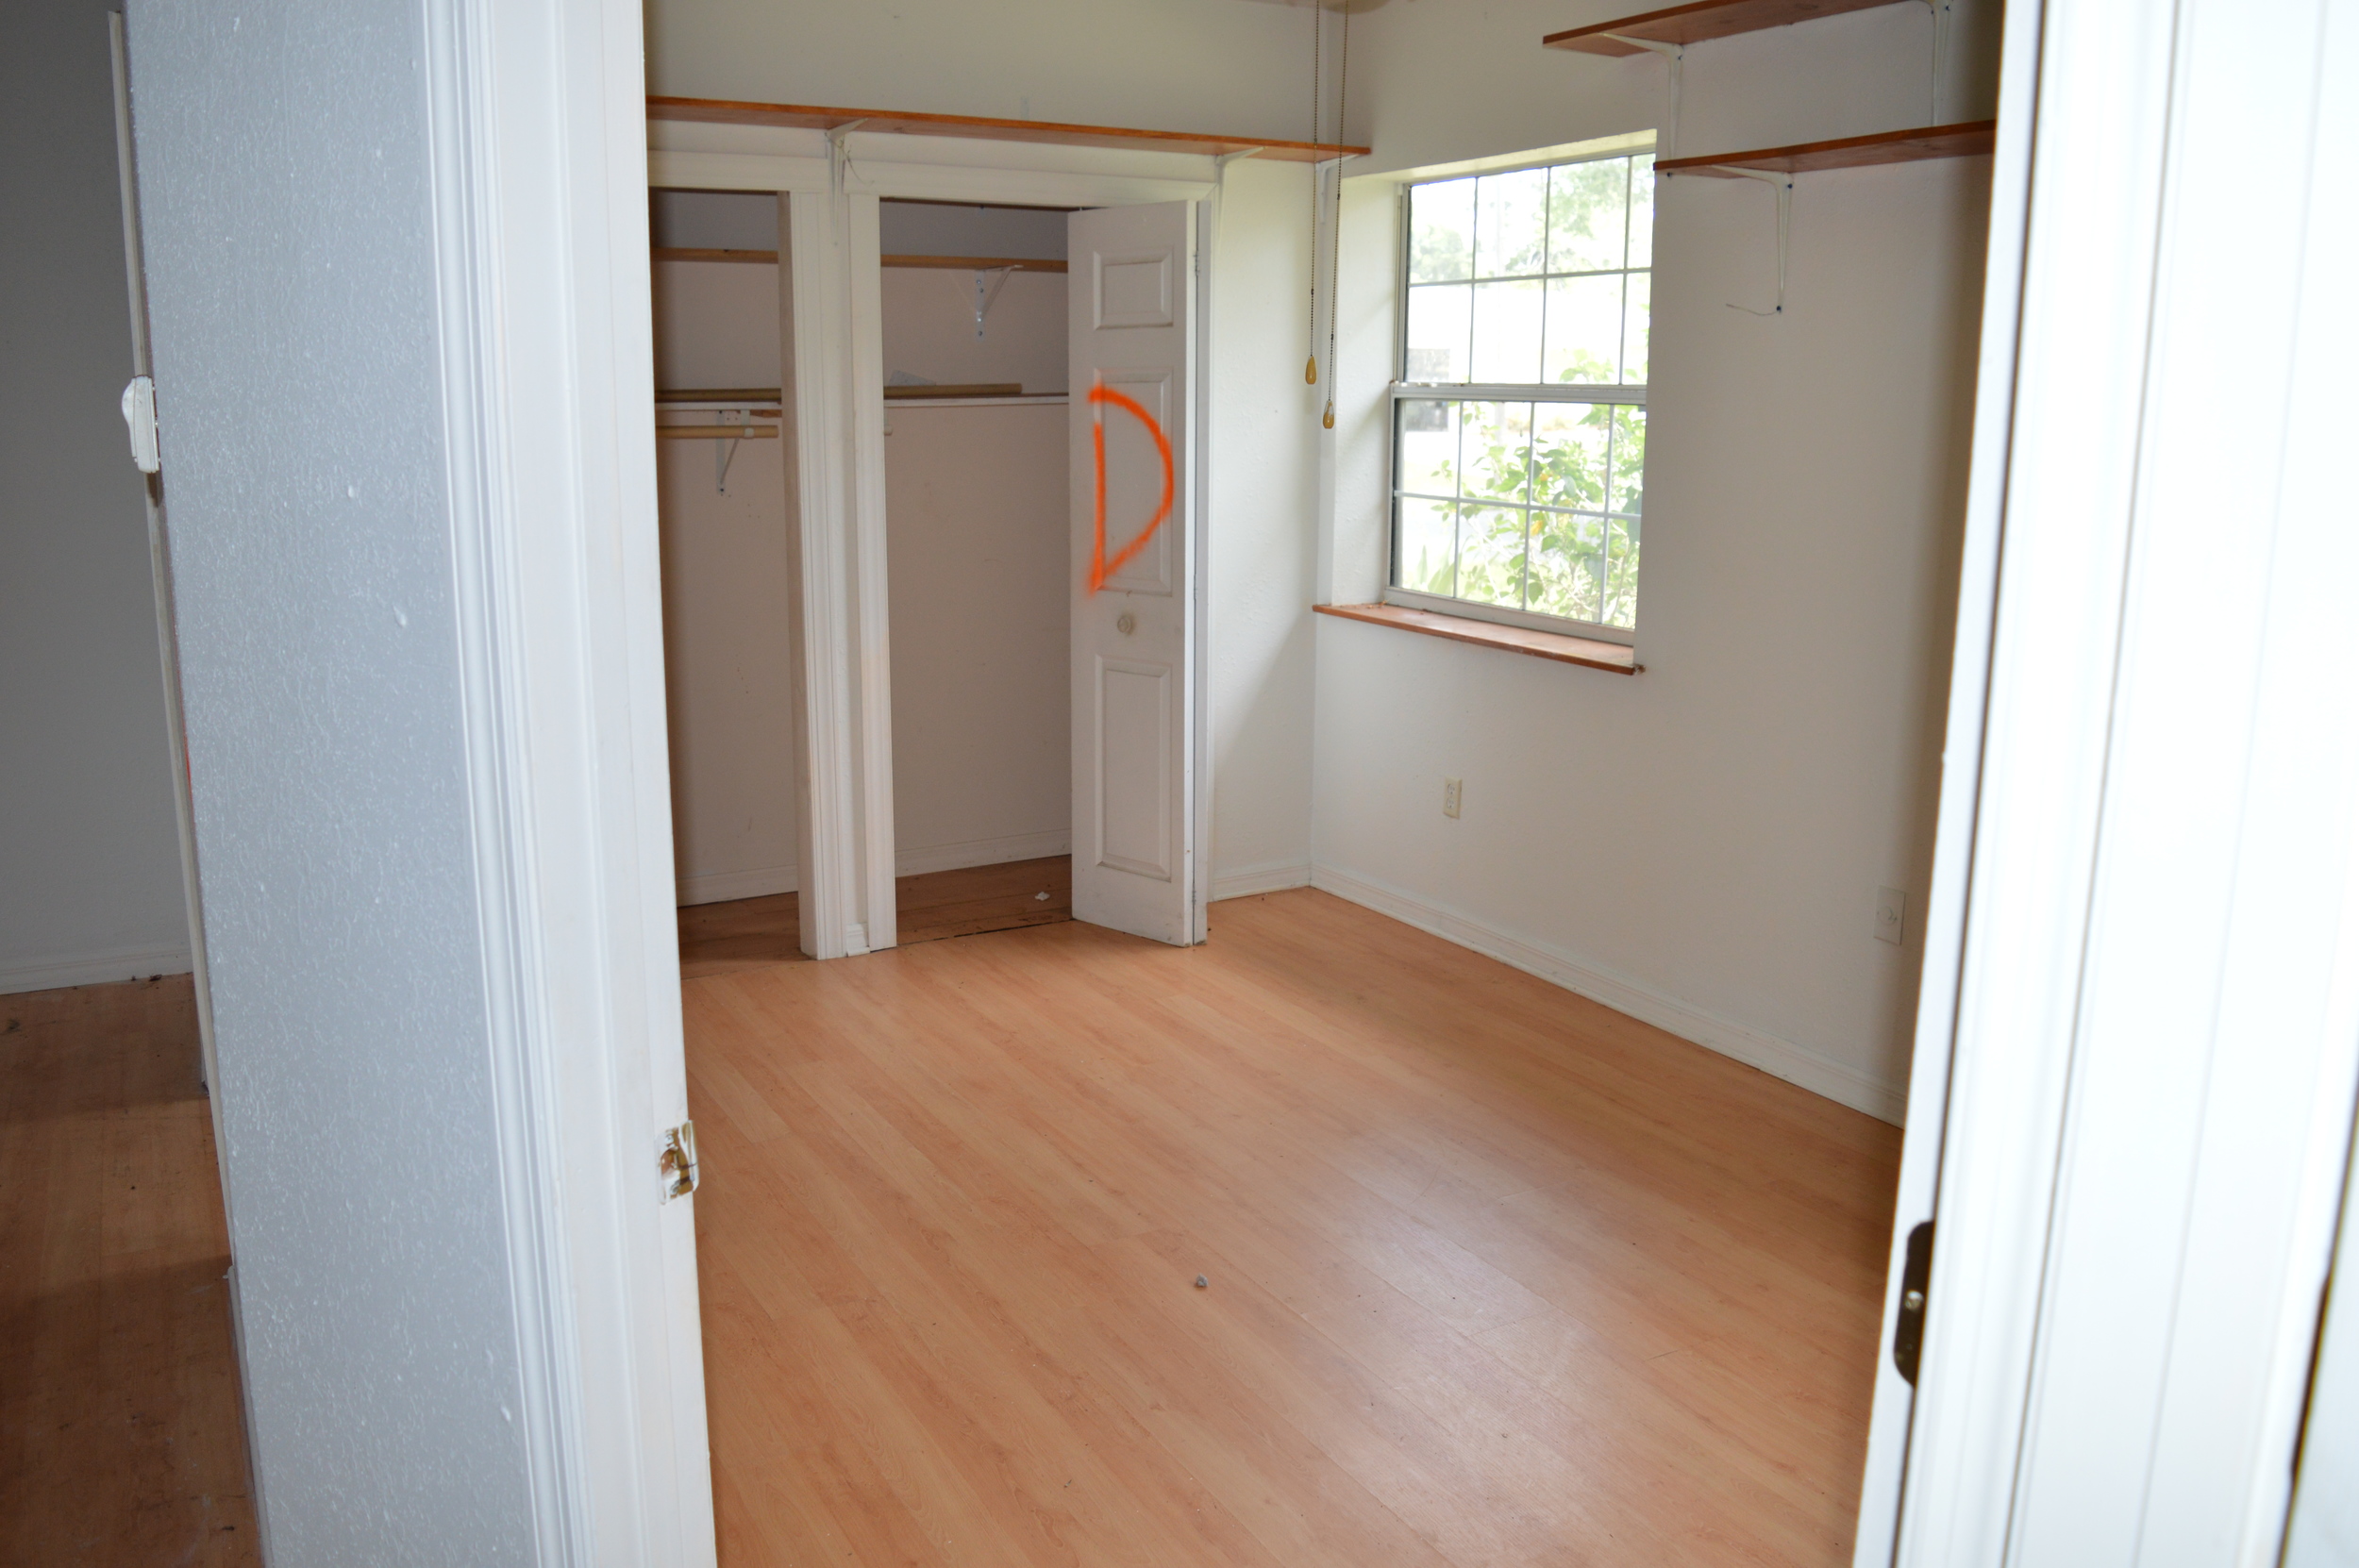
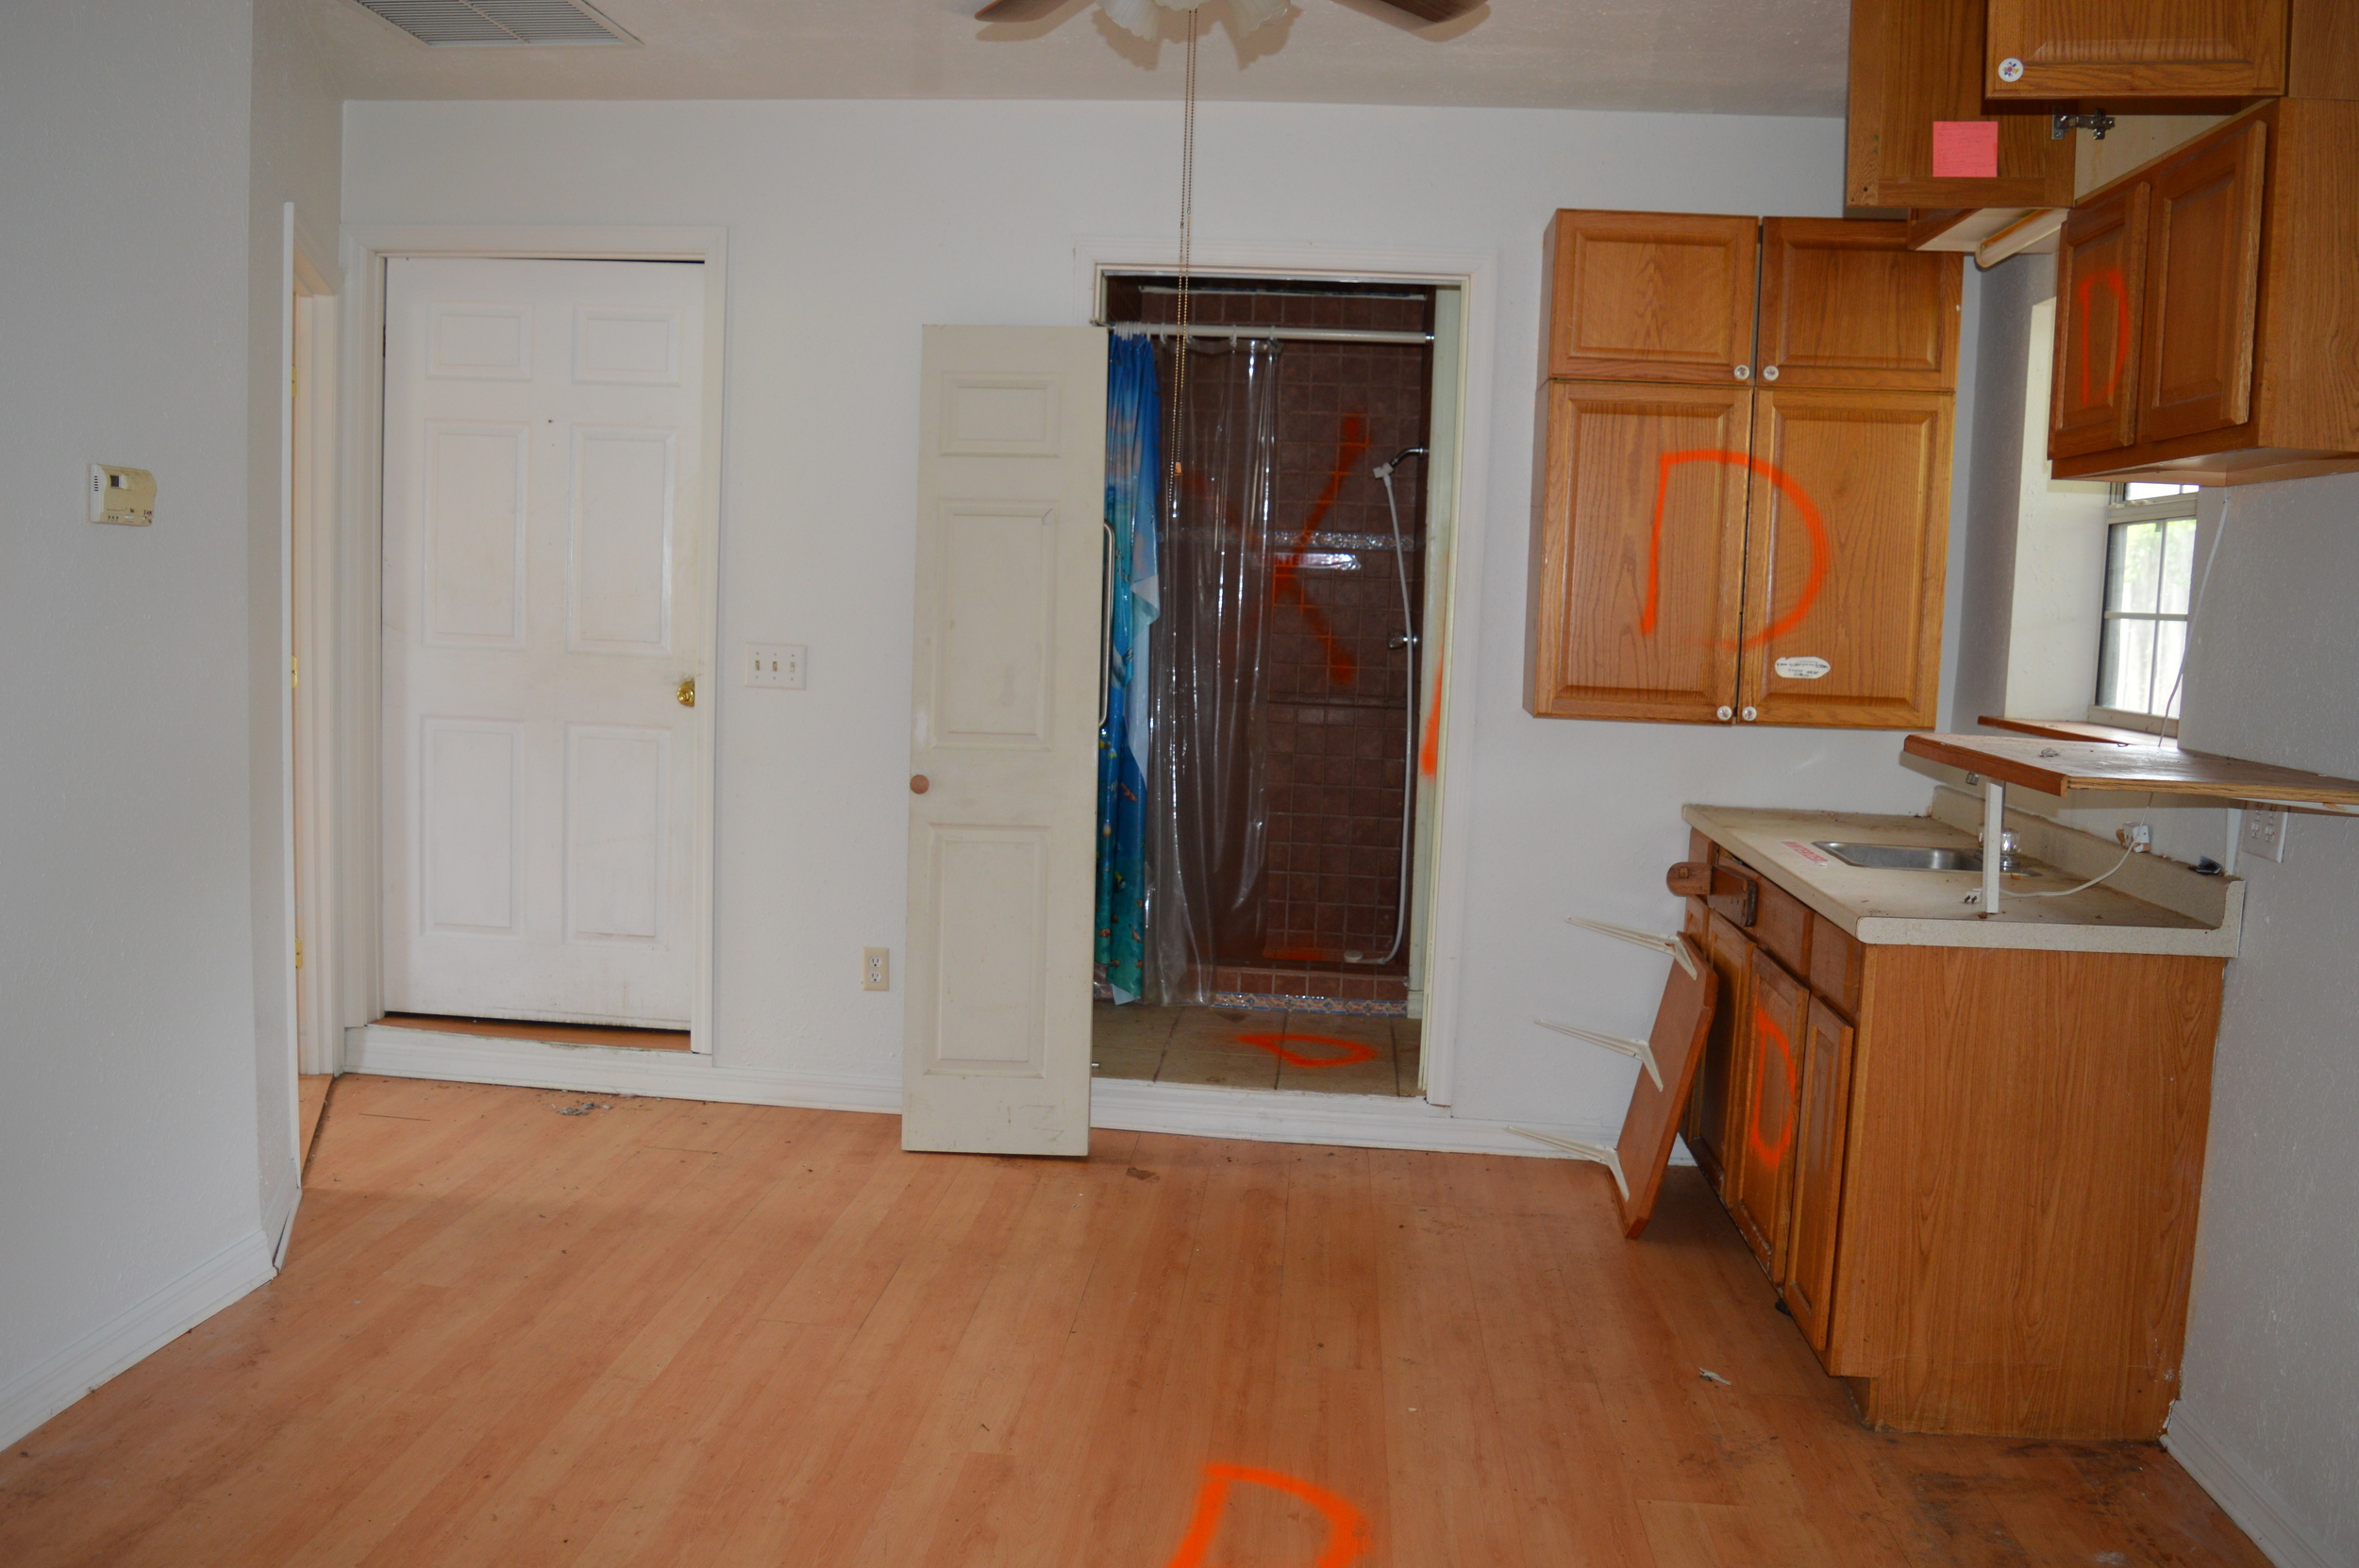
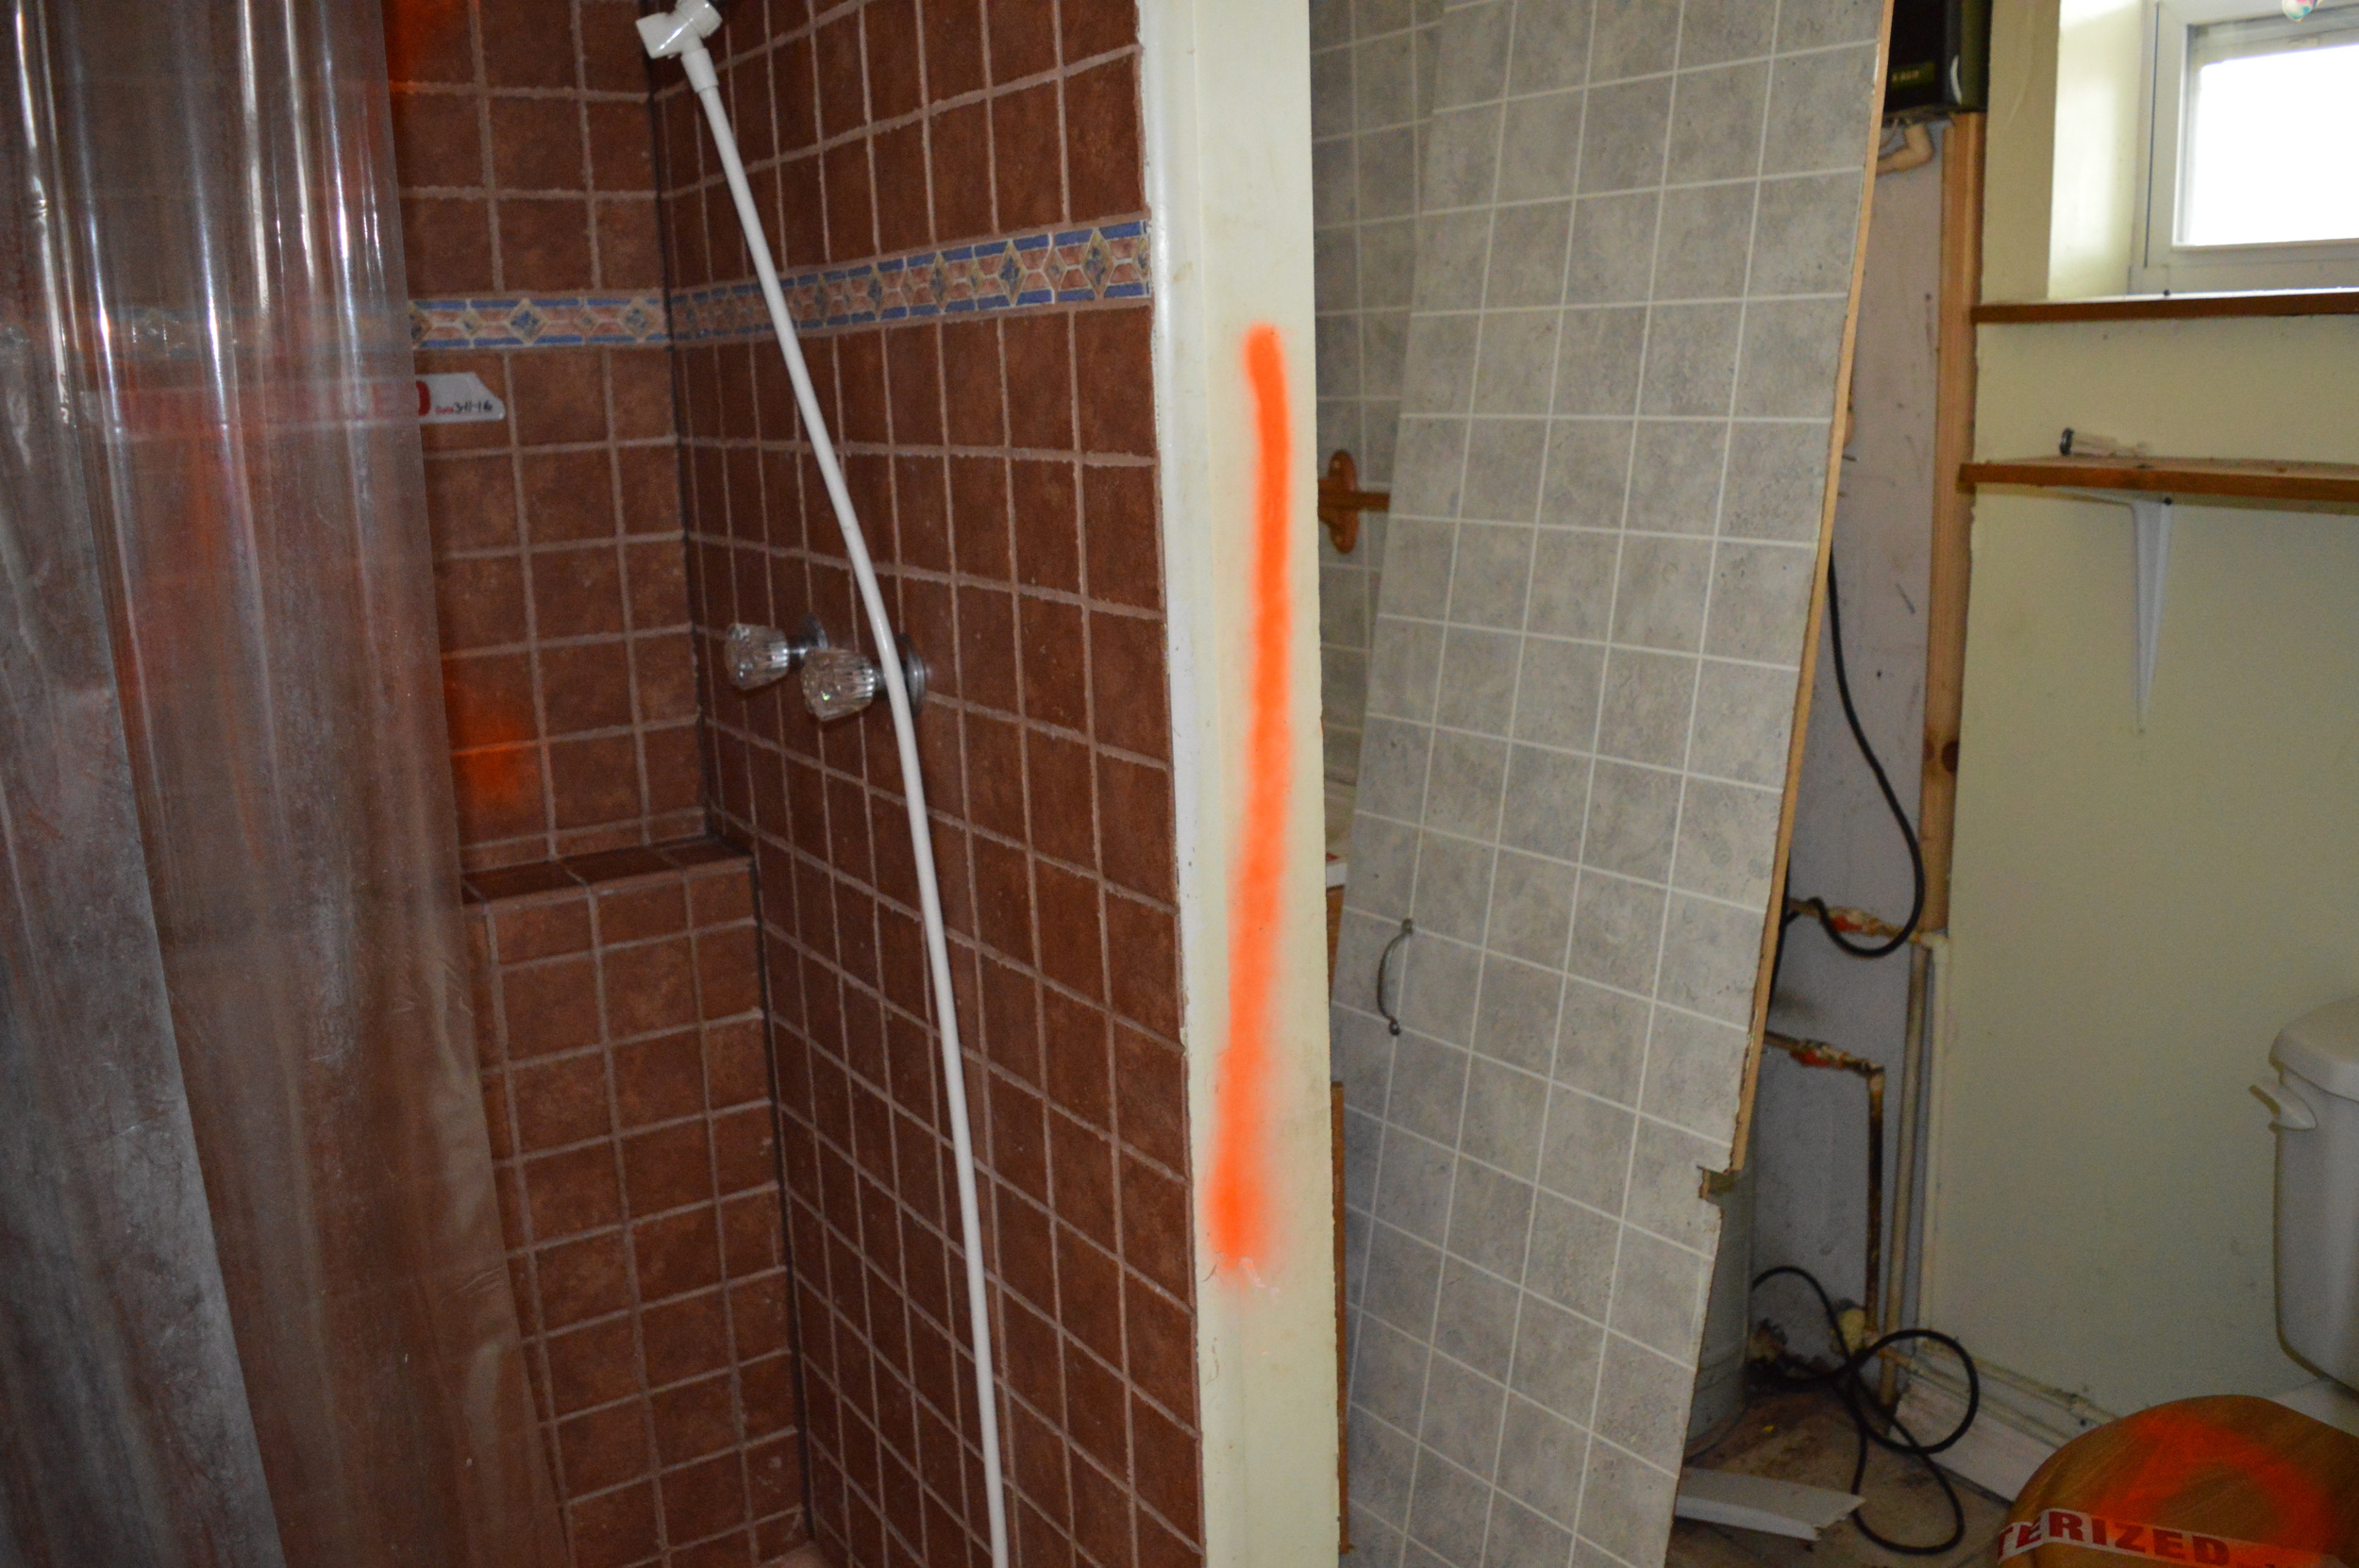
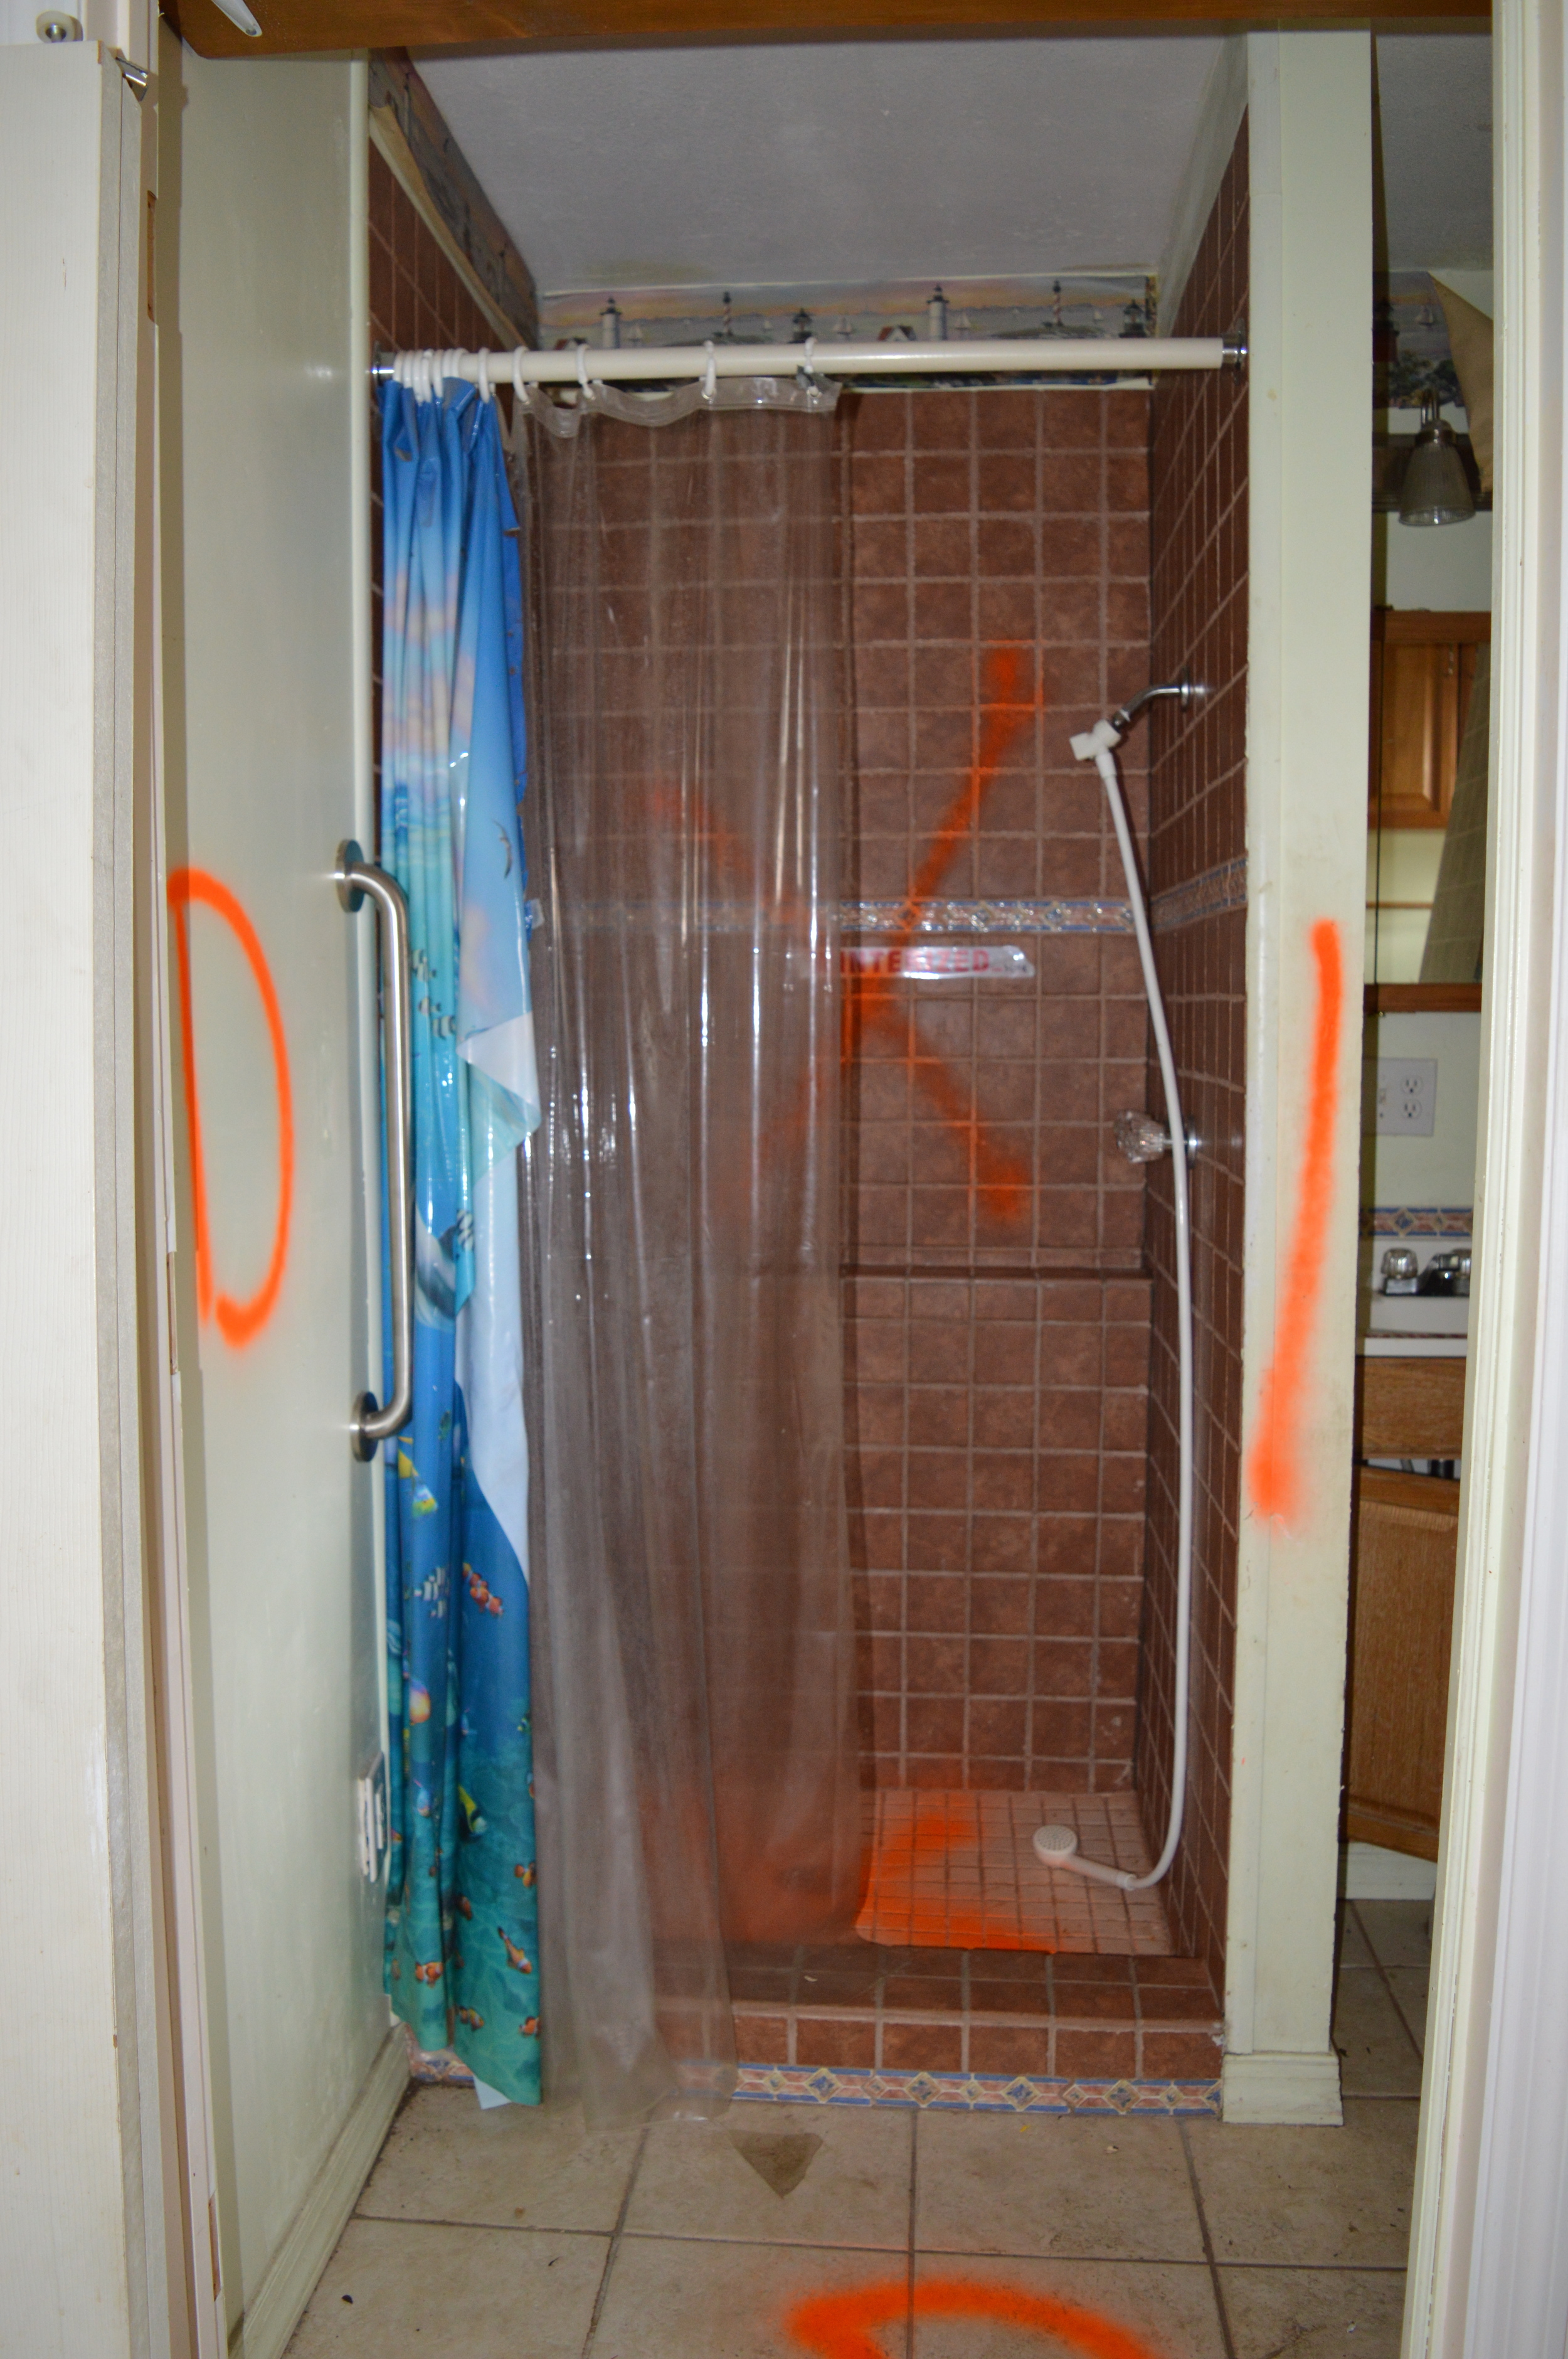

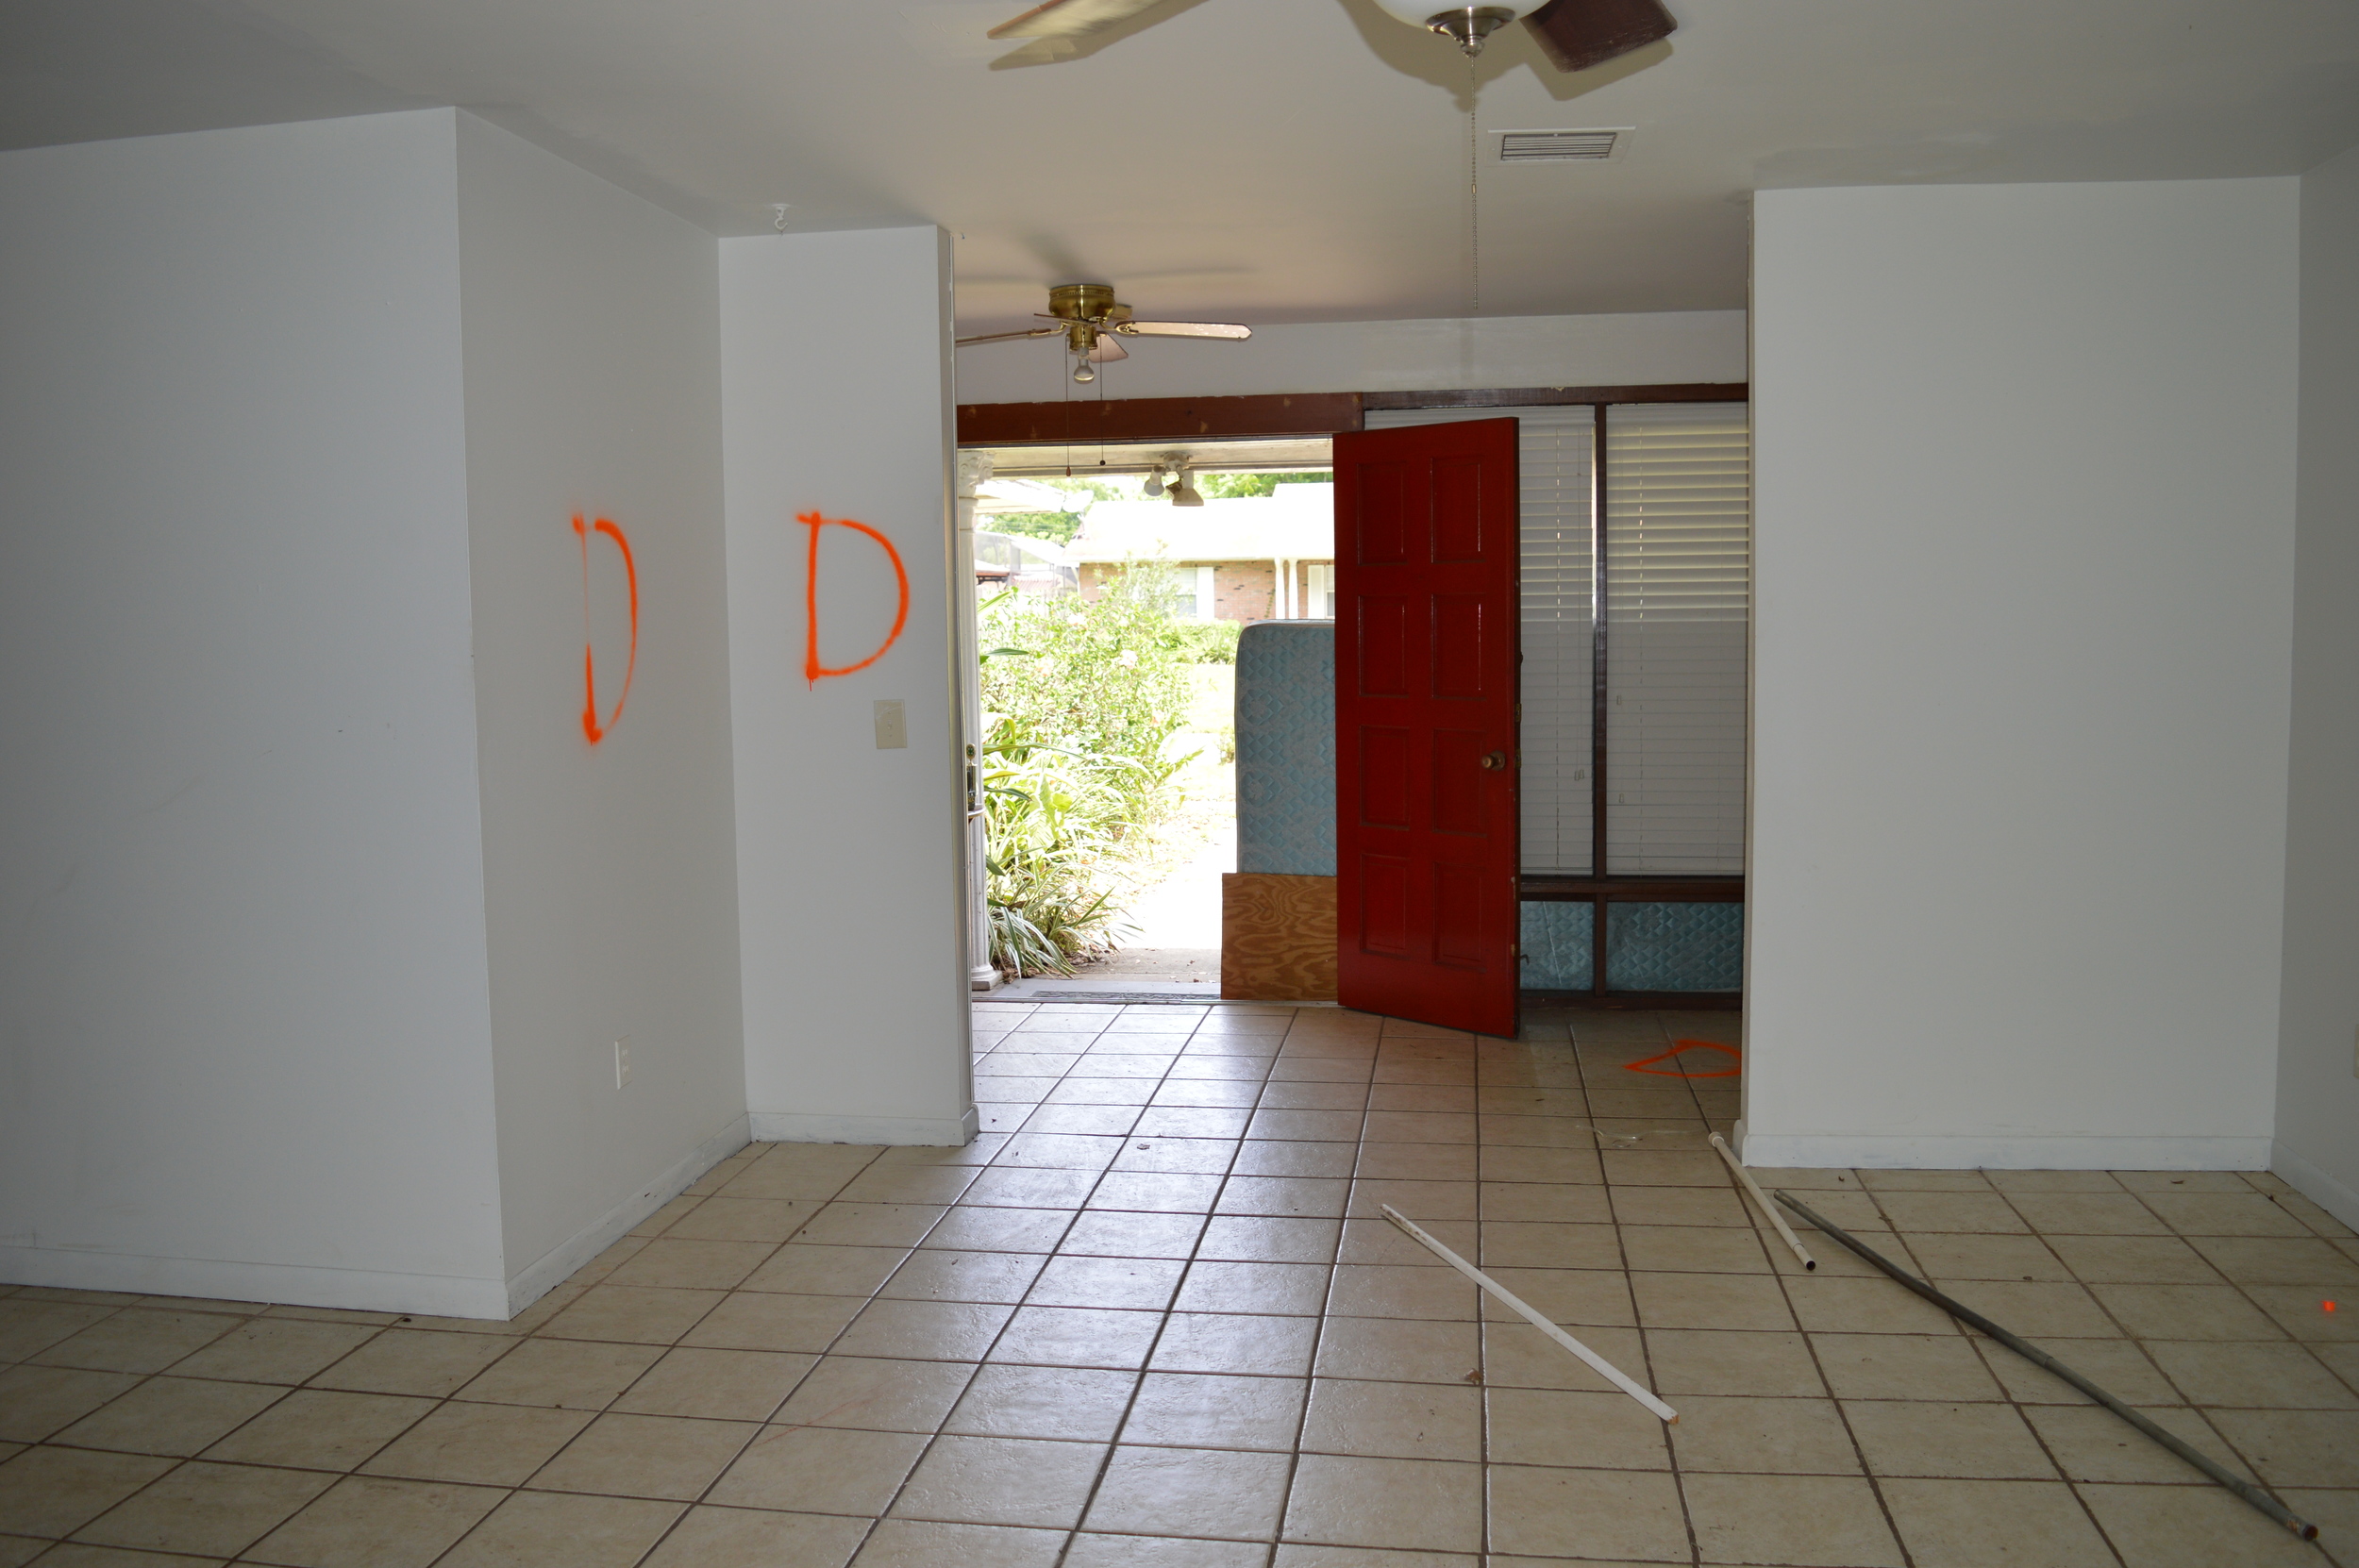
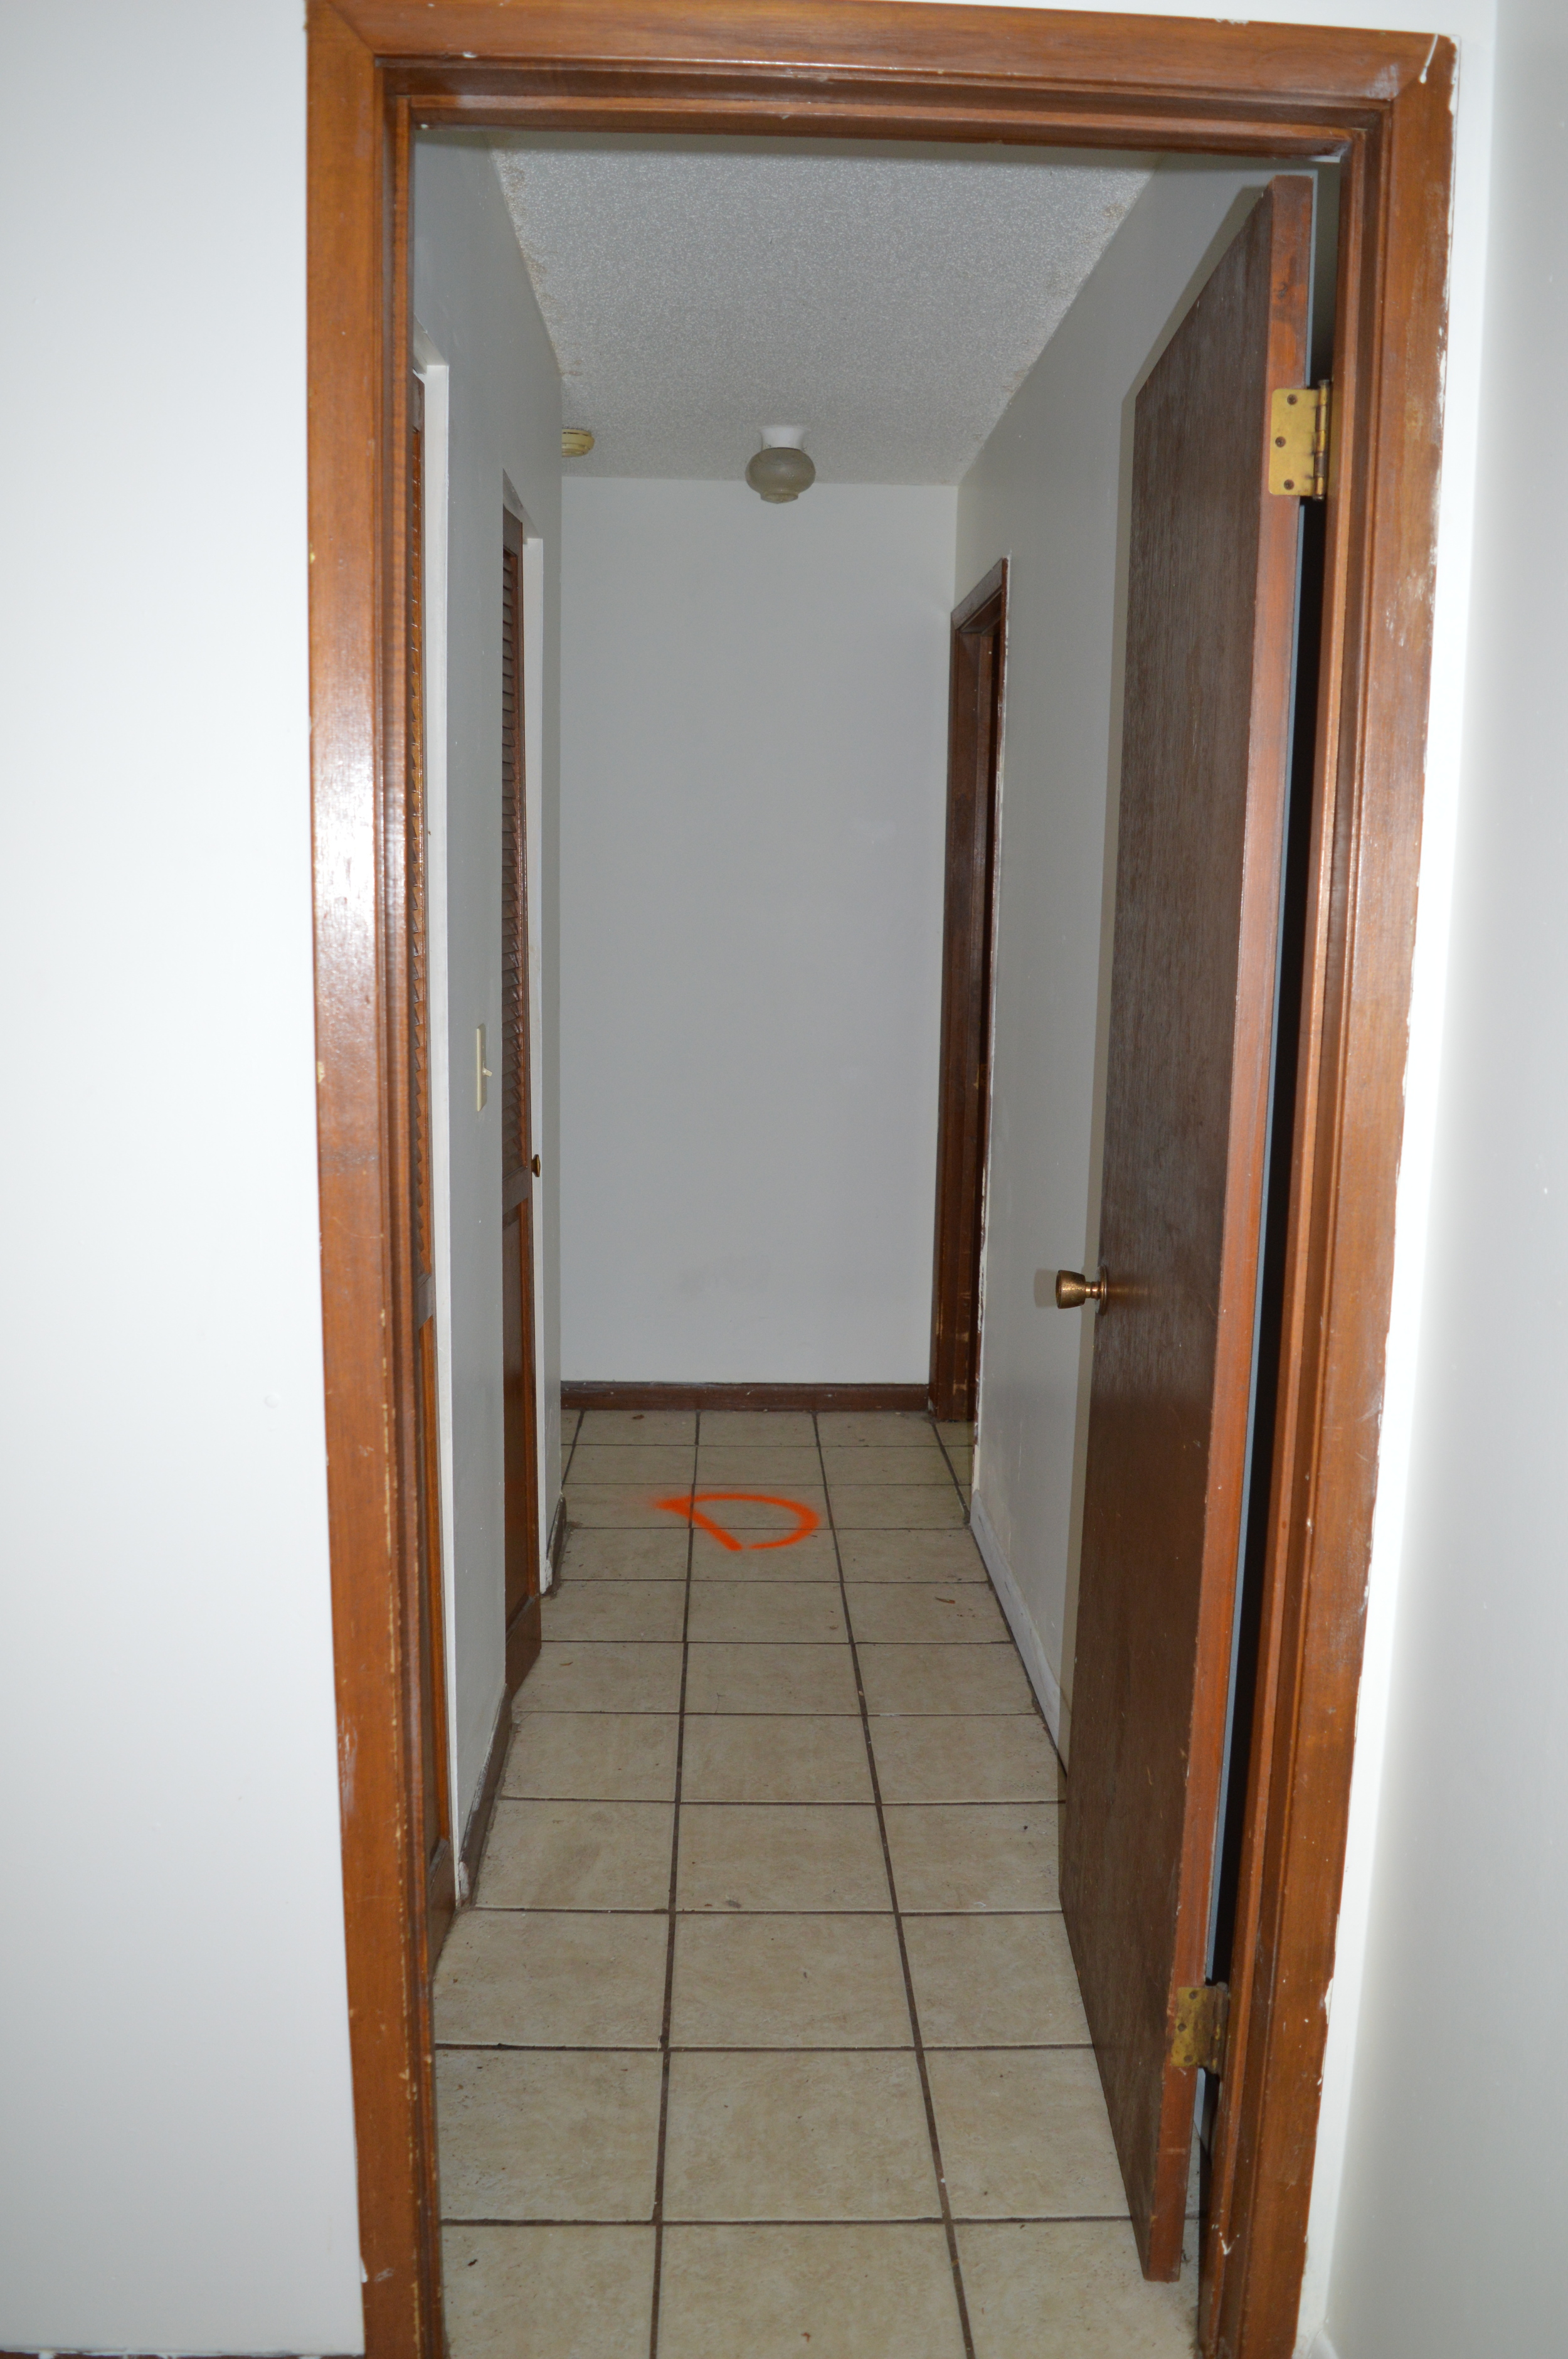
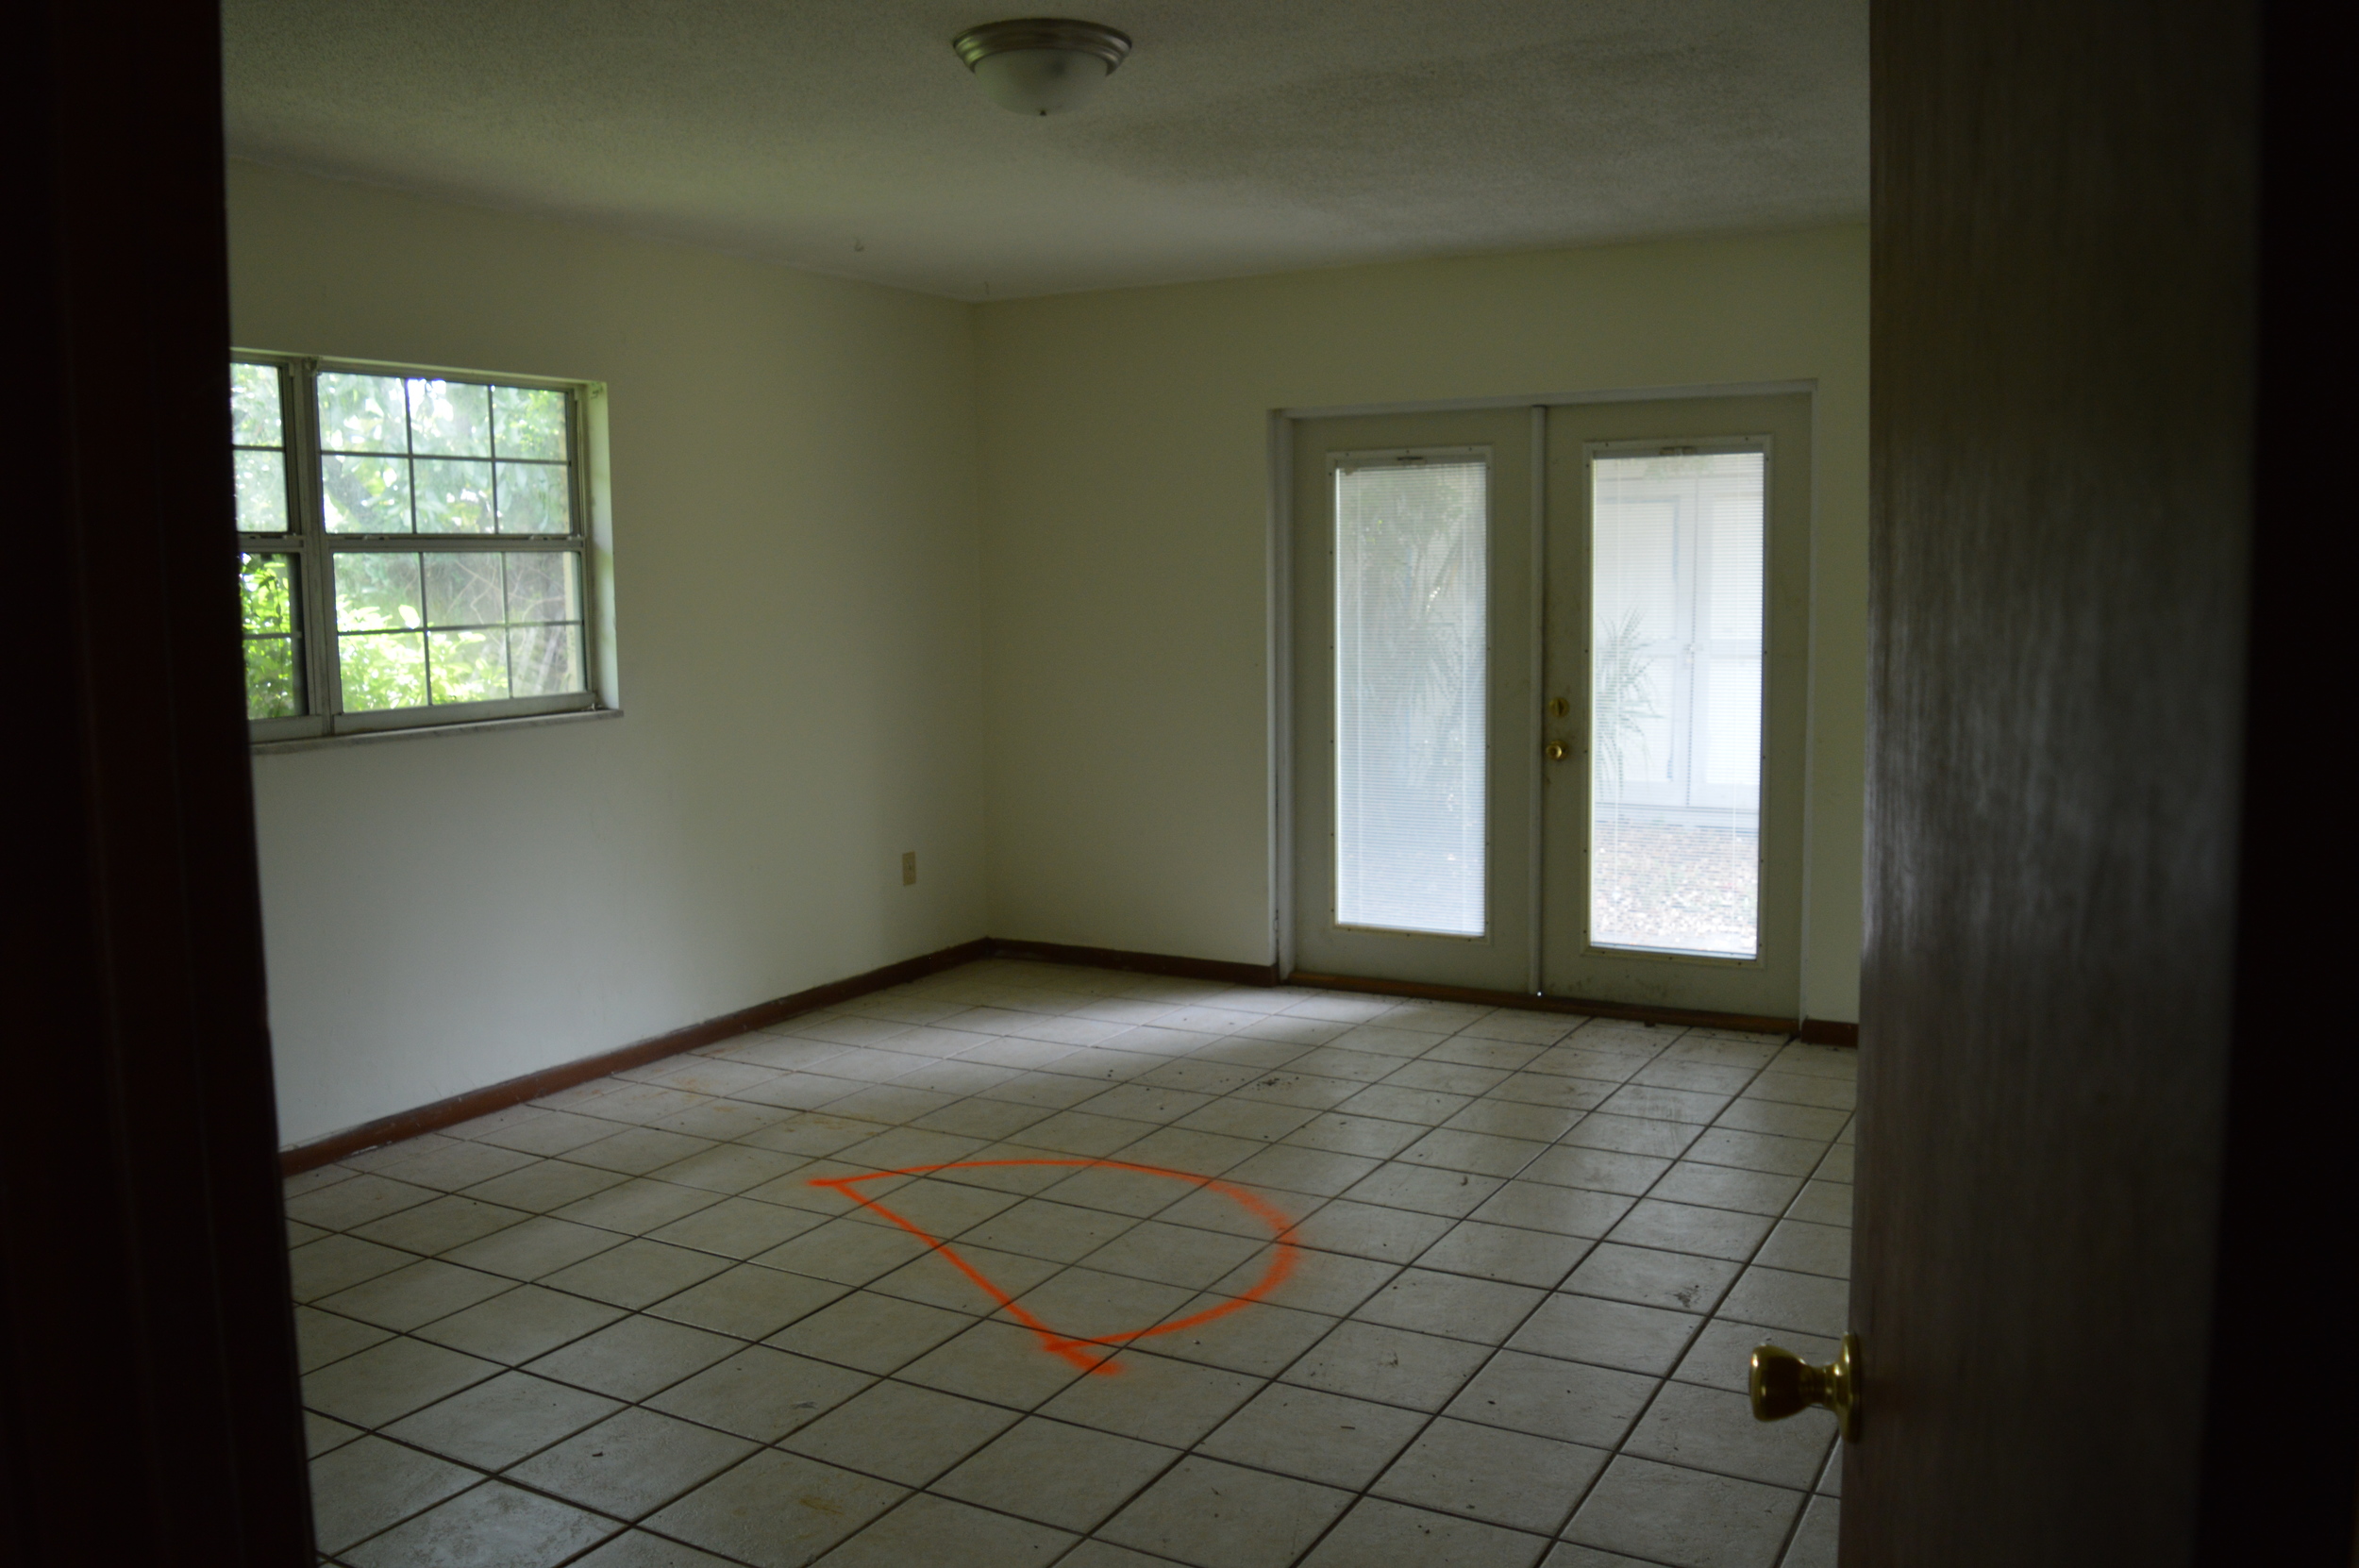
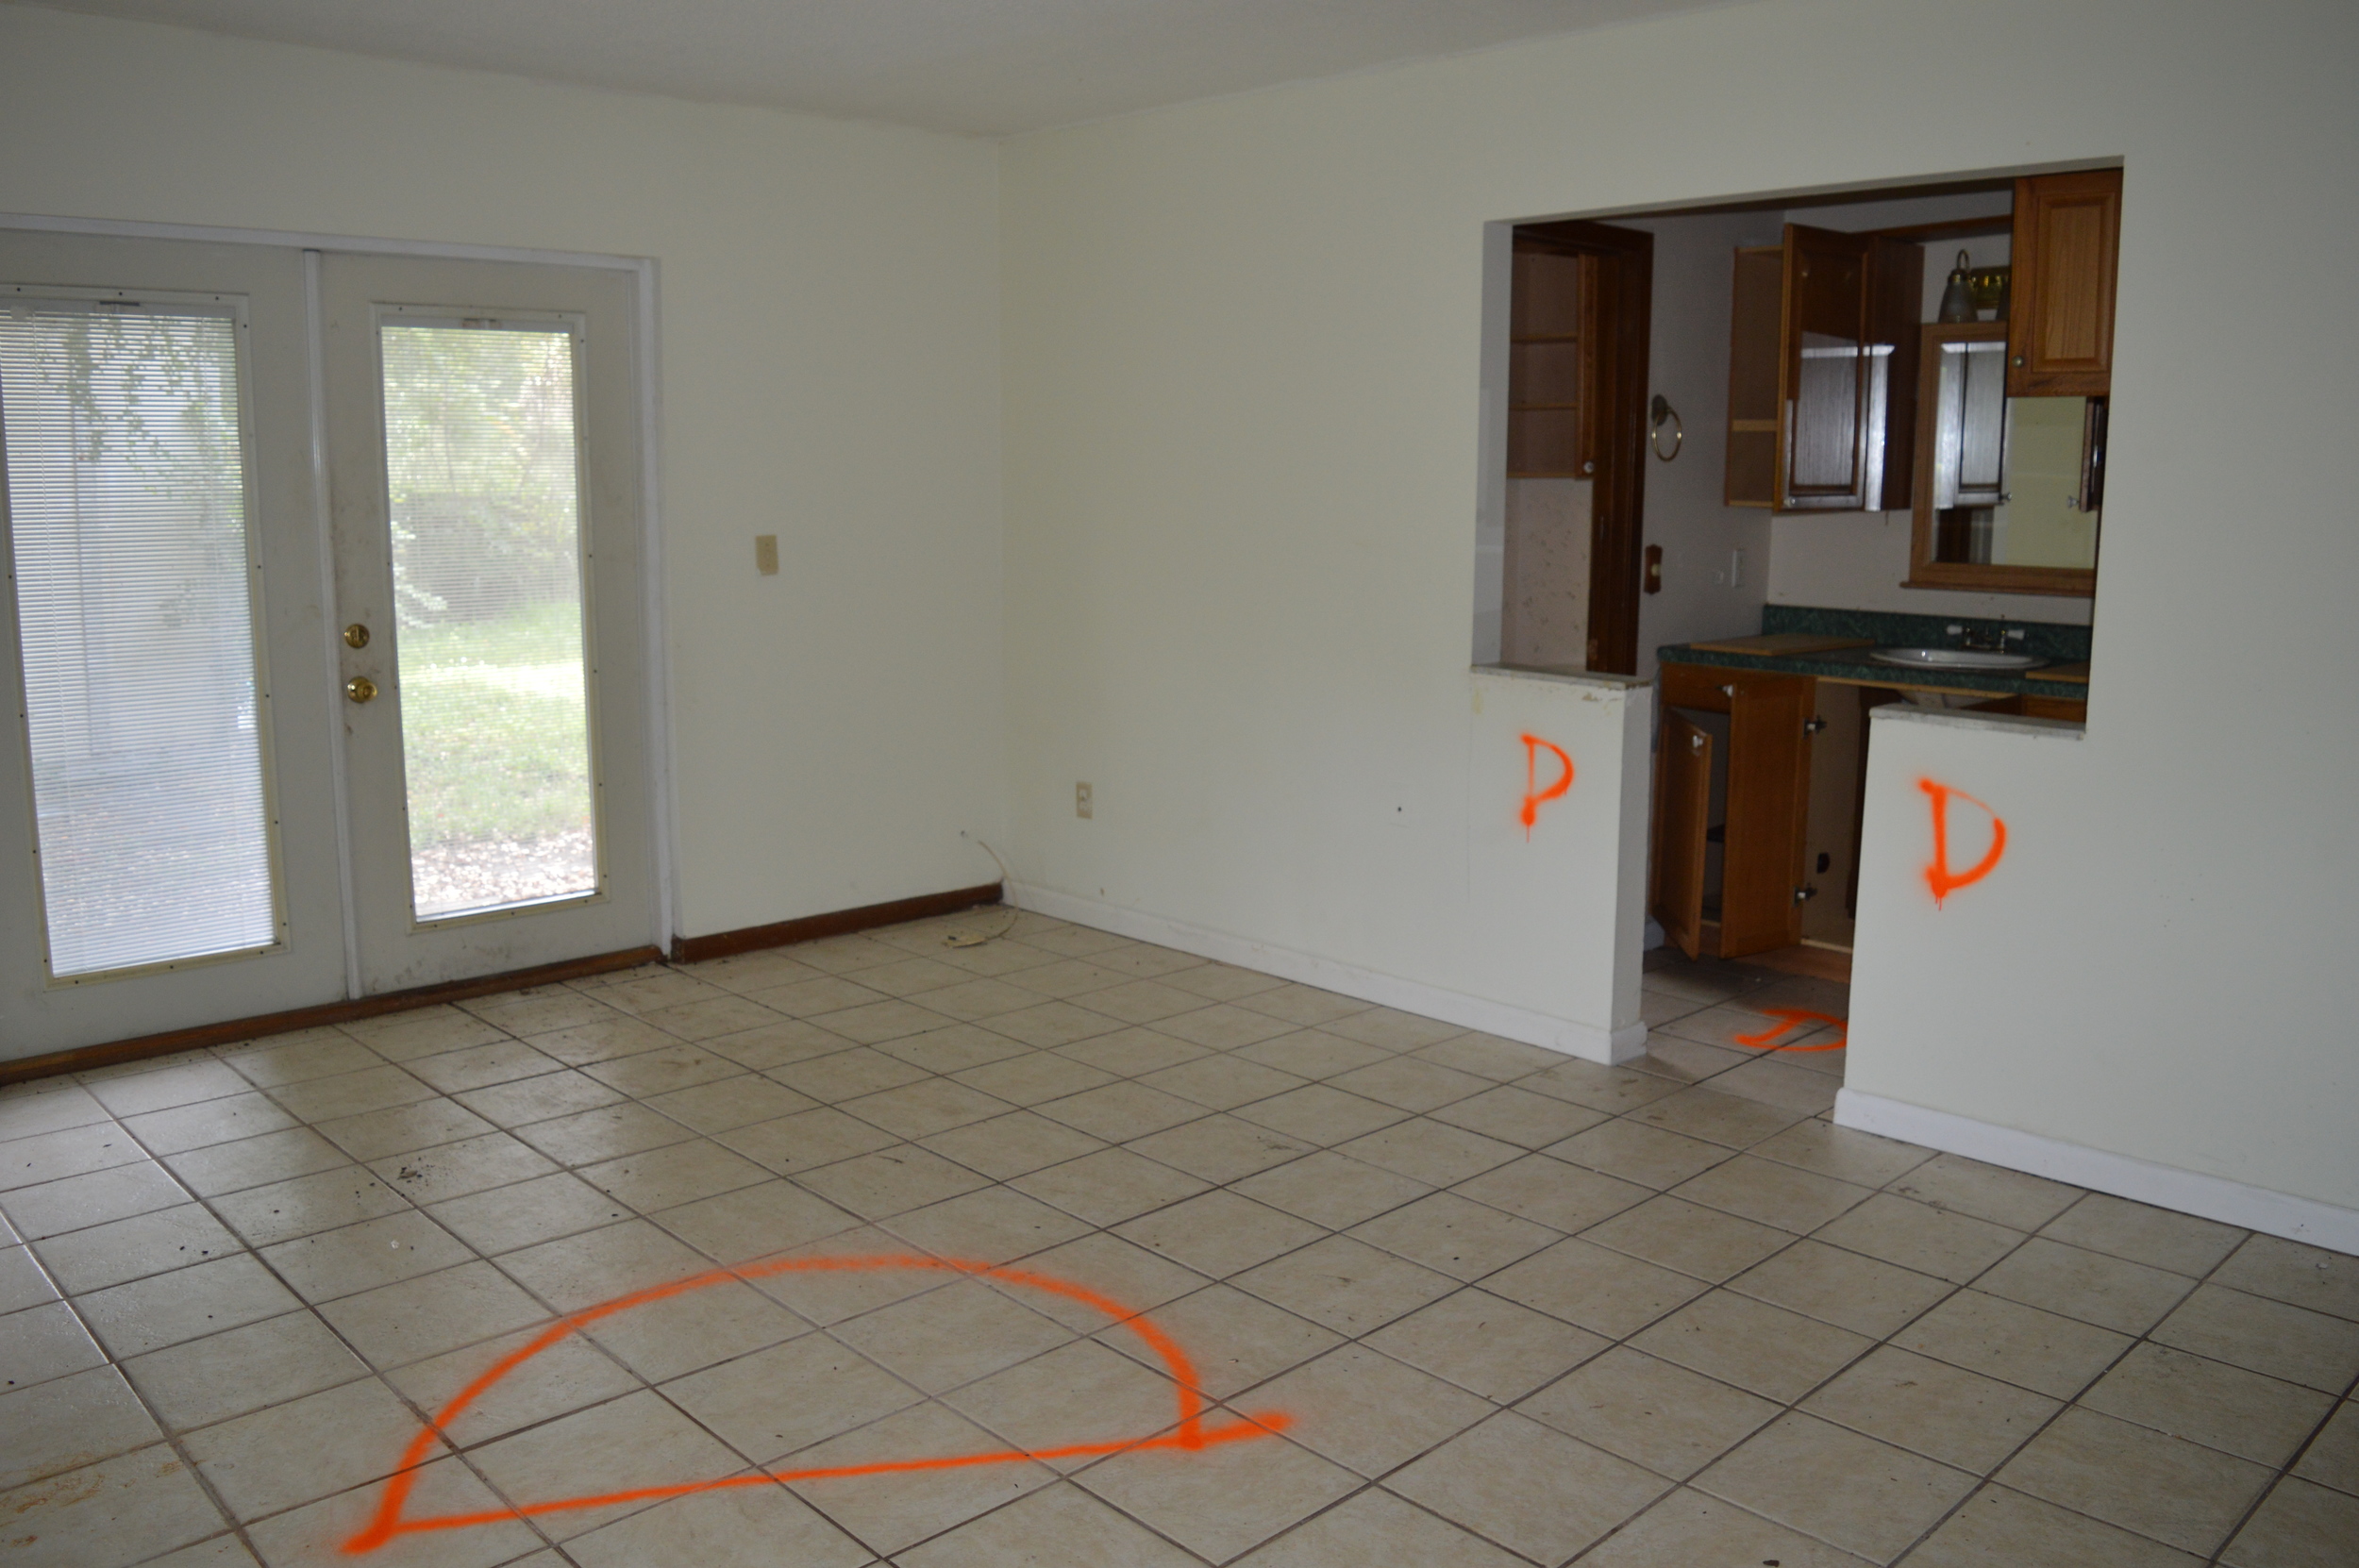
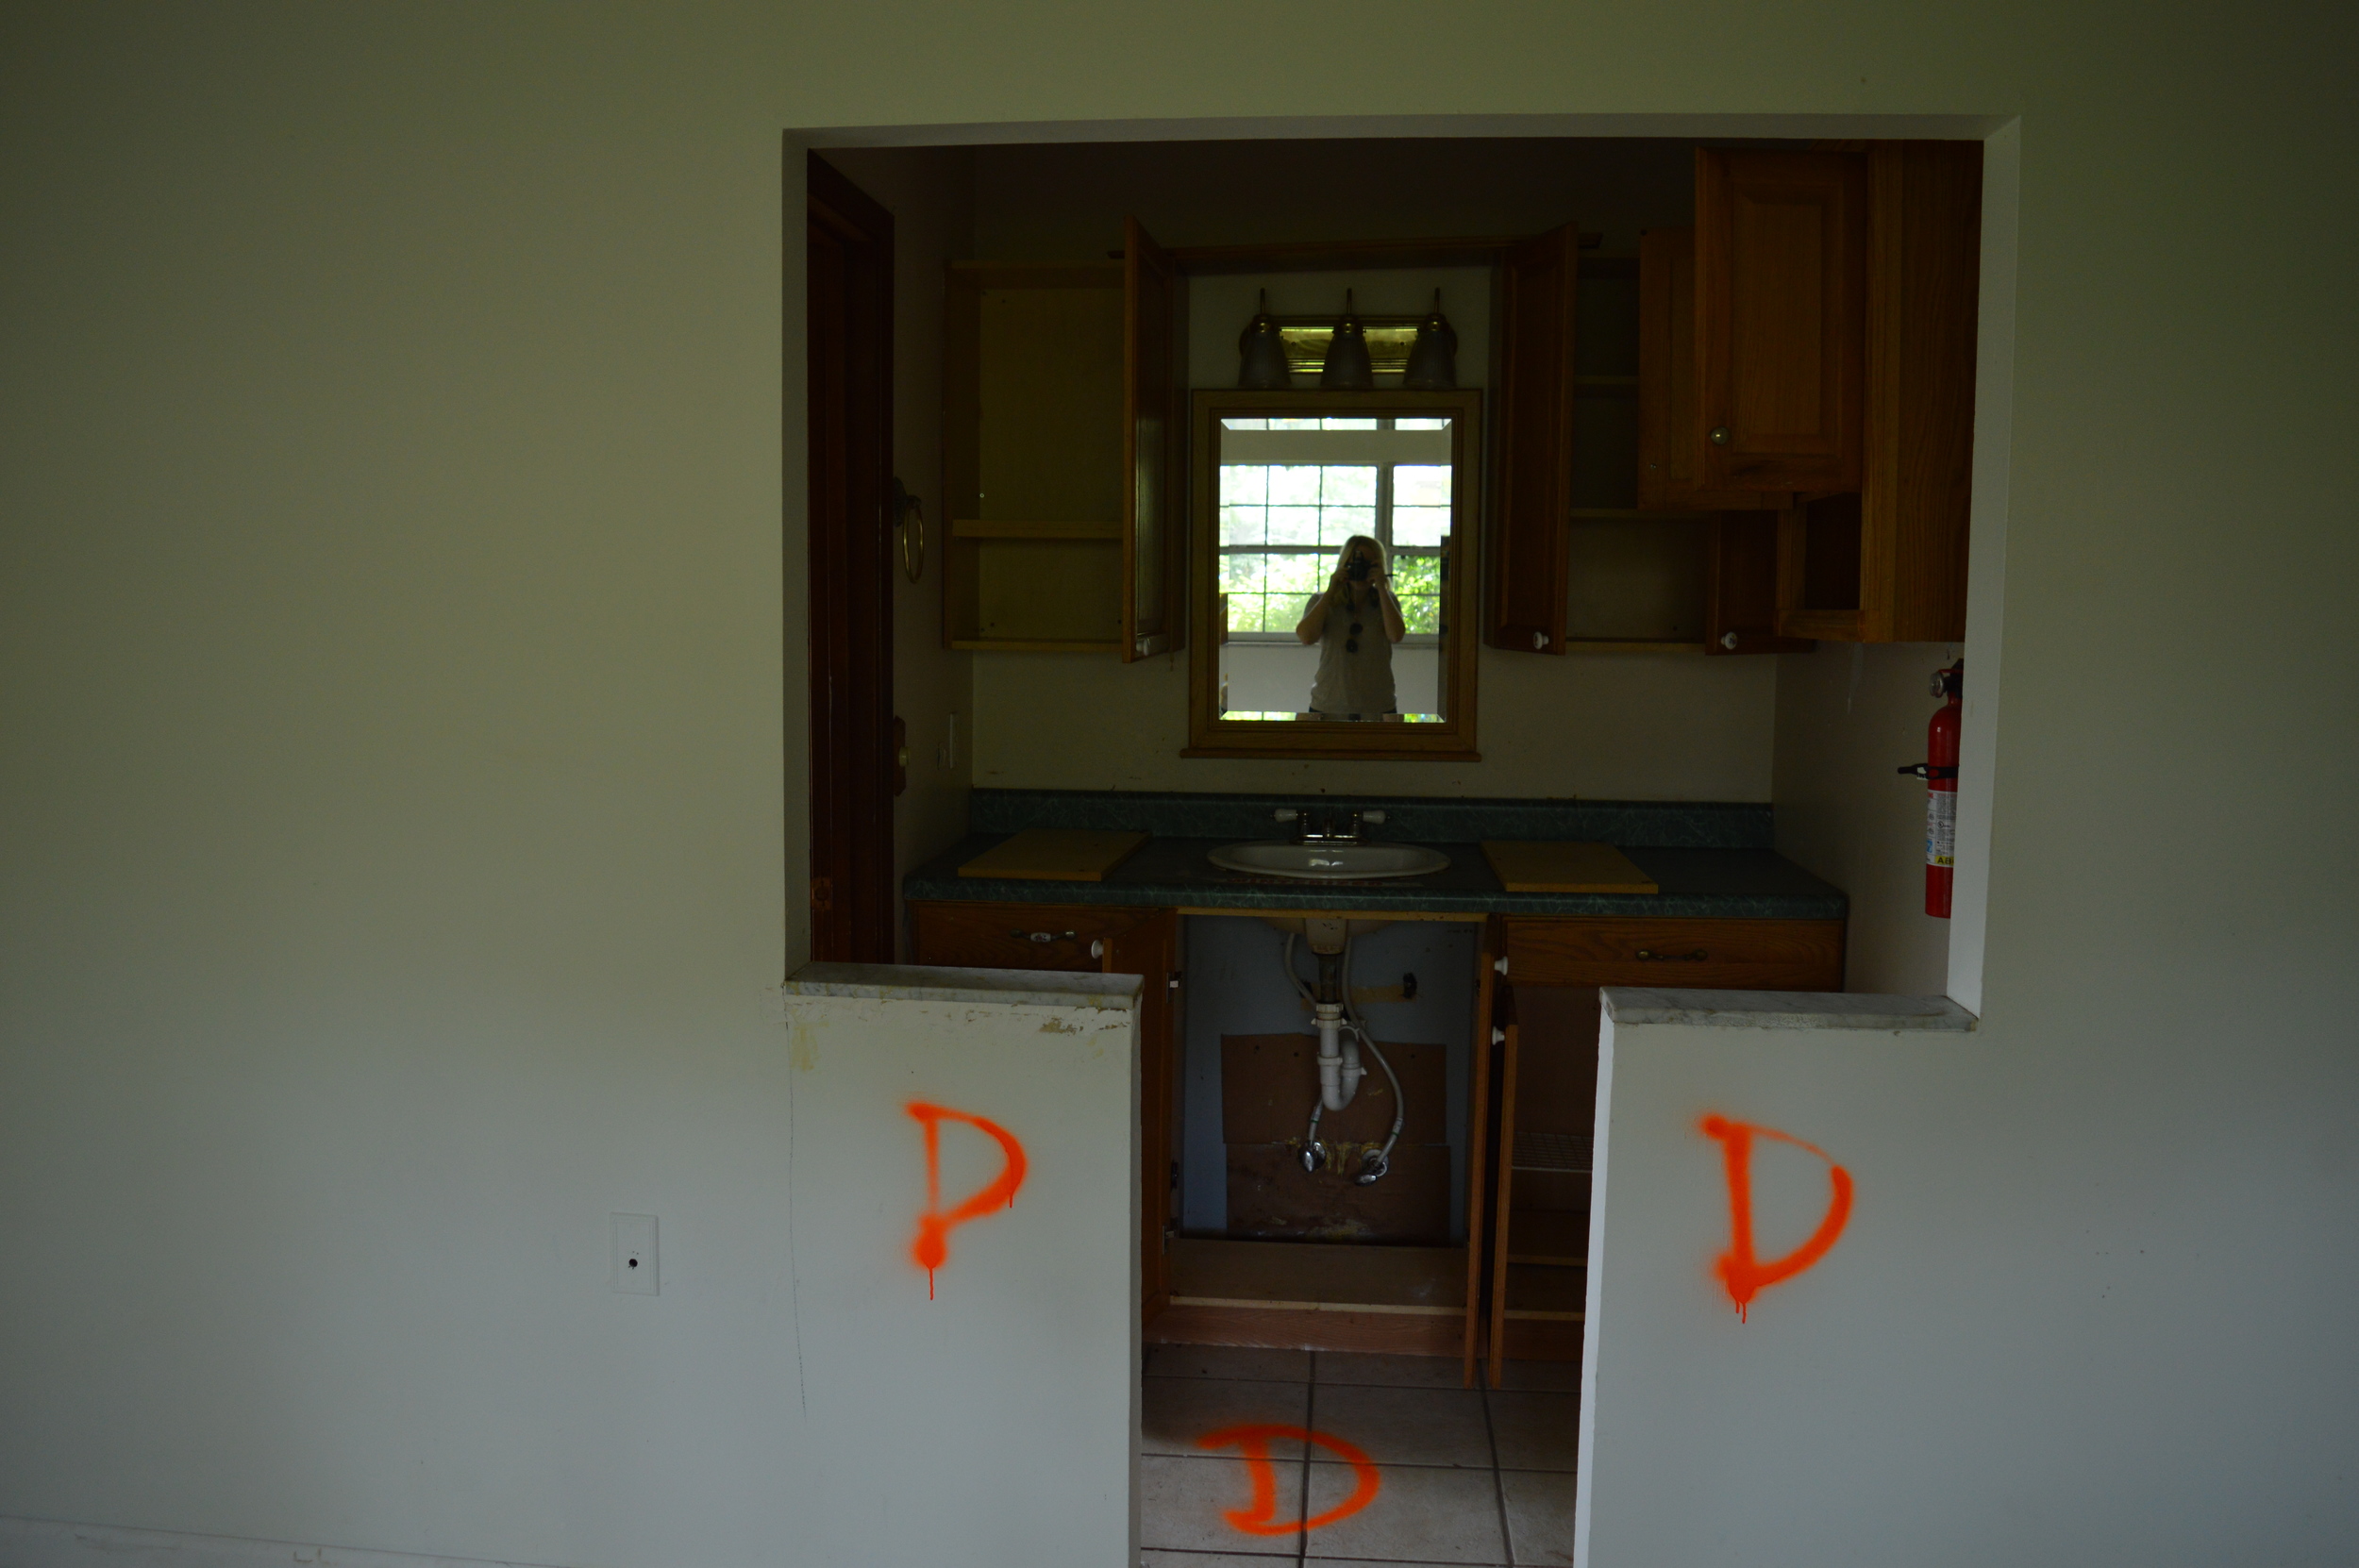

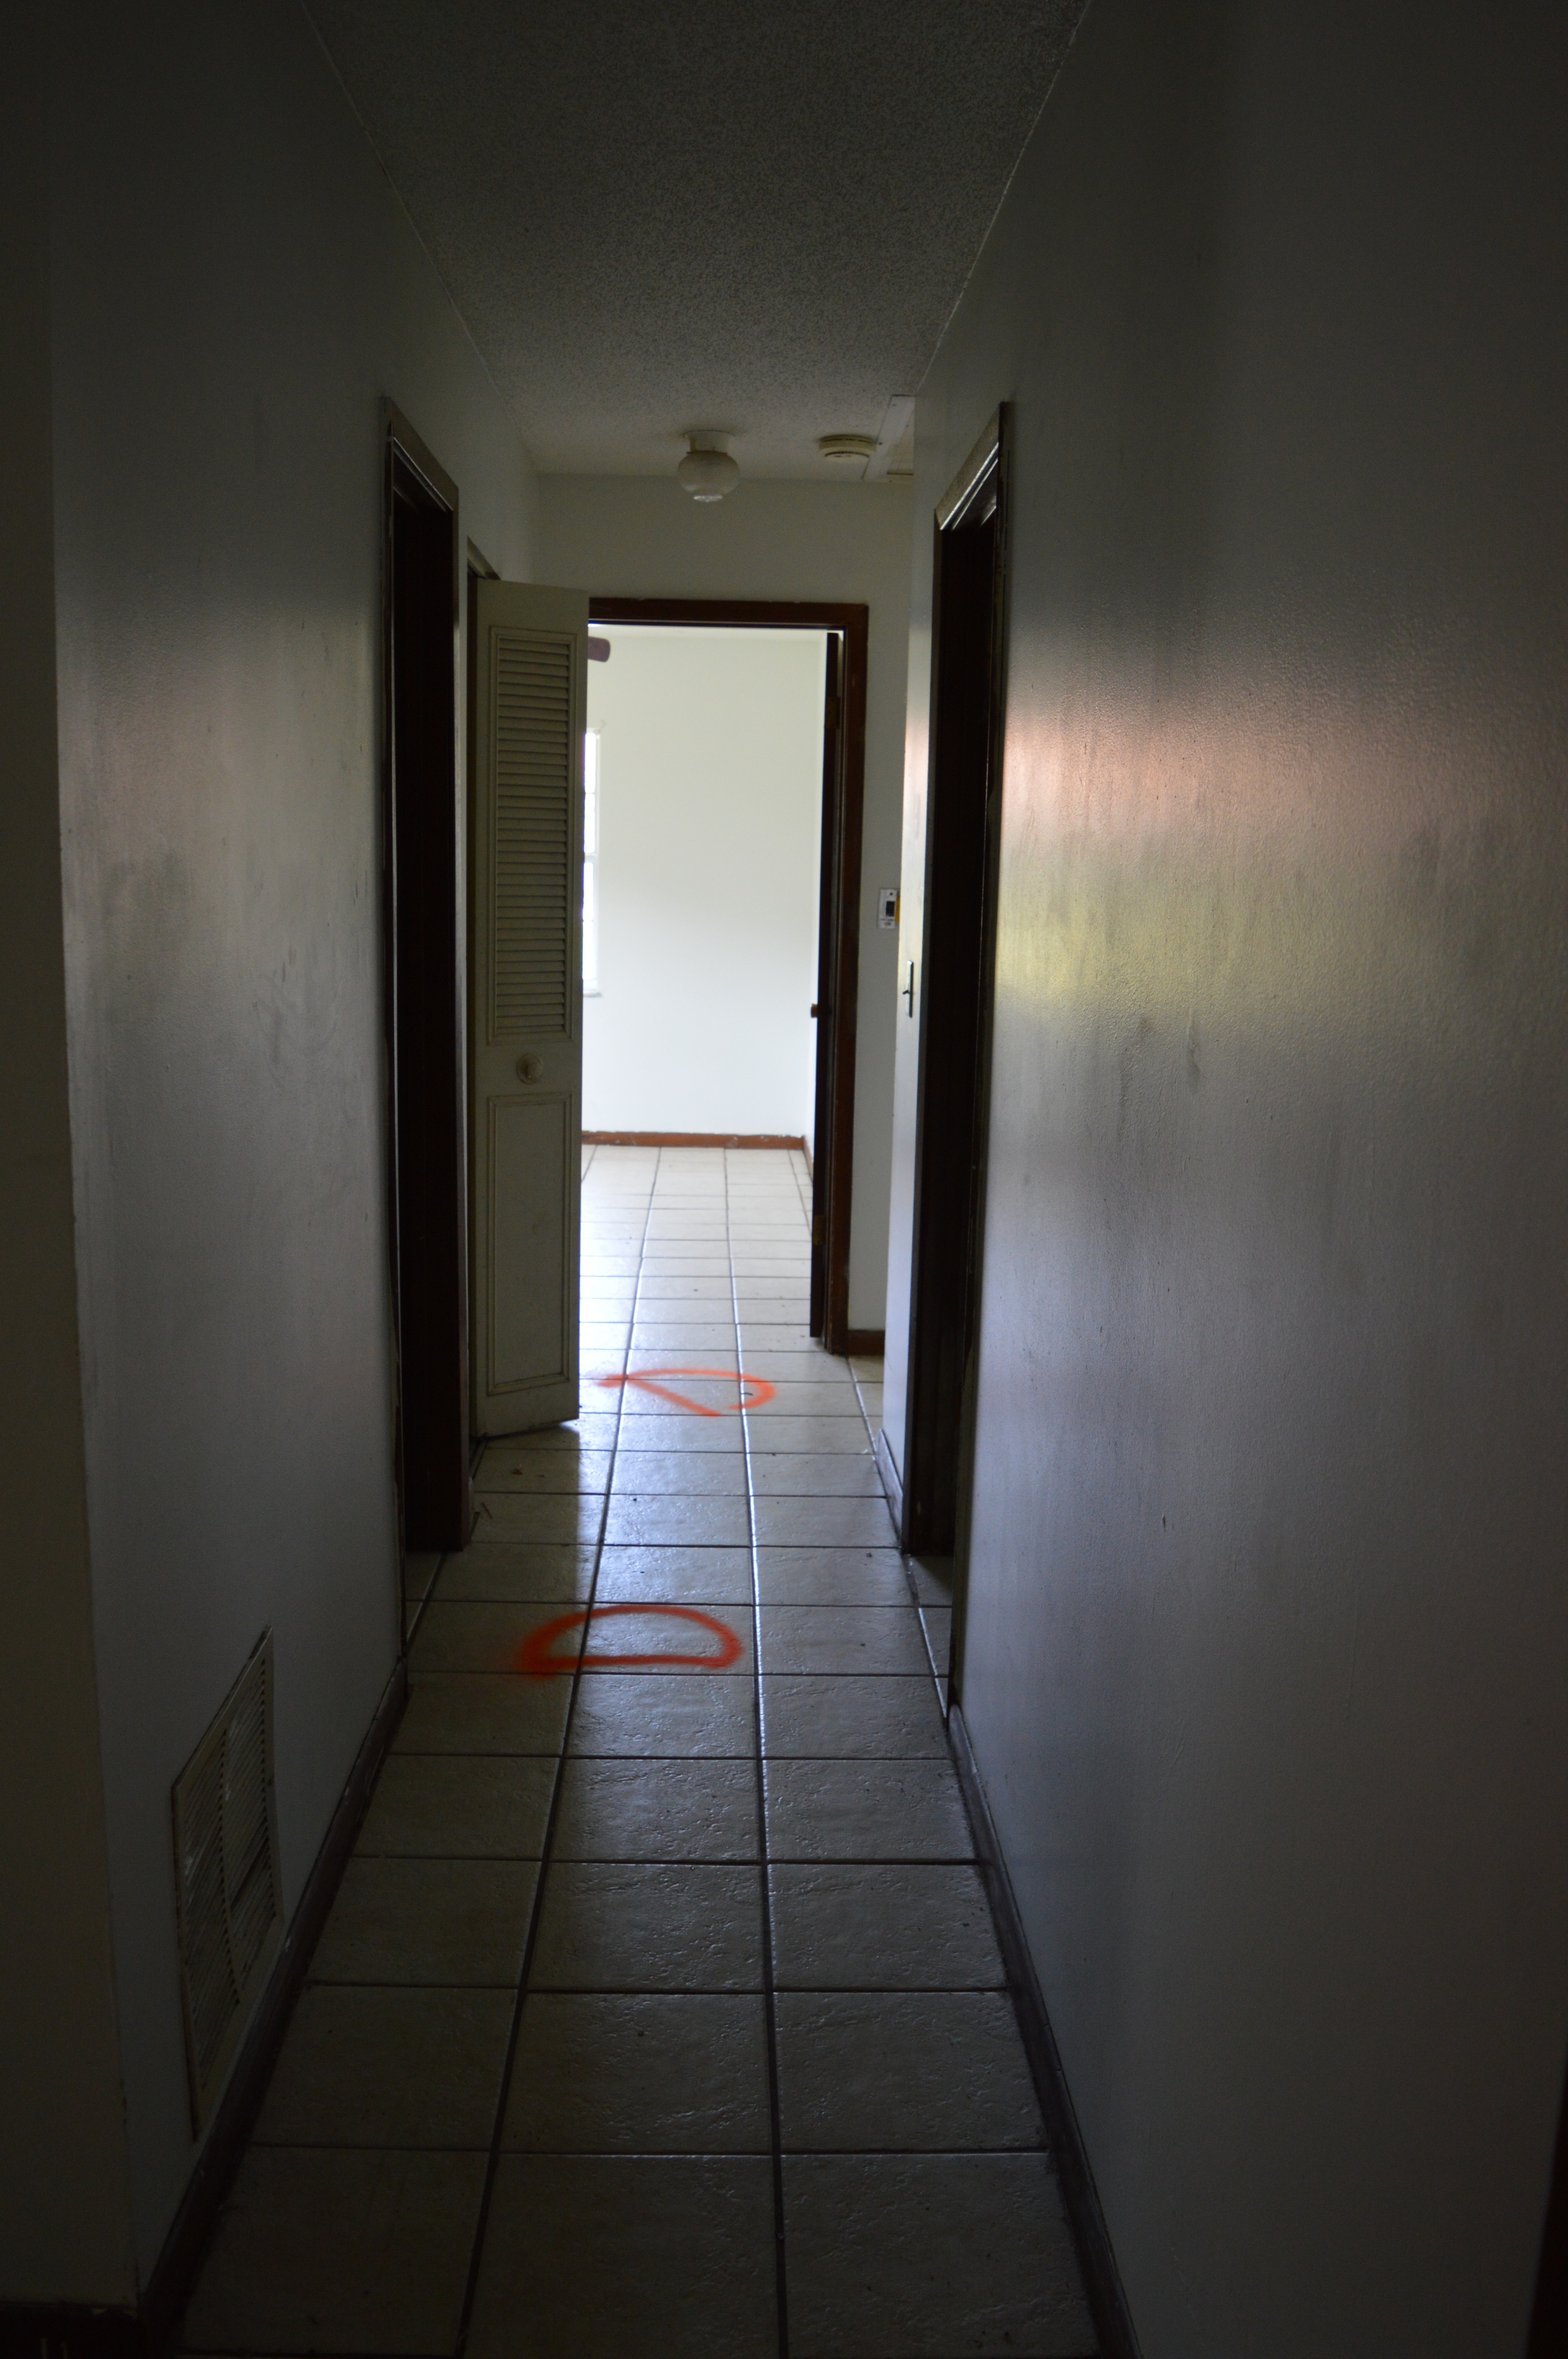


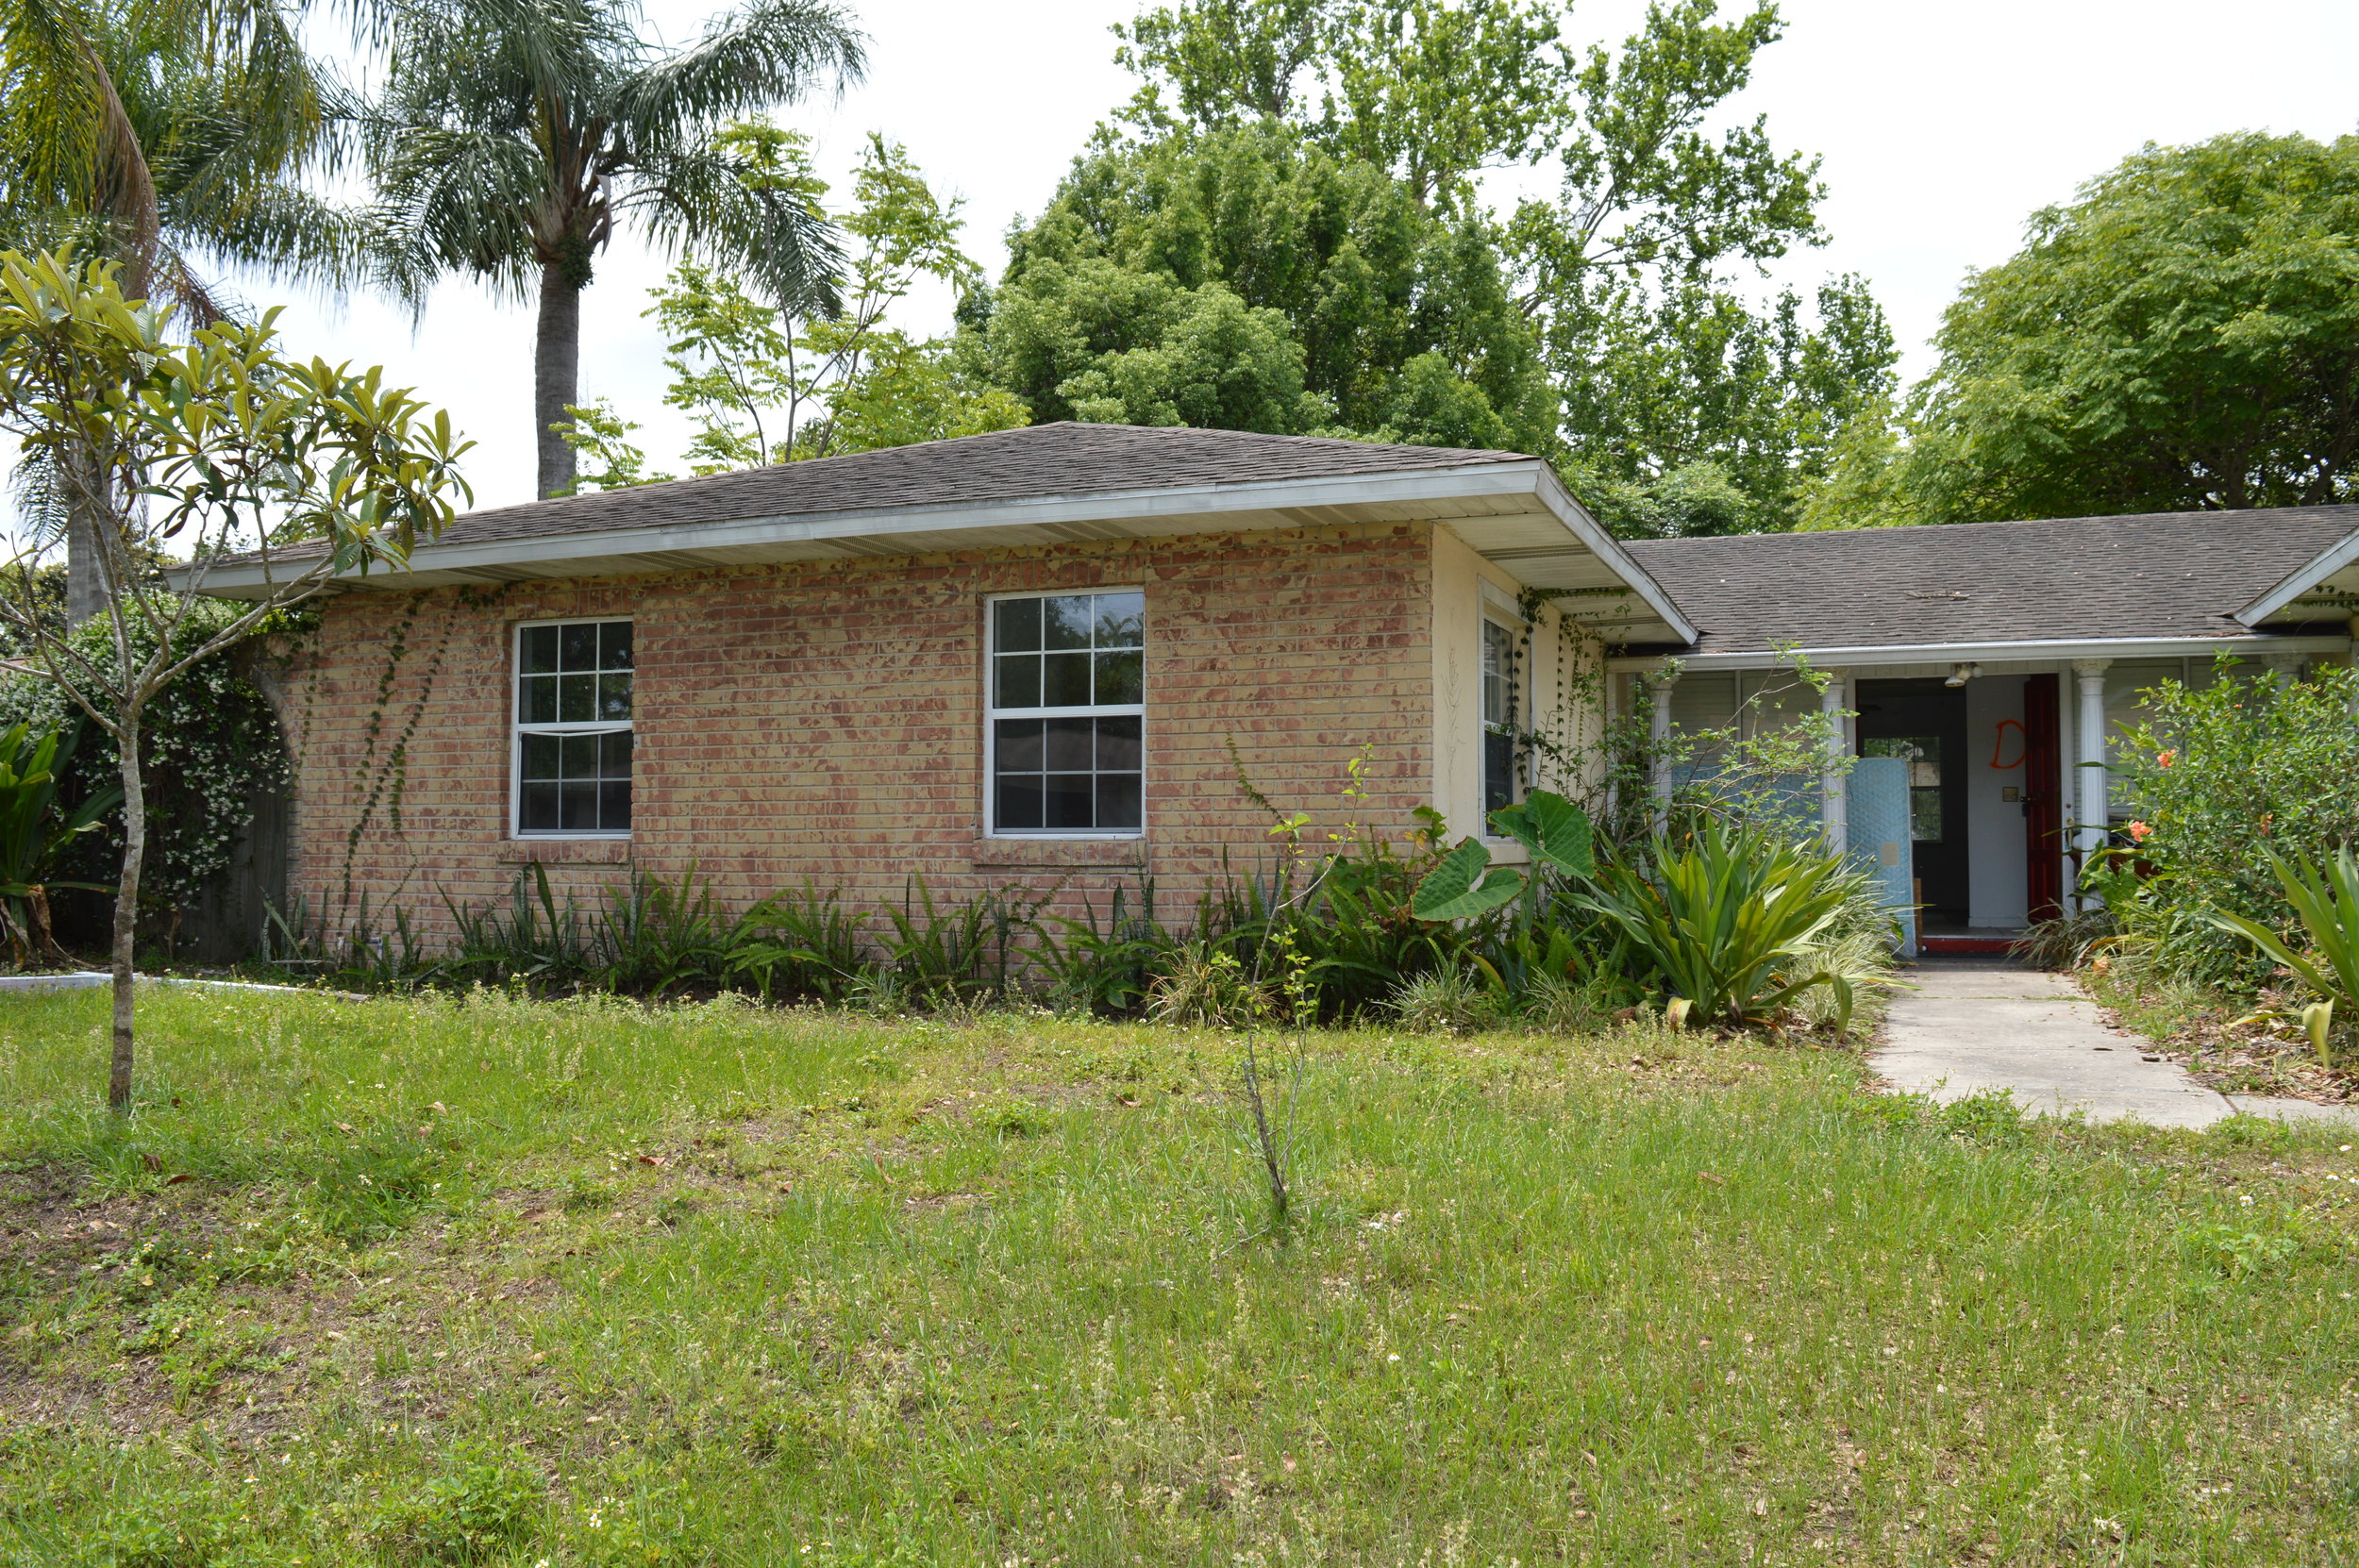


As you can see, we have a lot a lot of work ahead of us! Here's a breakdown of everything that's happening to our casa...
- Demo all walls in the main room
- Rip out entire kitchen
- Turn in-law suite back into a garage (sorry mom & dad! ;) )
- Knock out in-law suite bathroom to extend utility room
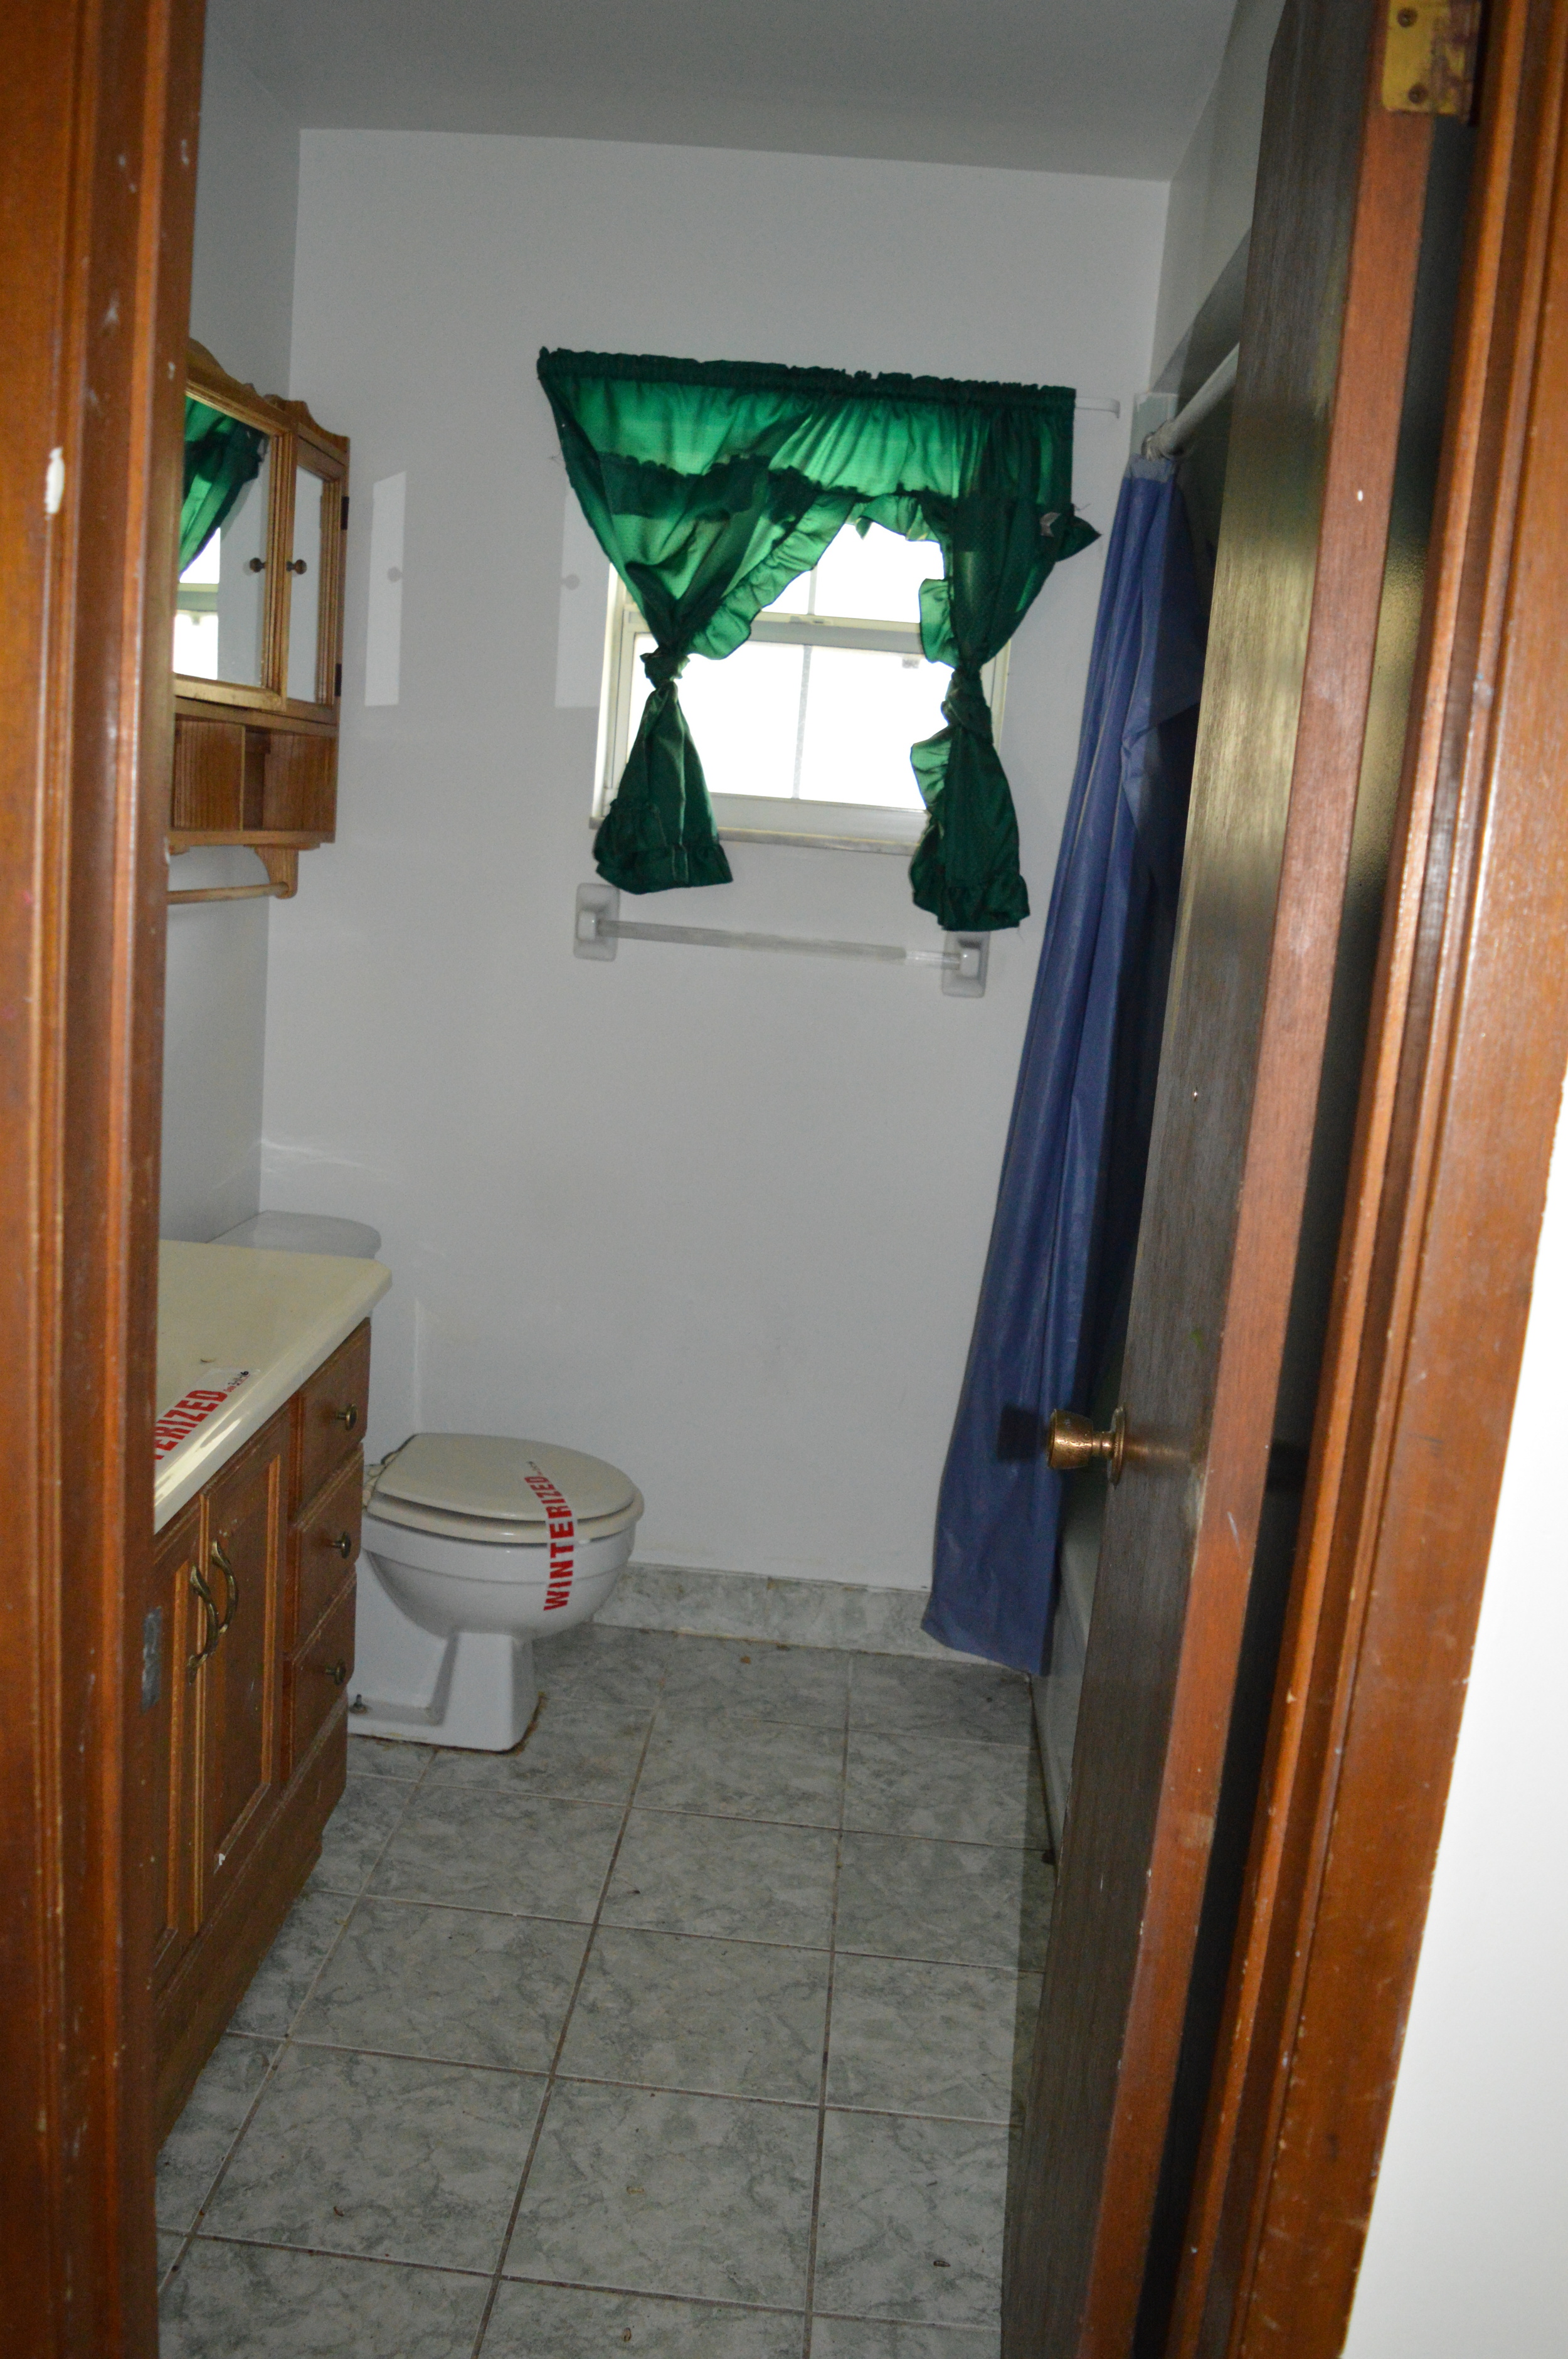
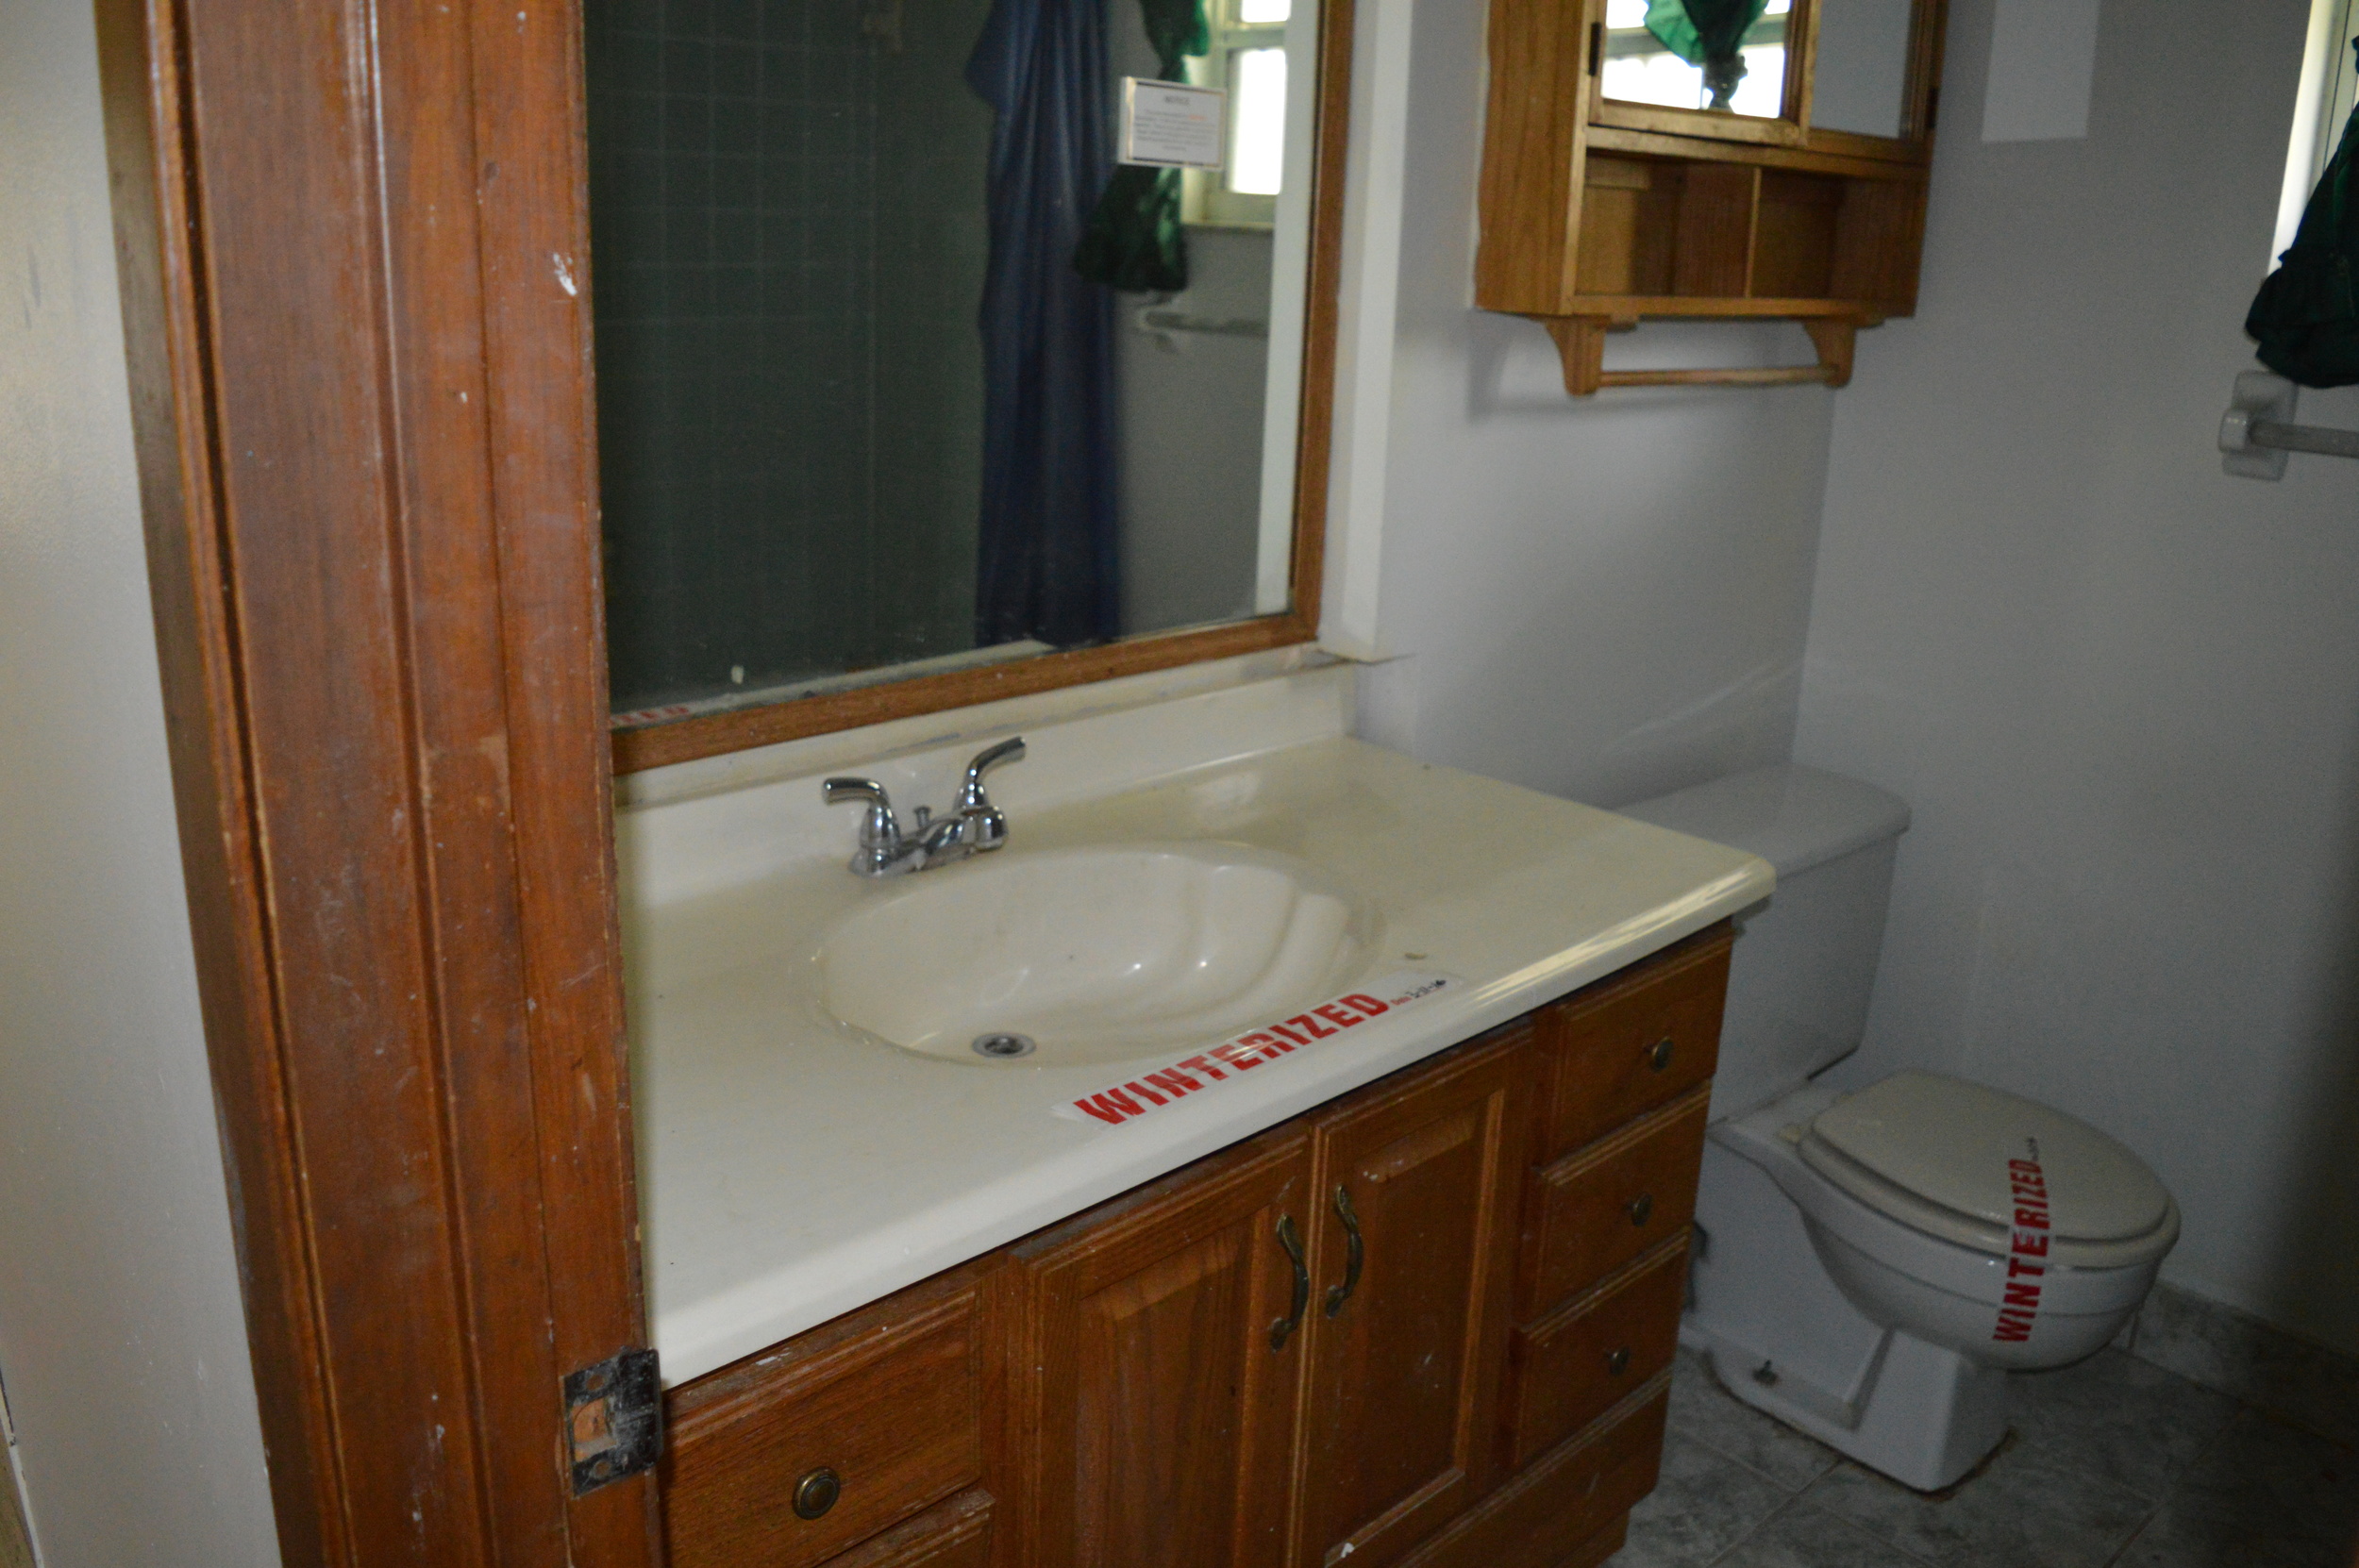
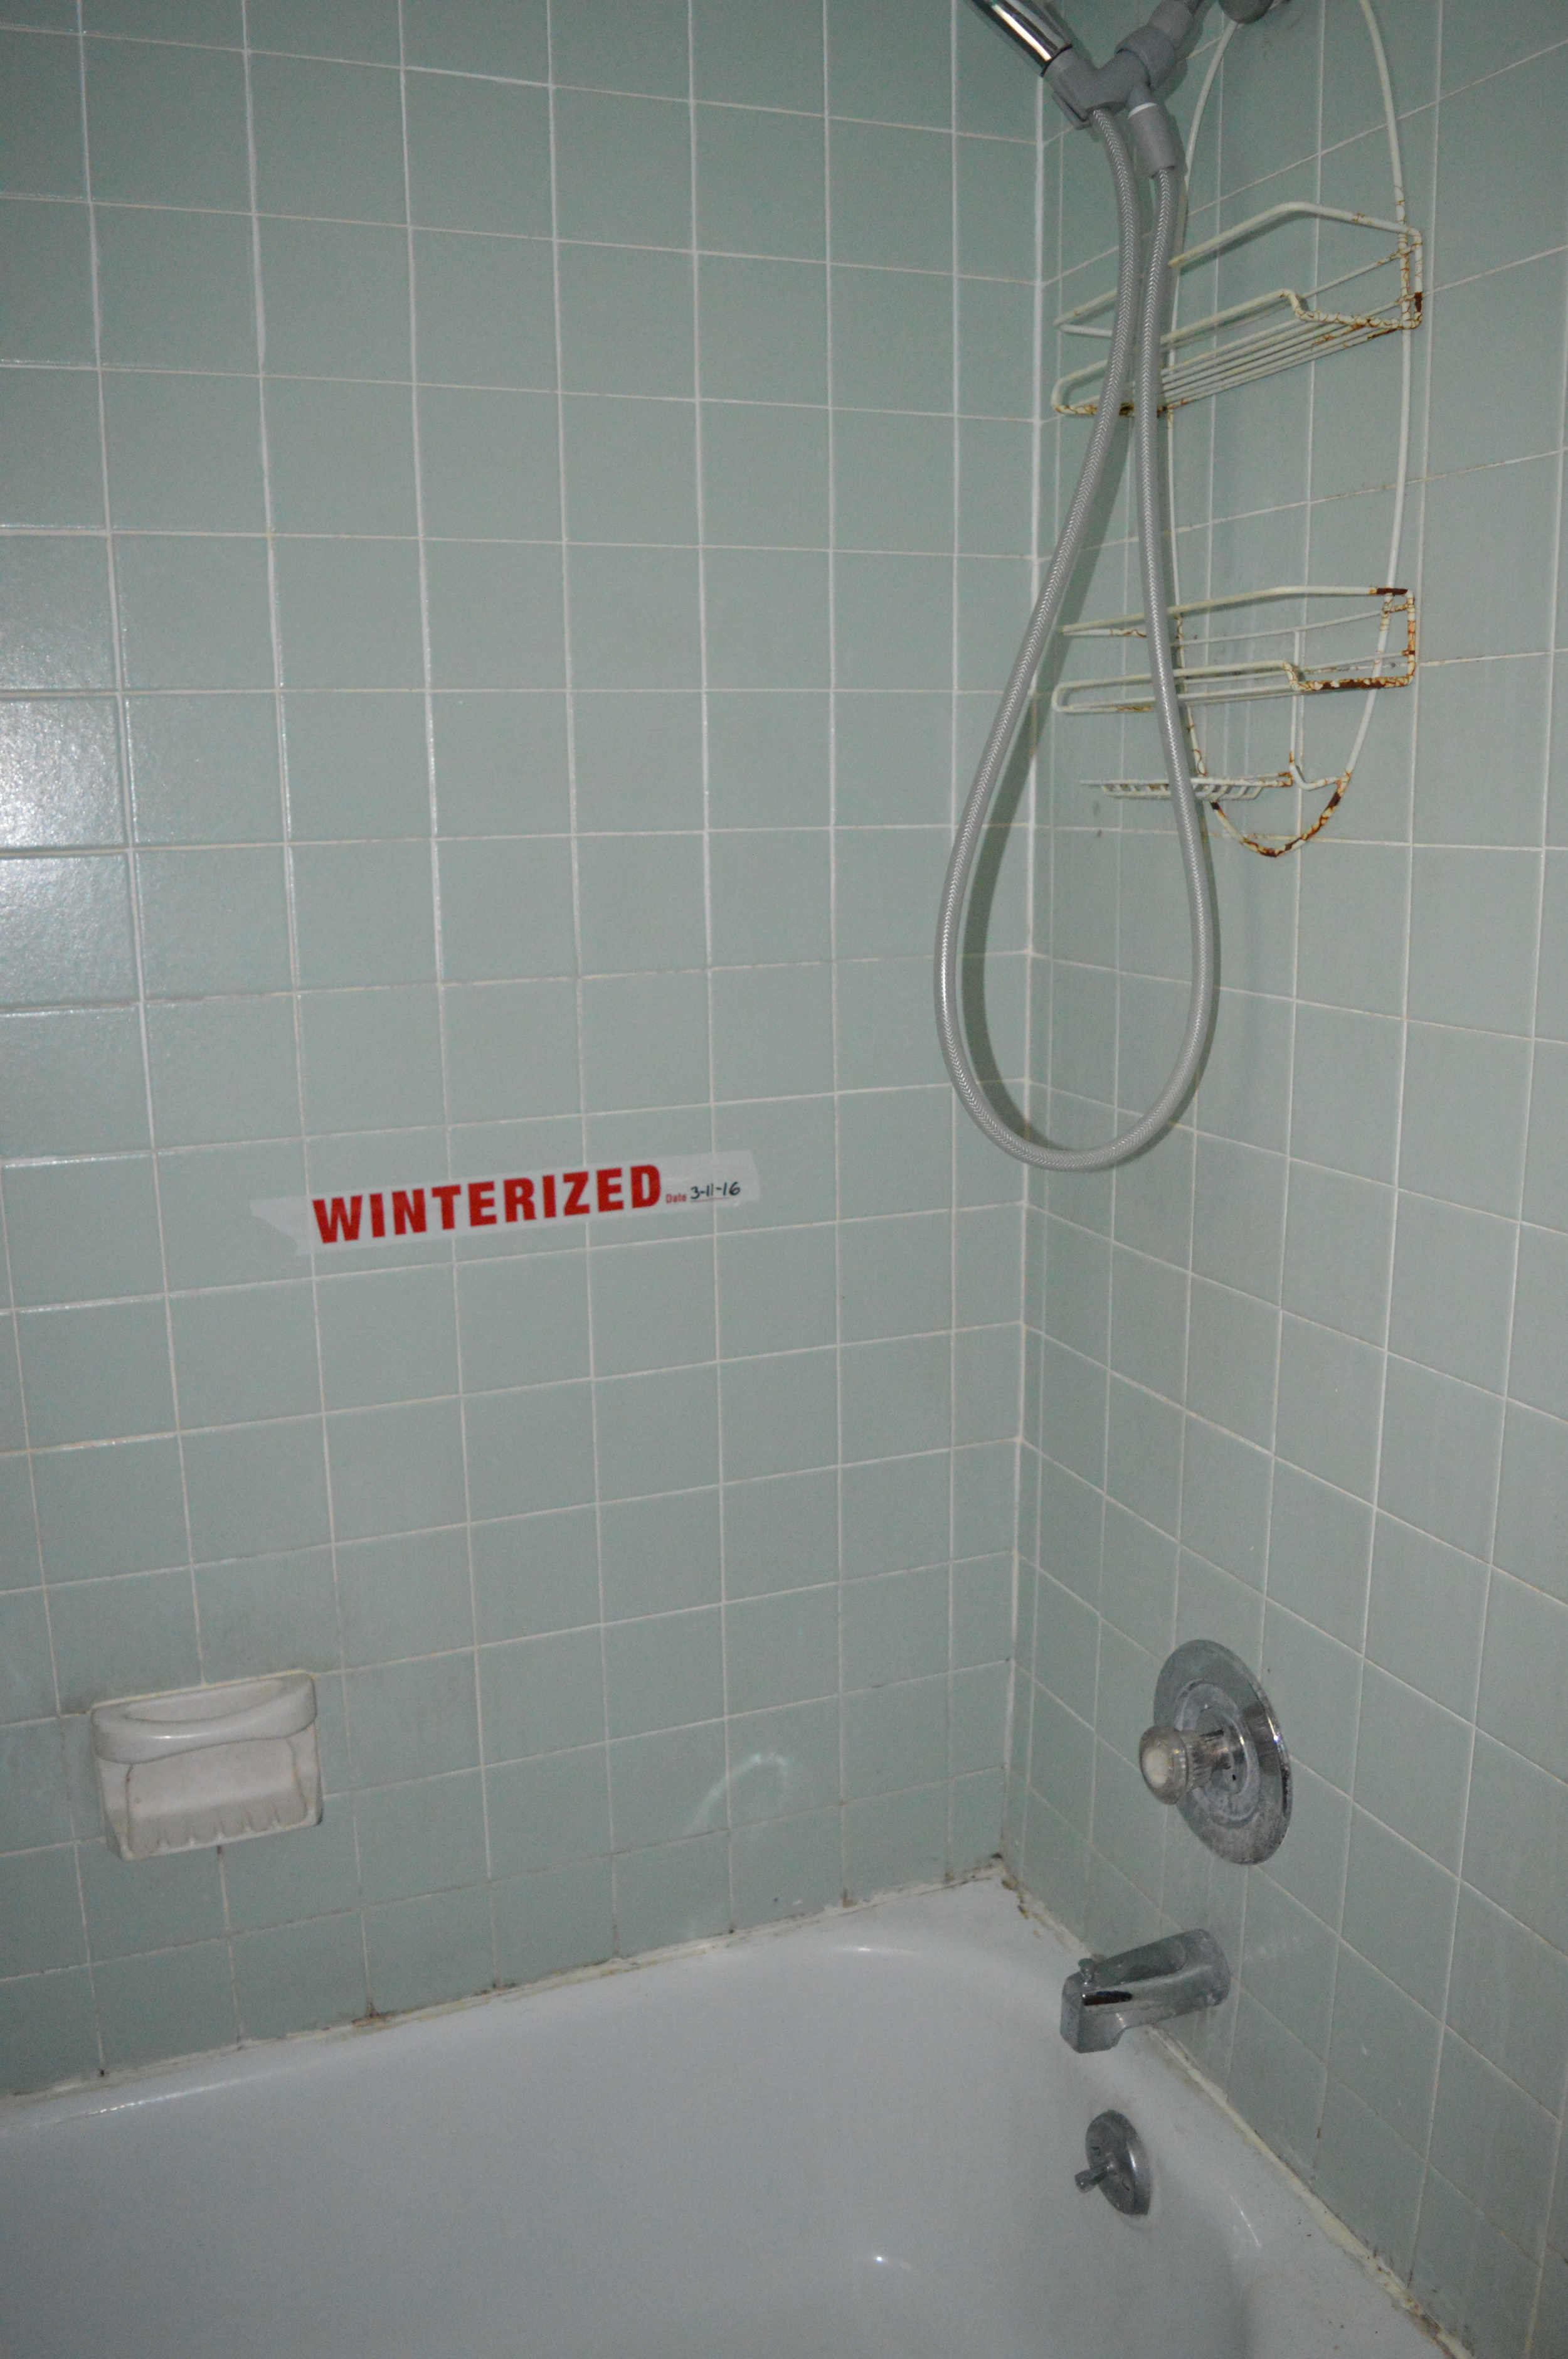
- Demo master bathroom
- Demo floors in the entire house
- Repair drywall/ceilings where walls were removed
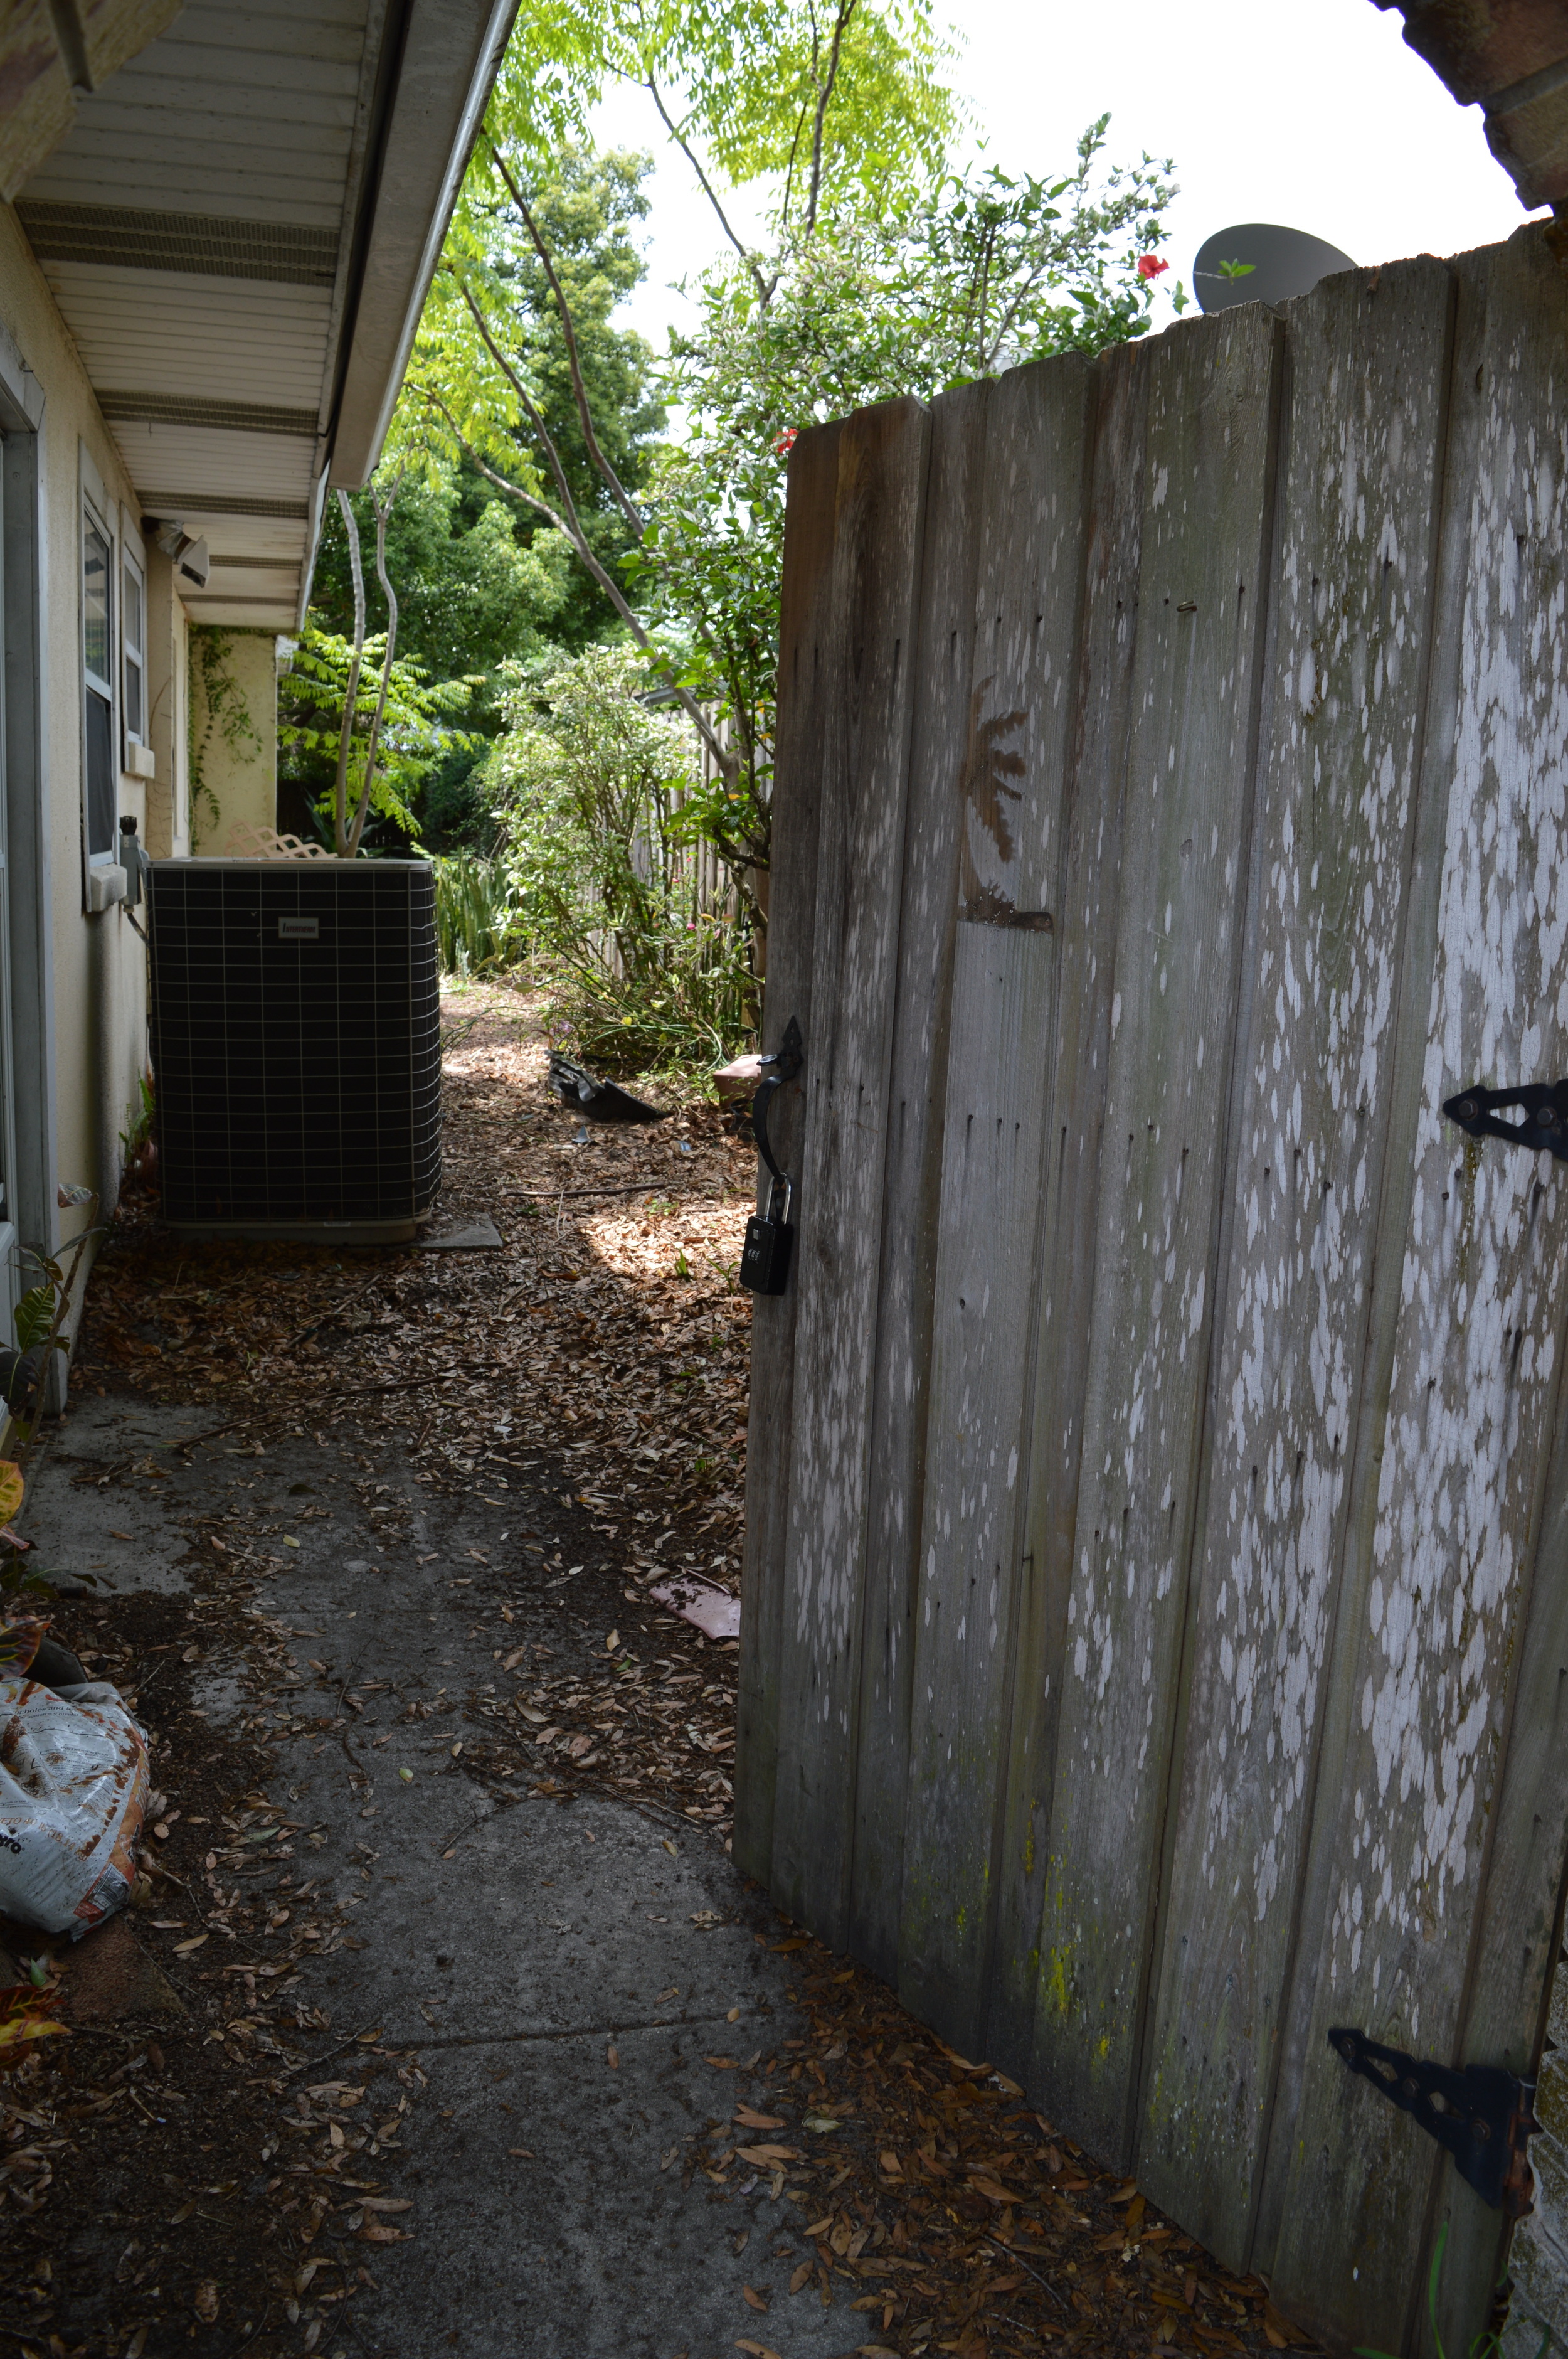
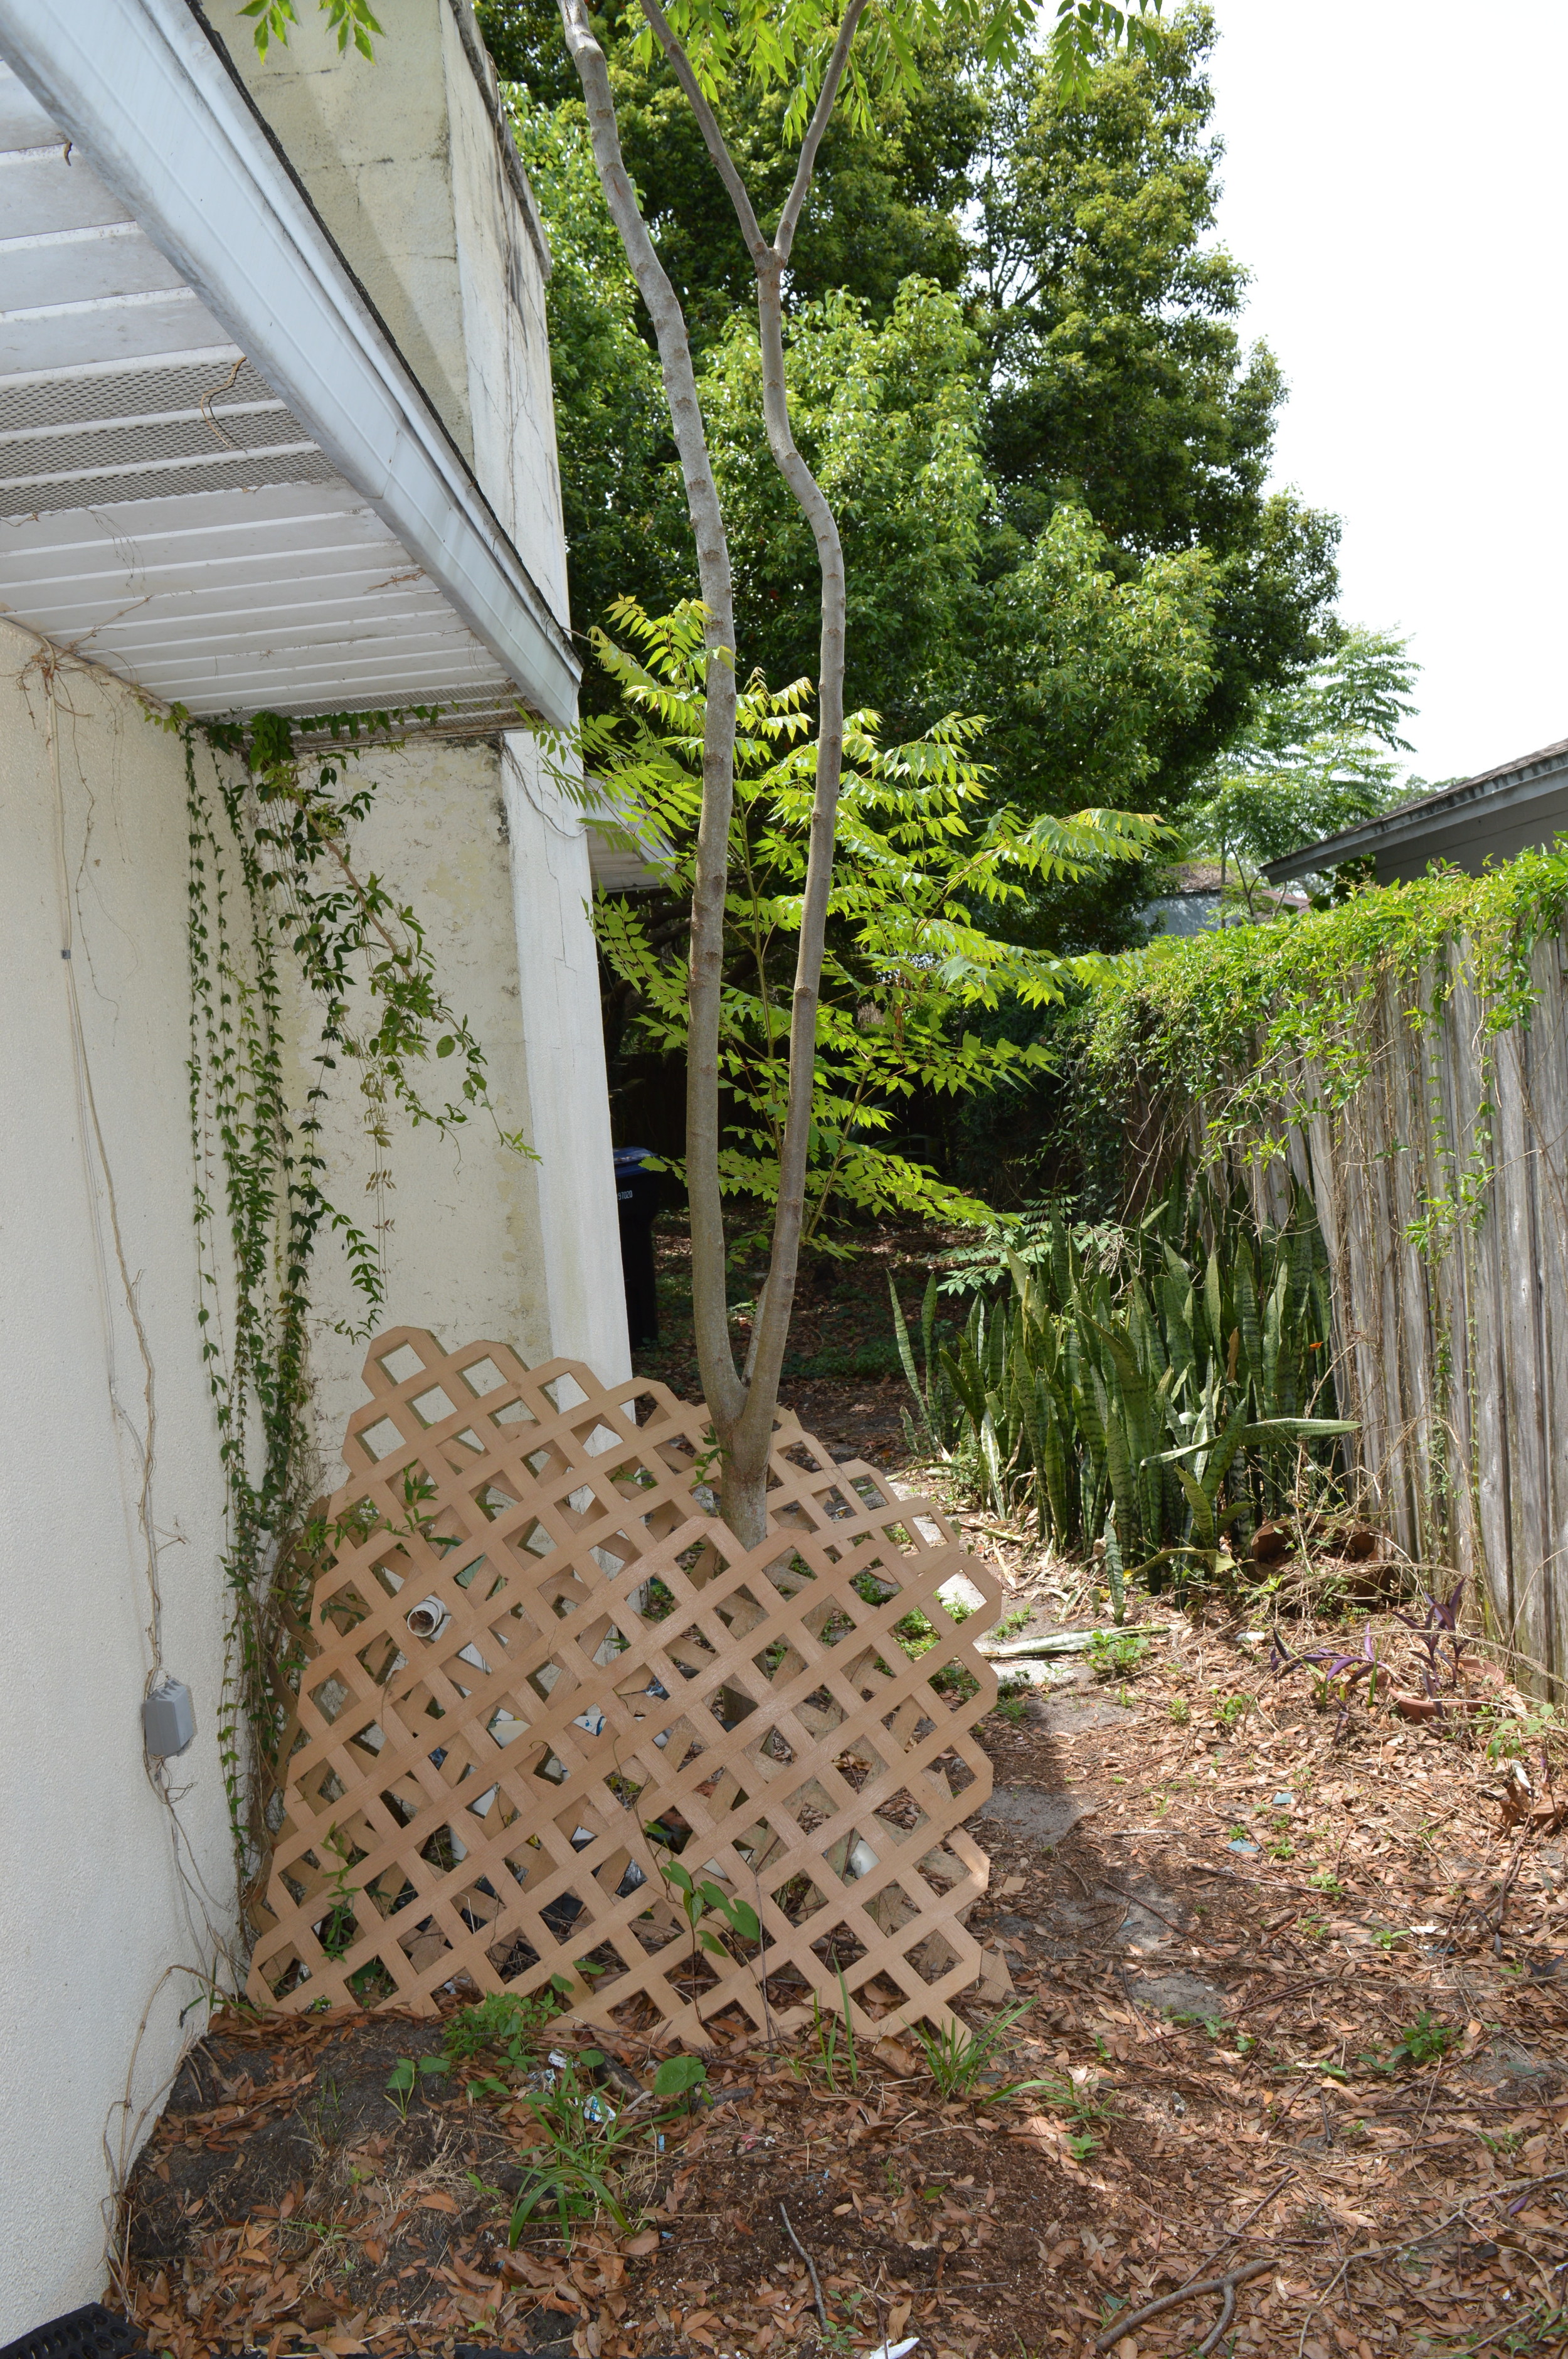
- Clear the scary back yard (get rid of all the crazy overgrown plants & vines, remove trees, level ground, lay sod....the list goes on!)
I feel like there are a million more things, but those are the biggies. Everything on that list except the yard is in our contractor's scope of work. Whew. Soon I'll be posting an update of our reno one week in, and boy are we pumped about how much has been accomplished already! (I'll give you a hint - our walls are g-o-n-e! Insert party horn emoji here!)
Hopefully you guys got a good sense of how our house looked on the day we bought it - it's going to be completely different soon enough! Check back soon for week one progress. :)
