How to Make New Wood Look Weathered
One style that I absolutely love is the old/weathered/distressed wood look. The more aged and banged up it appears, the better!
When Ryan and I decided to take on a DIY coffee table makeover, I knew that I wanted the end result to be a reclaimed wood farmhouse table. After a little messing around, that's exactly what we have!
So, how did I get my brand-spankin' new Home Depot wood to look old? It was a combination of trial and error, Googling, magic, and beating the crap out of it.
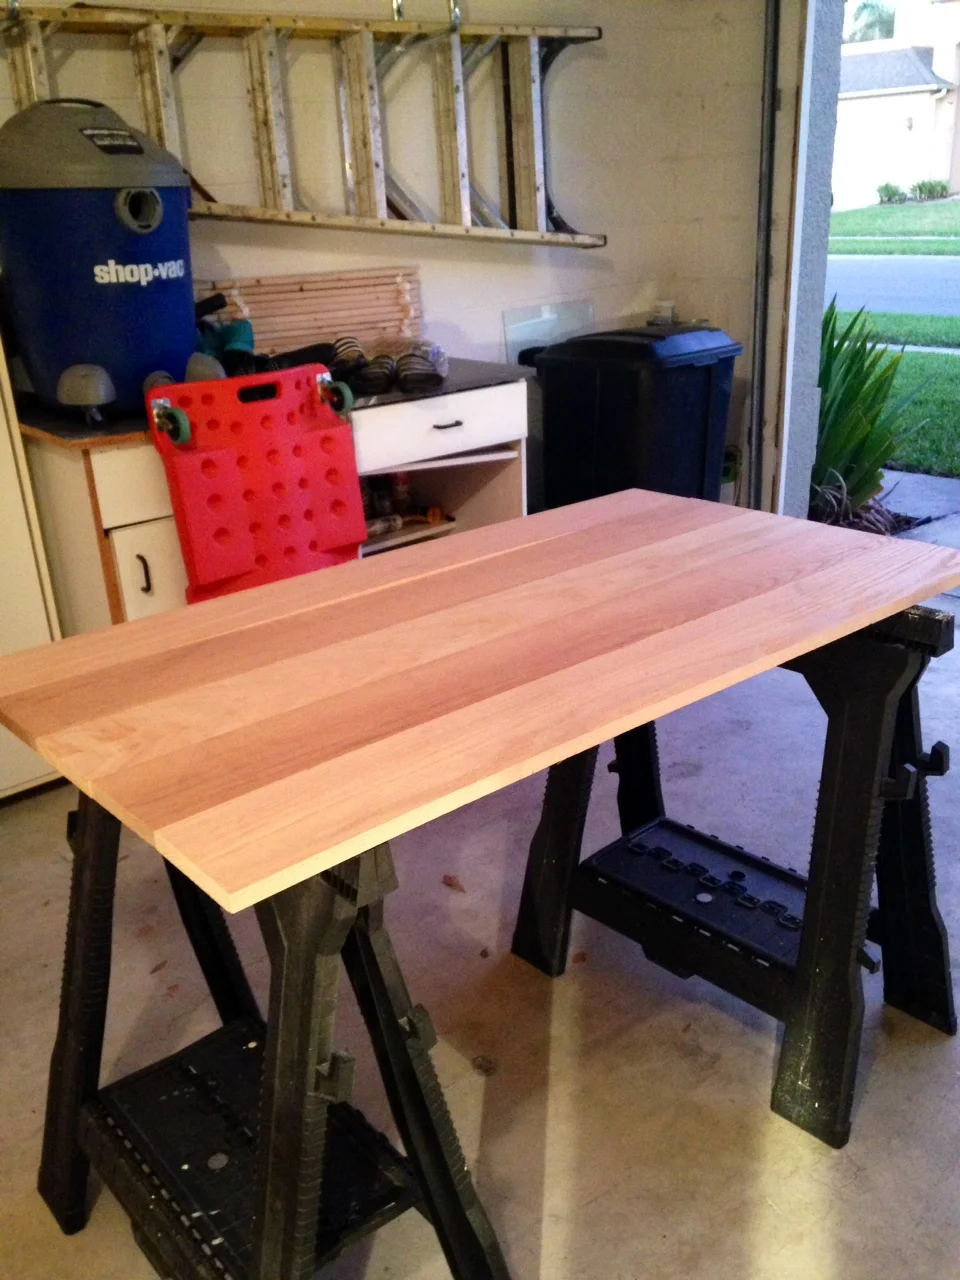
The first step was to sand down the oak boards we bought. Once they were smooth and the risk of splinters had been eliminated, it was on to step two - the beat the crap out of it phase.
You can get creative when distressing wood - it's pretty fun (and great anger management, ahem).
Some of the techniques I used were:
- Hitting it with both sides of a hammer
- Smacking it with a bag of screws
- Whipping it with a chain
- Running the edge of a large screw over the surface
- Sanding - beyond just sanding the splinters out, we sanded some imperfections into the wood, rounded out the sides a bit, etc.
So yeah, things got a little crazy in the garage. Basically anything that's heavy and metal, you can use to show your wood who's boss.
Once you've distressed the boards to your desired level, it's time to stain them! Also, stain is called stain for a reason - be sure you wear gloves, or you might end up with a permanently gray left hand. Not that this happened to me or anything... just a hypothetical warning...
This is where trial and error comes into play. For my wood, I used Weathered Gray stain from Varathane for my first coat. I applied the stain with an old paint brush, and then immediately wiped it off using an old T-shirt. I'd paint a few strokes, wipe-wipe-wipe, paint a few strokes... you get the picture.
After the weathered gray stain was applied.
I used this same technique for each layer of stain or paint that I applied, and it resulted in a great weathered wood look. You don't want to layer paint on too heavily and cover up the wood grain of the boards.
The stain dried pretty quickly - I let the boards sit about 30 minutes in between coats, but I probably didn't even need to wait that long.
For my second coat, I mixed some white primer that I had on hand with equal parts water. I used the same technique of painting it on then wiping it off with a T-shirt.
After coat number two. This look is the result of gray weathered stain and white washing.
The third coat was flat gray paint mixed with water, again in equal parts. Brush-brush-brush. Wipe-wipe-wipe. You can use any gray paint you have on hand. I bought a sample size of Creek Bend by Behr, but any flat gray paint will do!
The fourth and final coat was black paint, which I didn't mix with any water. I dipped the top of the brush lightly into the paint, wiped some off on the side of the container, then lightly brushed it on the boards. I stuck to the same brush on, wipe off technique. This kept the brush strokes from showing, and blended all of the coats of paint and stain into the wood. You can go easier or heavier on the black, depending on the look you're going for.
And that's it! Four coats and one gray hand later, I had this:
Feel free to play around with different stains and paints to get the look you're going for. This table turned out more on the gray side (gray paint, gray stain, DUH), but you could use brown stain and paint if you prefer that look.
Don't forget to check out our coffee table makeover that this top ended up on!
Have you ever tried to make new wood look old? What techniques did you use?


